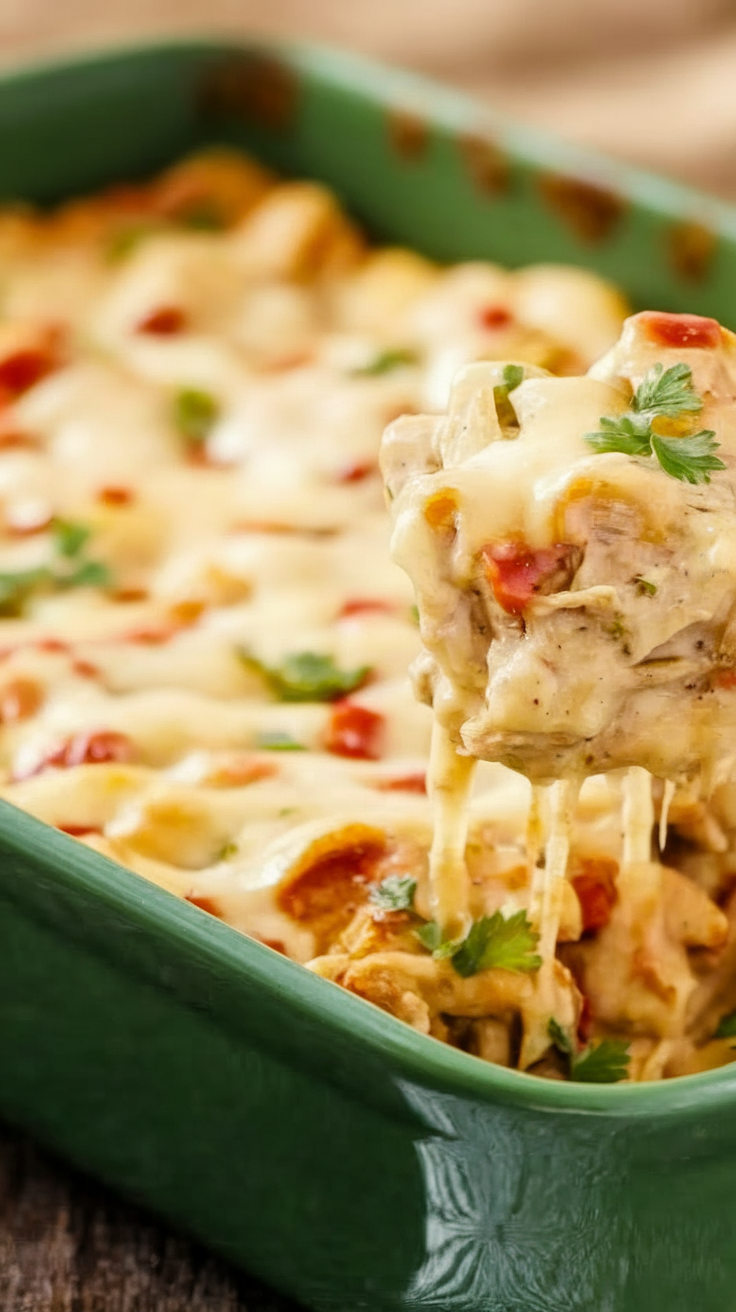
Imagine the comforting aroma that fills your kitchen on a chilly evening as you prepare this Cheesy Chicken Enchilada Casserole. It’s like wrapping yourself in a warm, cheesy blanket, the kind that somehow makes everything feel right—like that time you discovered your favorite cozy socks, just by chance. This dish is a delightful mess of flavors, where gooey cheese meets savory chicken, and every bite feels like a little fiesta on your taste buds.
Steps
- Preheat your oven to 350°F.
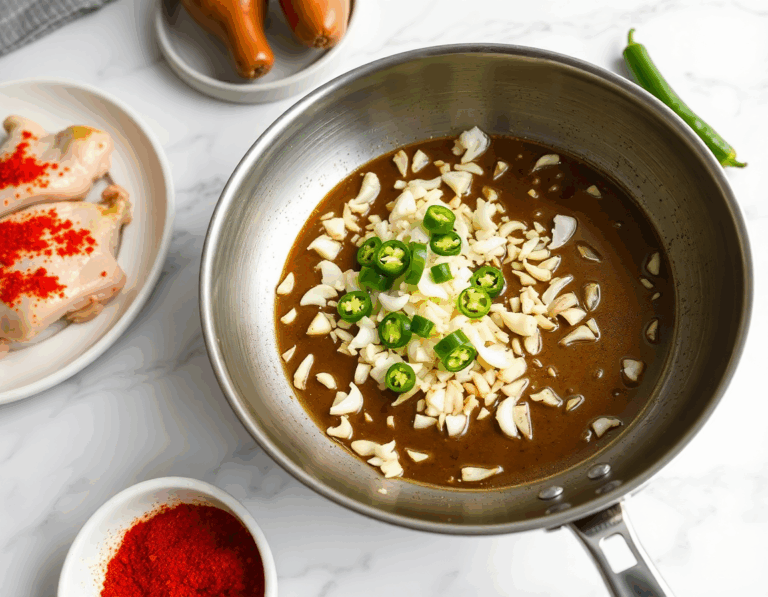
- Heat oil in a large skillet over medium heat. Sauté the garlic, jalapeño, and onion until they soften, roughly 3 minutes. Mix in the chicken, green chiles, paprika, and season with salt and pepper. Reserve 1/2 cup of enchilada sauce, then add the rest to the skillet, stirring until combined and heated through. Remove from heat and incorporate the sour cream.
- Pour the reserved enchilada sauce into the base of a 9-by-13-inch baking dish. Arrange 12 tortilla halves to cover the bottom, then spread one-third of the chicken mixture over them and sprinkle with 1 cup of cheese. Repeat this process to create two more layers, ensuring you have three layers in total.
- Bake the casserole until it is bubbling and golden, which should take about 30 to 35 minutes. Let it rest for 10 minutes before garnishing with chopped cilantro and serving.
Ingredients
- 2 tablespoons canola oil
- 3 garlic cloves, finely chopped
- 1 jalapeño, seeded and finely chopped
- 1 large onion, diced
- 3 cups shredded cooked chicken
- 2 (4-ounce) cans diced green chiles
- 1/2 teaspoon paprika
- Kosher salt, to taste
- Black pepper, to taste
- 3 (10-ounce) cans green enchilada sauce
- 2/3 cup sour cream
- 18 corn tortillas, cut in half
- 3 cups grated Monterey Jack cheese (about 12 ounces)
- Fresh cilantro, chopped, for serving
- Diced tomato
- Avocado
- Lime wedges
- Hot sauce or jalapeño slices
FAQ
- Can I prepare chicken enchilada casserole in advance?
- Yes, you can prepare it a few hours ahead and store it in the refrigerator until you’re ready to bake. Alternatively, you can assemble the casserole, wrap it well in foil, and freeze it for up to three months. Thaw it in the fridge overnight before baking, and you may need to add a few extra minutes to the baking time.
- How long will chicken enchilada casserole keep in the refrigerator?
- The casserole can be stored, covered or in an airtight container, in the refrigerator for up to four days. Note that the tortillas will become softer the longer it is stored.
- Can I use pre-cooked chicken for the casserole?
- Absolutely! Using rotisserie chicken or any pre-cooked chicken will save time and make the preparation easier without compromising on taste.
- What toppings go well with chicken enchilada casserole?
- Some great toppings include chopped cilantro, diced tomato, avocado, and a squeeze of lime. If you enjoy a bit of spice, add hot sauce or sliced jalapeños.
- Is it necessary to use corn tortillas, or can I substitute them?
- While corn tortillas give an authentic flavor and texture, you can substitute them with flour tortillas if you prefer or have them on hand. Just keep in mind that the texture may differ slightly.
Tips
- Use Rotisserie Chicken for Convenience: To save time, consider using a rotisserie chicken for the filling. This can significantly reduce preparation time without compromising on flavor.
- Assemble in Advance: You can prepare the casserole a few hours ahead and store it in the fridge. For longer storage, wrap it tightly in foil and freeze for up to three months. Just remember to thaw it in the fridge overnight before baking.
- Customize the Heat Level: Adjust the spice level to your taste by adding hot sauce or jalapeño slices. This is a great way to personalize the dish and add some extra kick if desired.
- Consider the Leftovers: The casserole can be stored in the fridge for up to four days. Keep in mind that the texture of the tortillas may change over time, becoming softer as they absorb moisture.
Equipment
- Large Skillet
- 9-by-13-inch Baking Dish
- Cheese Grater (if not purchasing pre-grated cheese)

