Banana Cream Pie Recipe (Custard, Graham Cracker Crust, Pudding Shortcut or Meringue)
 ""
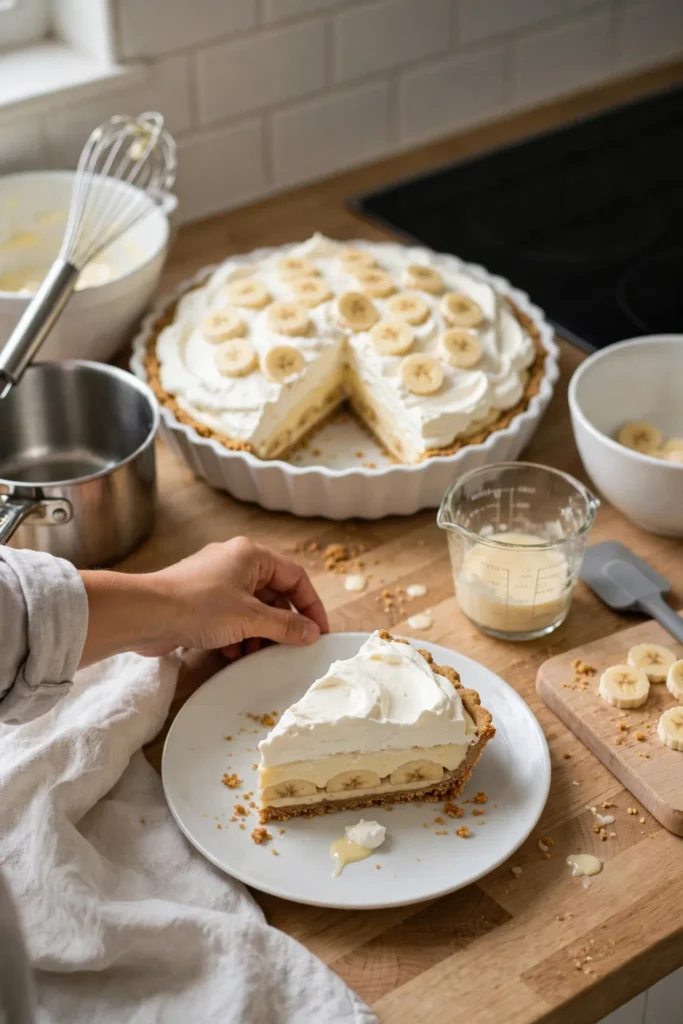 Pin it
In this post
This banana cream pie recipe starts with one shared base — the crust and the banana layer — then splits into three versions, so make the base first and jump straight to the version you want. Start with Banana Cream Pie at a Glance and Pick Your Version, then make the base and follow your version.
- Banana Cream Pie at a Glance
- Pick Your Version
- Ingredients
- How to Make Banana Cream Pie
- Step 1: Press and Bake the Graham Cracker Crust
- Step 2: Slice and Layer the Bananas
- Classic Version: Stovetop Custard and Whipped Cream
- Step 3: Cook the Vanilla Custard
- Step 4: Pour the Custard and Chill
- Step 5: Whip the Cream and Finish the Pie
- Pudding Shortcut Version: No Stovetop Custard
- Meringue Version: Baked Meringue Topping
- Recipe Card: Banana Cream Pie
- Where Banana Cream Pie Usually Goes Wrong
- Swaps and Adjustments
- Keeping It: Make-Ahead and Storage
- Banana Cream Pie Facts
- Banana Cream Pie FAQ
- Serving and Pairing
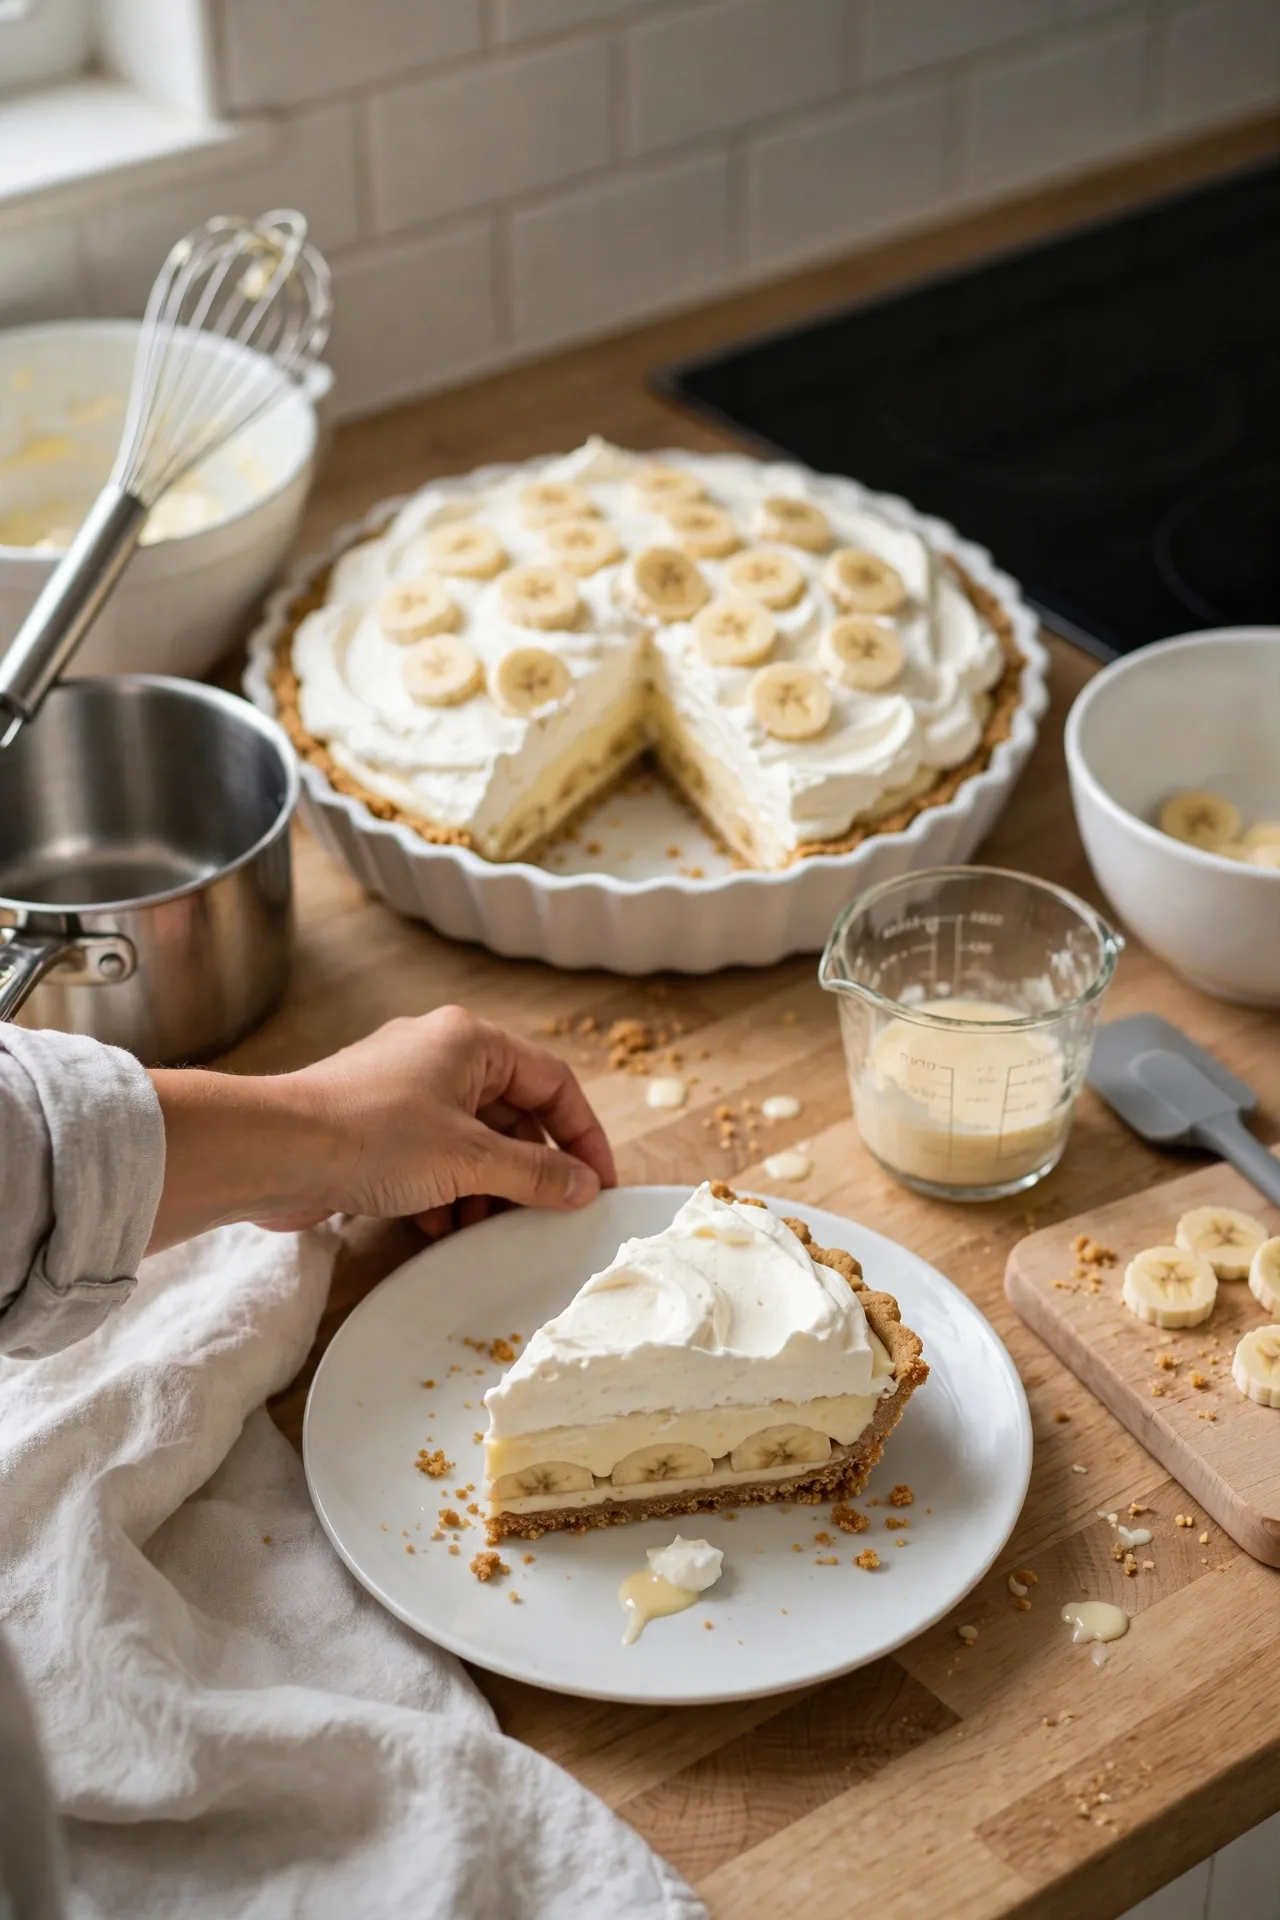
Banana cream pie has four moving parts: a crisp crust, sliced bananas, a cooked vanilla filling, and a topping. Most of the questions people have about it come down to which version of each part to use.
This page makes the classic: a graham cracker crust, a stovetop custard thickened with cornstarch and egg yolks, and whipped cream on top. Two sections further down show exactly what changes if you want a pudding shortcut (no stovetop) or a meringue topping (no whipped cream). All three share the same crust and the same banana layer, so you only need one set of steps.
The custard is the one stage that asks for attention. It needs constant whisking for several minutes. Everything else is assembly, and the pie does most of its work in the refrigerator.
Banana Cream Pie at a Glance
- Makes: one 9-inch pie, about 8 slices
- Active time: about 30 minutes, plus 8 to 10 minutes of crust baking
- Chilling: at least 4 hours before slicing
- Skill level: beginner-friendly, with one stage (the custard) that rewards steady whisking
- Allergens: contains milk, eggs, and wheat (graham crackers). Check packaged ingredients if you are avoiding any of these.
Pick Your Version
| Version | Filling | Topping | Choose it when |
|---|---|---|---|
| Classic | Stovetop custard | Whipped cream | You want the traditional pie |
| Pudding shortcut | Instant pudding | Whipped cream | You want to skip the stove |
| Meringue | Stovetop custard | Baked meringue | You have spare egg whites |
Ingredients
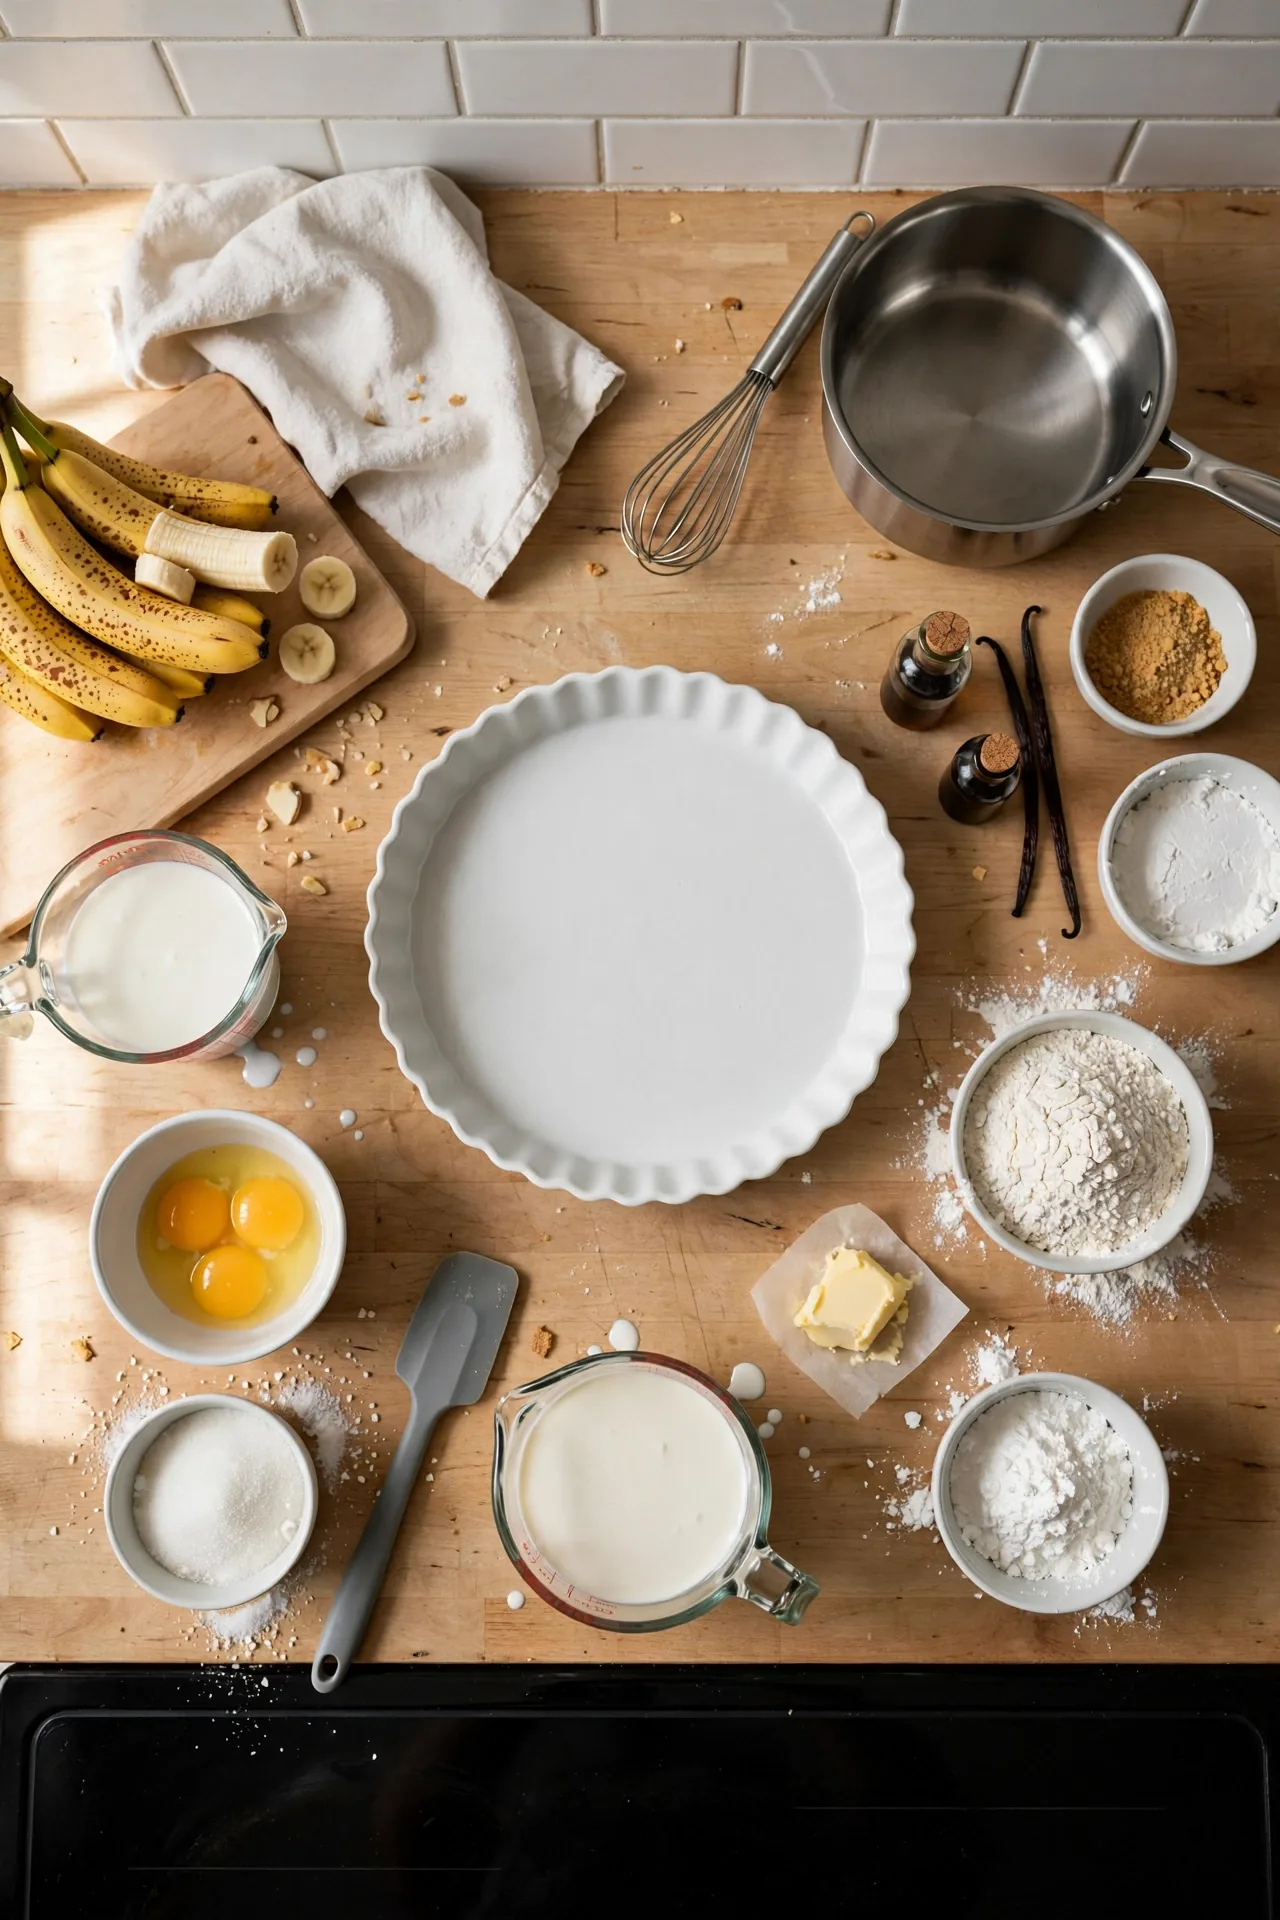
For the graham cracker crust
- 1½ cups graham cracker crumbs (about 10 to 12 full sheets, crushed fine)
- ¼ cup granulated sugar
- 6 tablespoons unsalted butter, melted
For the vanilla custard filling
- ¾ cup granulated sugar
- ⅓ cup cornstarch
- ¼ teaspoon salt
- 3 cups whole milk
- 4 large egg yolks (save the whites if you plan to make the meringue version)
- 2 tablespoons unsalted butter, cut into pieces
- 2 teaspoons vanilla extract
For the banana layer
- 3 ripe bananas: 2 for the layer inside the pie, 1 for the garnish
For the whipped cream topping
- 1 cup cold heavy cream
- 2 tablespoons powdered sugar
- 1 teaspoon vanilla extract
For the pudding shortcut version (replaces the custard filling)
- 2 boxes (3.4 ounces each) instant vanilla pudding mix
- 3 cups cold whole milk (check the box for pie-filling directions, since milk amounts vary by brand)
For the meringue version (replaces the whipped cream)
- 4 egg whites (from the custard yolks)
- ½ cup granulated sugar
- ¼ teaspoon cream of tartar
- ½ teaspoon vanilla extract
Ingredient Notes
- Bananas: Yellow with a few brown freckles is the sweet spot. Green-tipped bananas taste starchy, and heavily spotted ones turn the layer mushy and sweeter than the custard.
- Graham crumbs: Crush the crackers until no large pieces remain. A food processor is quickest, and a zip-top bag with a rolling pin works too.
- Whole milk: The custard’s richness comes from the milk fat and yolks. Lower-fat milk will still thicken, but the filling tastes thinner.
- Equipment: a 9-inch pie plate, a medium saucepan, a whisk, a heatproof bowl for the yolks, a fine-mesh sieve (for rescue, see below), and plastic wrap.
How to Make Banana Cream Pie
Preheat the oven to 350°F (175°C) before starting the crust. Read through the custard step once before you begin it. Once the saucepan is on the heat, there is no good moment to stop and look something up.
Step 1: Press and Bake the Graham Cracker Crust
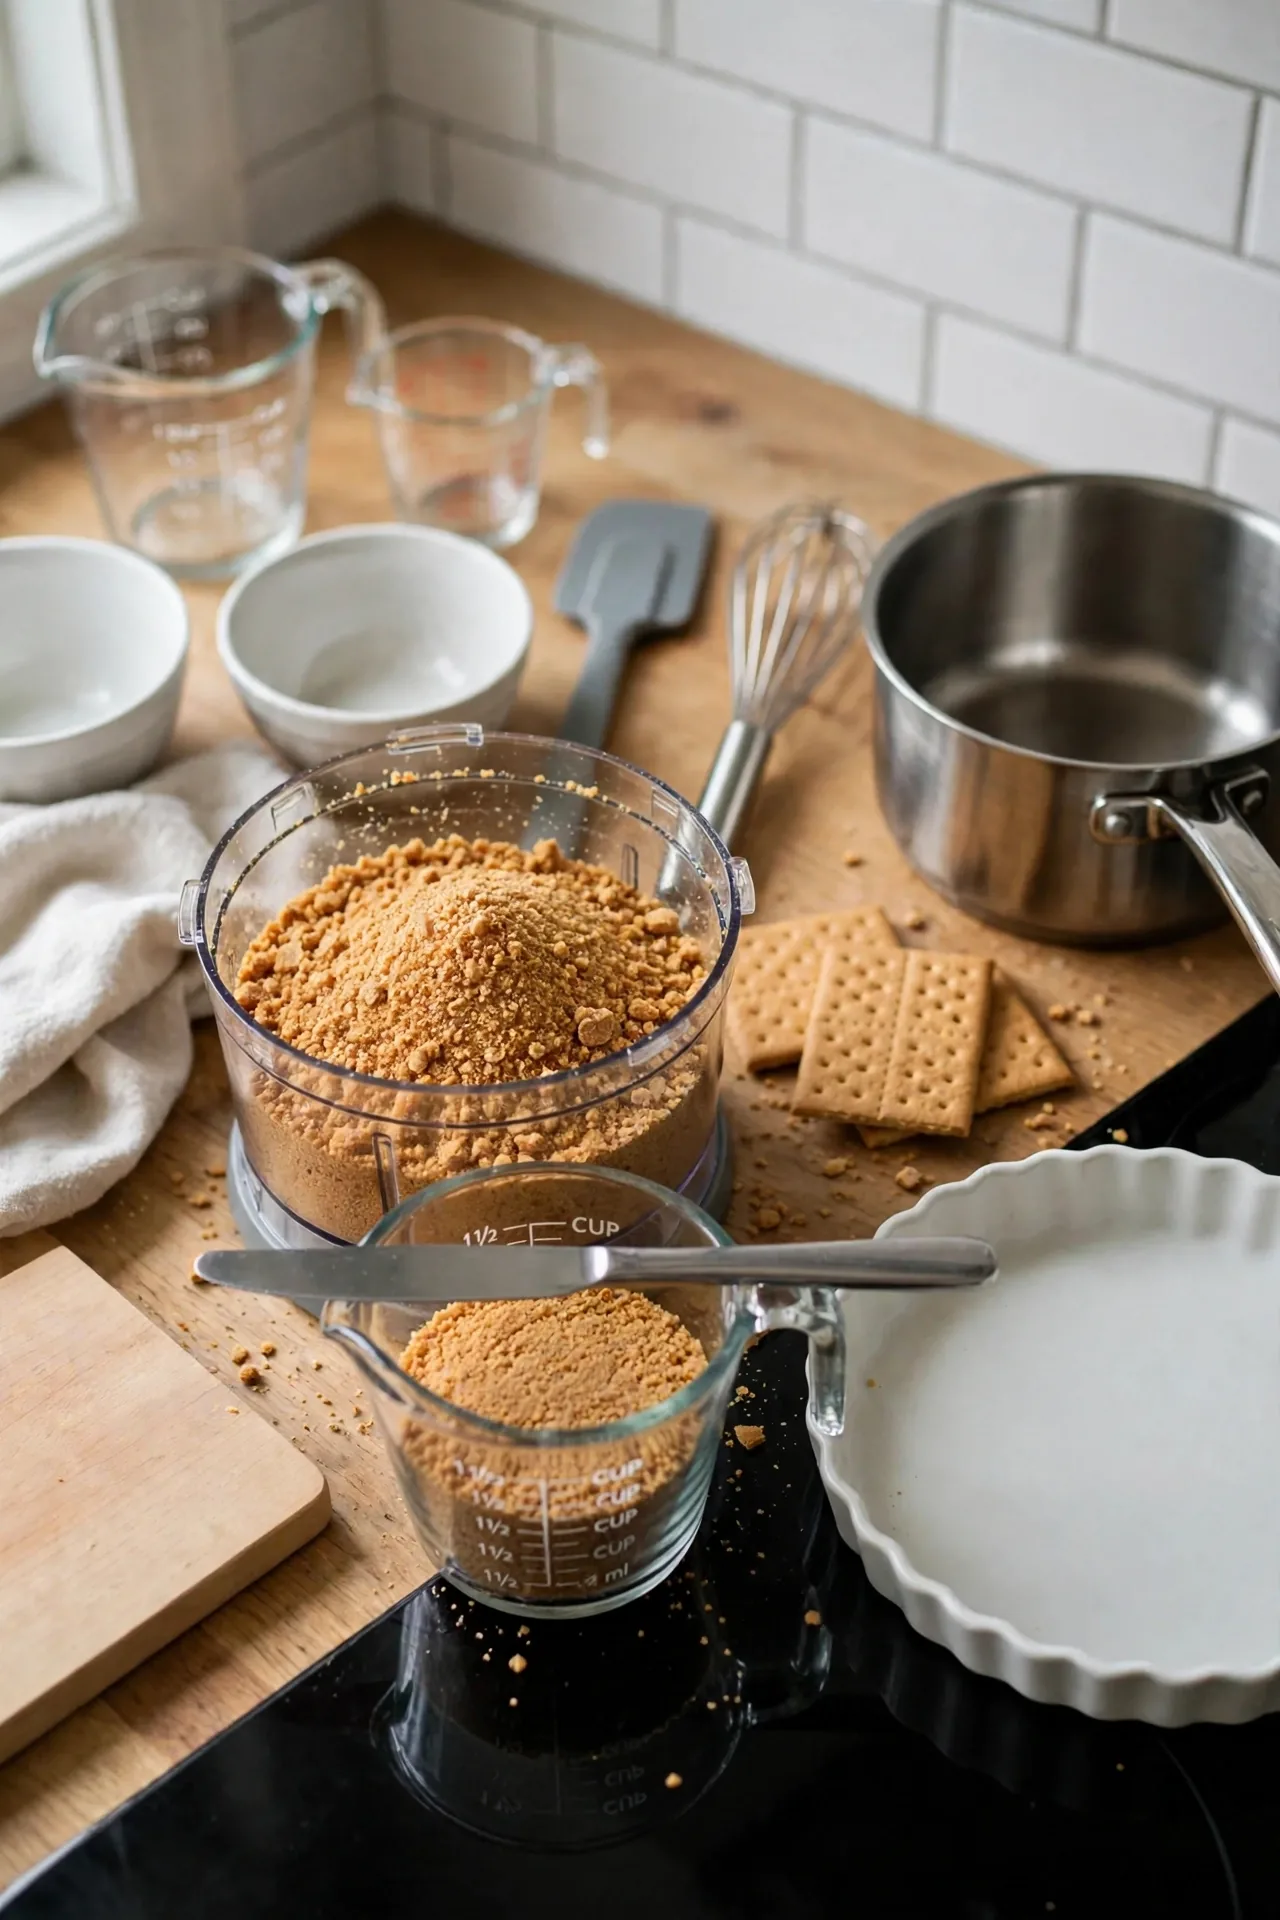
Crush the graham crackers into fine, sandy crumbs.
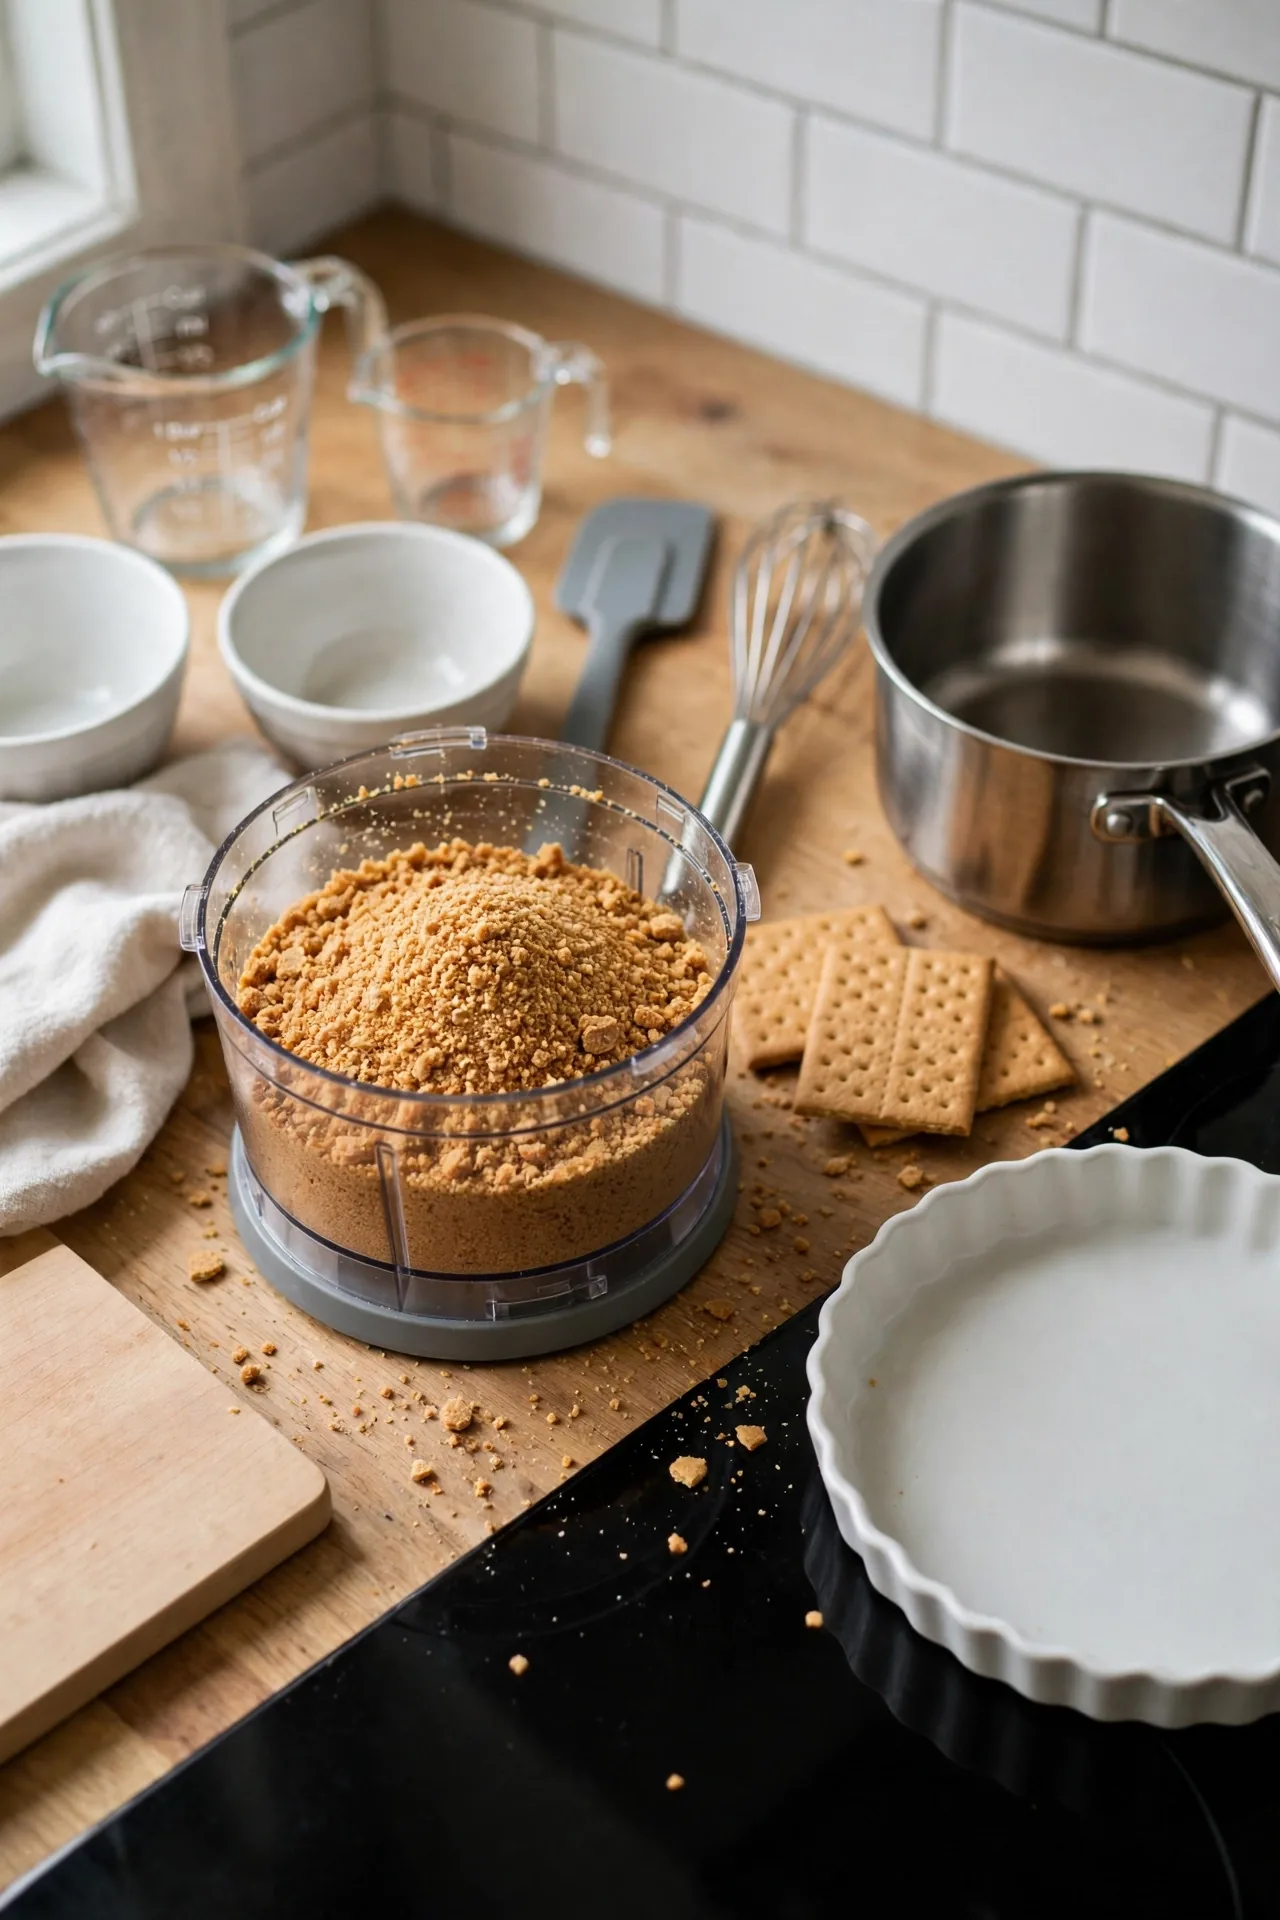
Measure 1½ cups of crumbs, packed lightly and leveled off.
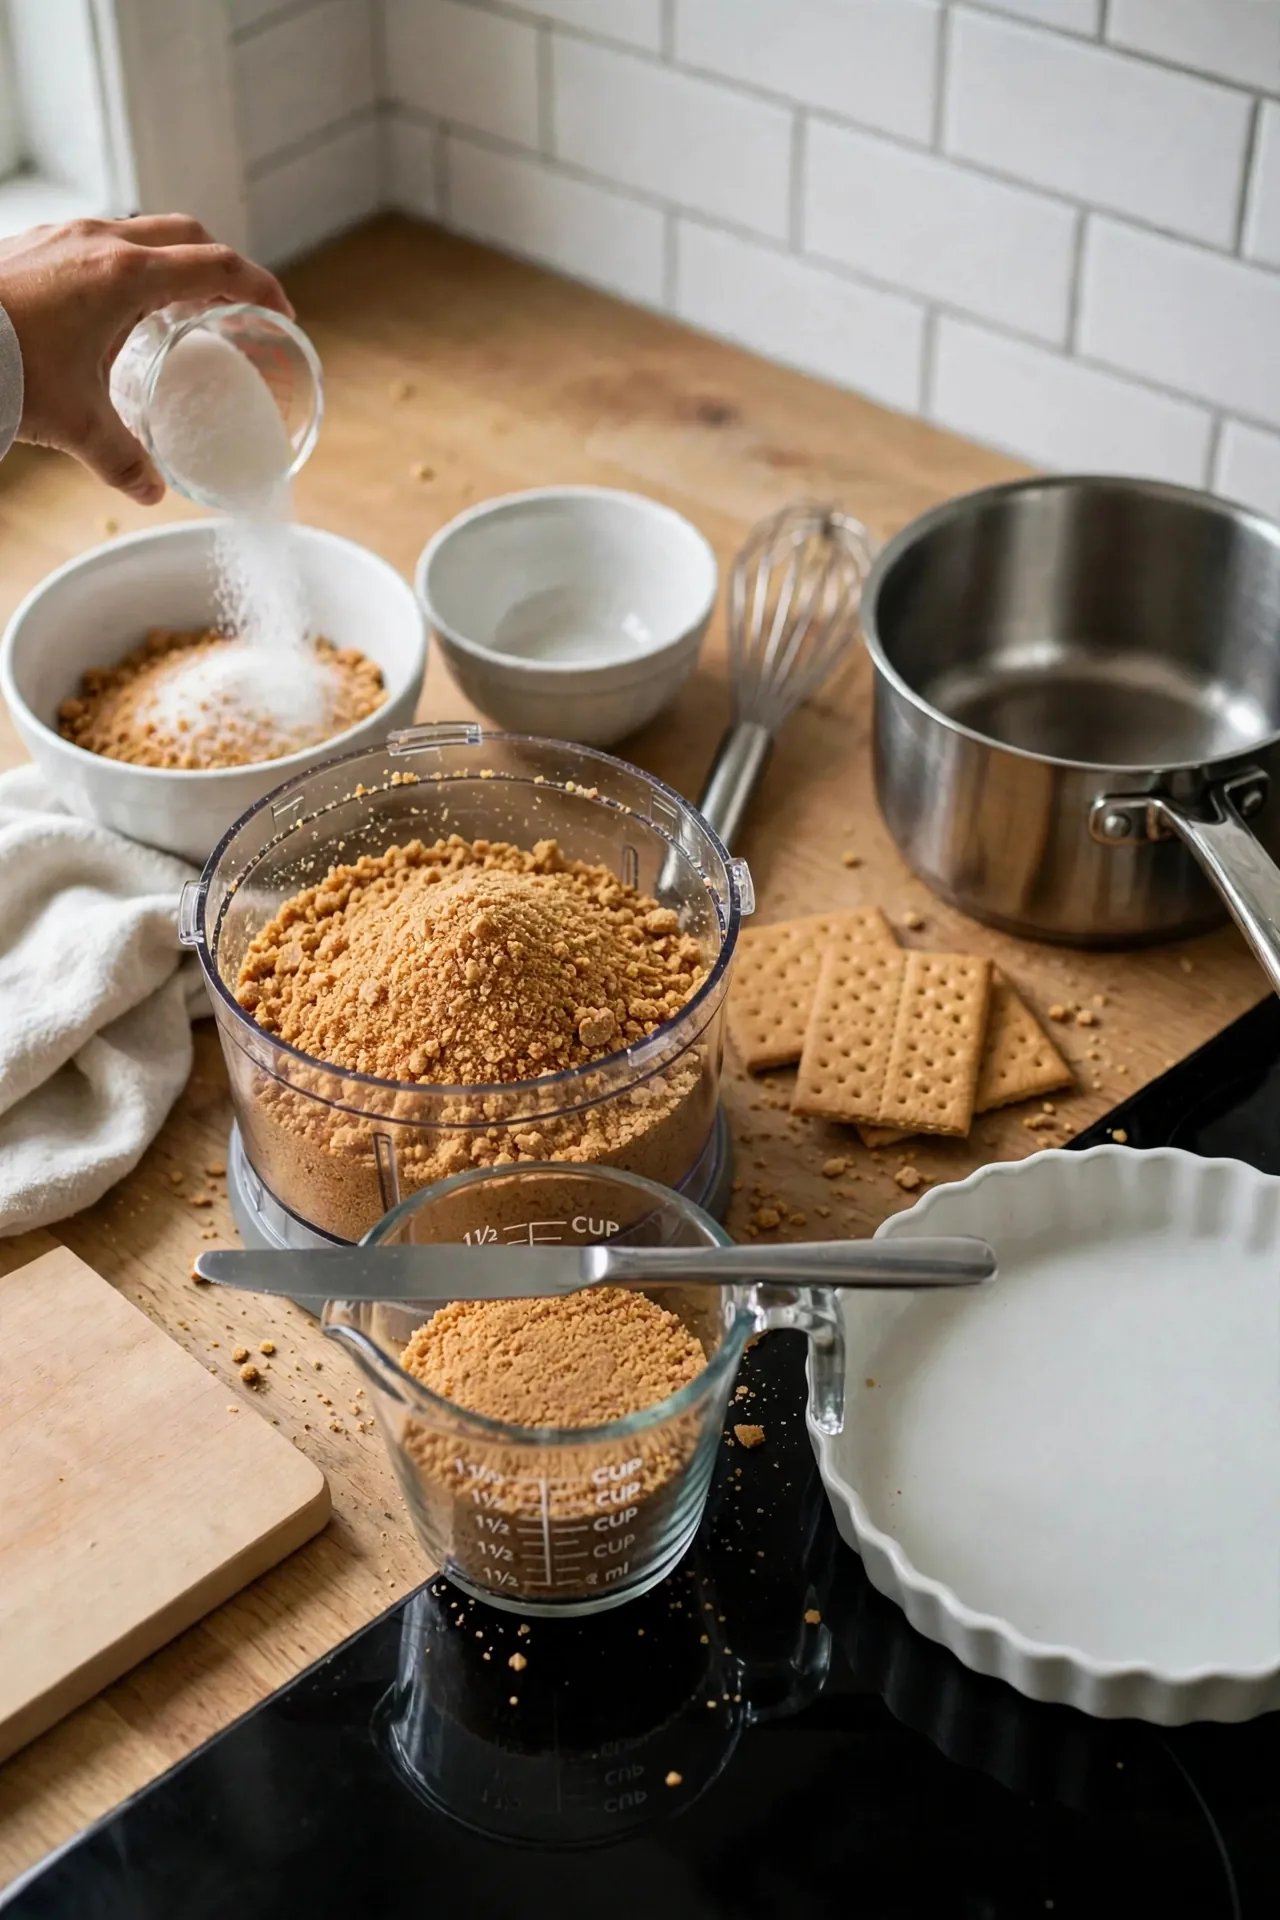
Stir in the ¼ cup sugar while the crumbs are still dry, so it spreads evenly.
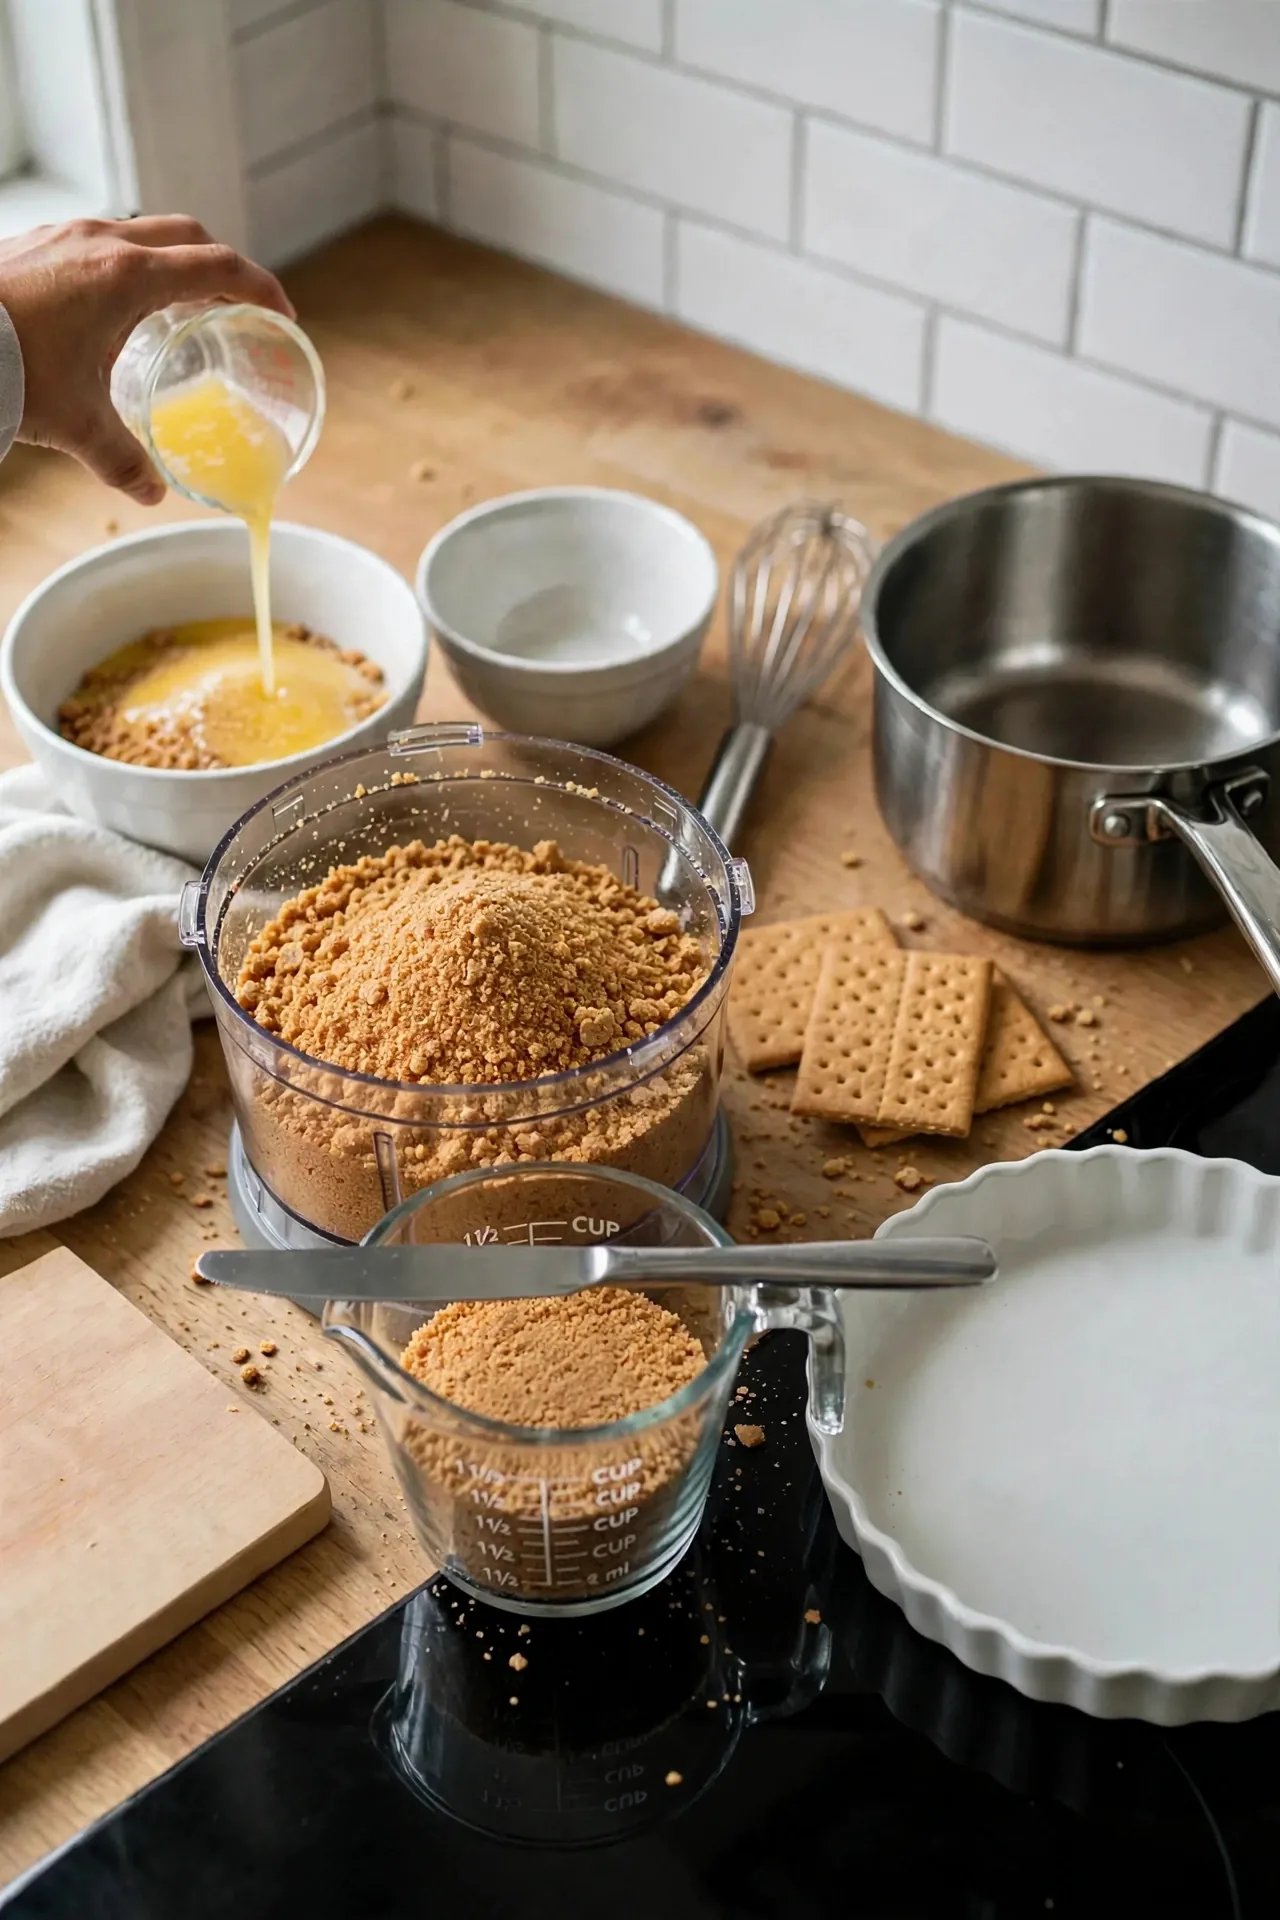
Pour in the 6 tablespoons melted butter. It should still be liquid but not hot.
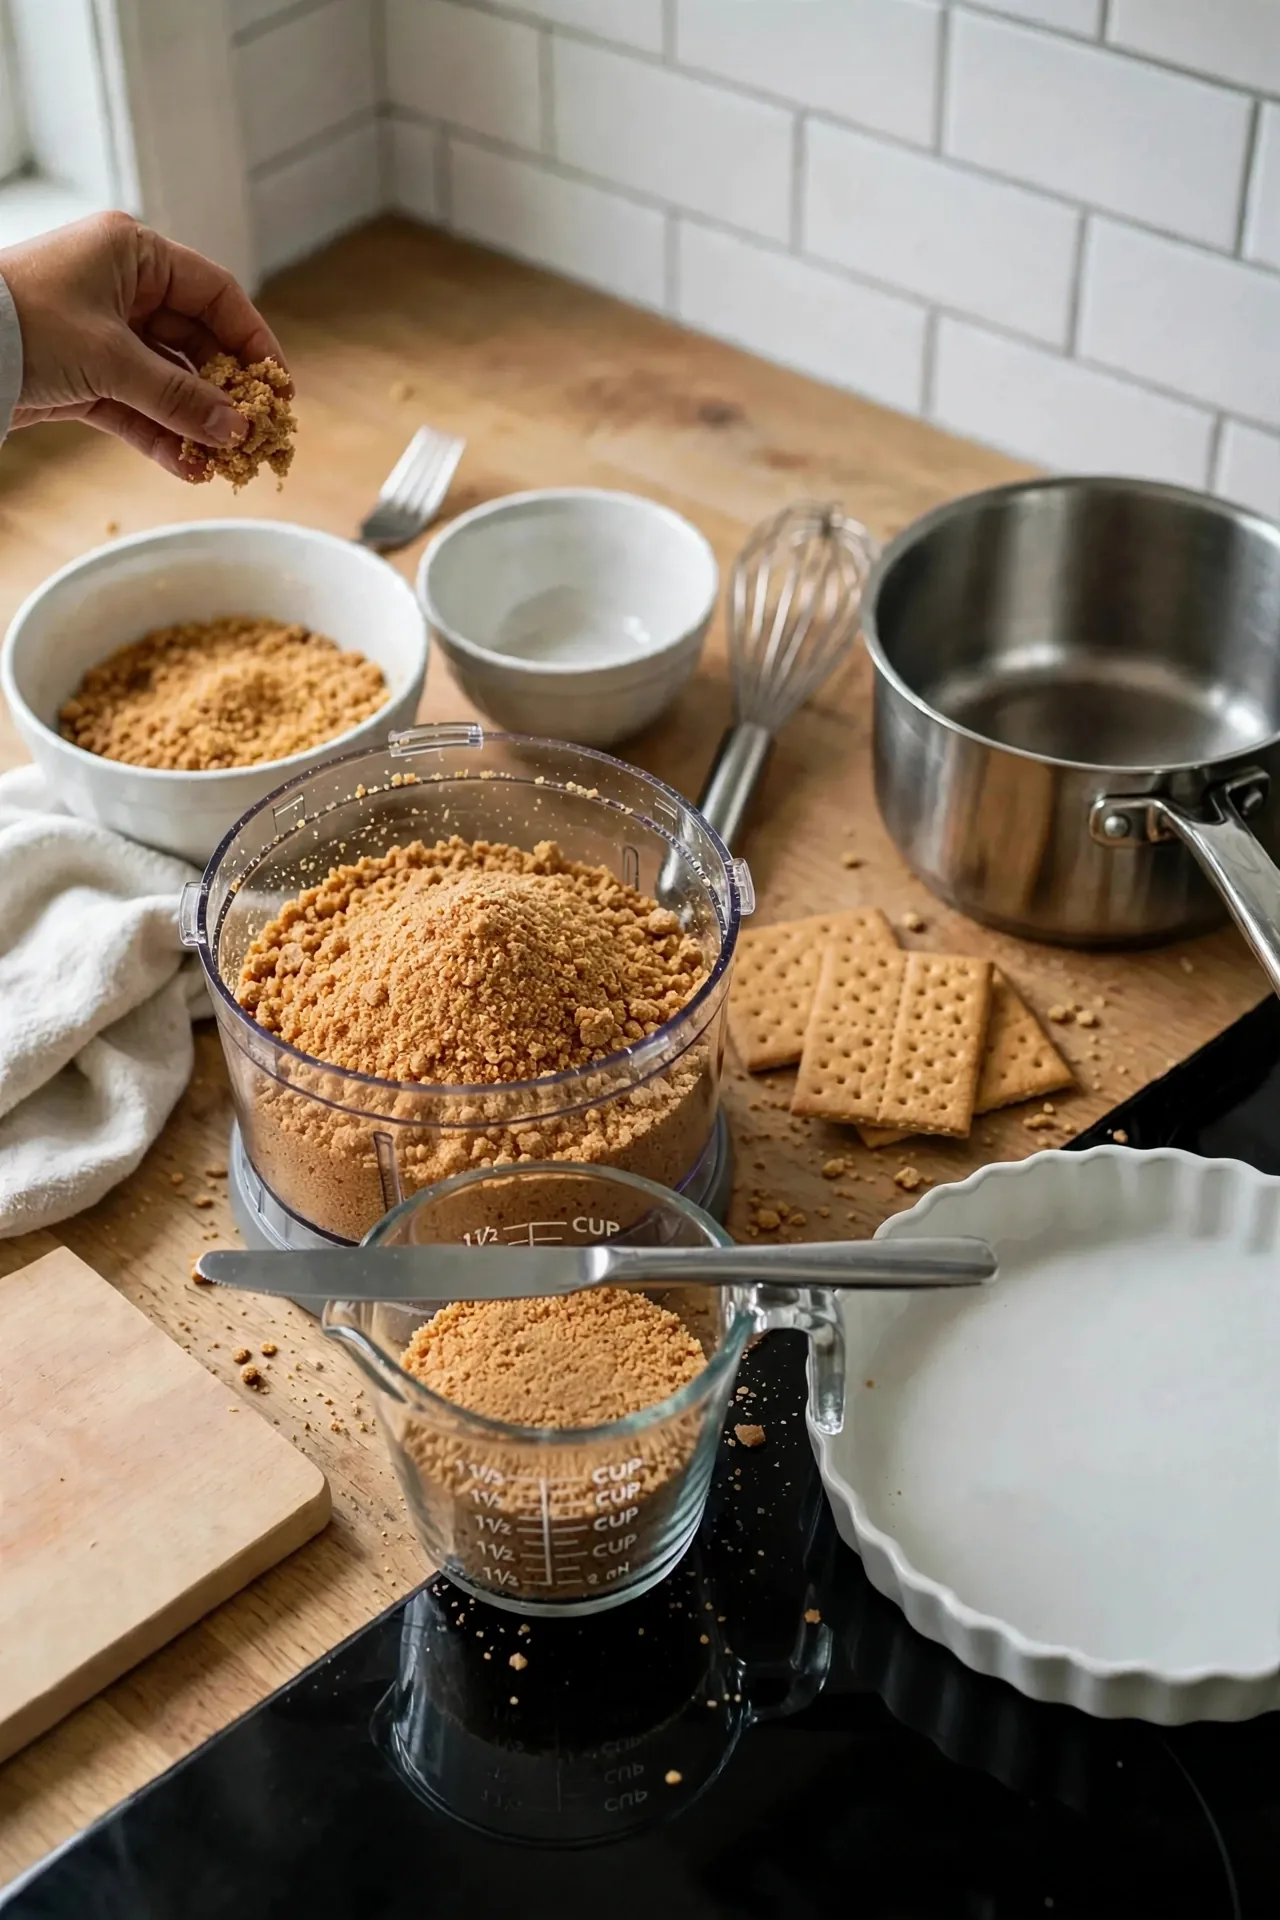
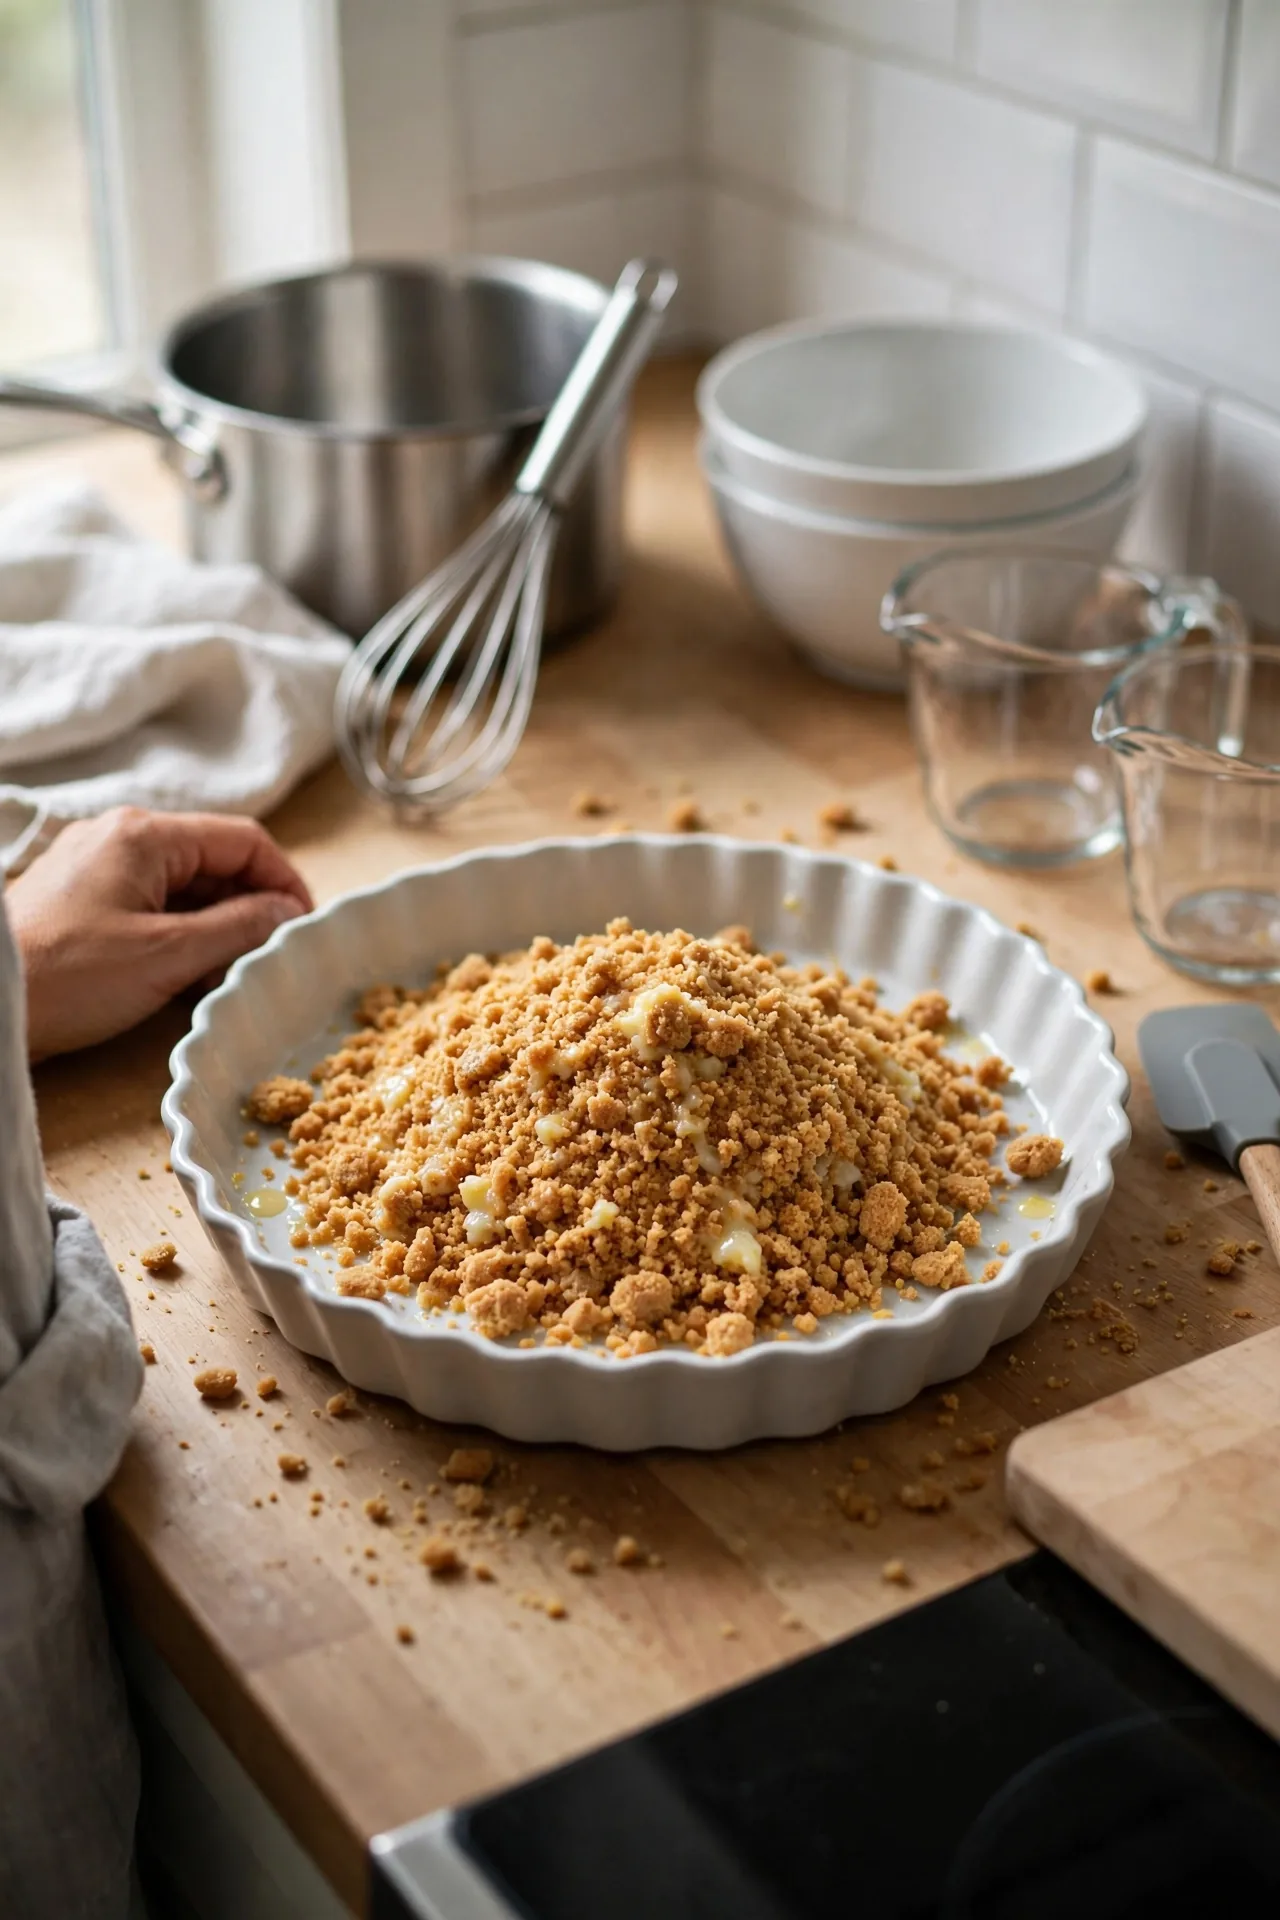
Mix with a fork until the crumbs look like damp sand. Pinch a small handful: it should hold together without crumbling apart. If it falls apart, keep mixing for another 20 seconds before adding anything.
Tip the mixture into the pie plate.
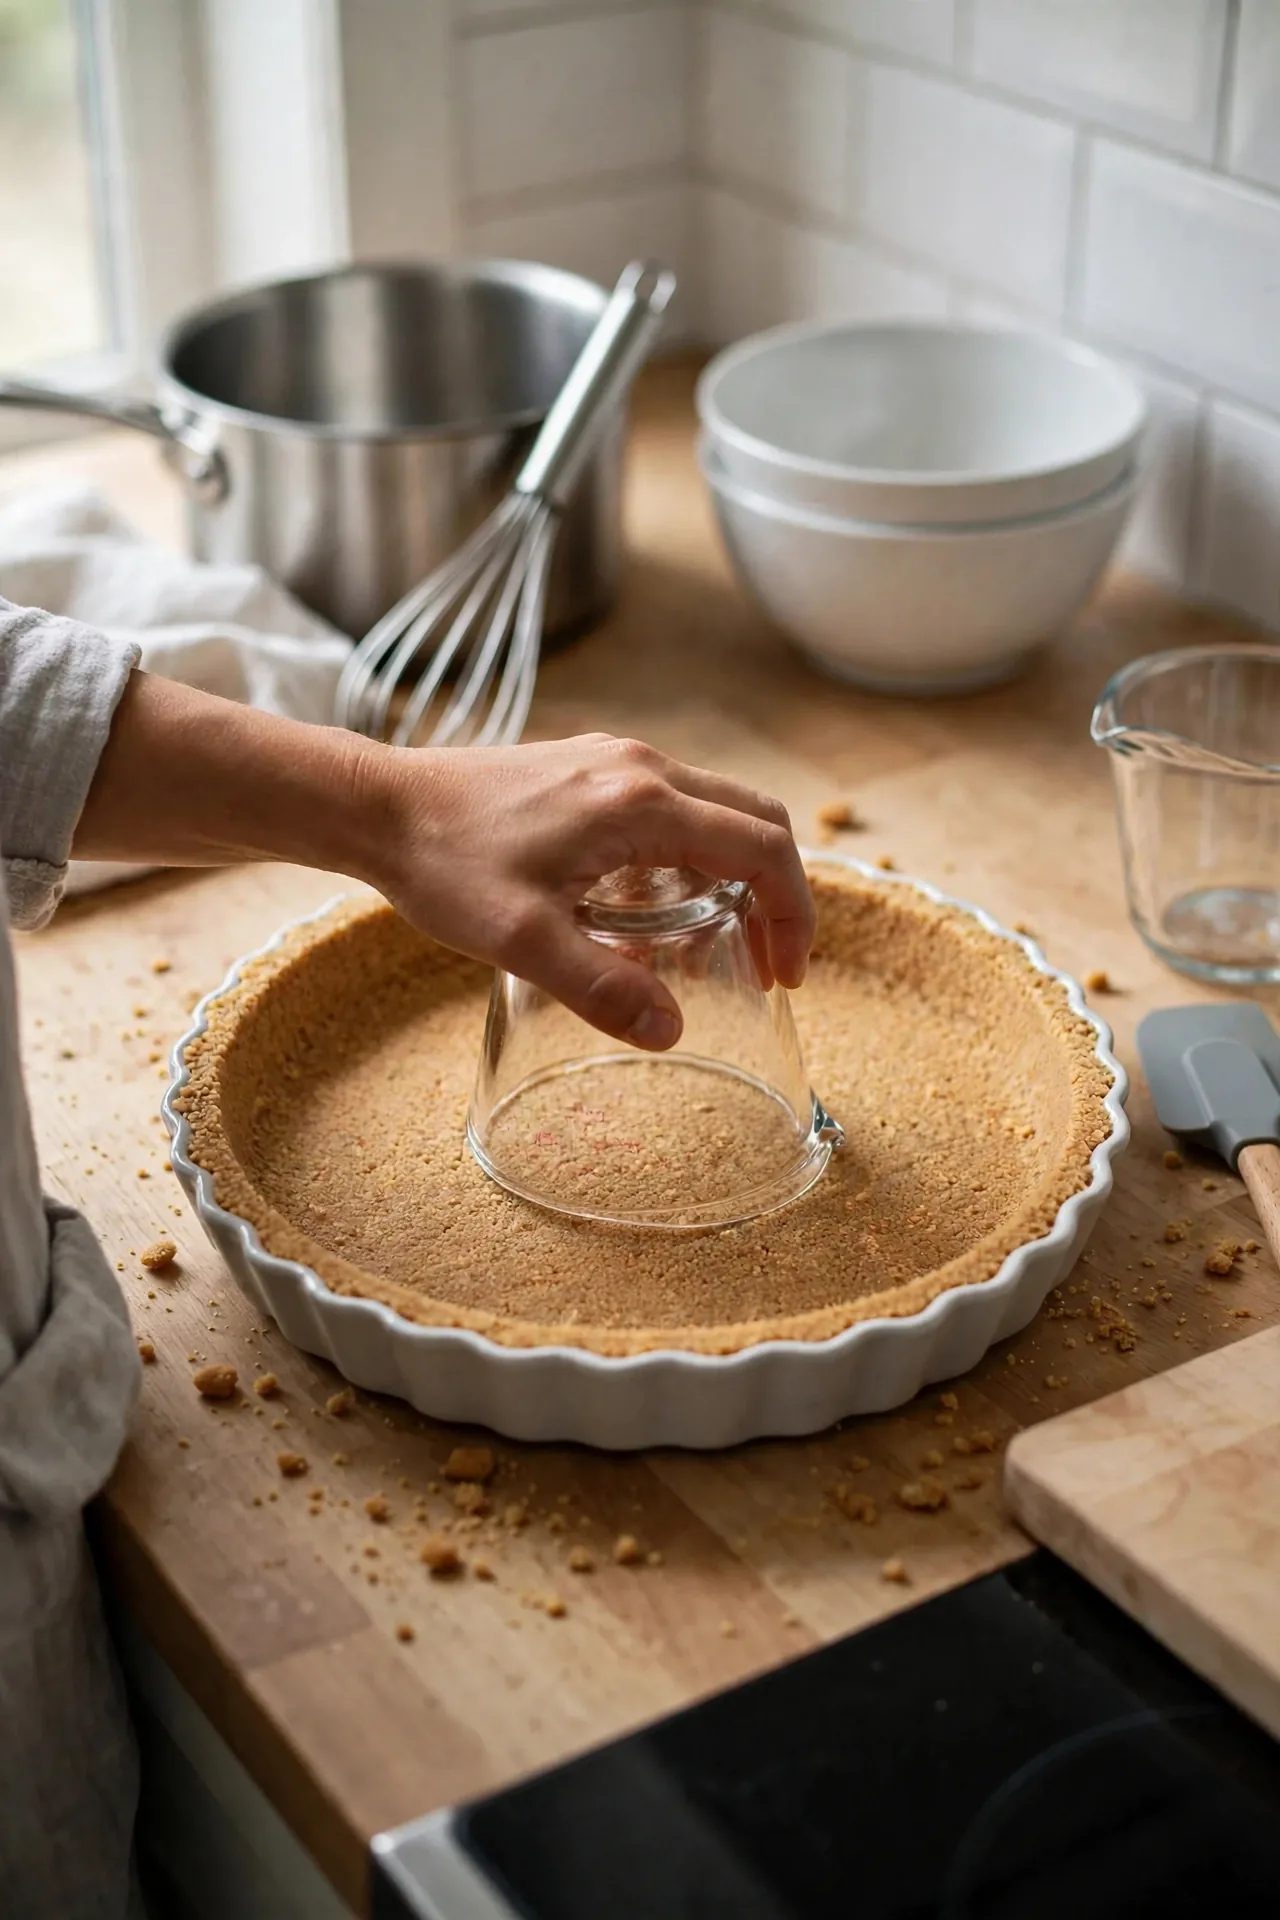
Press it firmly across the bottom and up the sides with the flat base of a measuring cup or a drinking glass. Firm pressure is what keeps the crust from crumbling when you slice the pie.
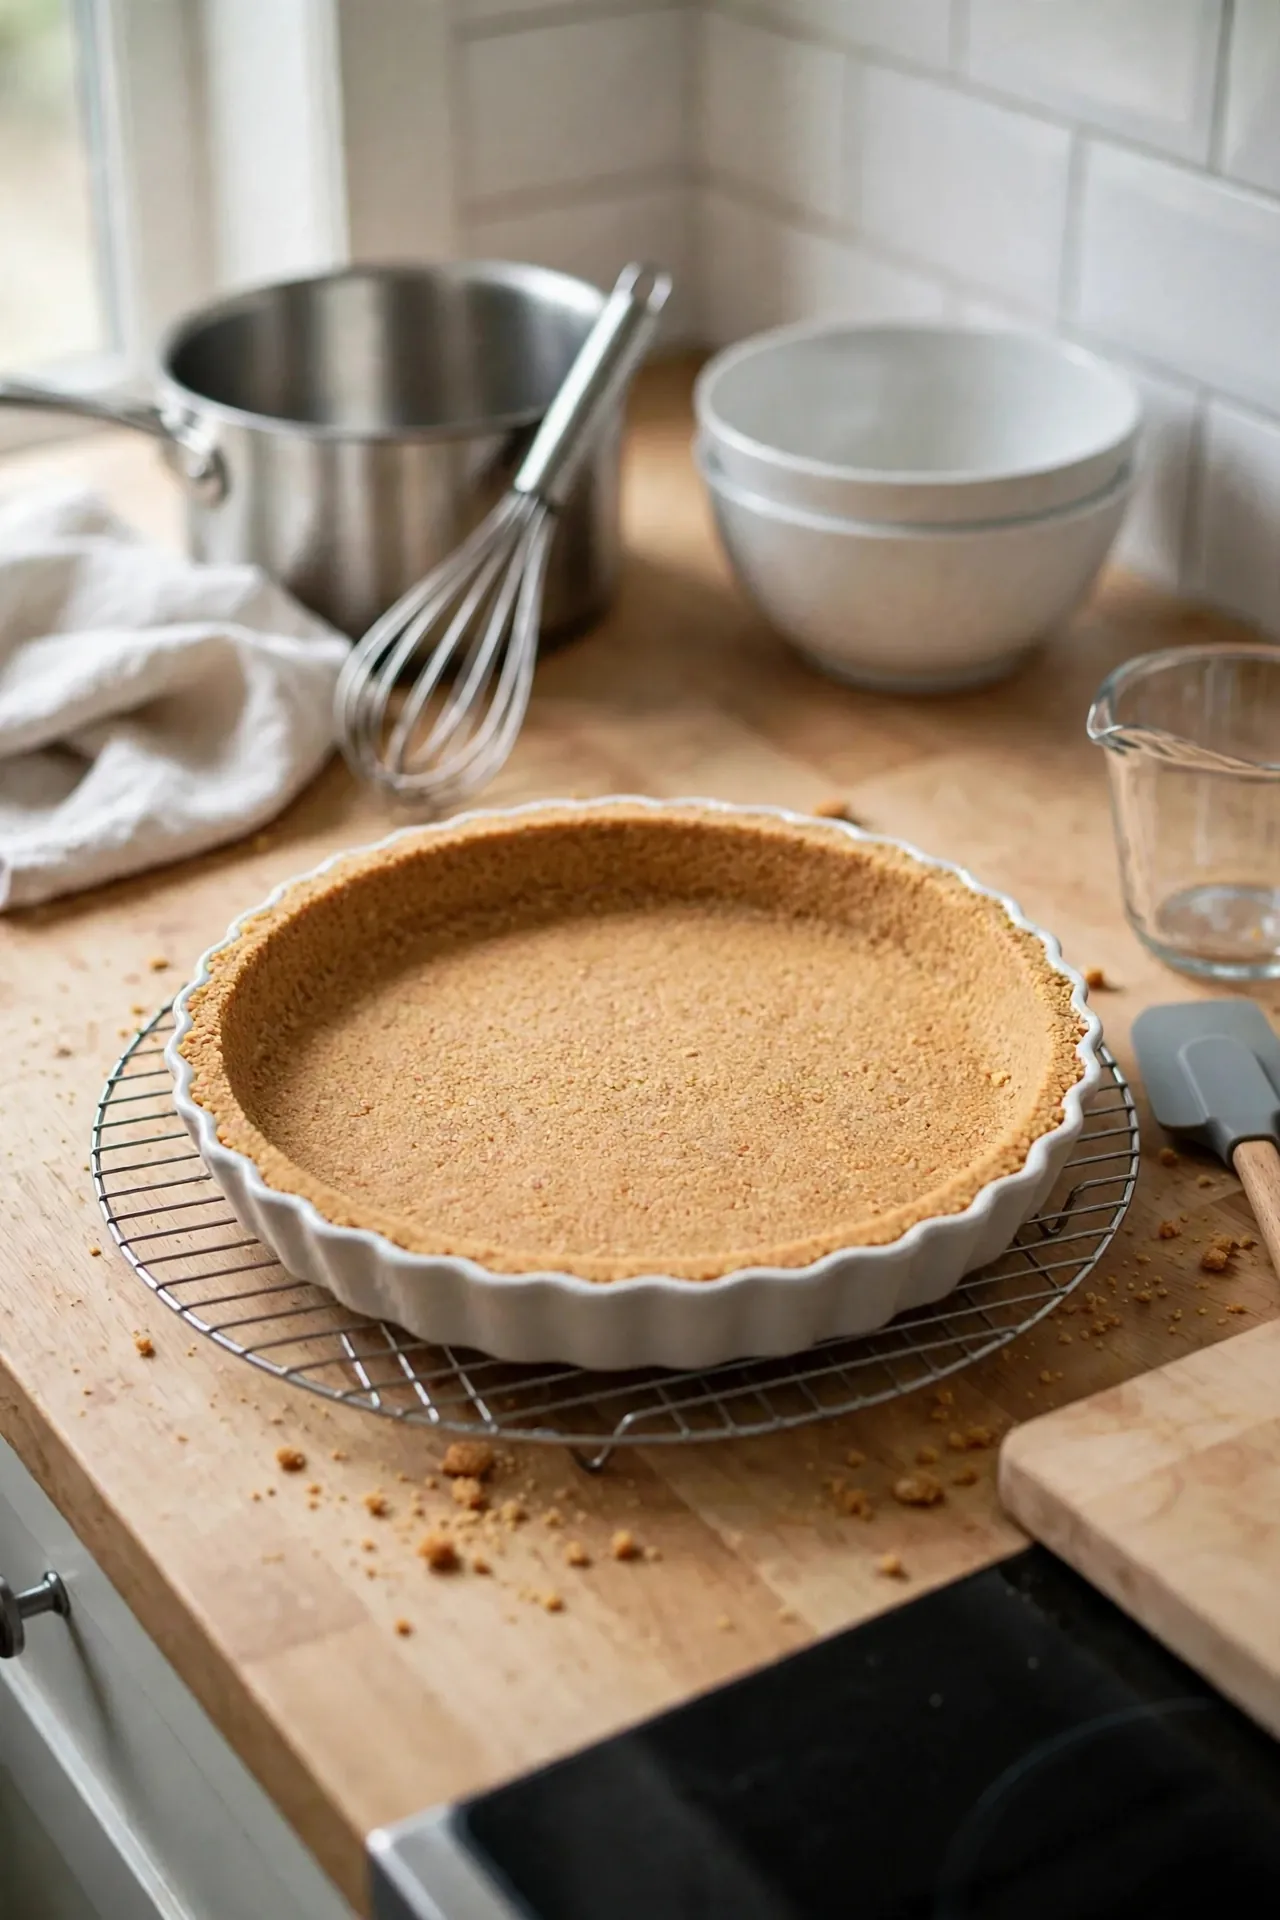
Bake for 8 to 10 minutes, until the crust looks set and smells toasty, then let it cool completely on a rack. A warm crust softens under the filling, so allow about 30 minutes and start the custard while you wait.
Step 2: Slice and Layer the Bananas
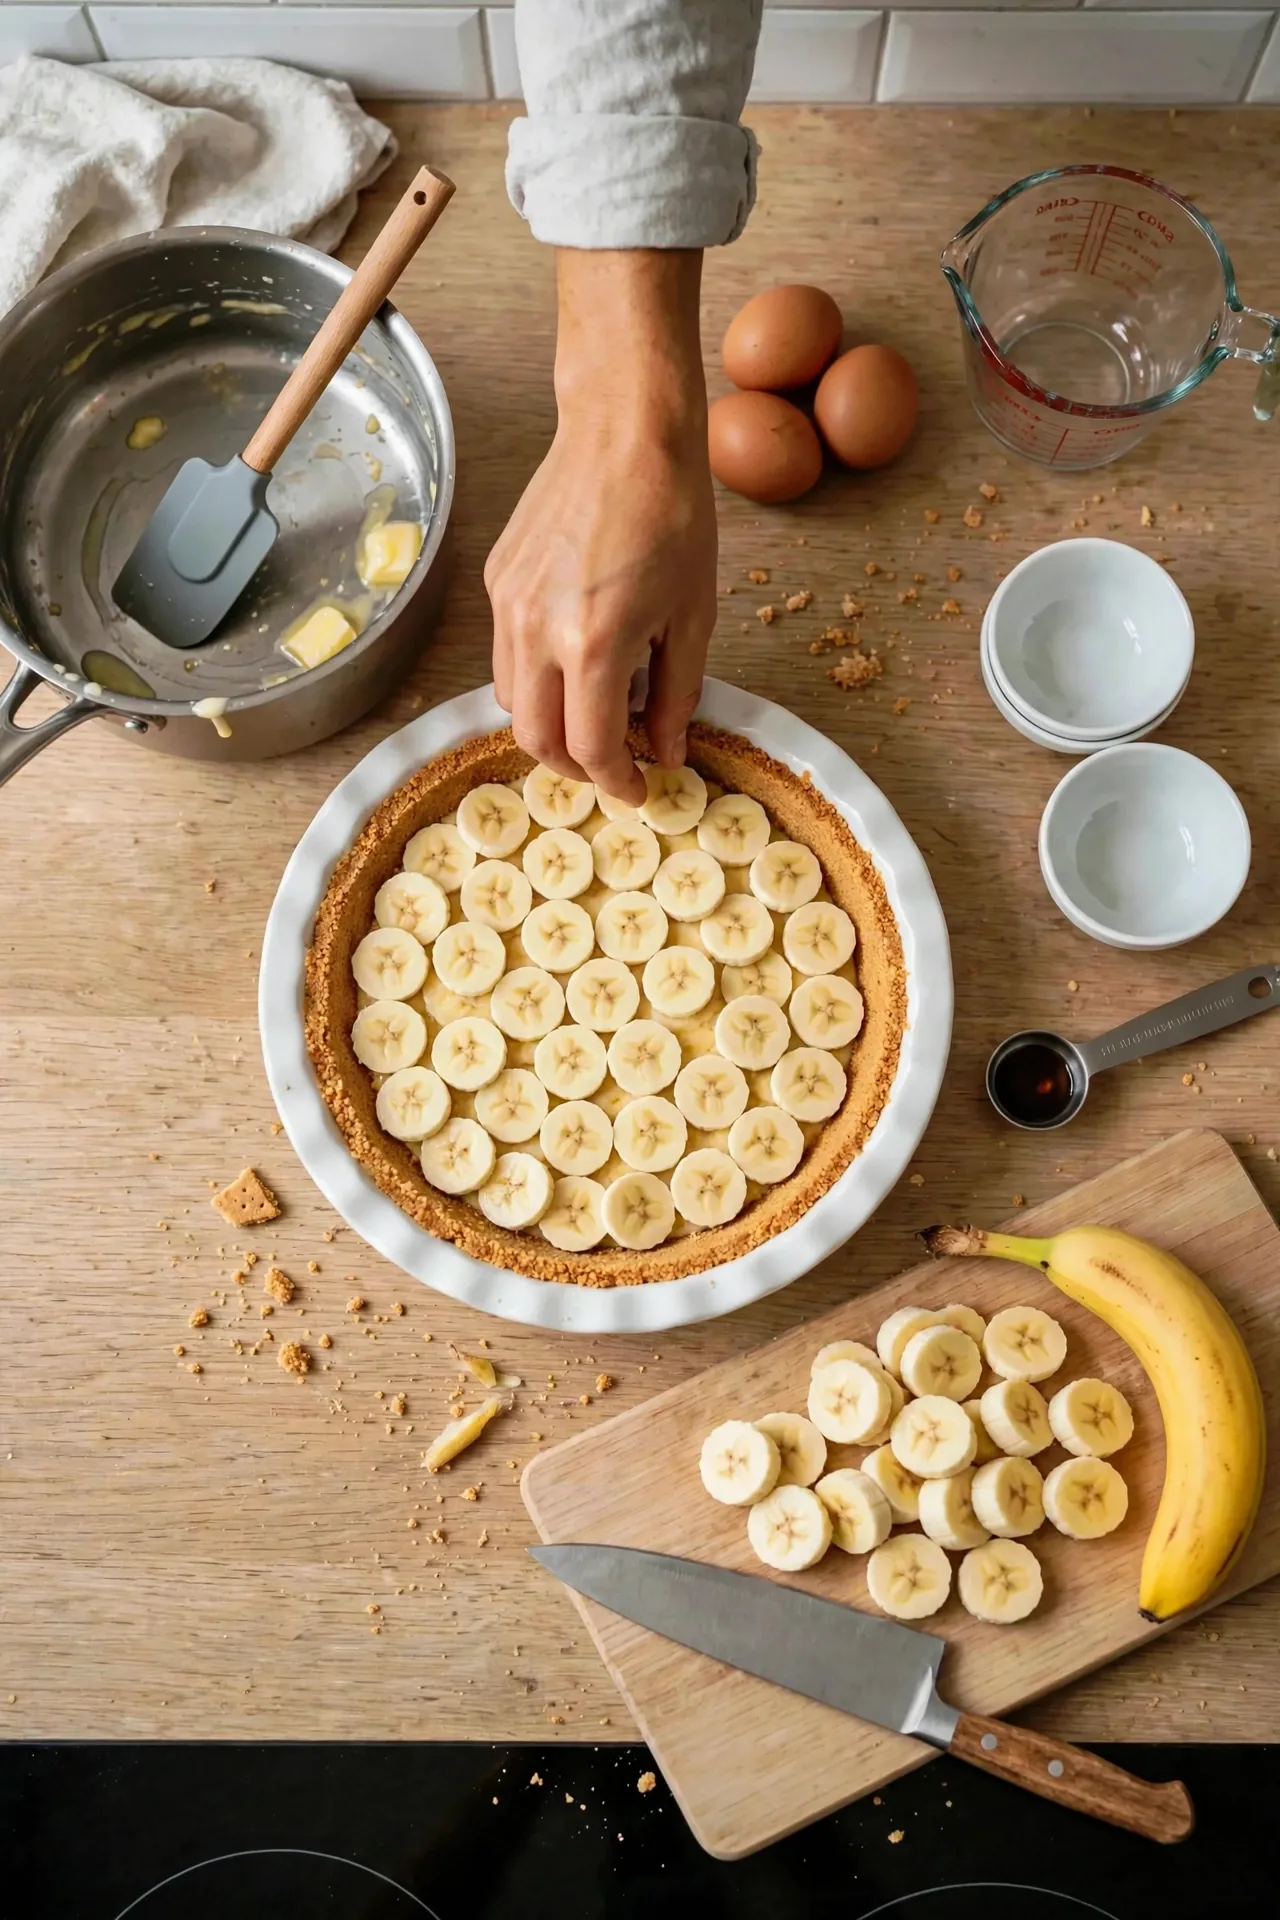
Slice 2 bananas into coins about ¼ inch thick, and only now. Cut bananas darken as they sit, so slicing them last, just before they get covered, cuts down the browning.
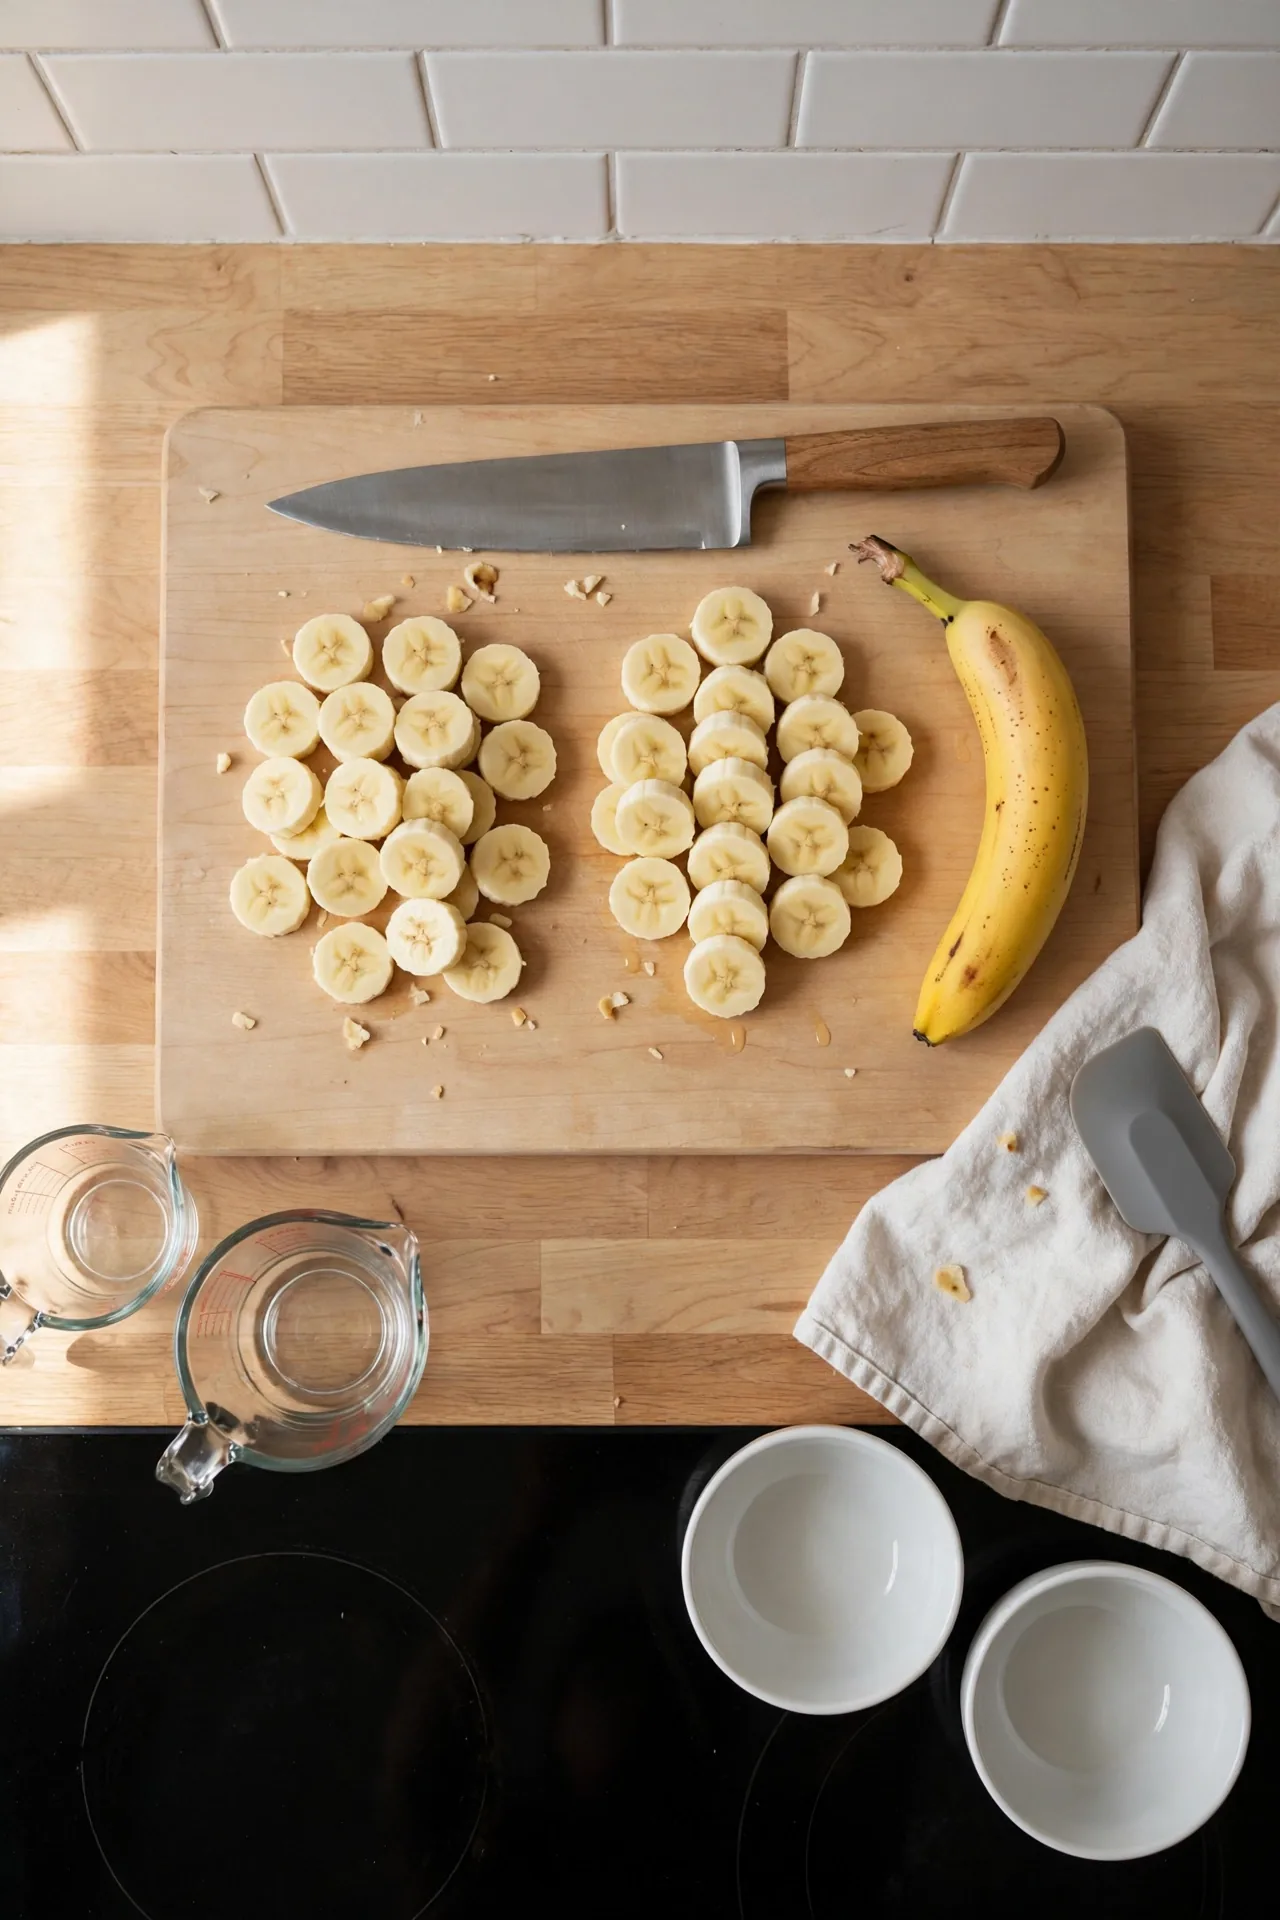
Arrange the slices in a single, slightly overlapping layer across the bottom of the cooled crust.
Classic Version: Stovetop Custard and Whipped Cream
Step 3: Cook the Vanilla Custard
Separate the eggs while the crust cools. Keep the 4 yolks and set the whites aside in a covered bowl if you want the meringue version later.
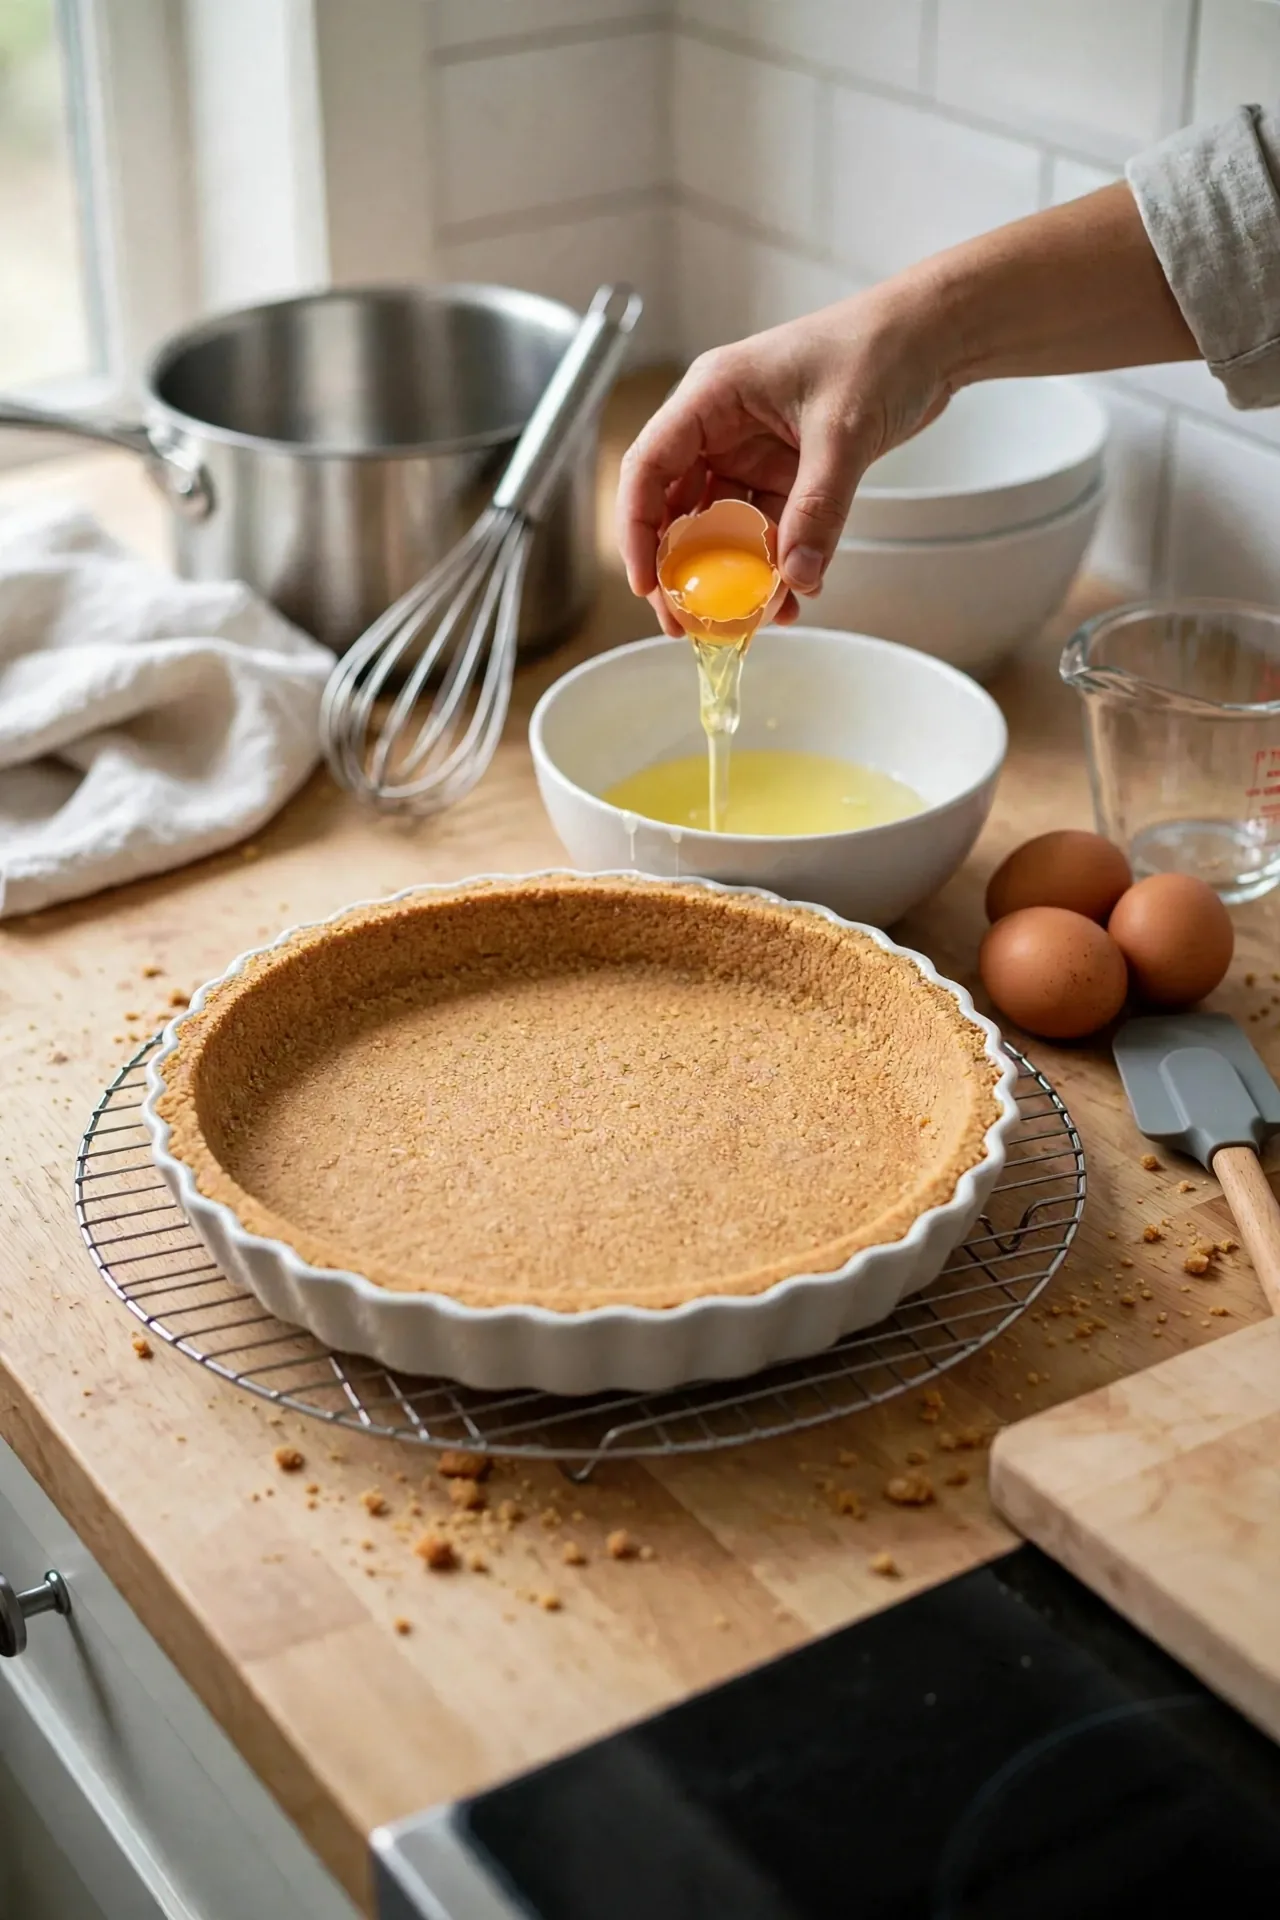
Whisk the yolks in a heatproof bowl until smooth, and park the bowl right next to the stove. The yolks are needed in a few minutes, and you will not have a free hand to fetch them.
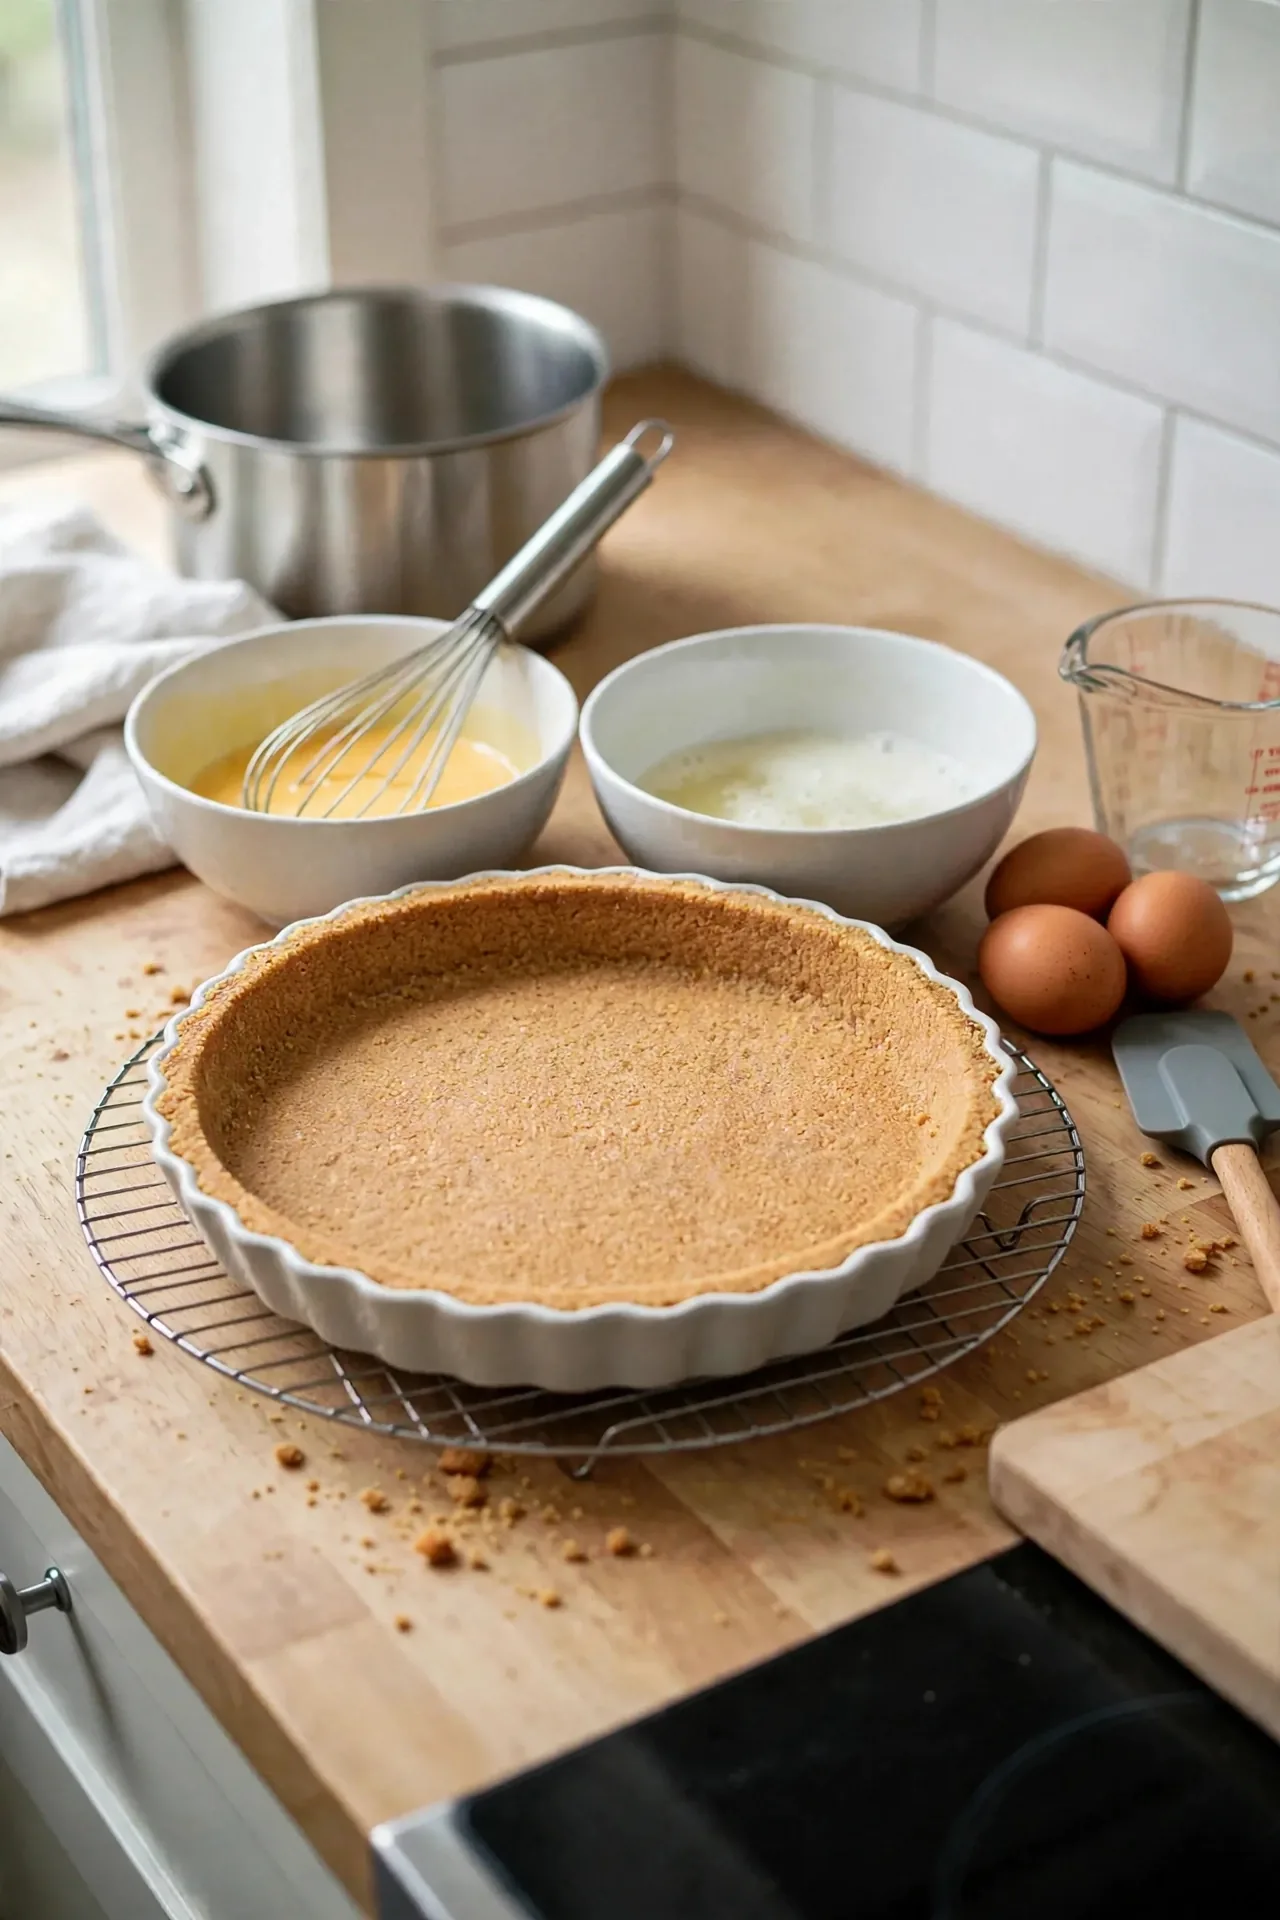
Whisk ¾ cup sugar, ⅓ cup cornstarch, and ¼ teaspoon salt together in the saucepan before any liquid goes in. Cornstarch clumps when it hits milk alone, and mixing it with sugar first keeps the grains separated.
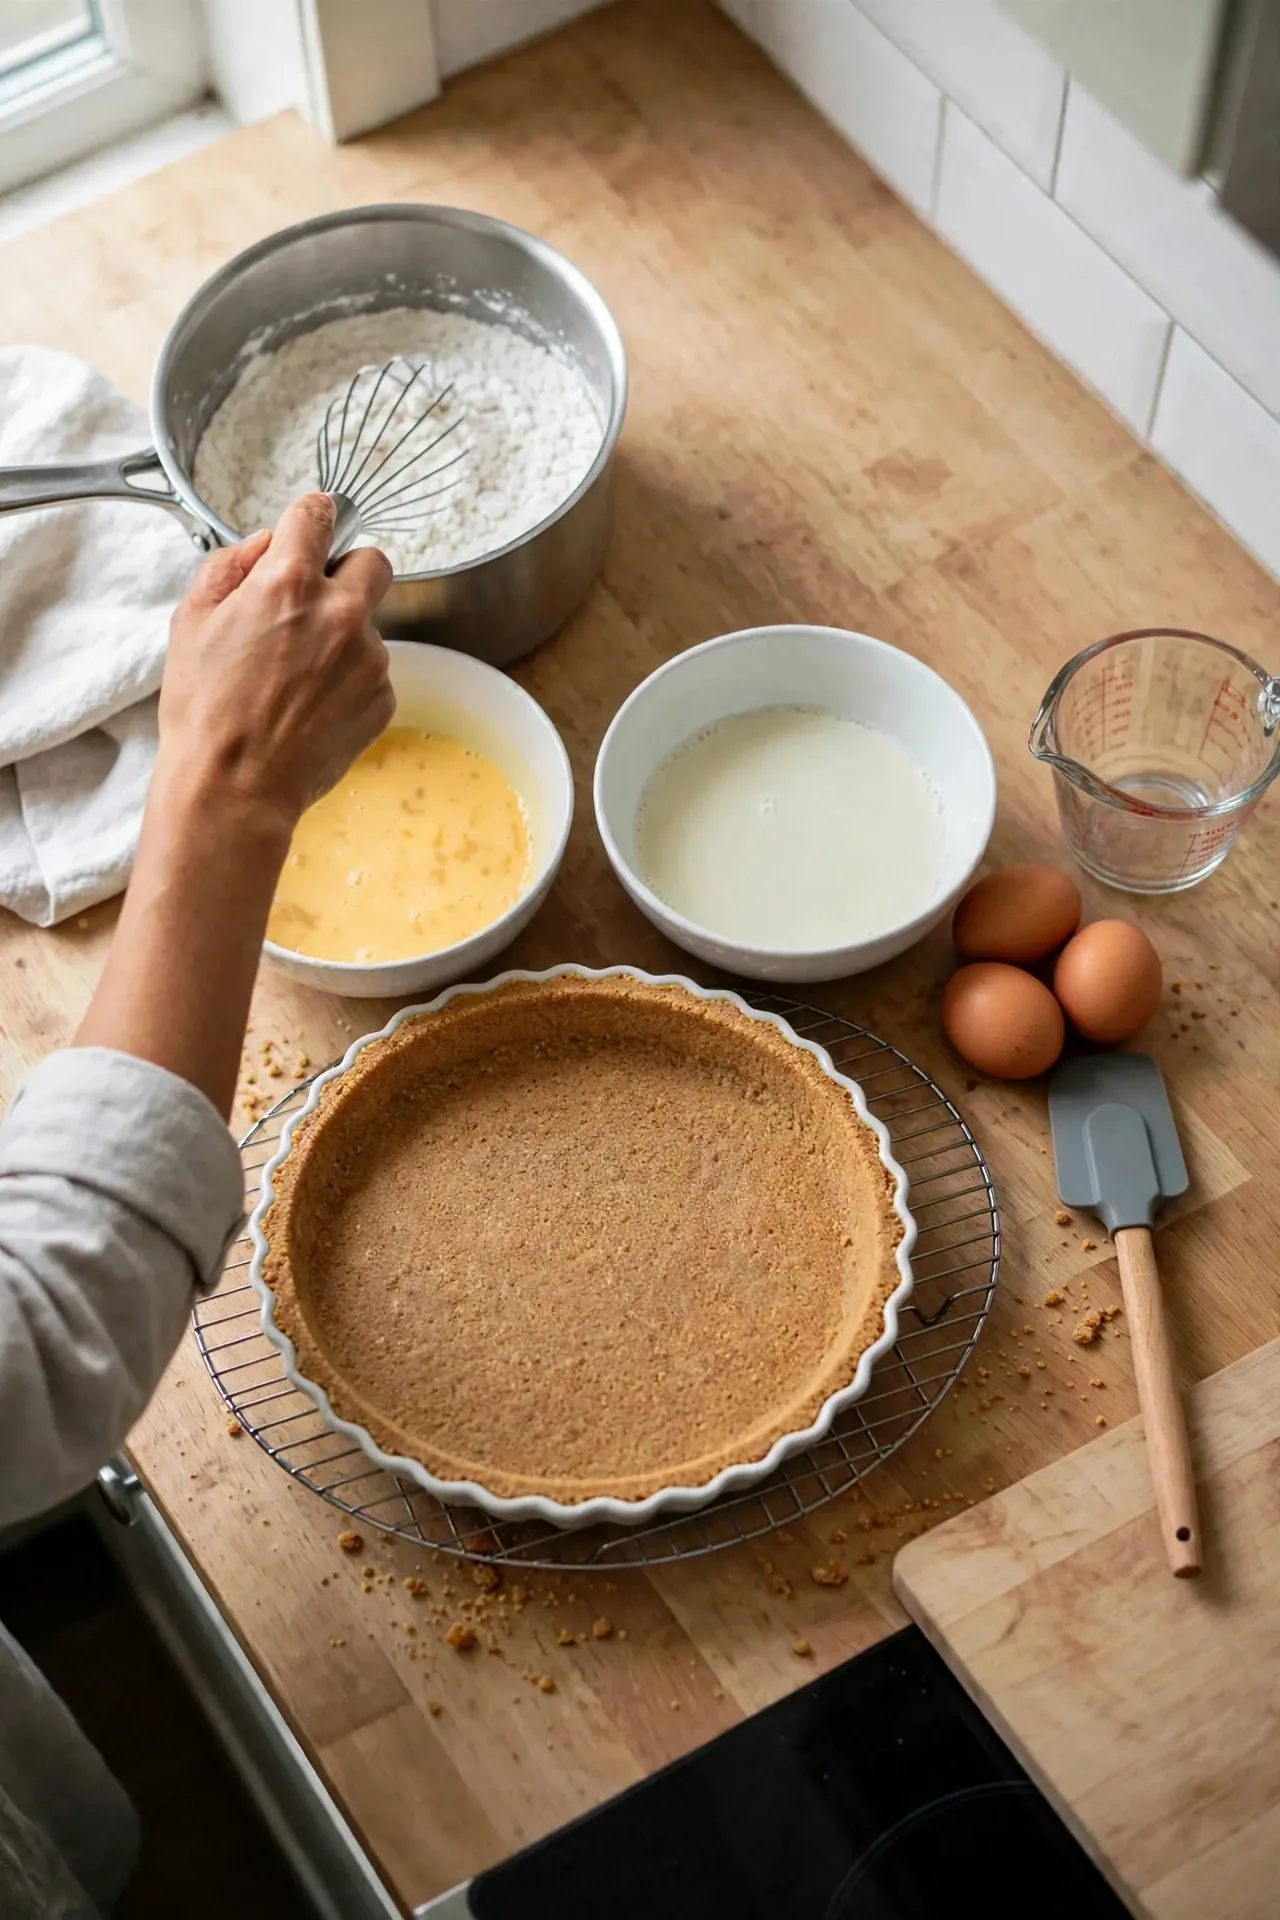
Pour in the 3 cups cold milk gradually while whisking, until no dry streaks or lumps remain.
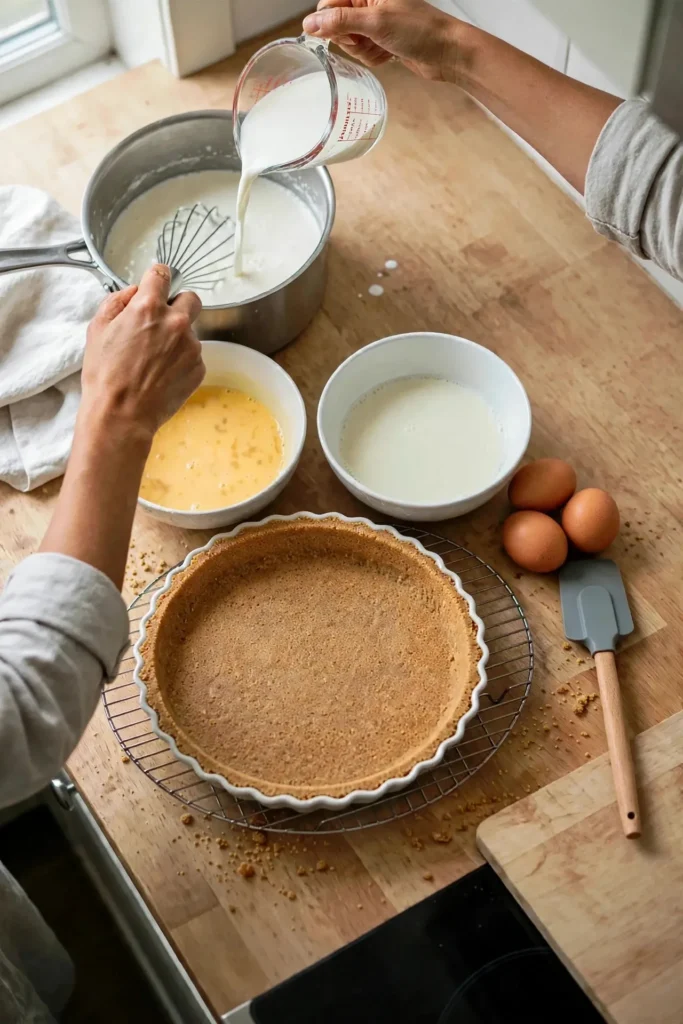
Set the pan over medium heat and whisk constantly, reaching the corners and bottom where the mixture scorches first. The first few minutes look like nothing is happening, then the mixture starts to thicken from the edges inward.
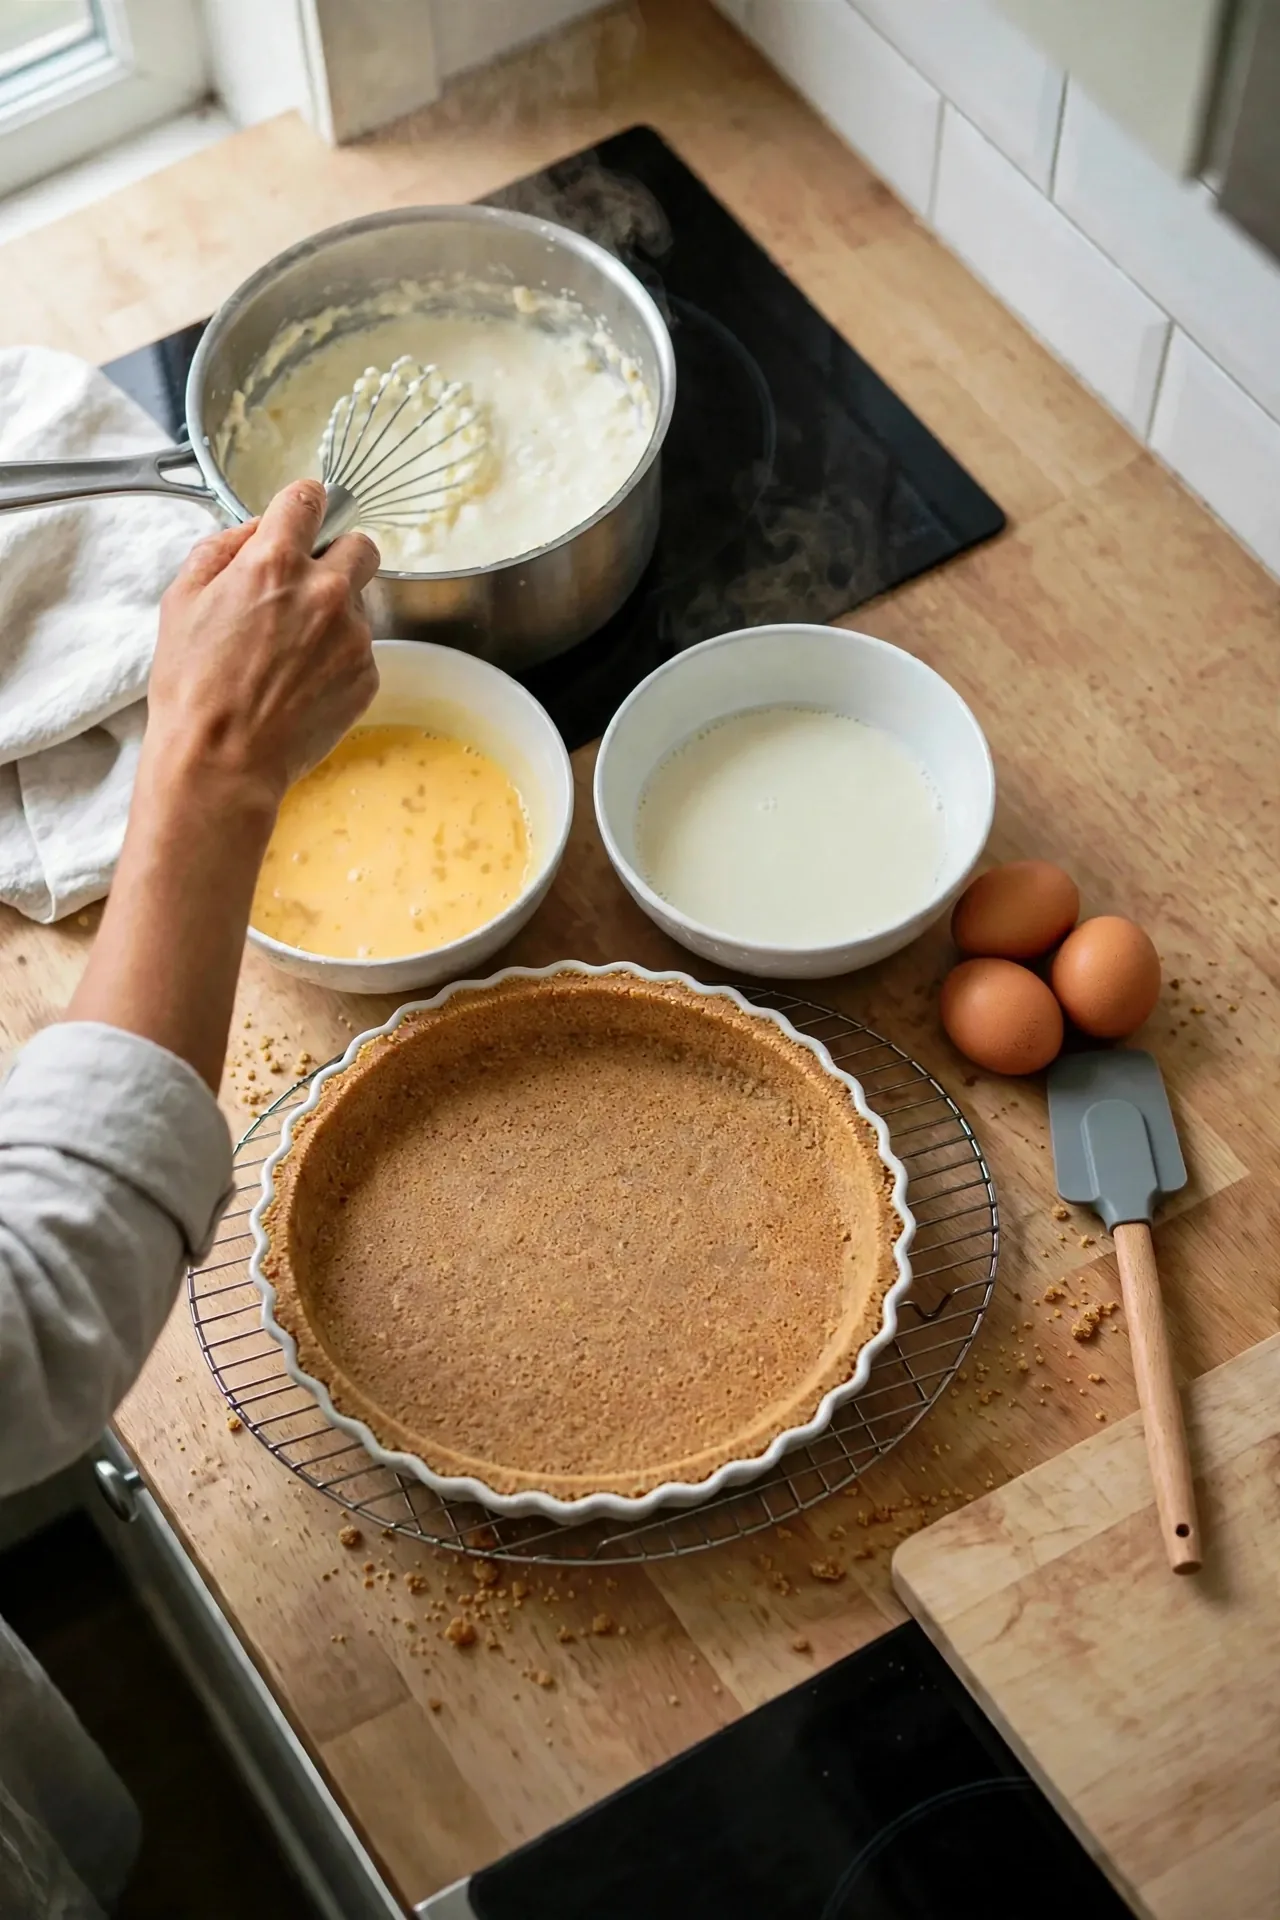
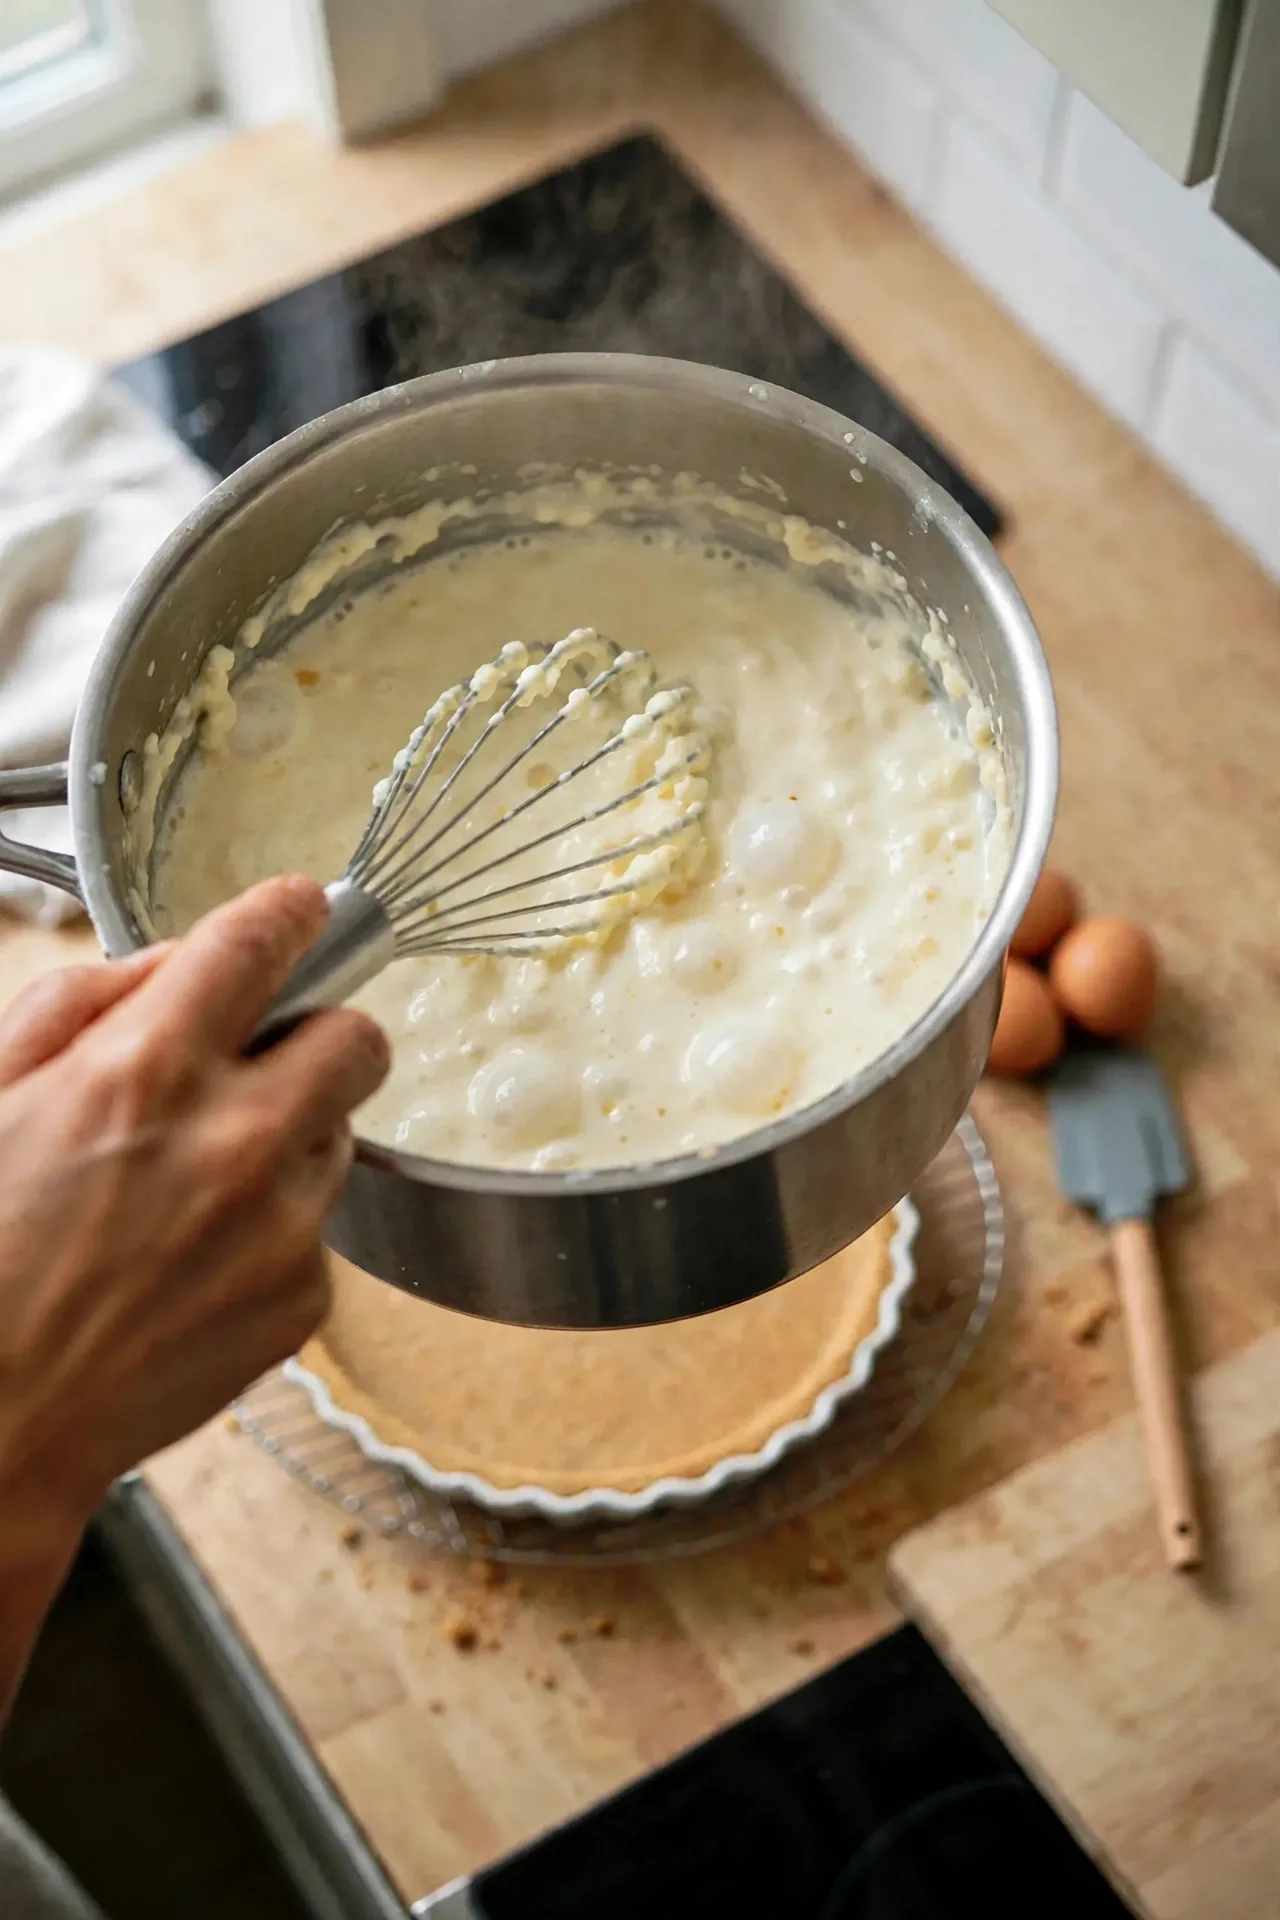
Keep whisking until it turns thick and a few large bubbles slowly break the surface. Timing varies with the pan and burner, but this usually takes somewhere around 6 to 10 minutes. The cue to trust is that the whisk leaves clear trails and the mixture looks like loose pudding.
Don’t Scramble the Yolks
Pouring yolks straight into a hot pan tends to leave bits of cooked egg in the custard. Temper them first: add the hot mixture to the yolks in small amounts, whisking the whole time, so the yolks warm up gradually. If you do see small flecks later, the sieve fix in the troubleshooting section usually rescues it.
Remove the pan from the heat. Ladle about 1 cup of the hot mixture into the yolk bowl a little at a time, whisking the yolks continuously.
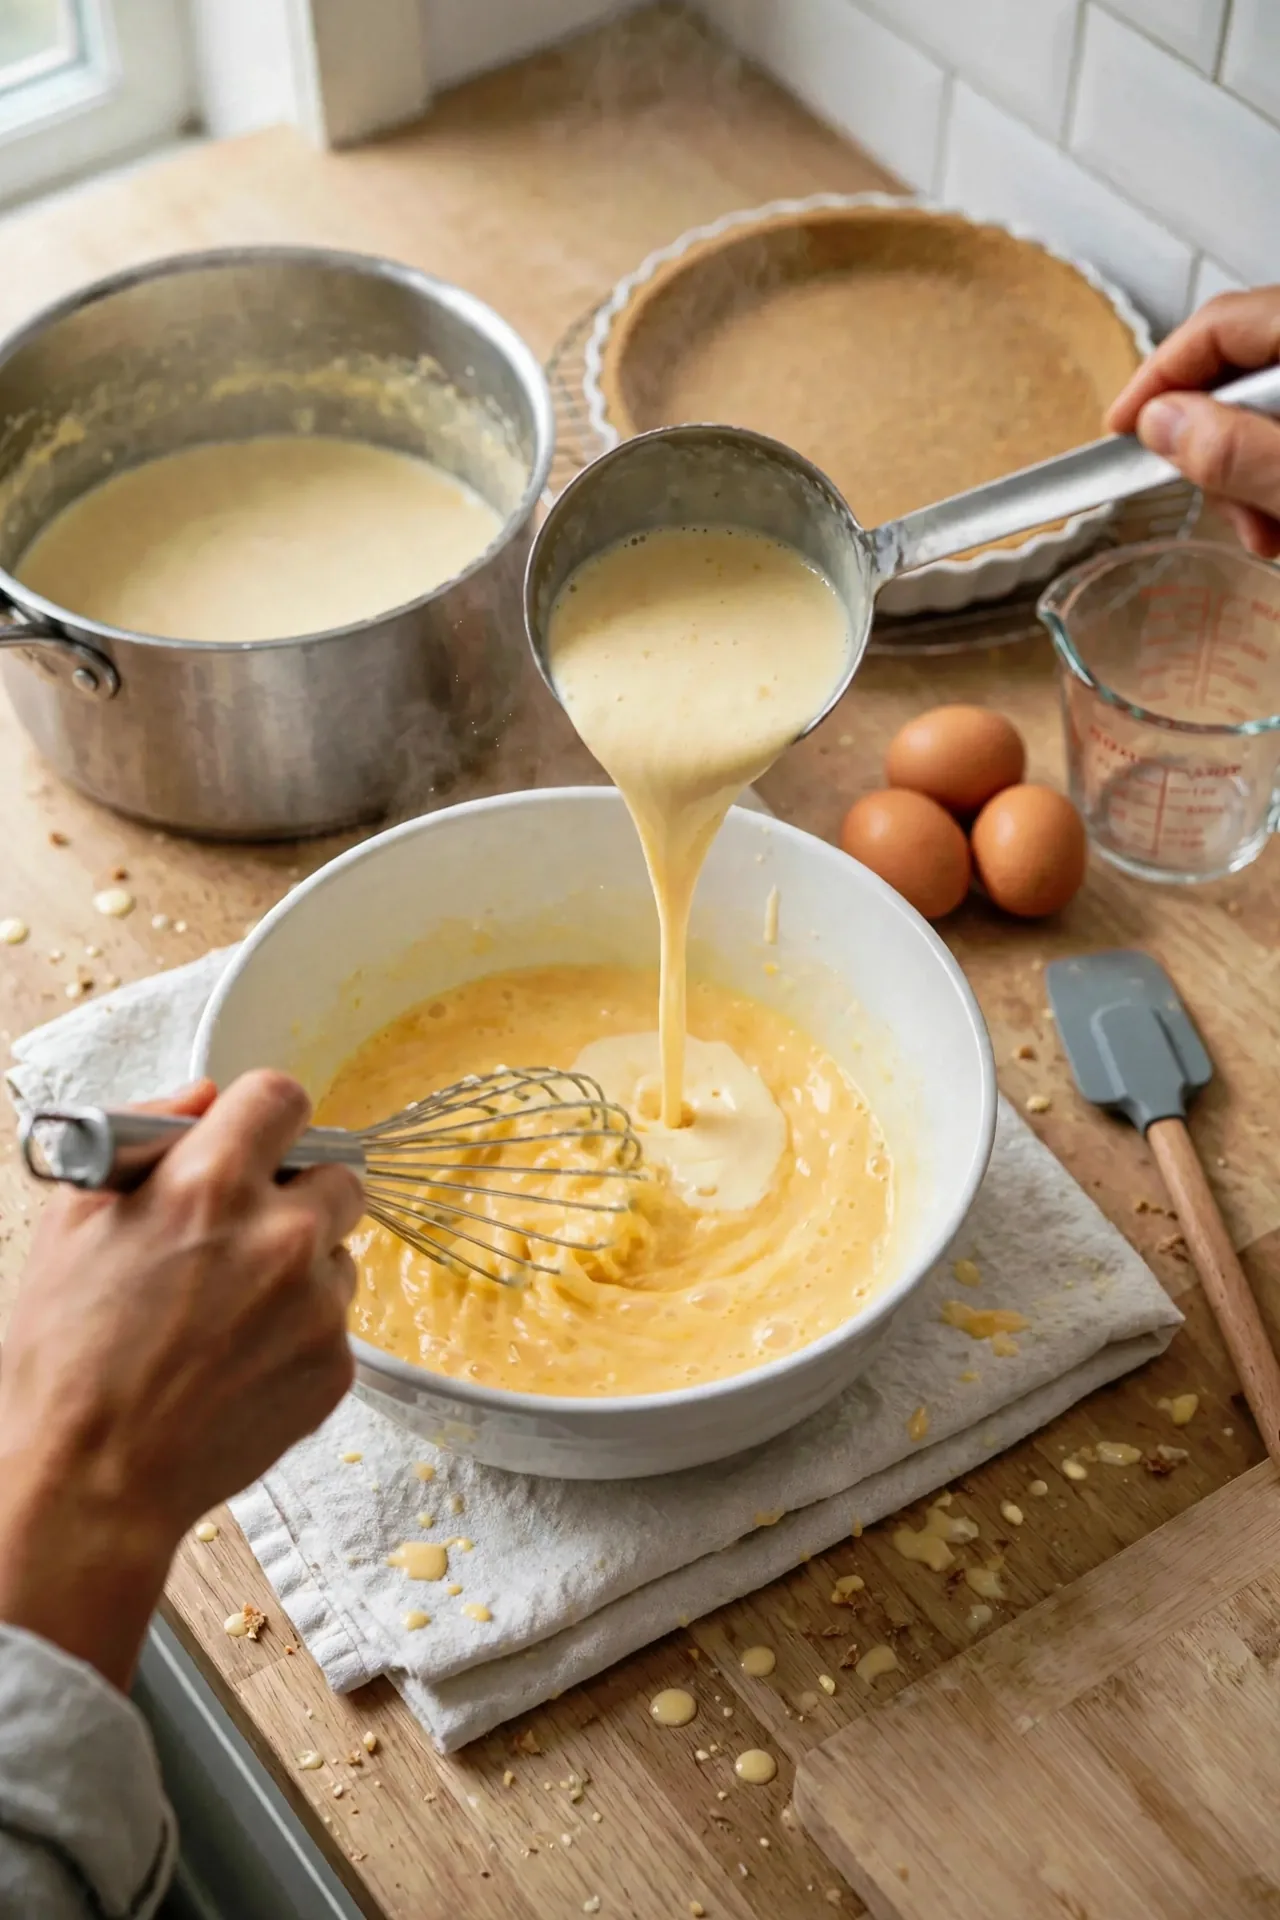
Scrape the warmed yolk mixture back into the saucepan and whisk it in.
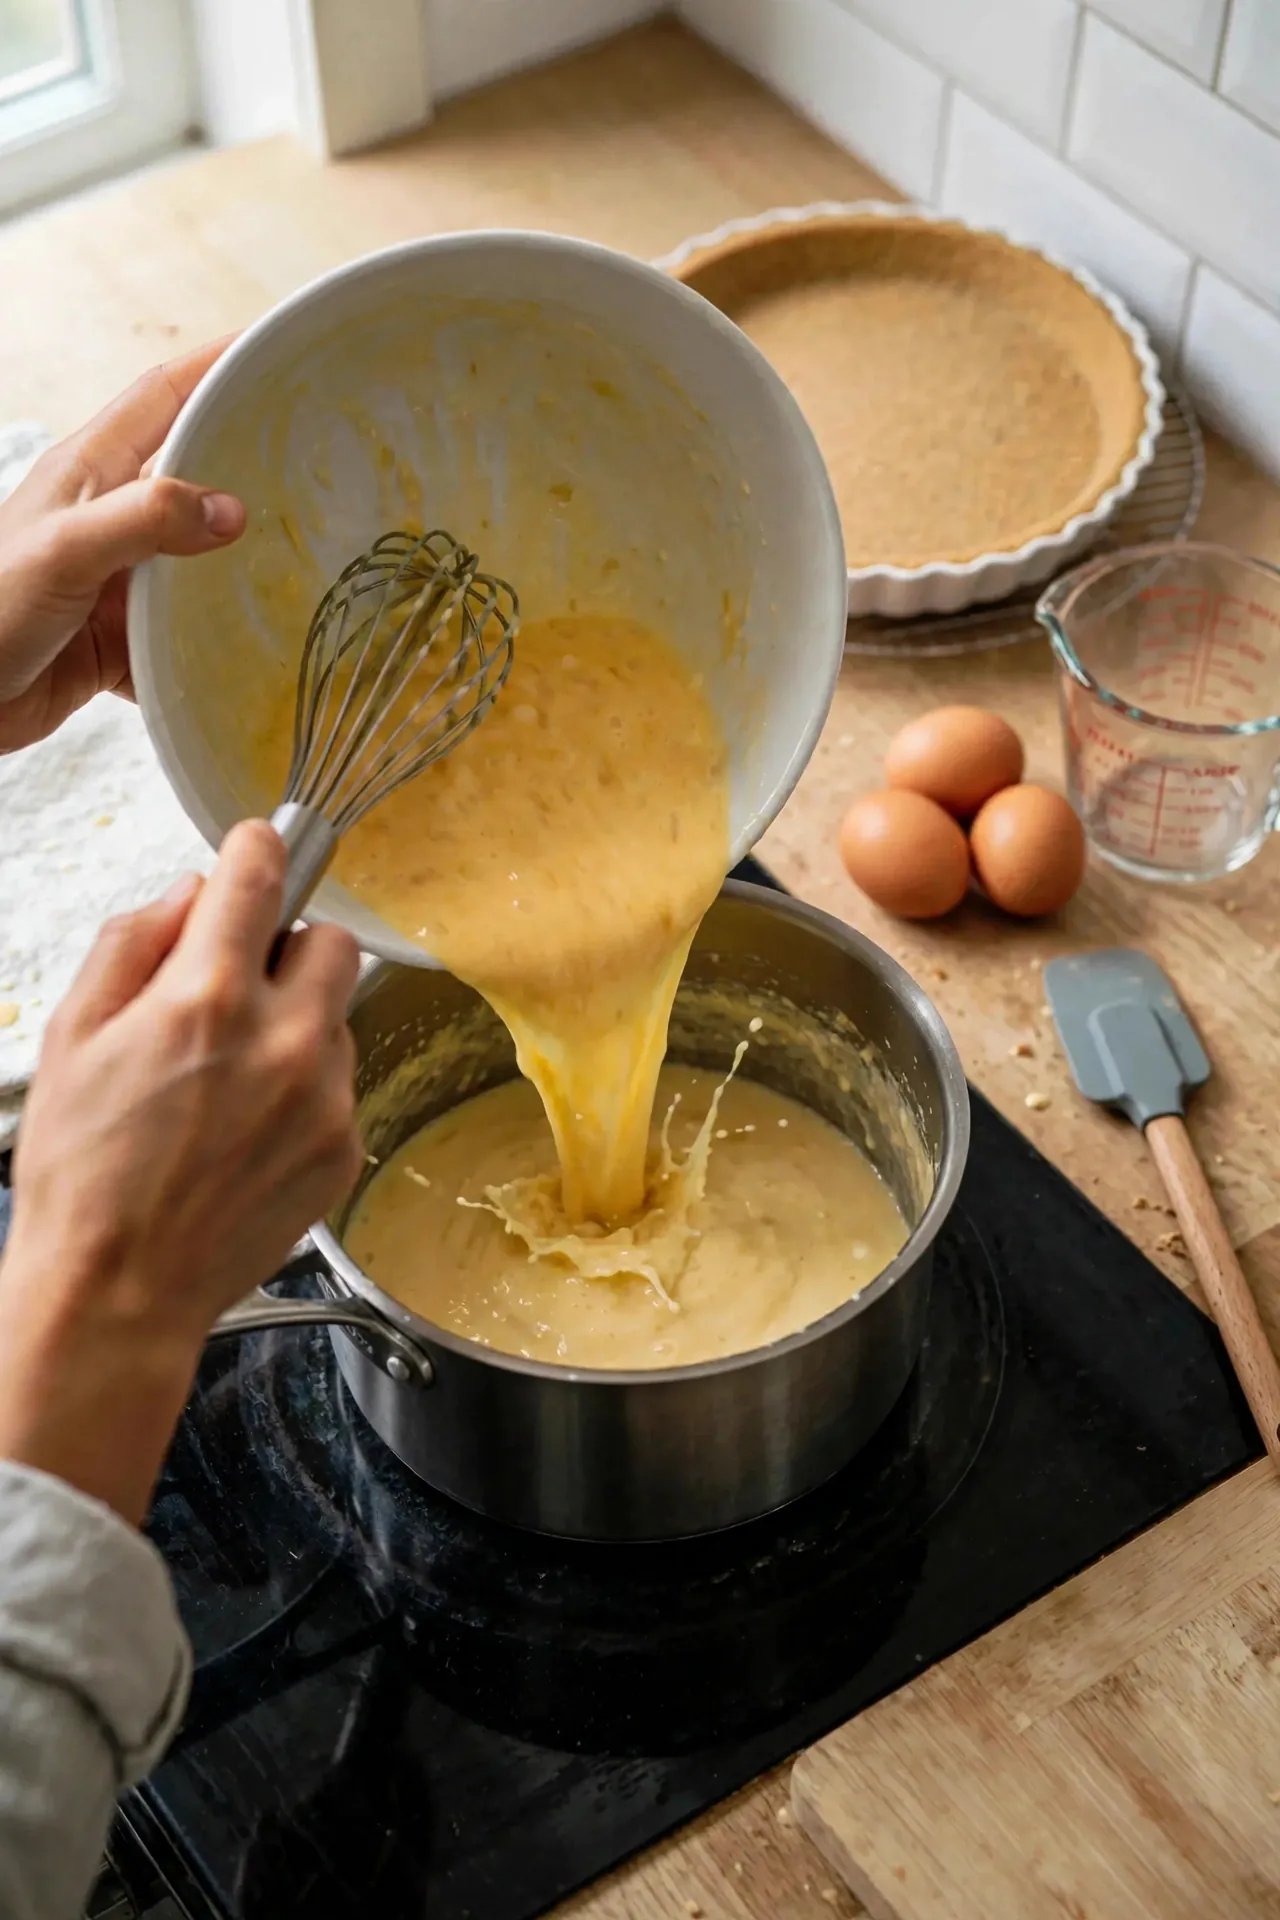
Return the pan to medium heat and cook for about 1 more minute, whisking constantly, until the custard is thick, glossy, and bubbling slowly.
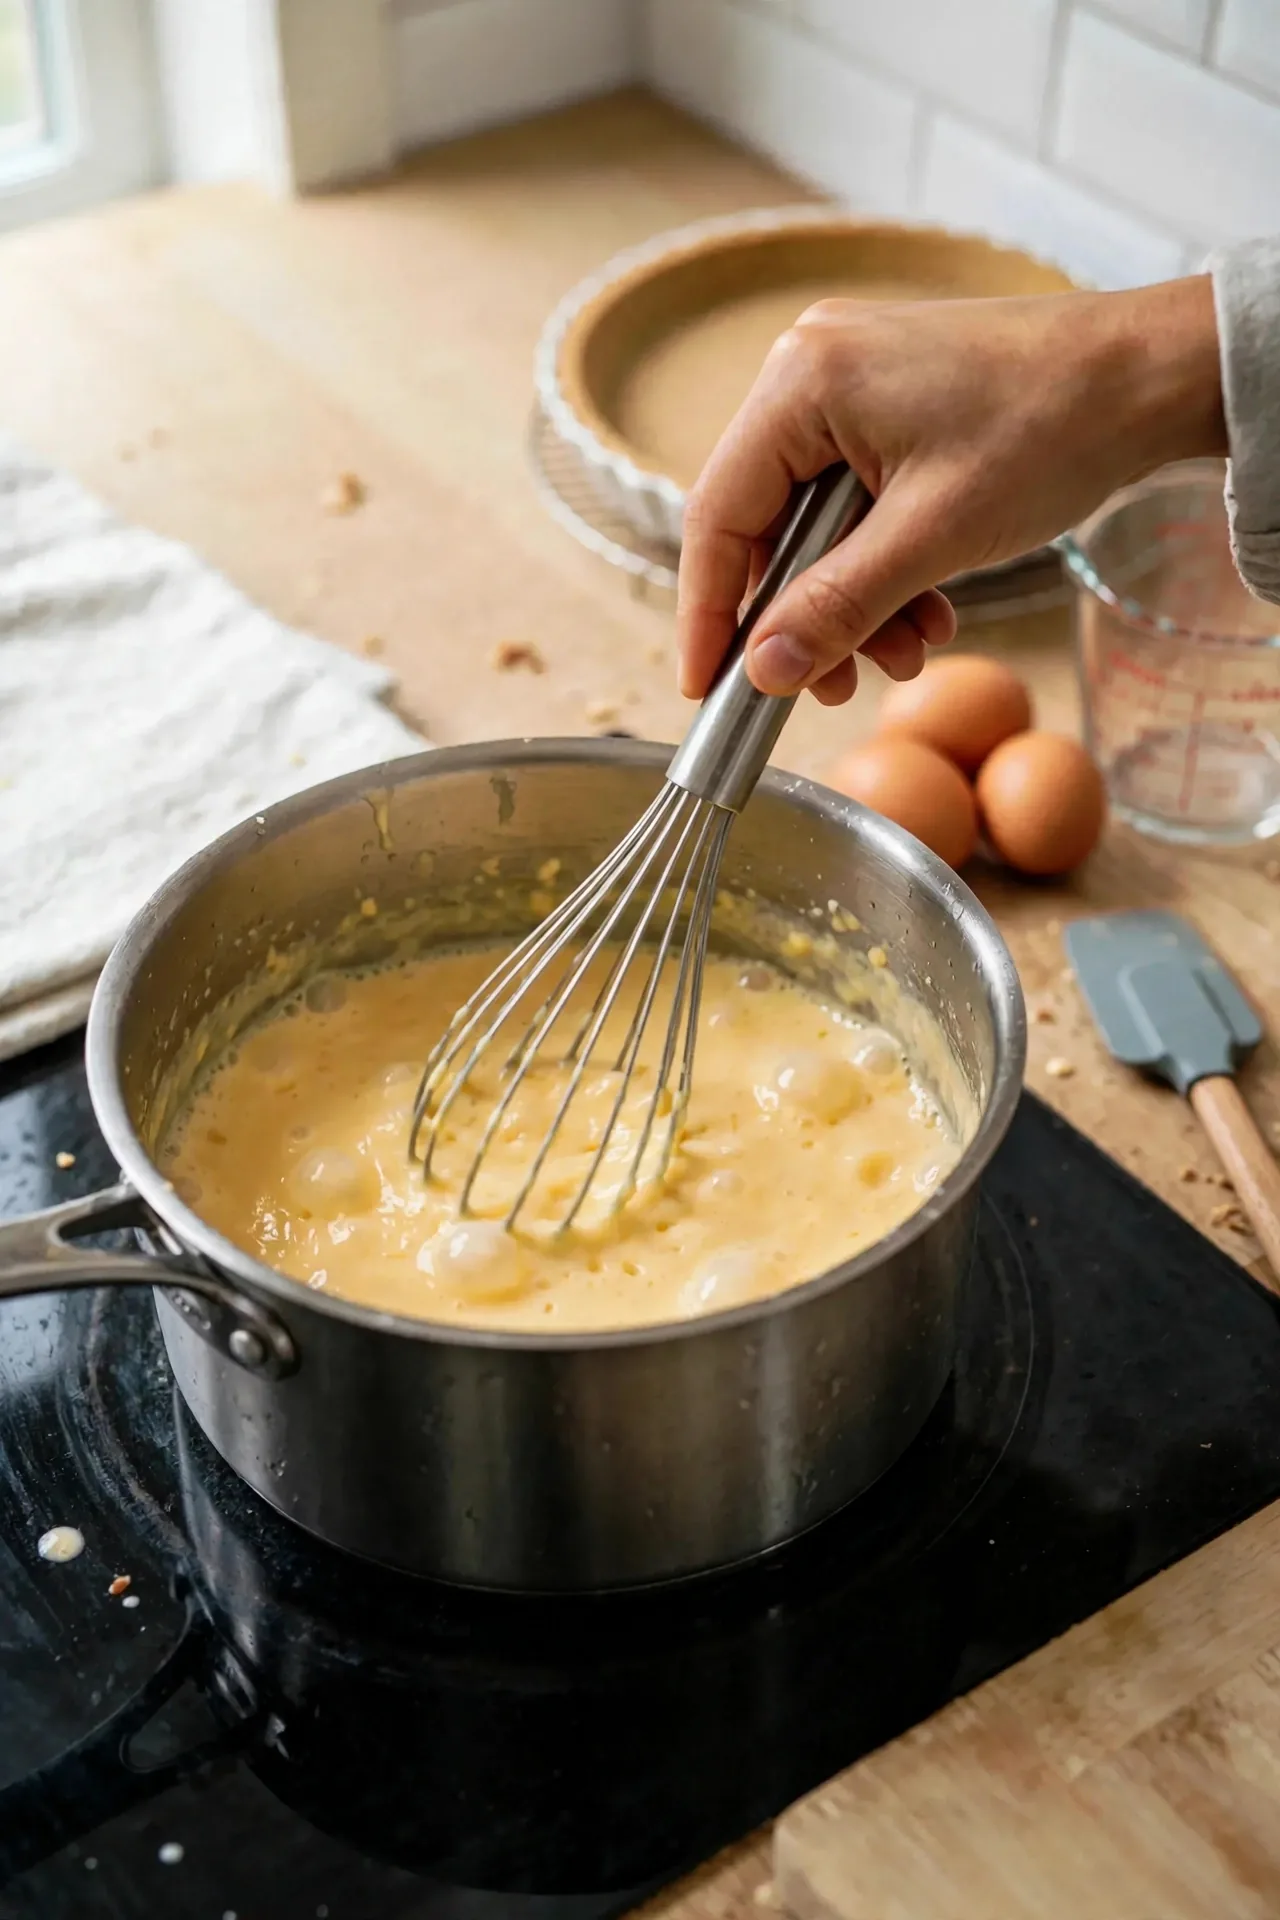
Why the Custard Has to Bubble
Cornstarch reaches its full thickening power only once the mixture has actually bubbled. Pulling the pan too early is the most common reason for a filling that looks fine hot but turns soft and runny after chilling. If the surface is not bubbling yet, keep whisking.
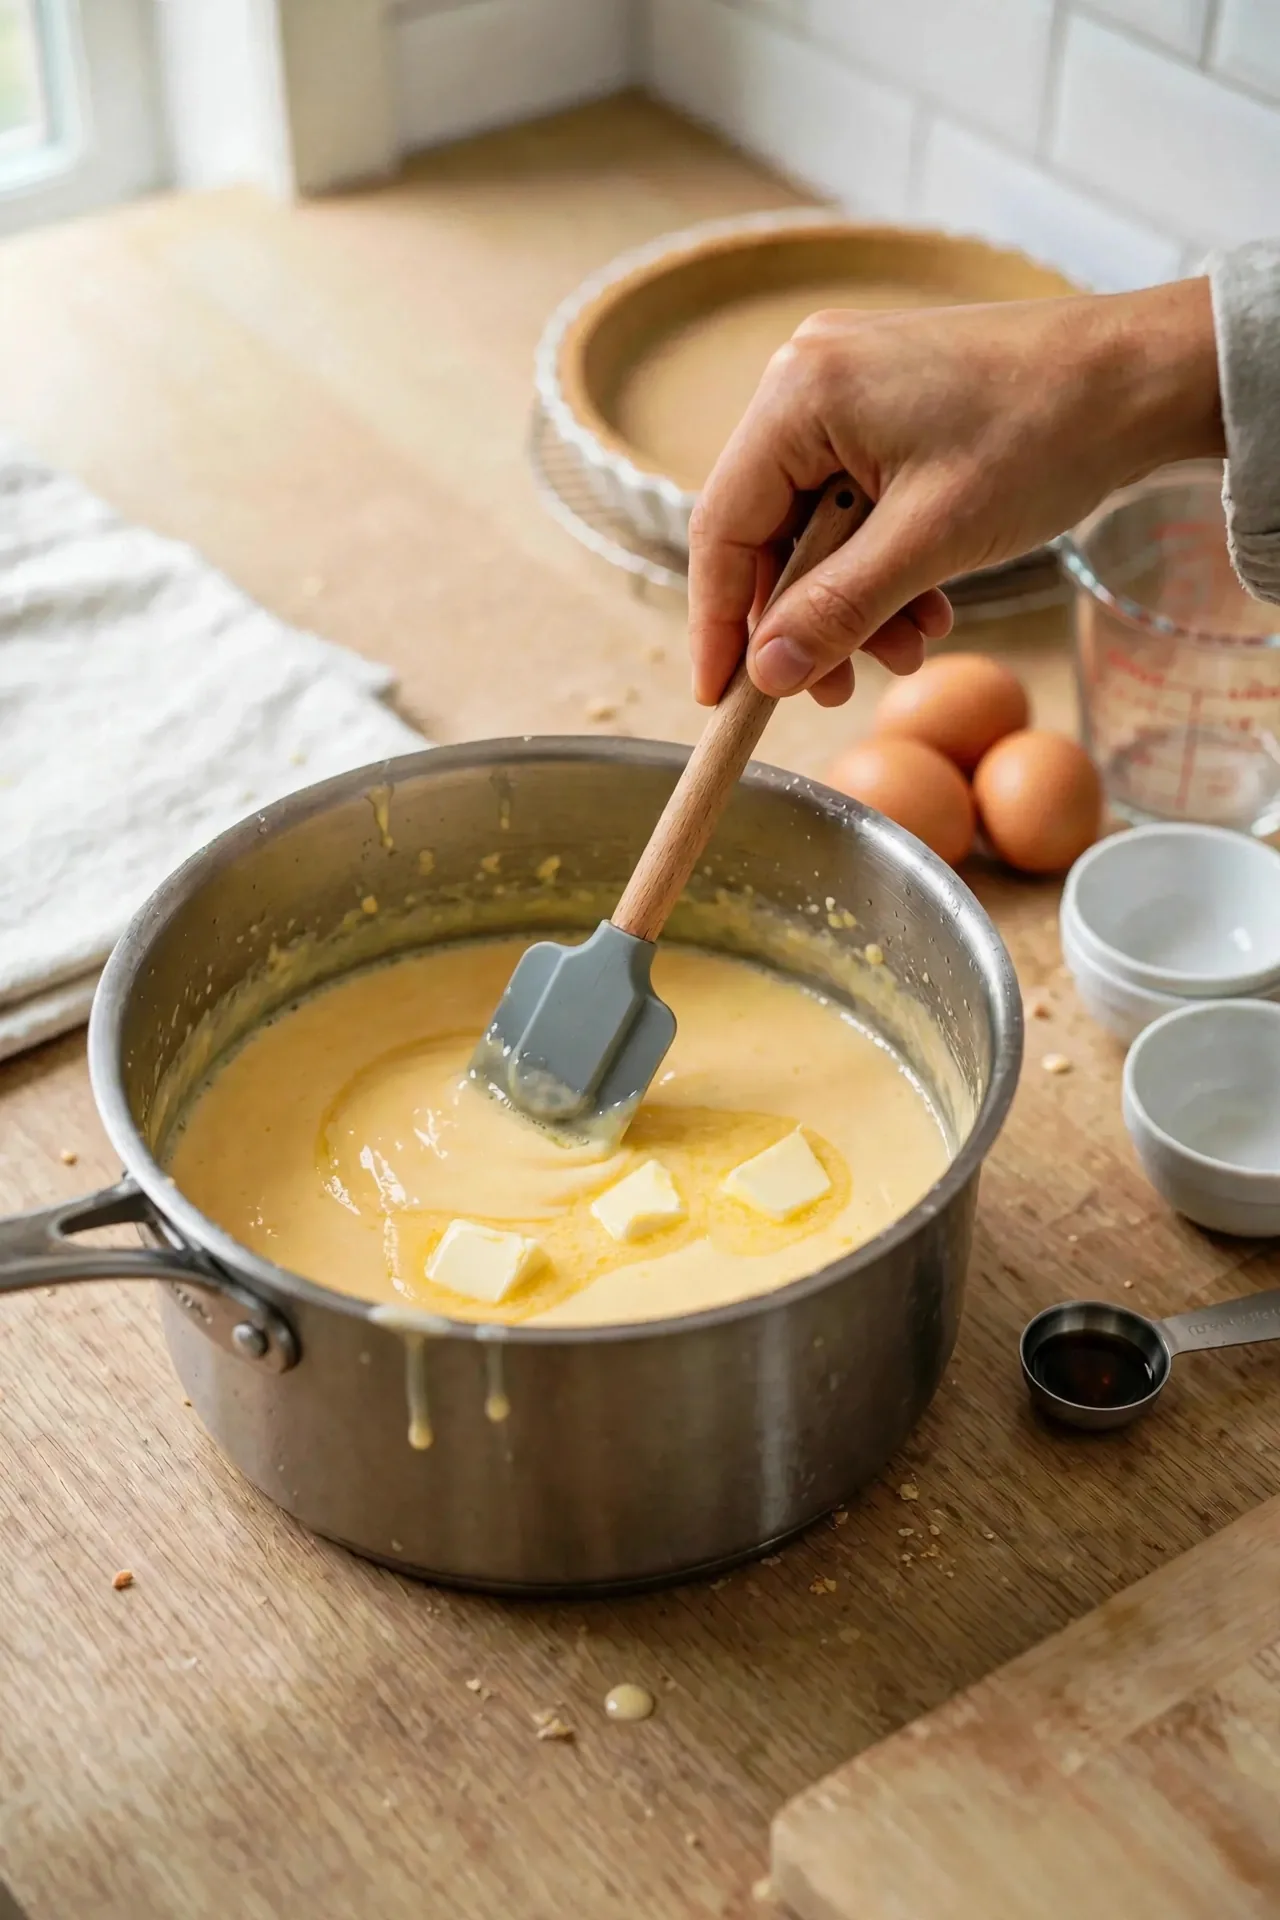
Take the pan off the heat and stir in 2 tablespoons butter and 2 teaspoons vanilla until the butter melts and the custard turns smooth and shiny.
Step 4: Pour the Custard and Chill
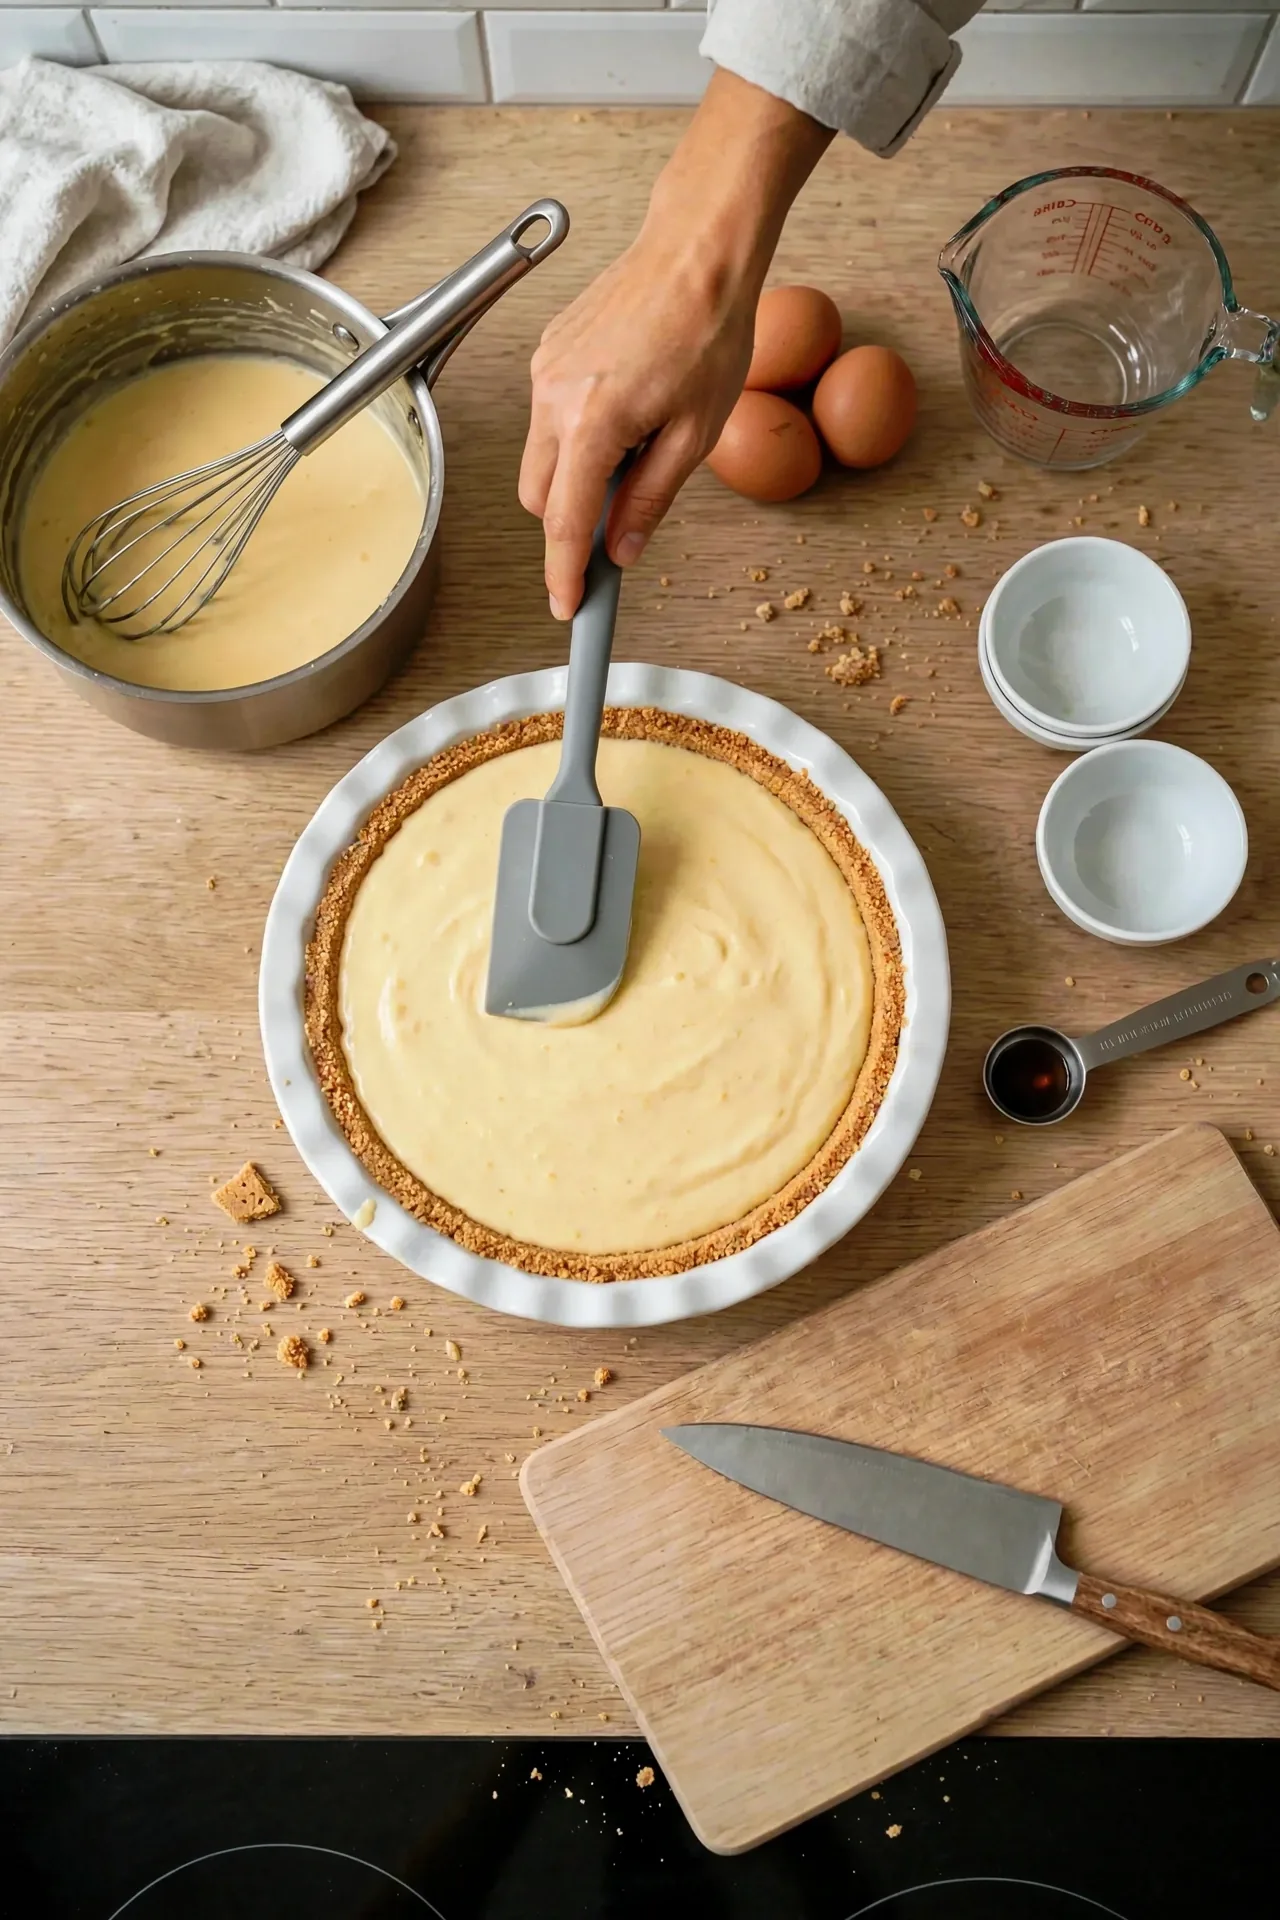
Pour the warm custard over the bananas, spreading it toward the edges as you go so every slice is covered. Pour until the custard reaches the rim of the crust. If your plate is shallow and a little custard is left over, spoon it into a small bowl instead of forcing it in.
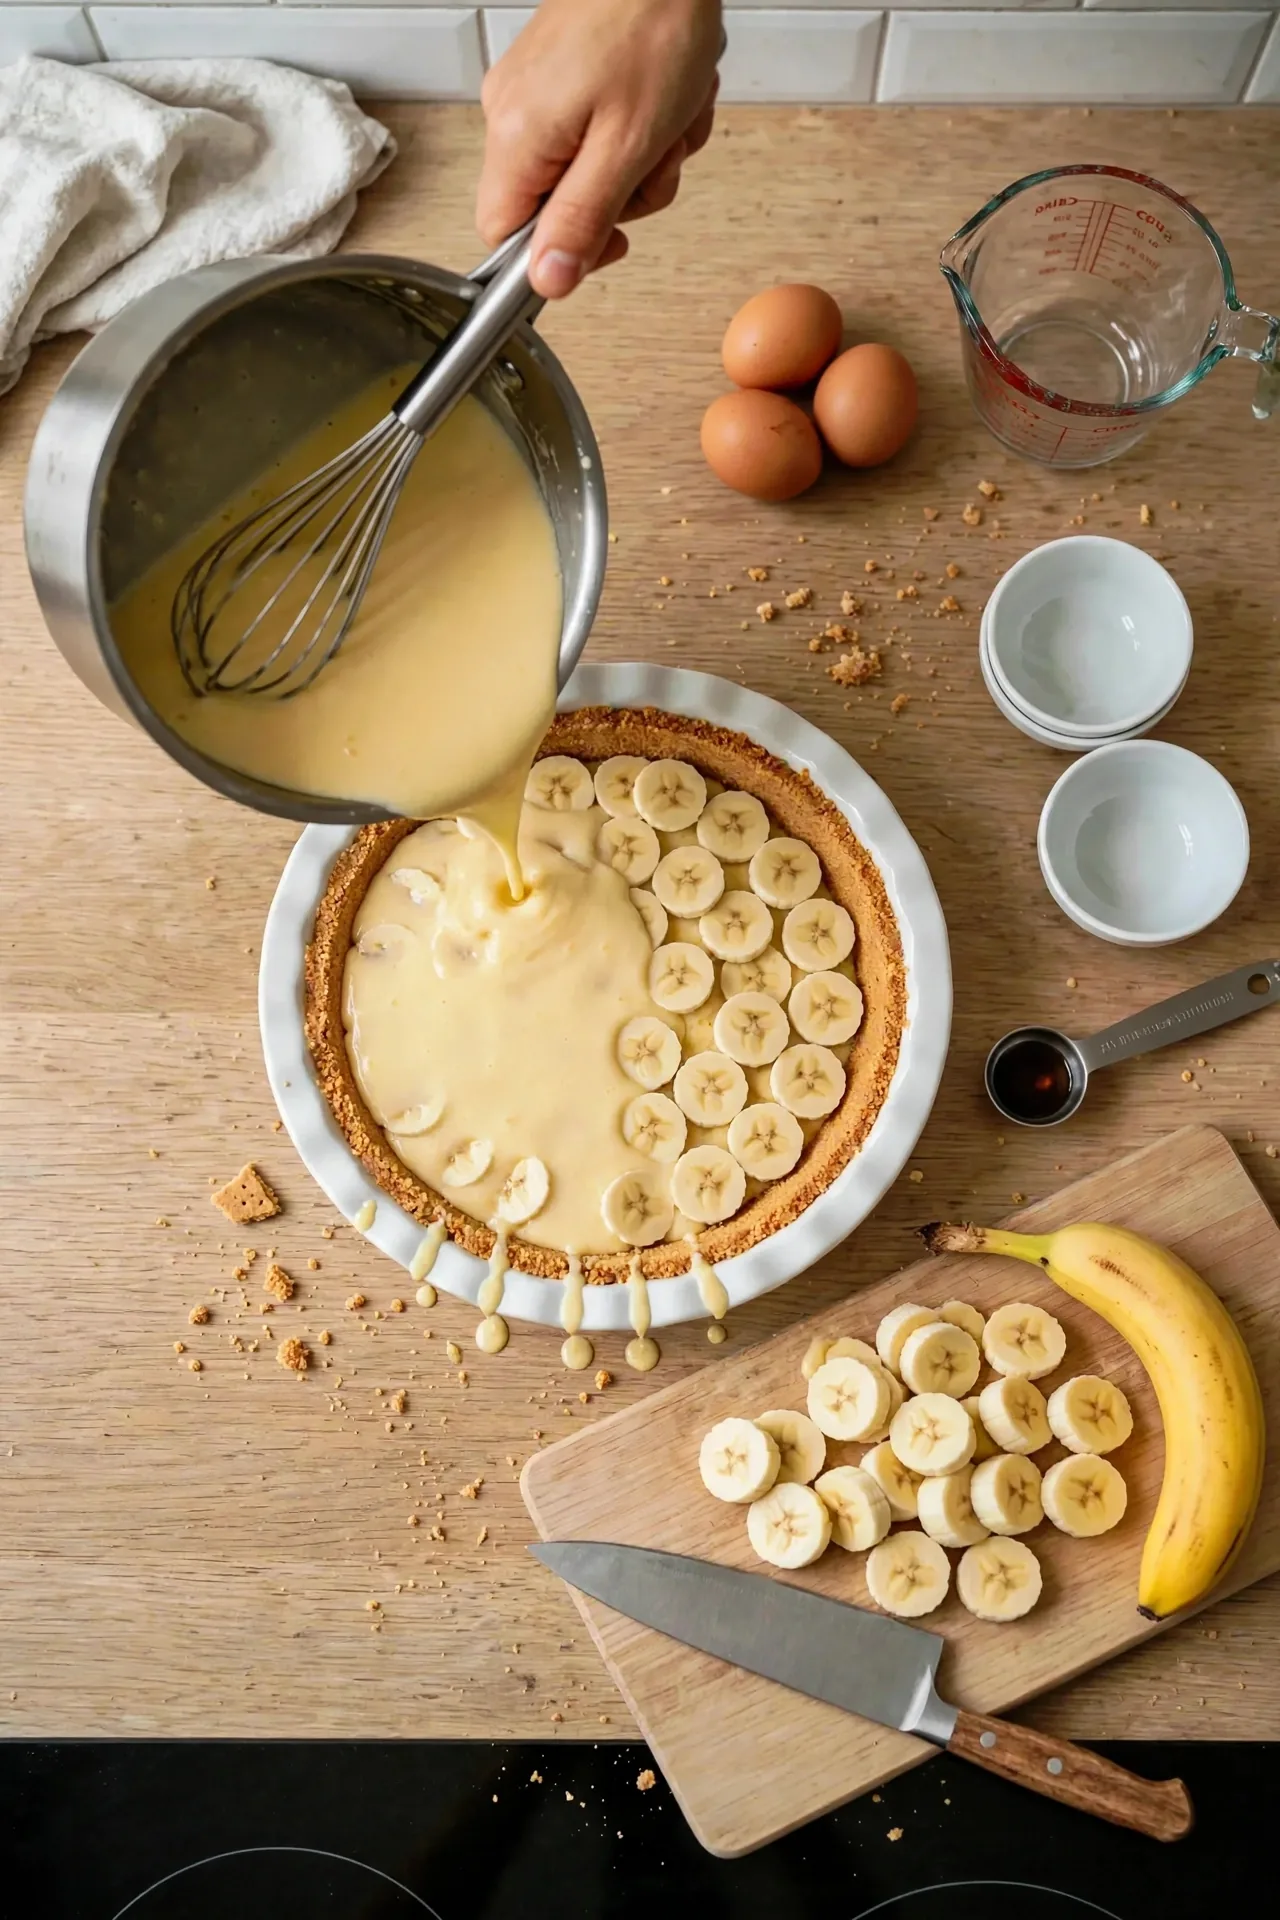
Smooth the top with a spatula until it is level and no banana peeks through.
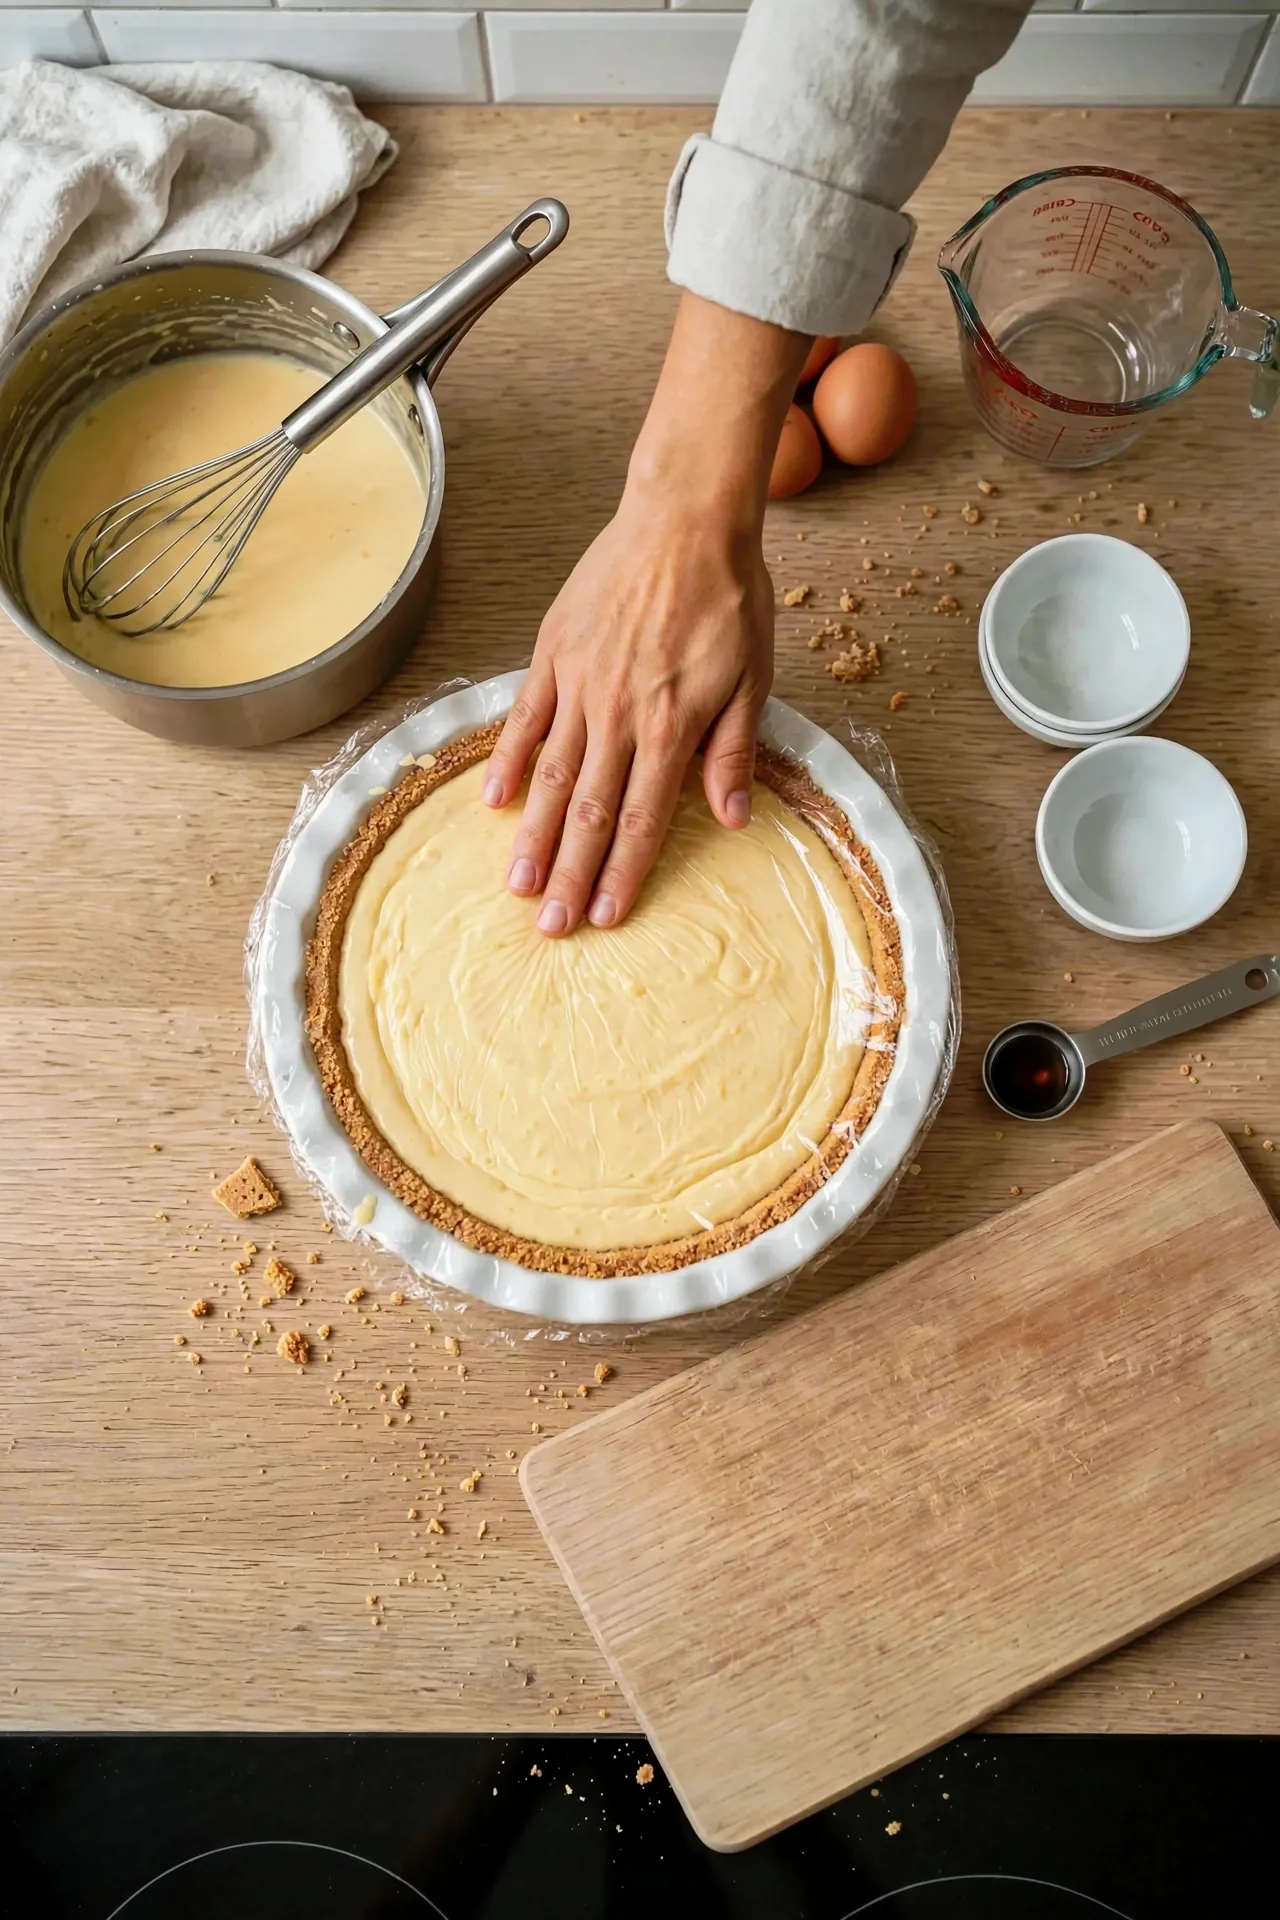
Press plastic wrap directly onto the surface of the custard. Plastic stretched across the rim leaves an air gap, and that gap is where the skin forms.
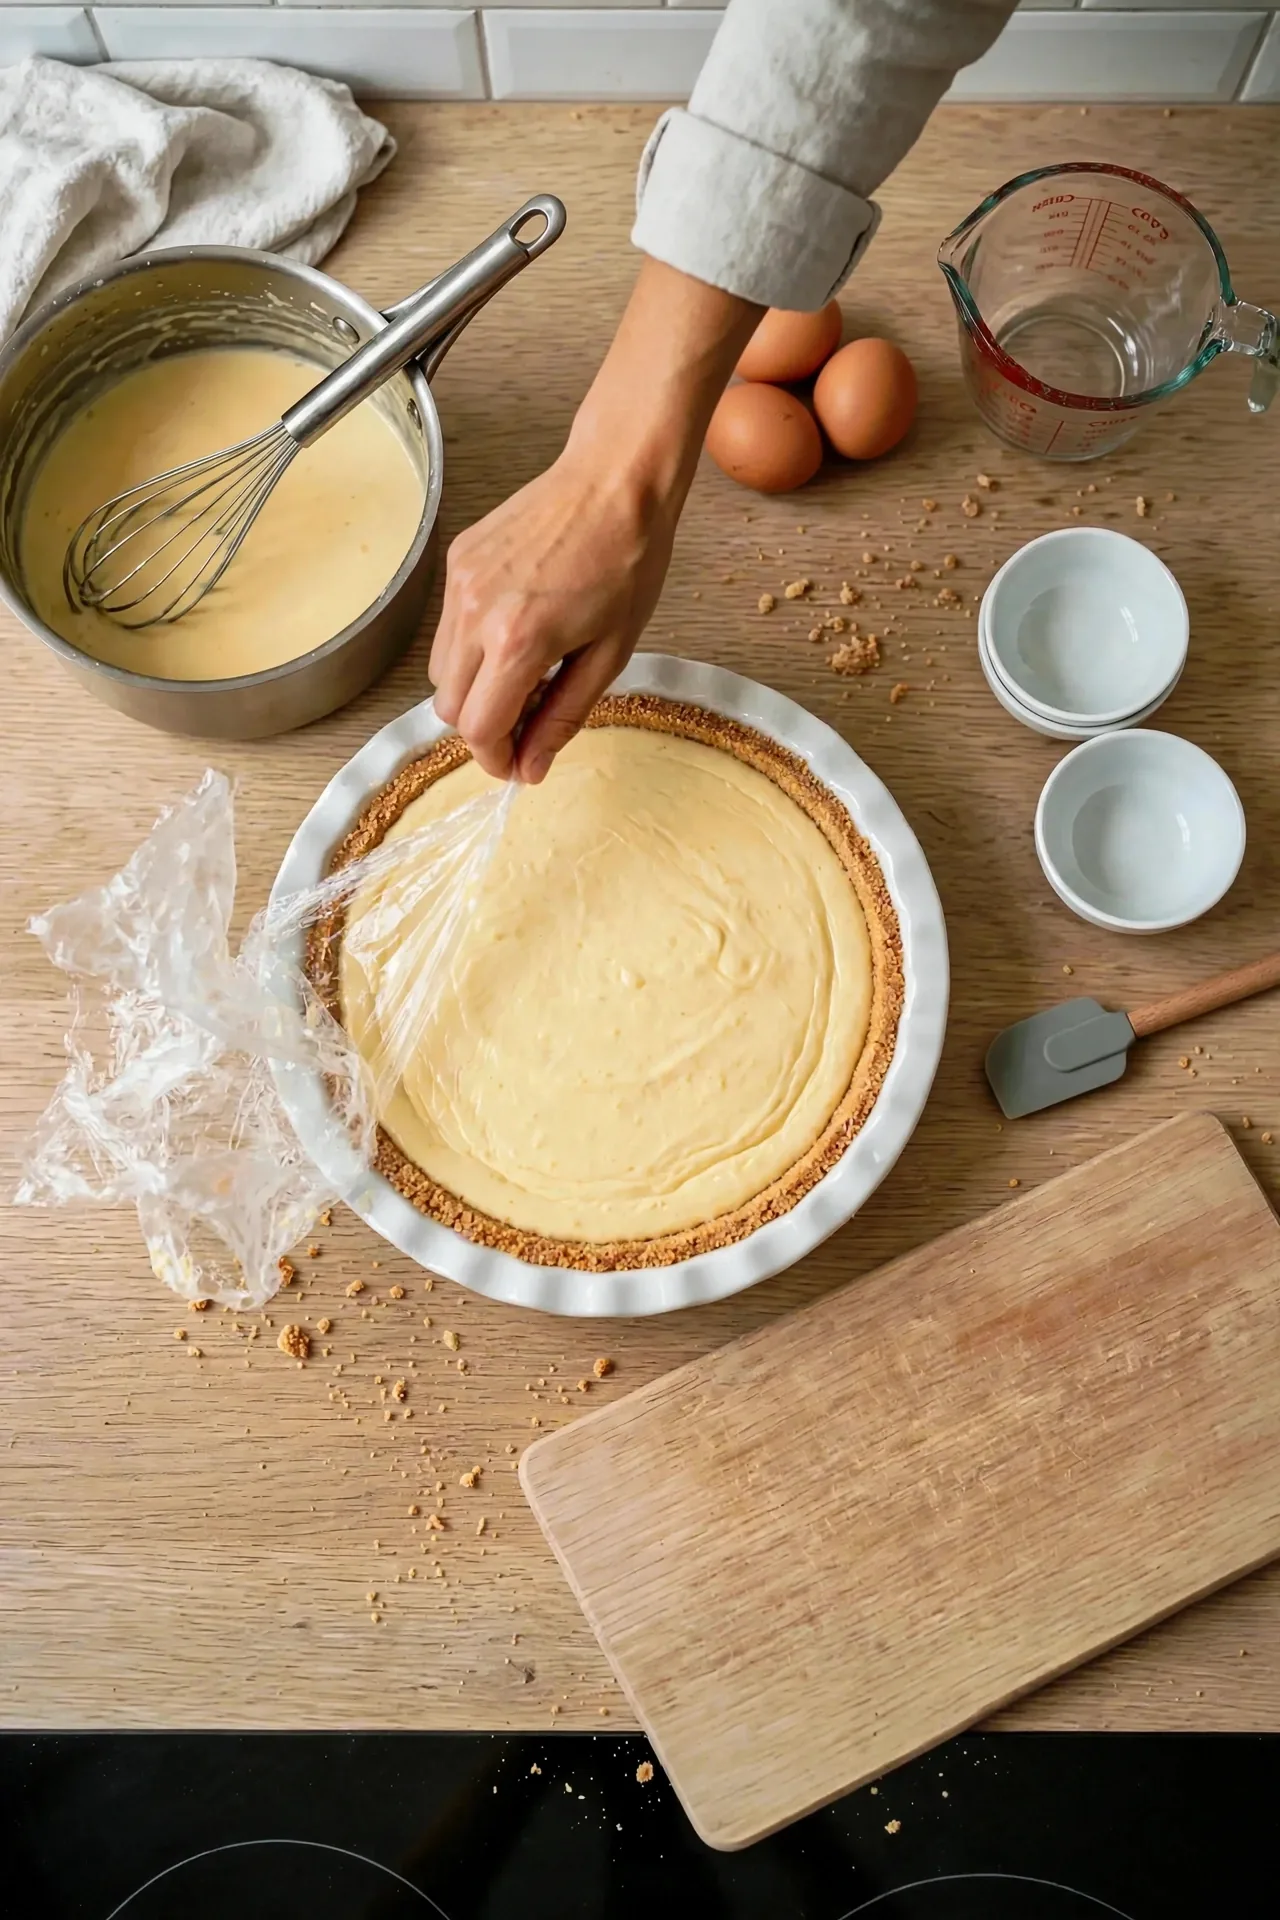
Refrigerate for at least 4 hours, until the filling is fully set and cold. When you peel the wrap back, the surface should look smooth and matte, with no wet patches.
Step 5: Whip the Cream and Finish the Pie
Whip the cream shortly before serving, because it holds its shape best when freshly made. Cold cream in a cold bowl whips faster and higher, so chill the bowl for 10 minutes first if the kitchen is warm.
Combine 1 cup cold heavy cream, 2 tablespoons powdered sugar, and 1 teaspoon vanilla in the bowl.
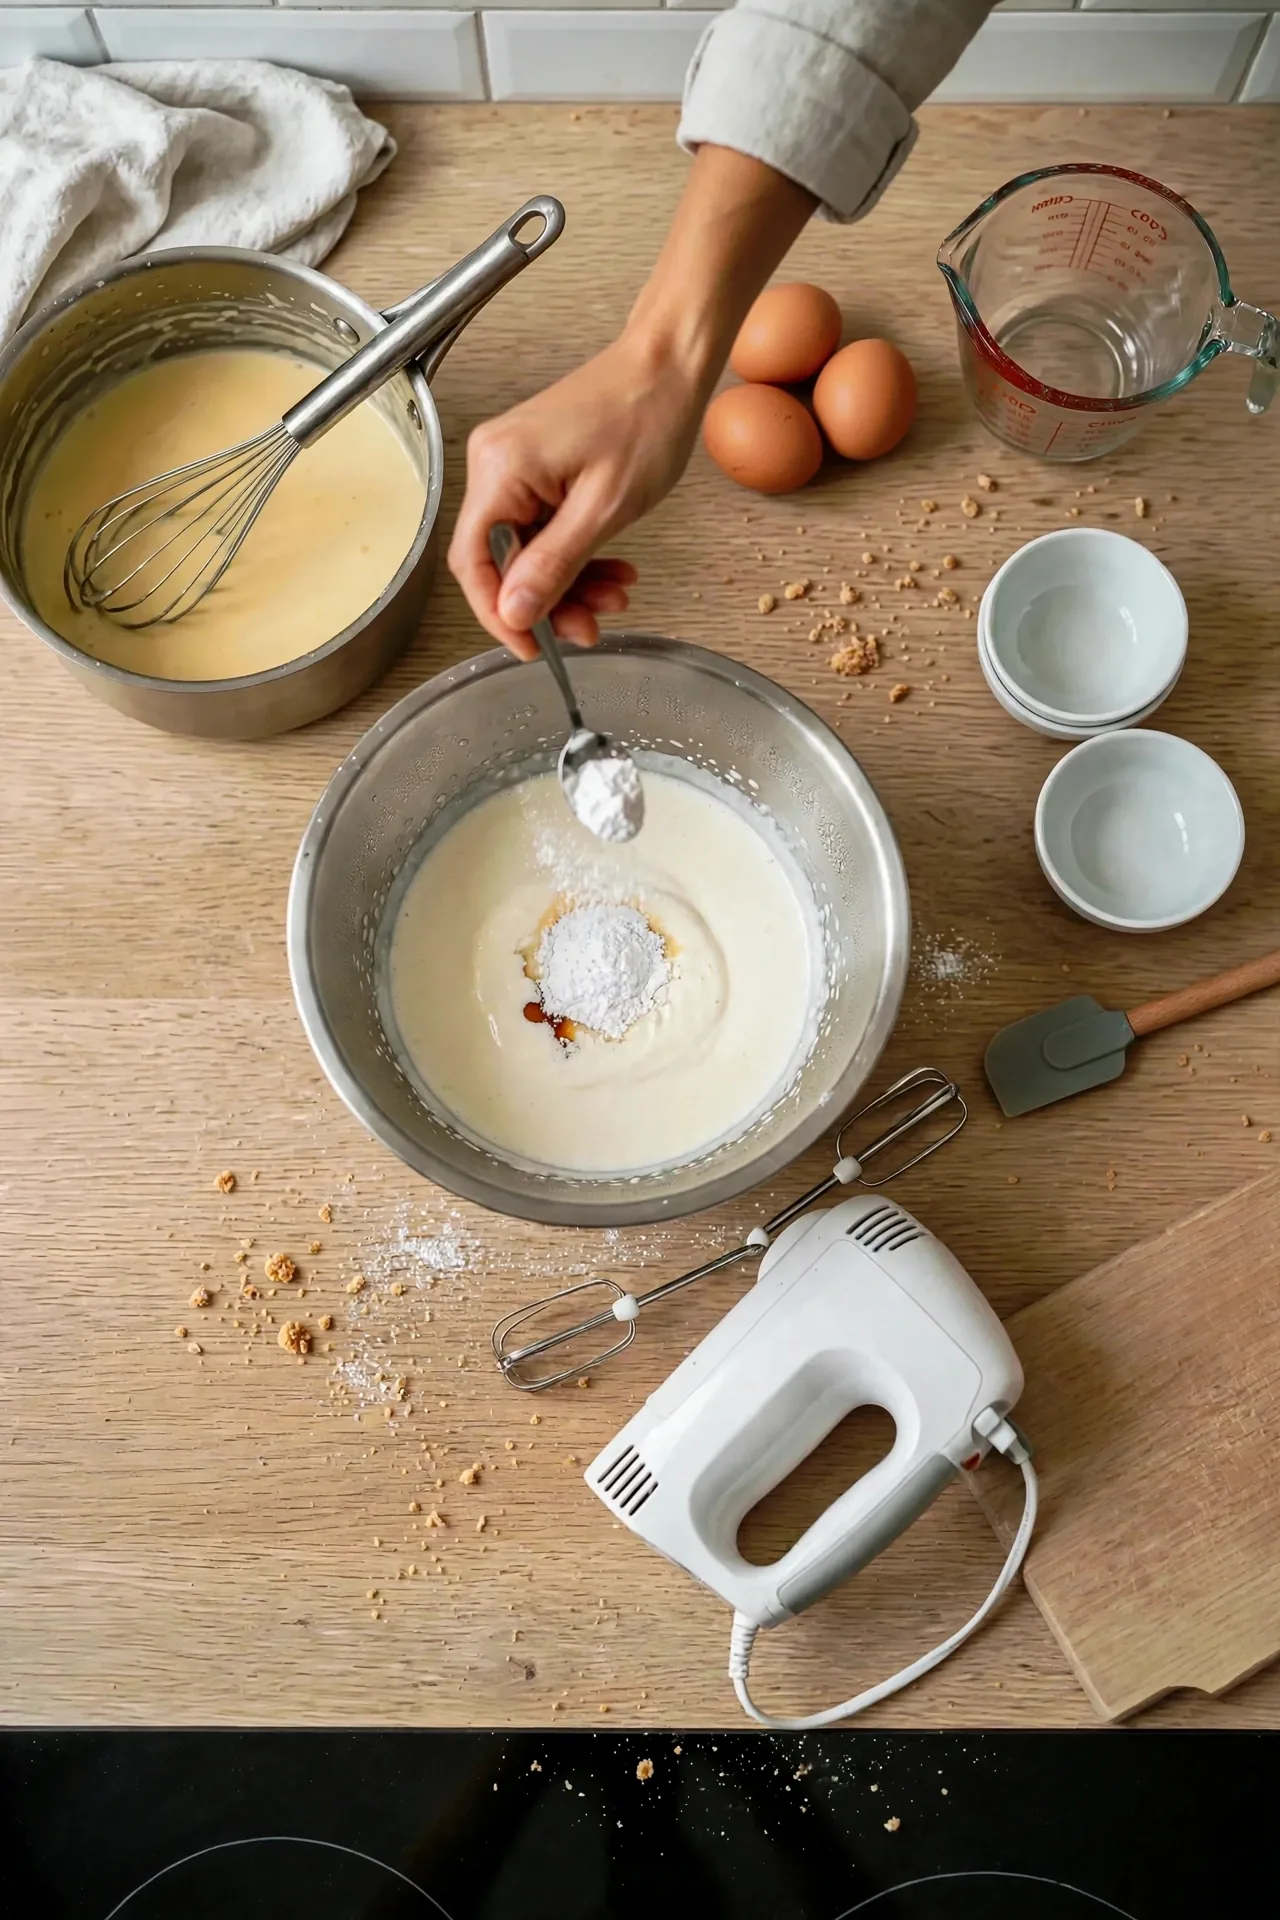
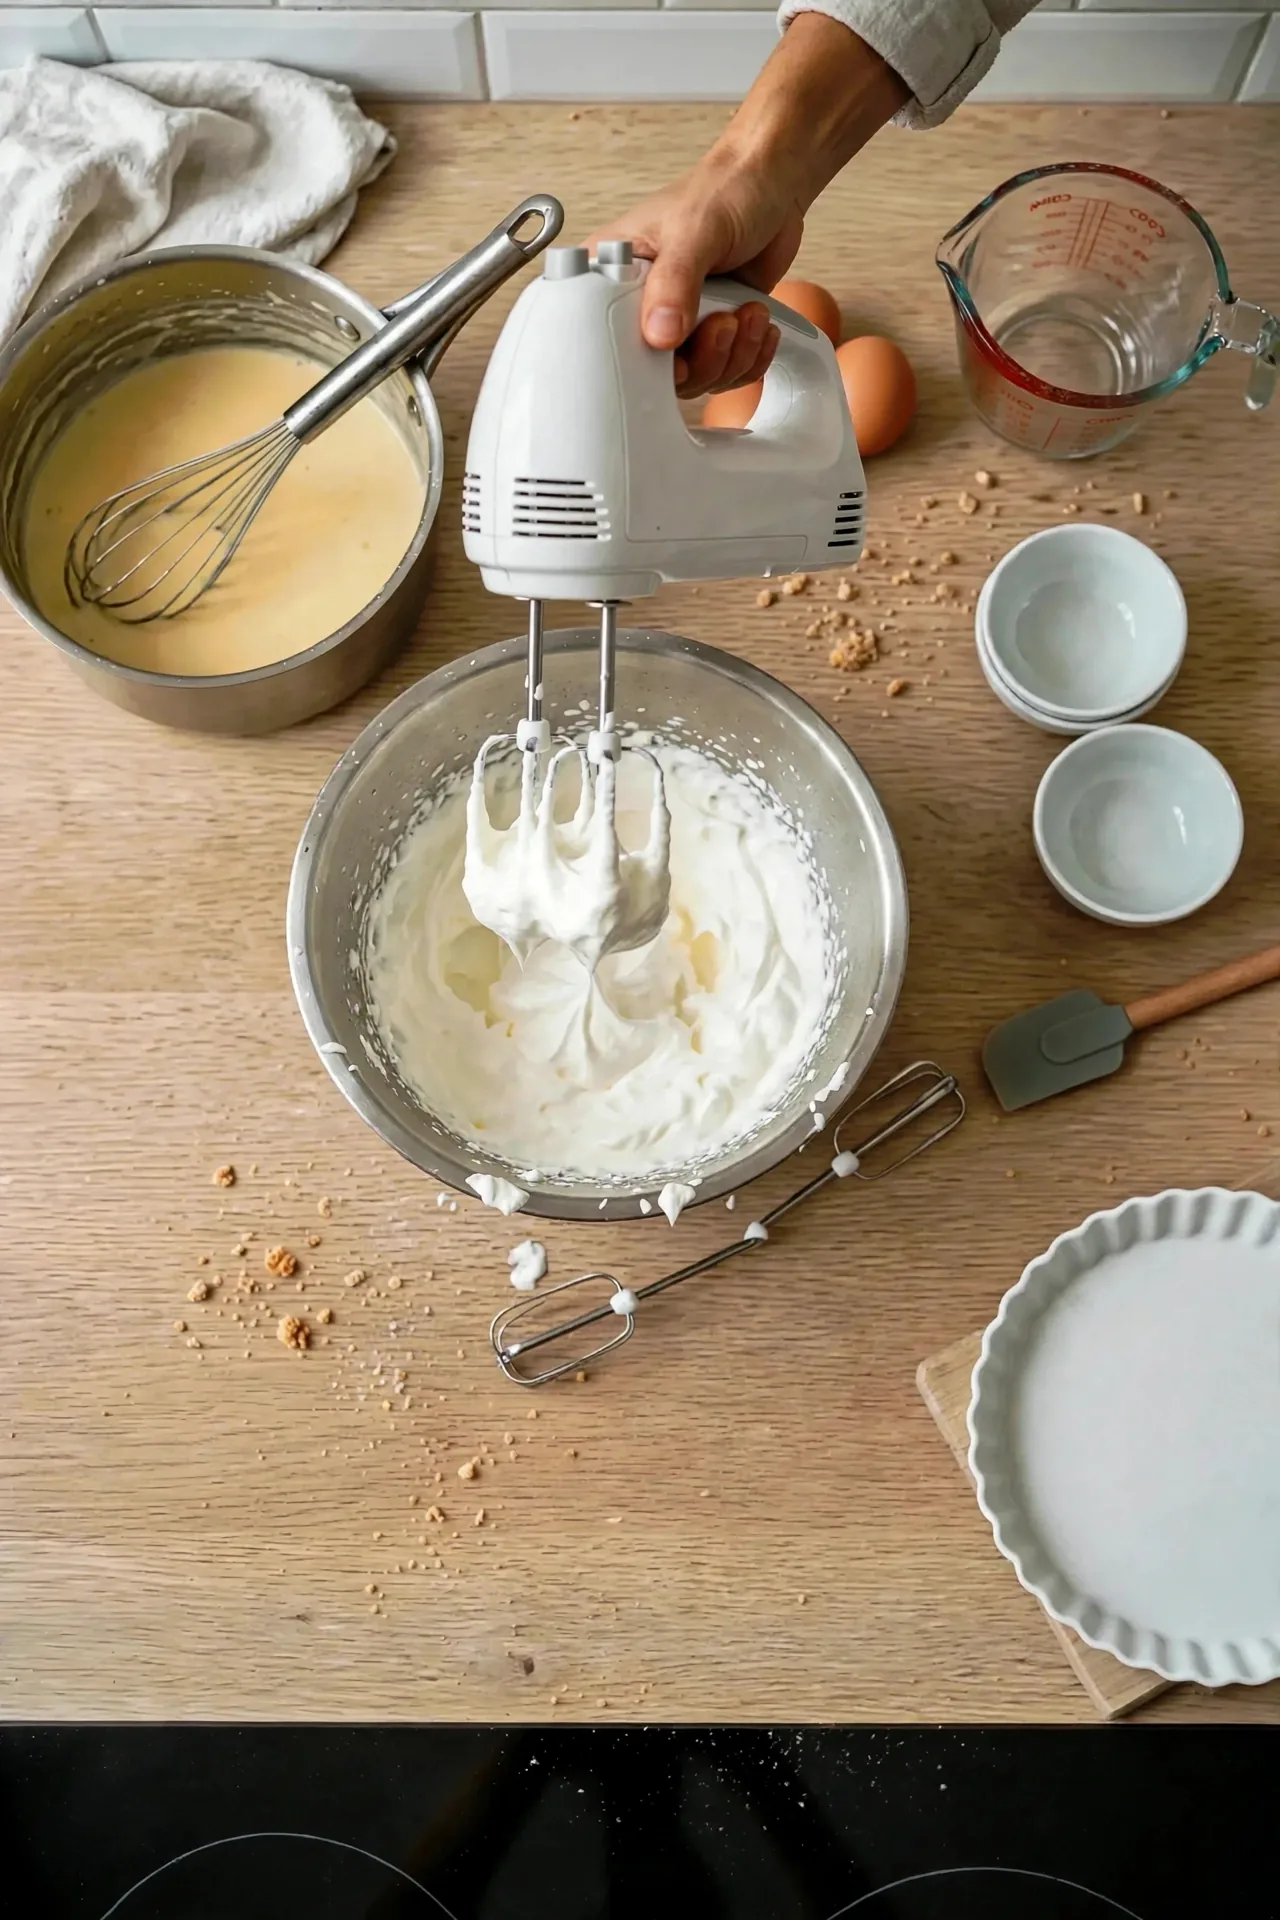
Whip on medium speed. At first the cream forms soft peaks that slump over when the beaters lift.
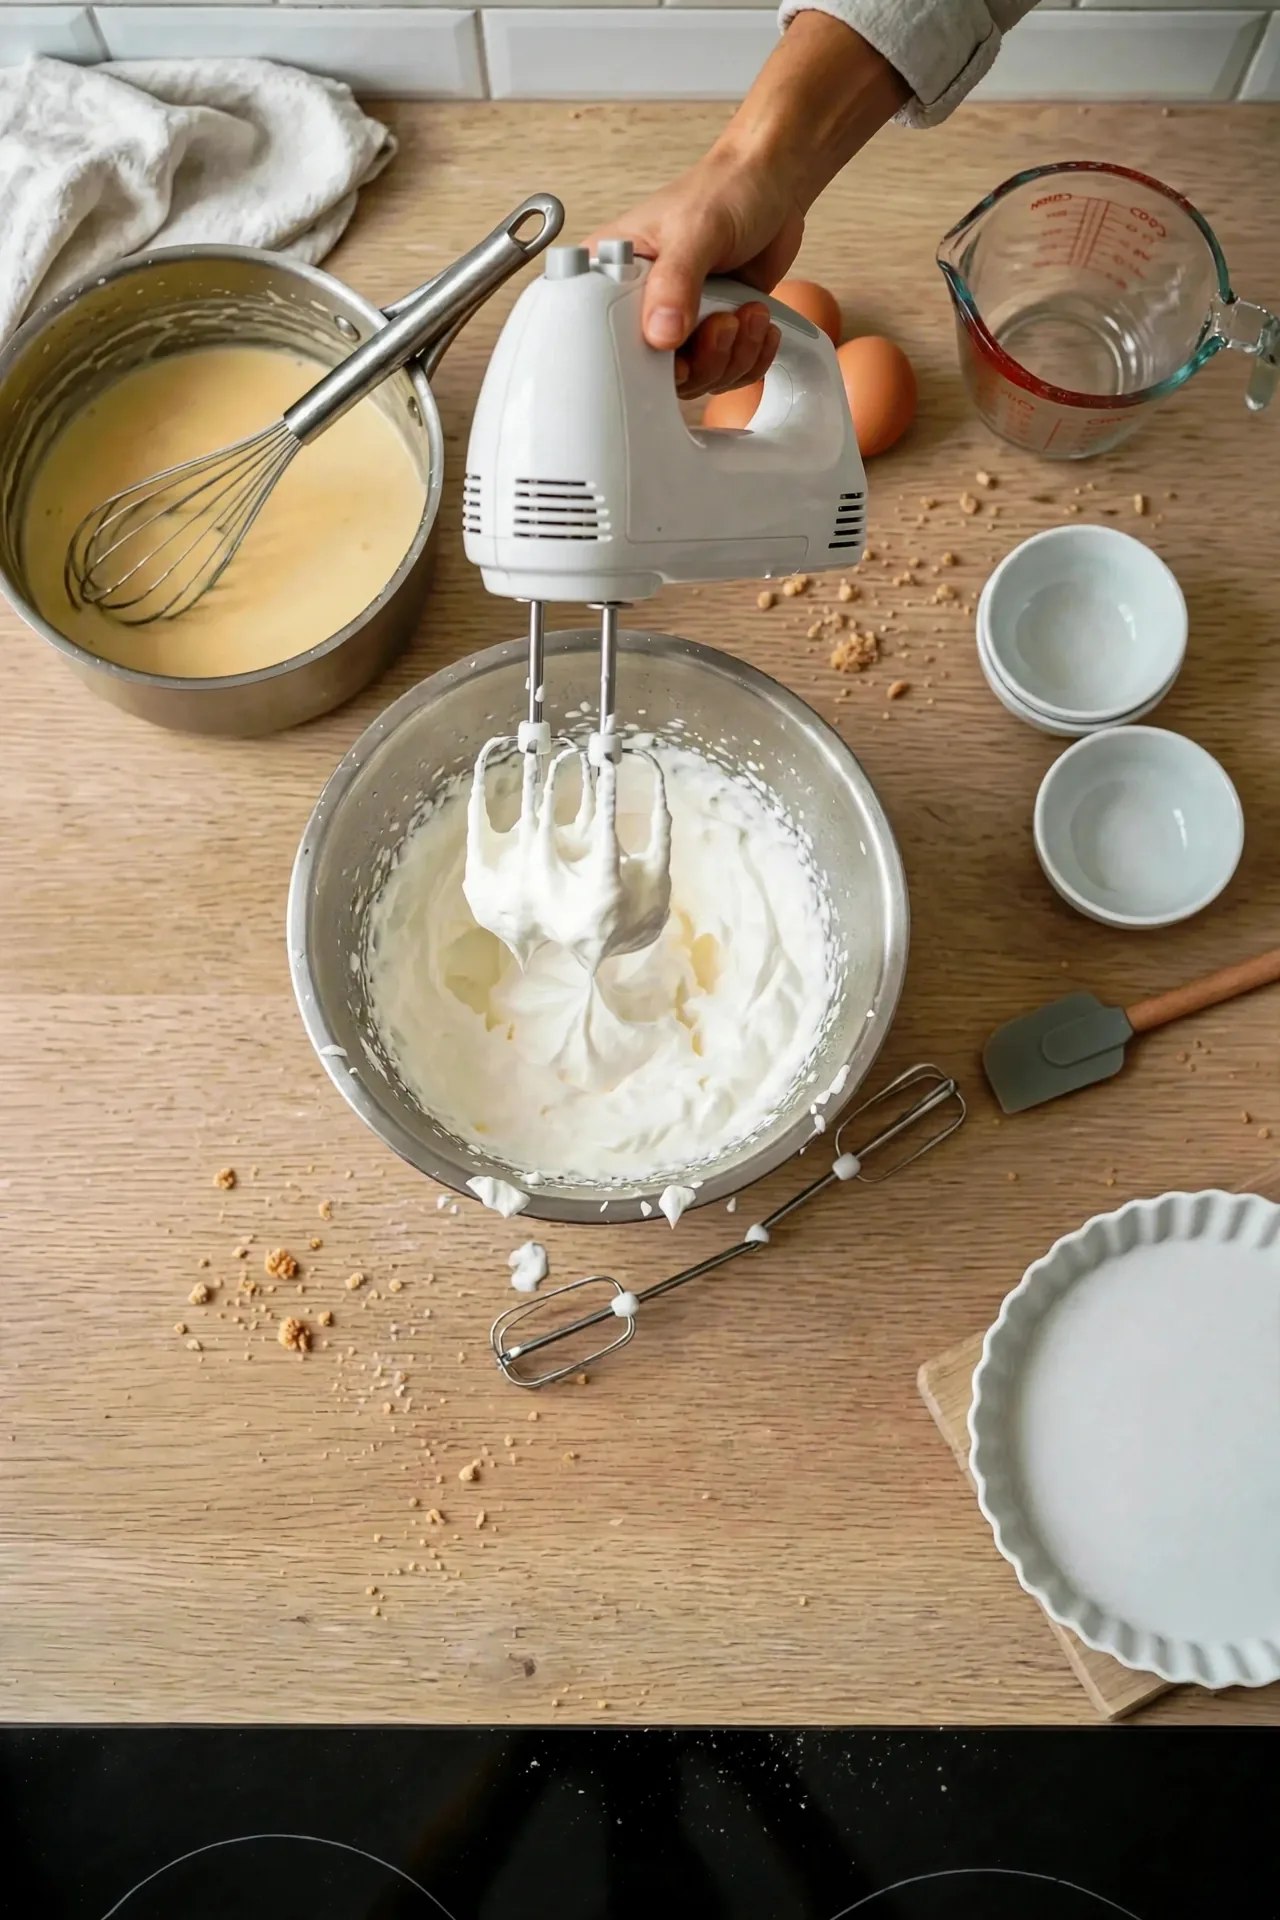
Keep going until the peaks are medium-firm: the tip holds its shape with a slight curl, and the surface looks smooth and glossy rather than grainy. Stop there. Whipping past this point turns the cream grainy and then buttery.
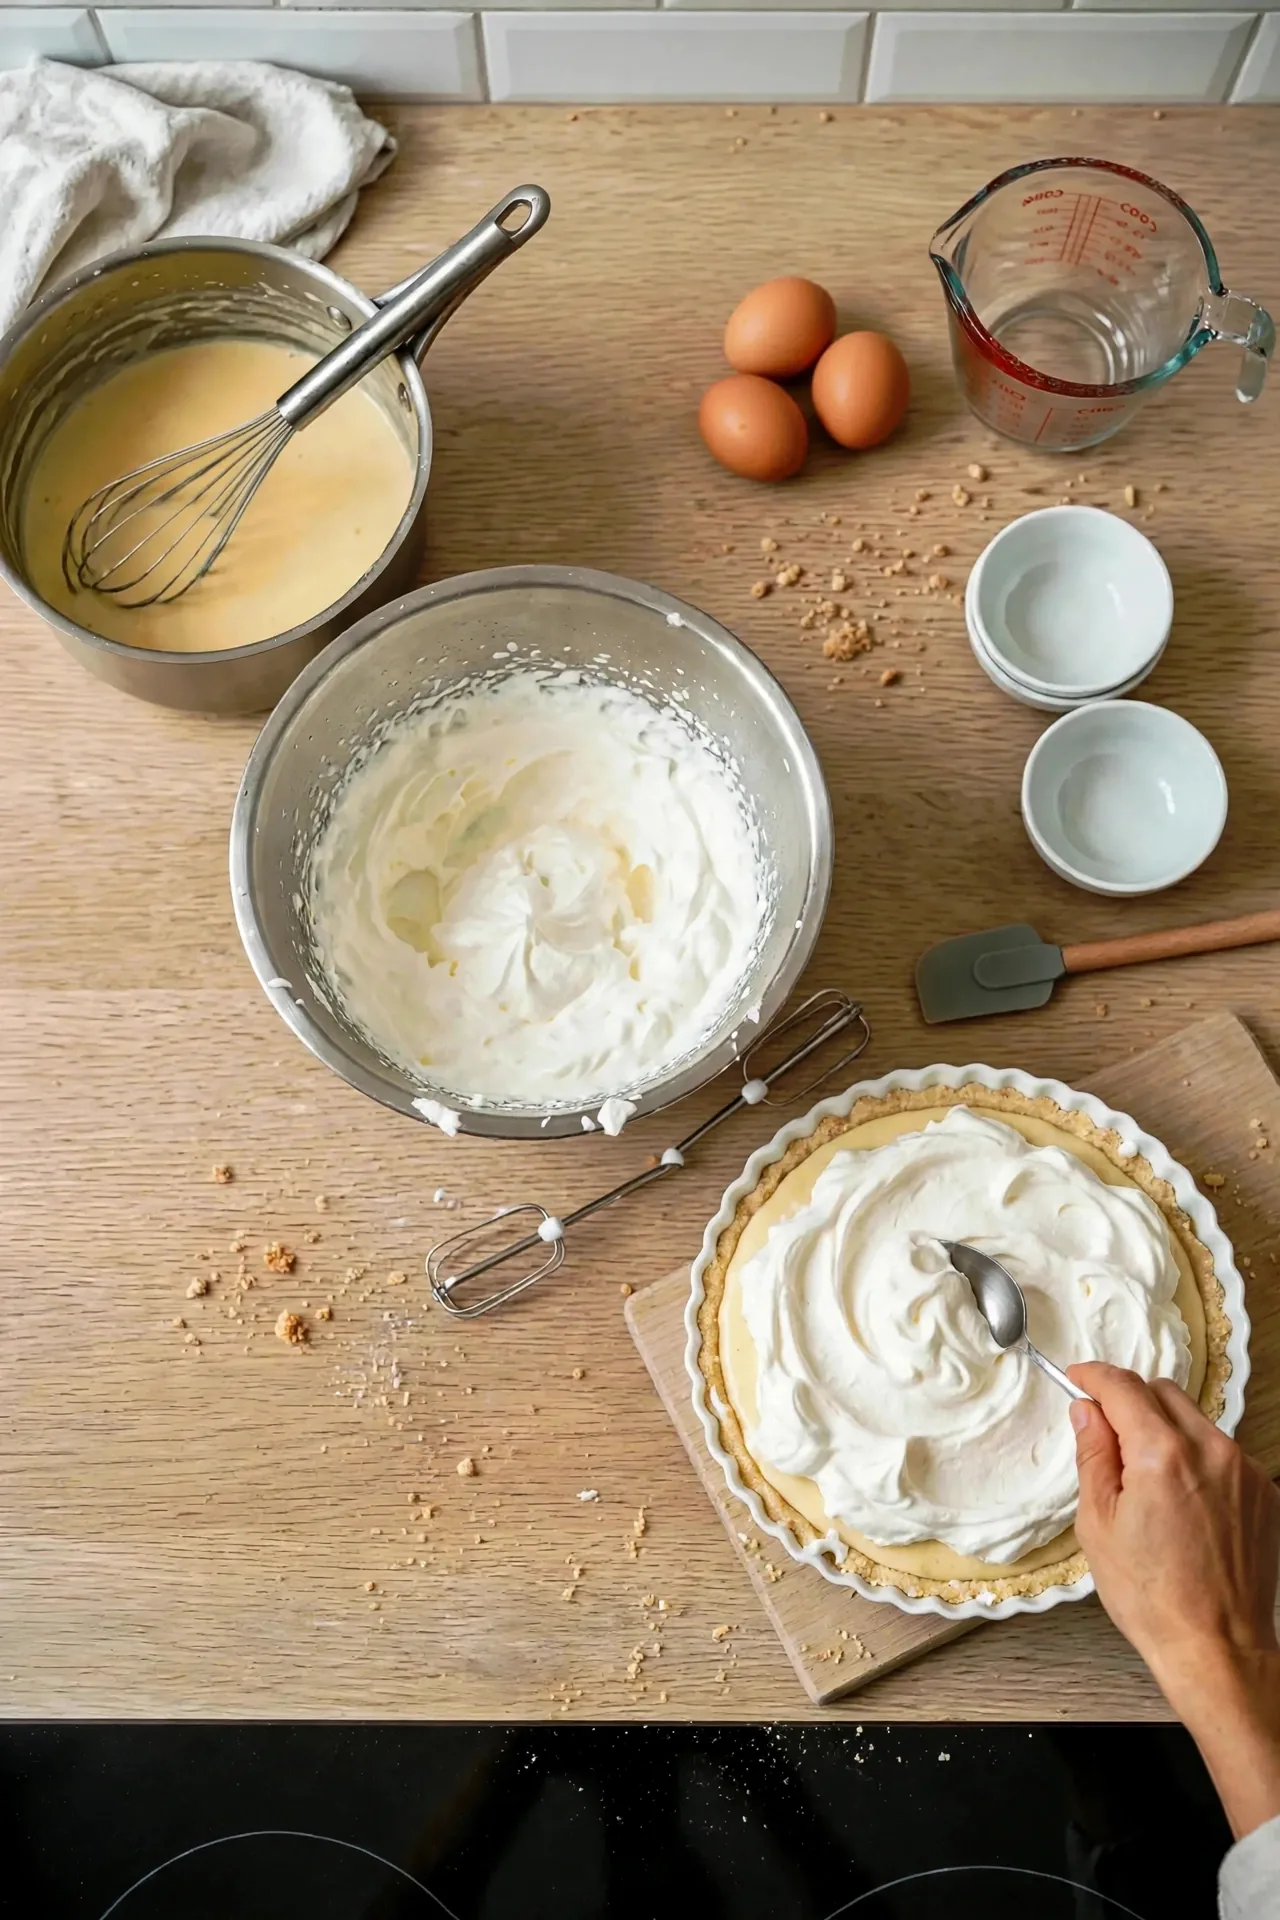
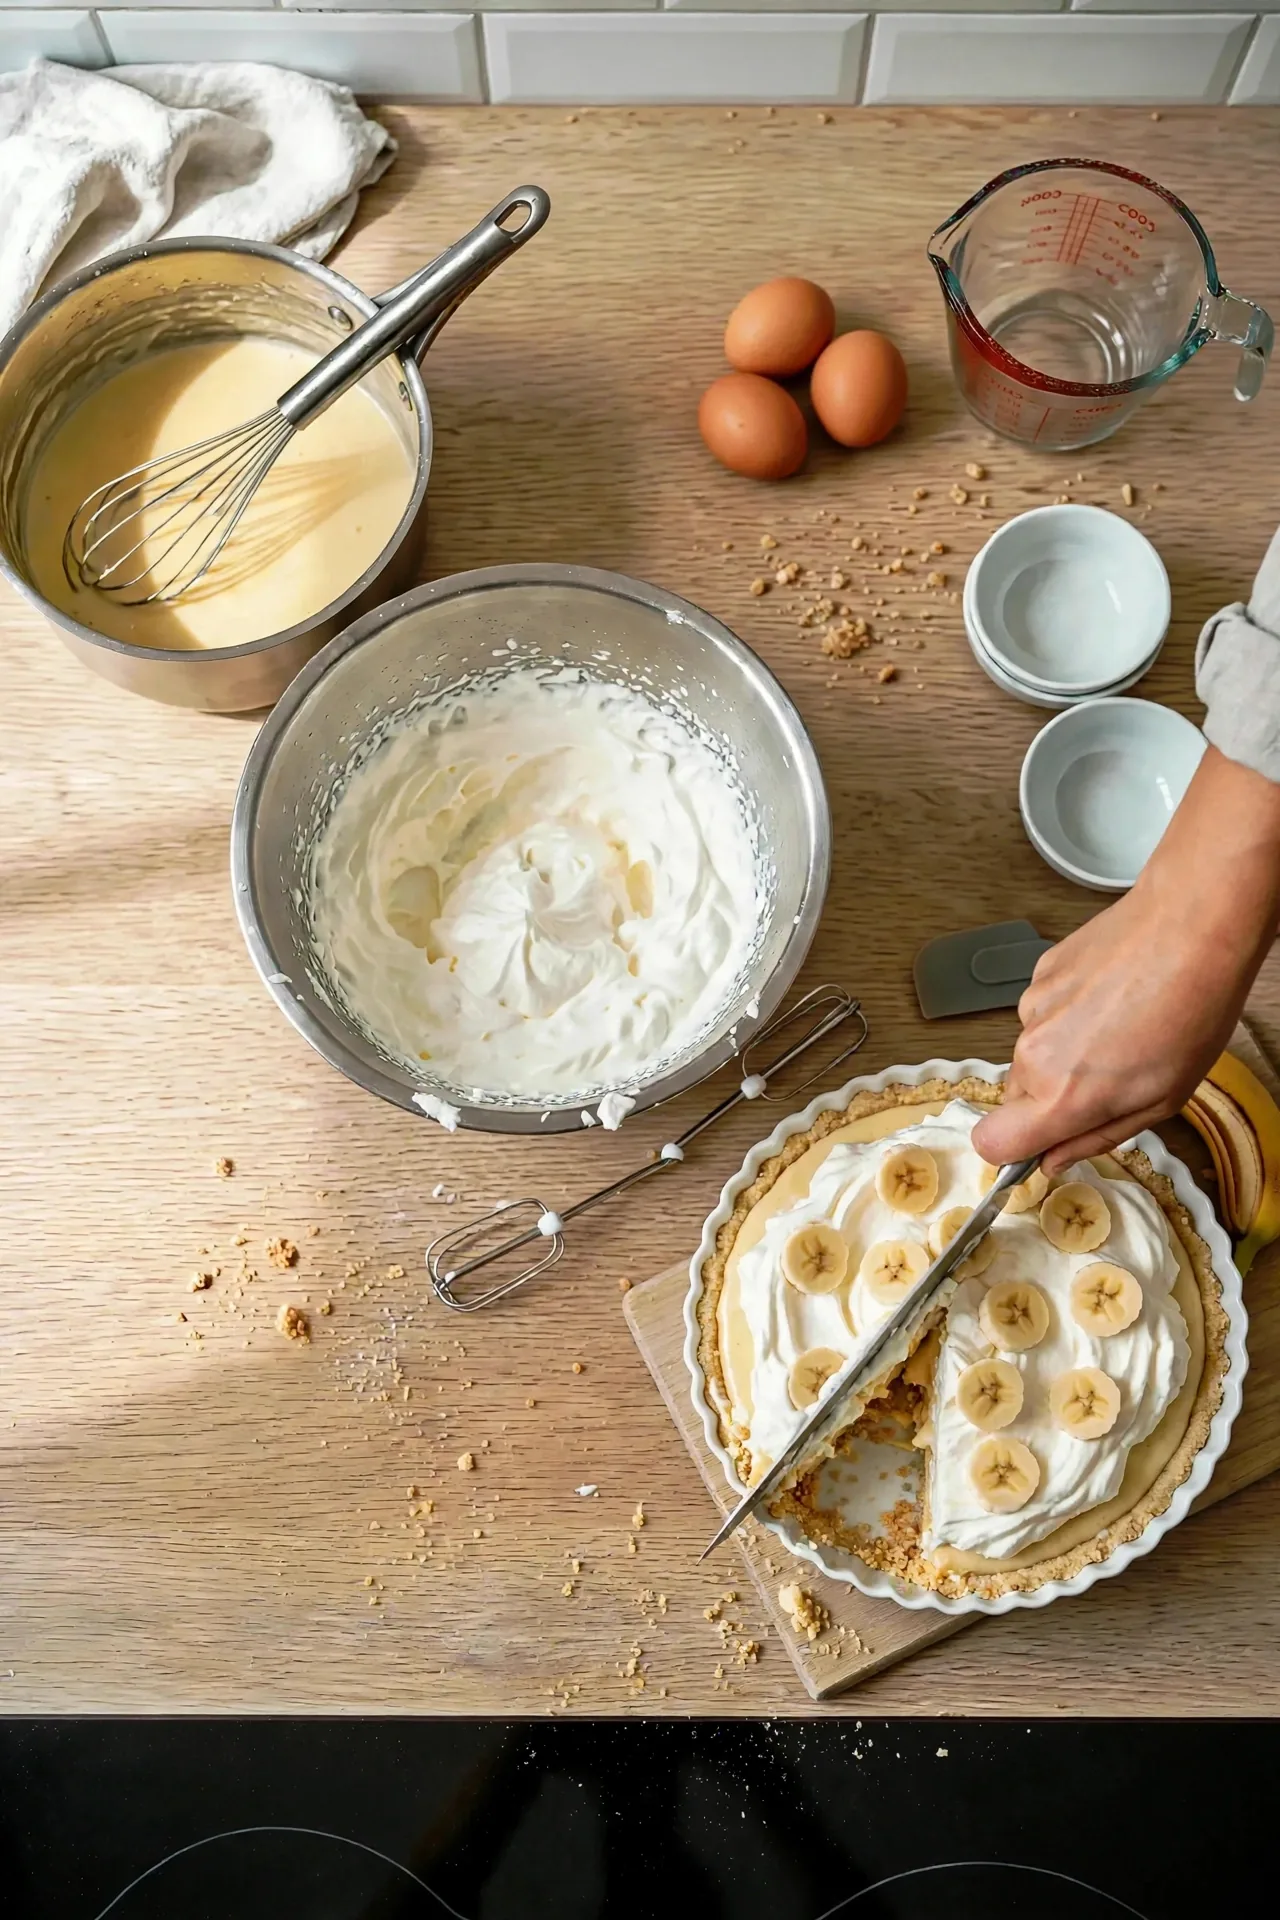
Spoon the cream over the chilled pie and pull it into swoops with the back of the spoon.
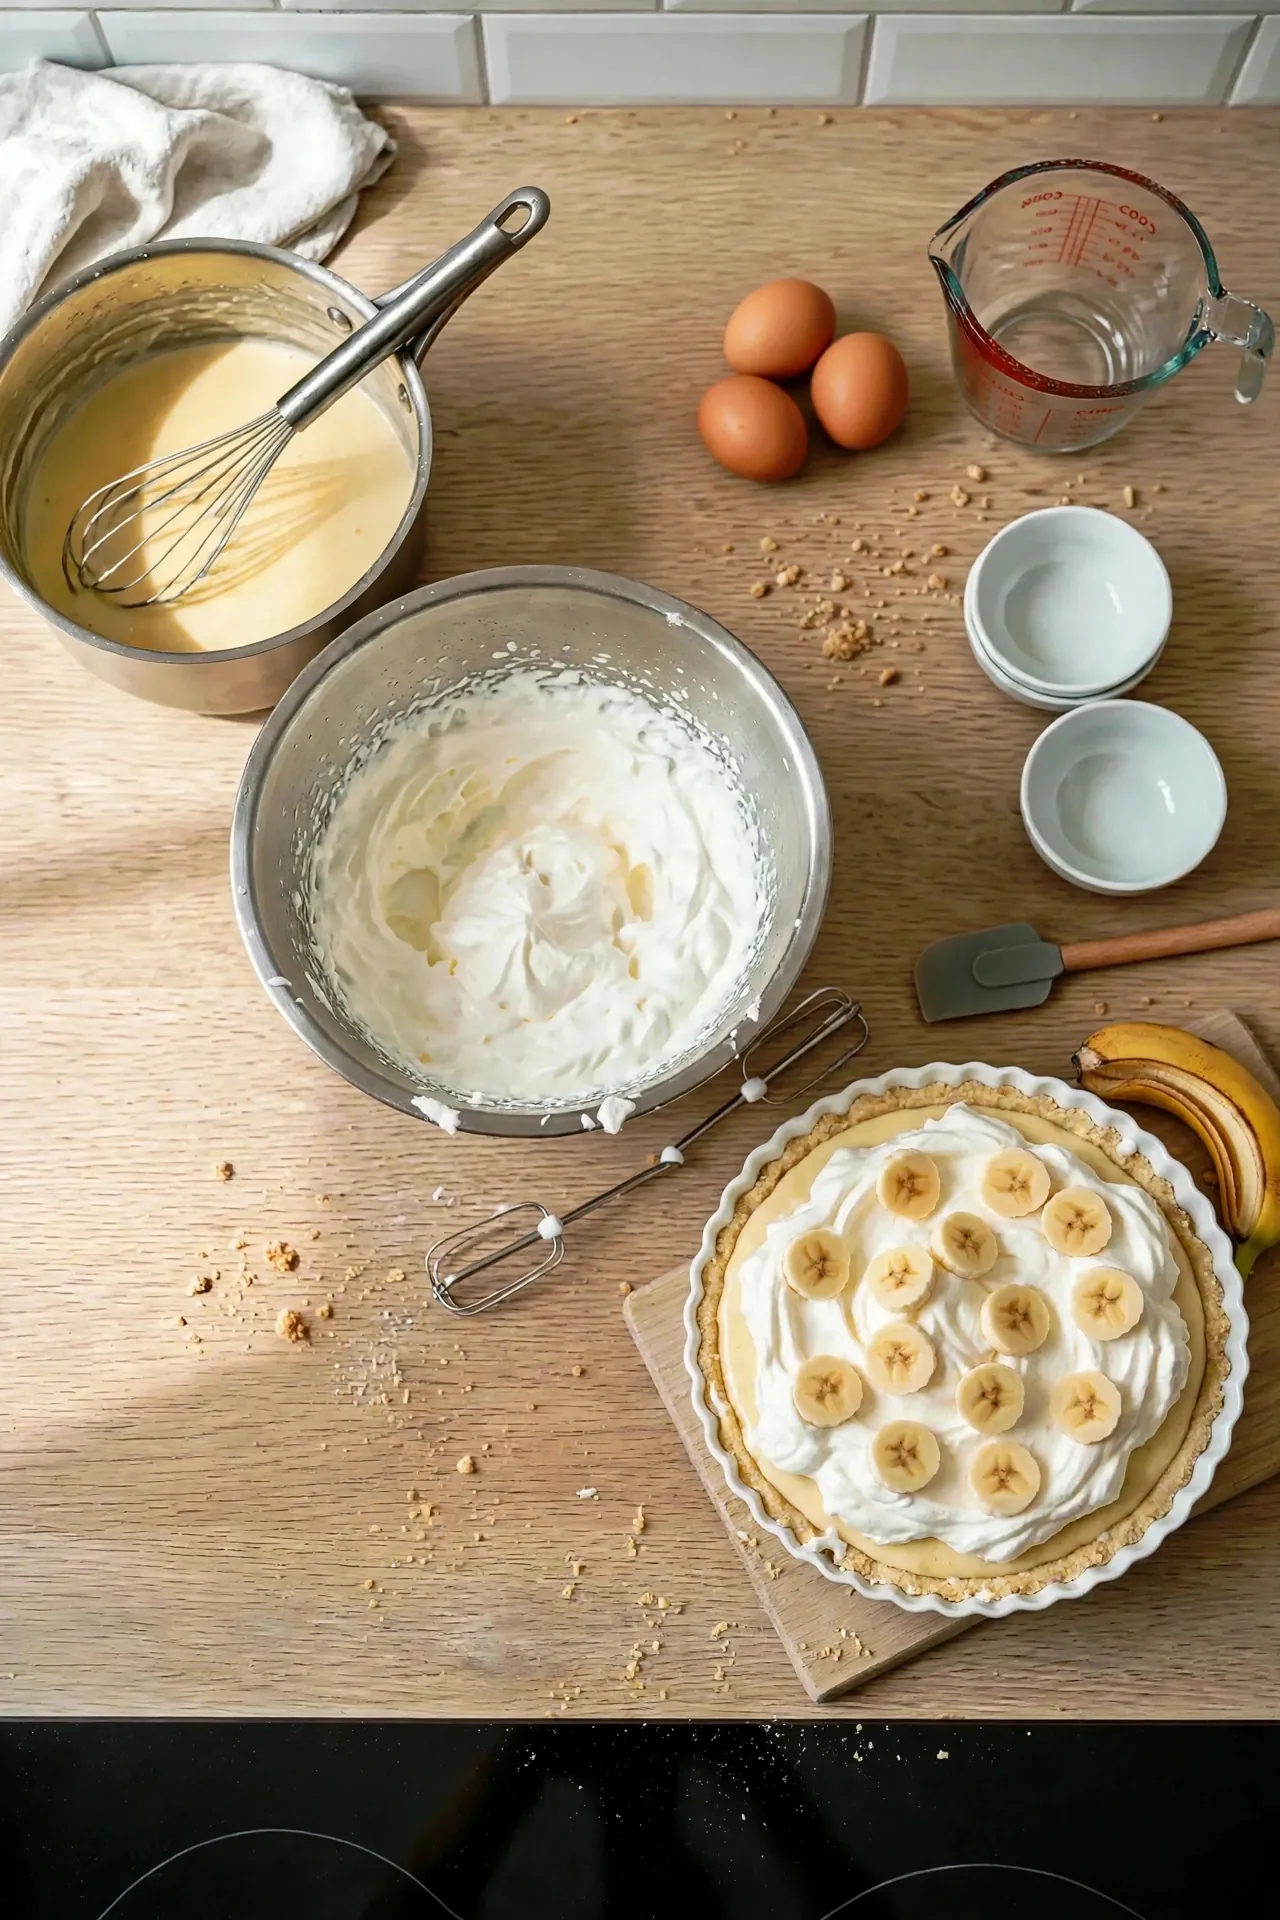
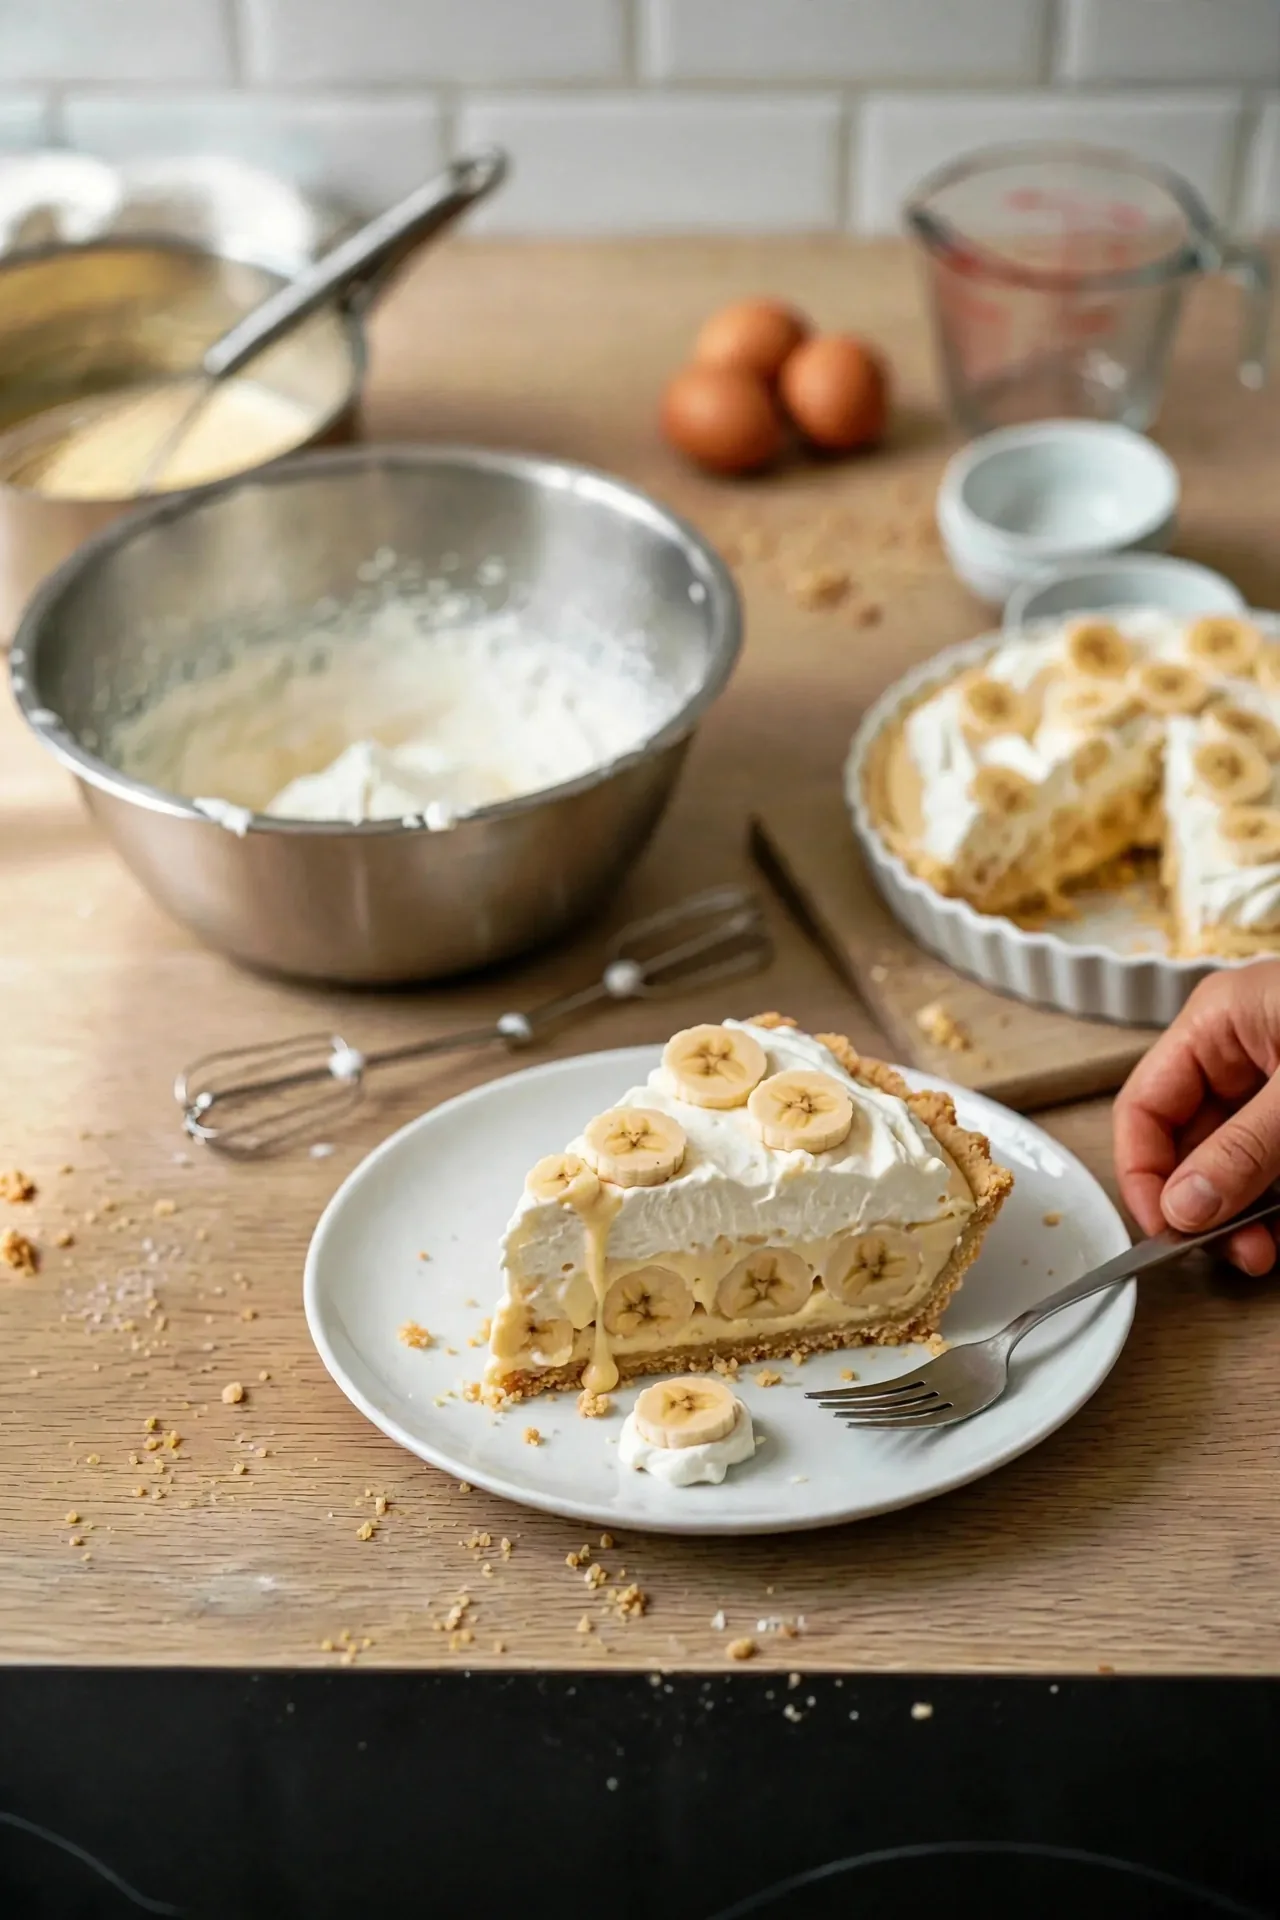
Slice the third banana right before serving and place the coins on top. Applying them last keeps them looking fresh.
Cut with a long, thin knife wiped clean between slices. The crust and filling should hold together, with visible layers on the cut face.
Pudding Shortcut Version: No Stovetop Custard
Use the same crust (Step 1) and banana layer (Step 2). Only the filling changes. Instant pudding sets by chemistry rather than heat, which means no whisking at the stove and no yolks to temper.
Whisk 2 boxes instant vanilla pudding mix with 3 cups cold whole milk for about 2 minutes, or as the box directs.
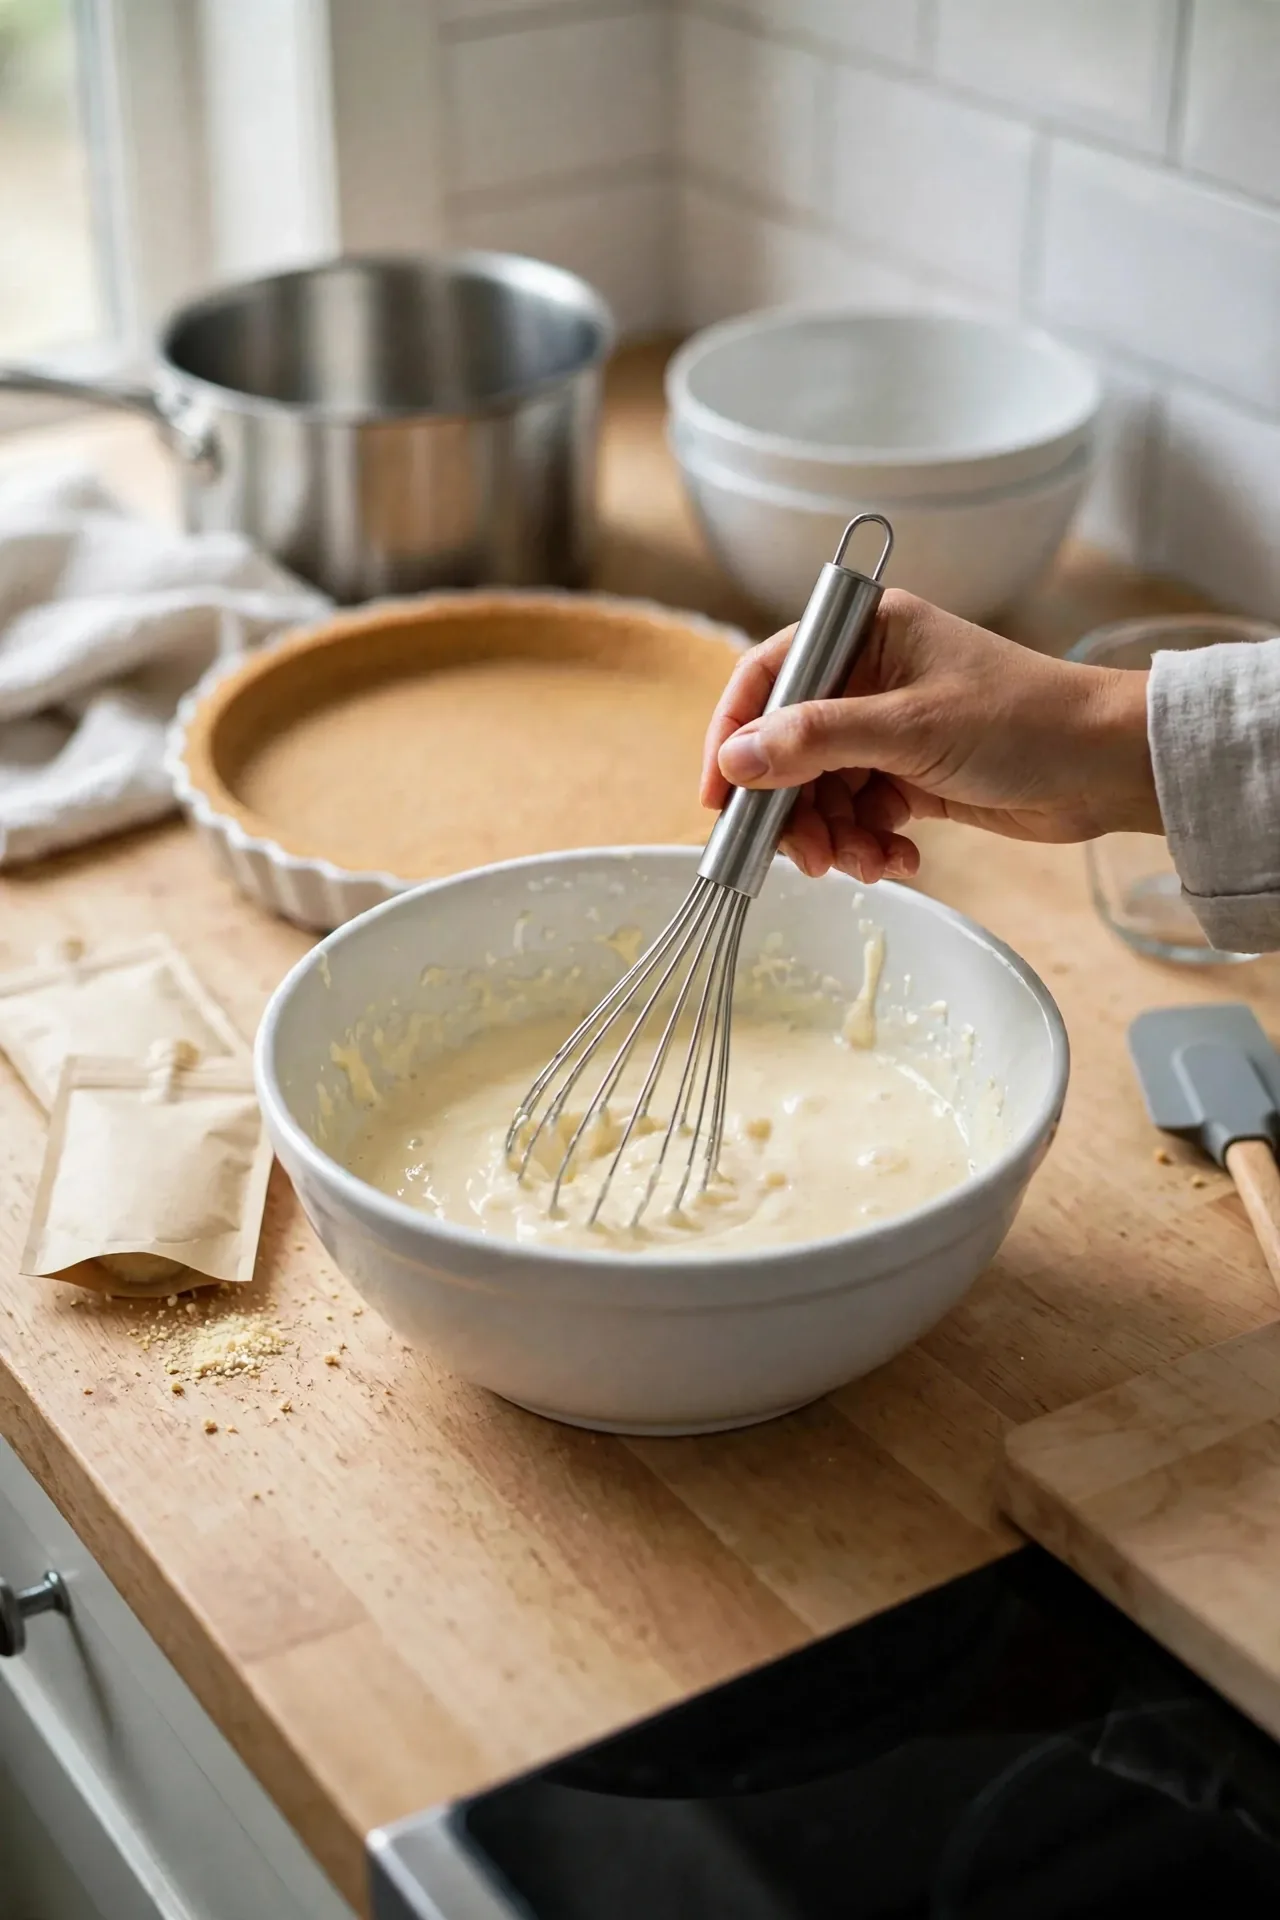
Let it stand for about 5 minutes. It is ready when a spoon dragged through leaves a clear trail and the pudding holds its shape.
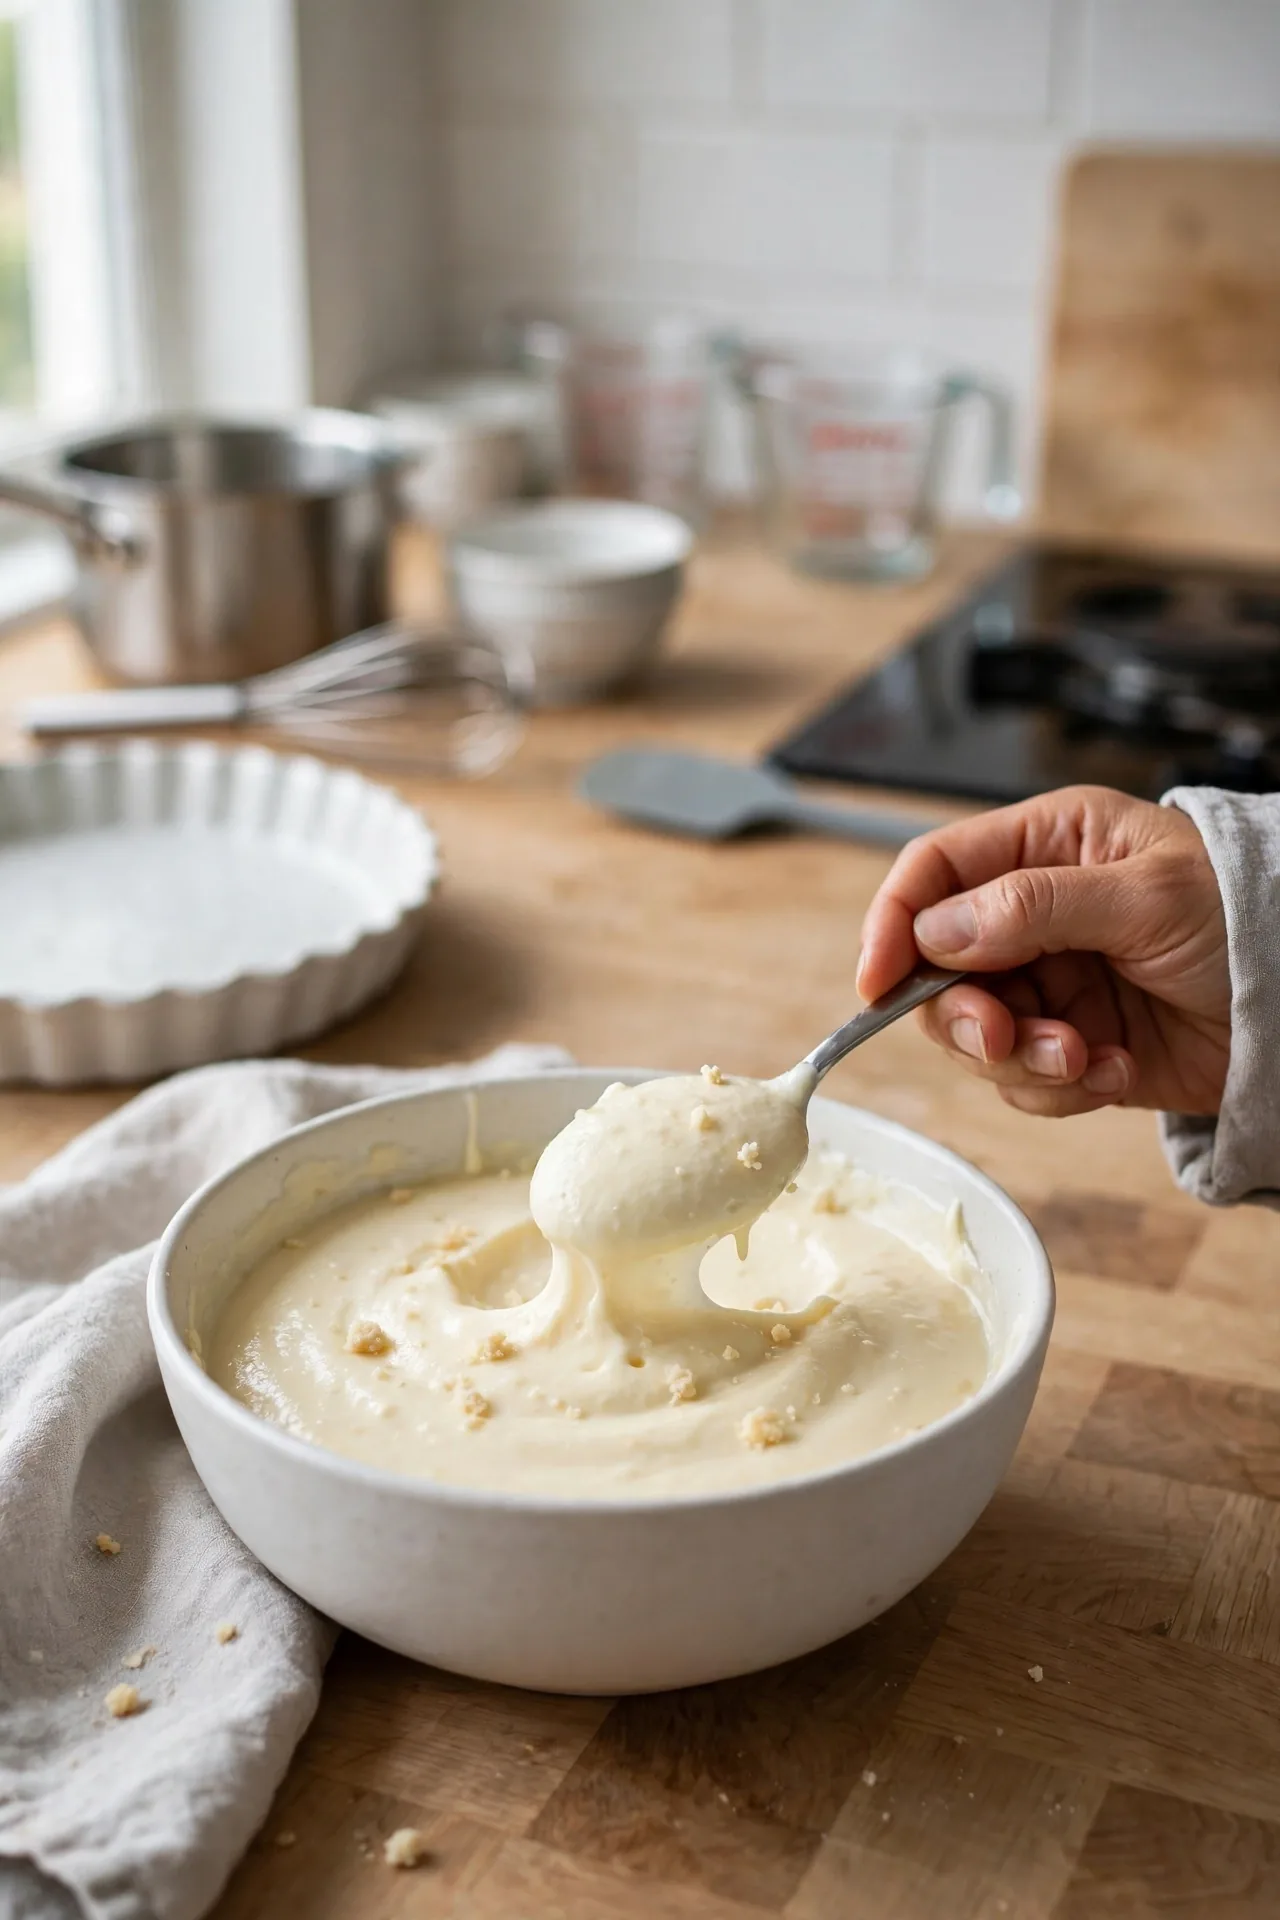
Layer the bananas in the cooled crust and spread the pudding over them, smoothing it level.
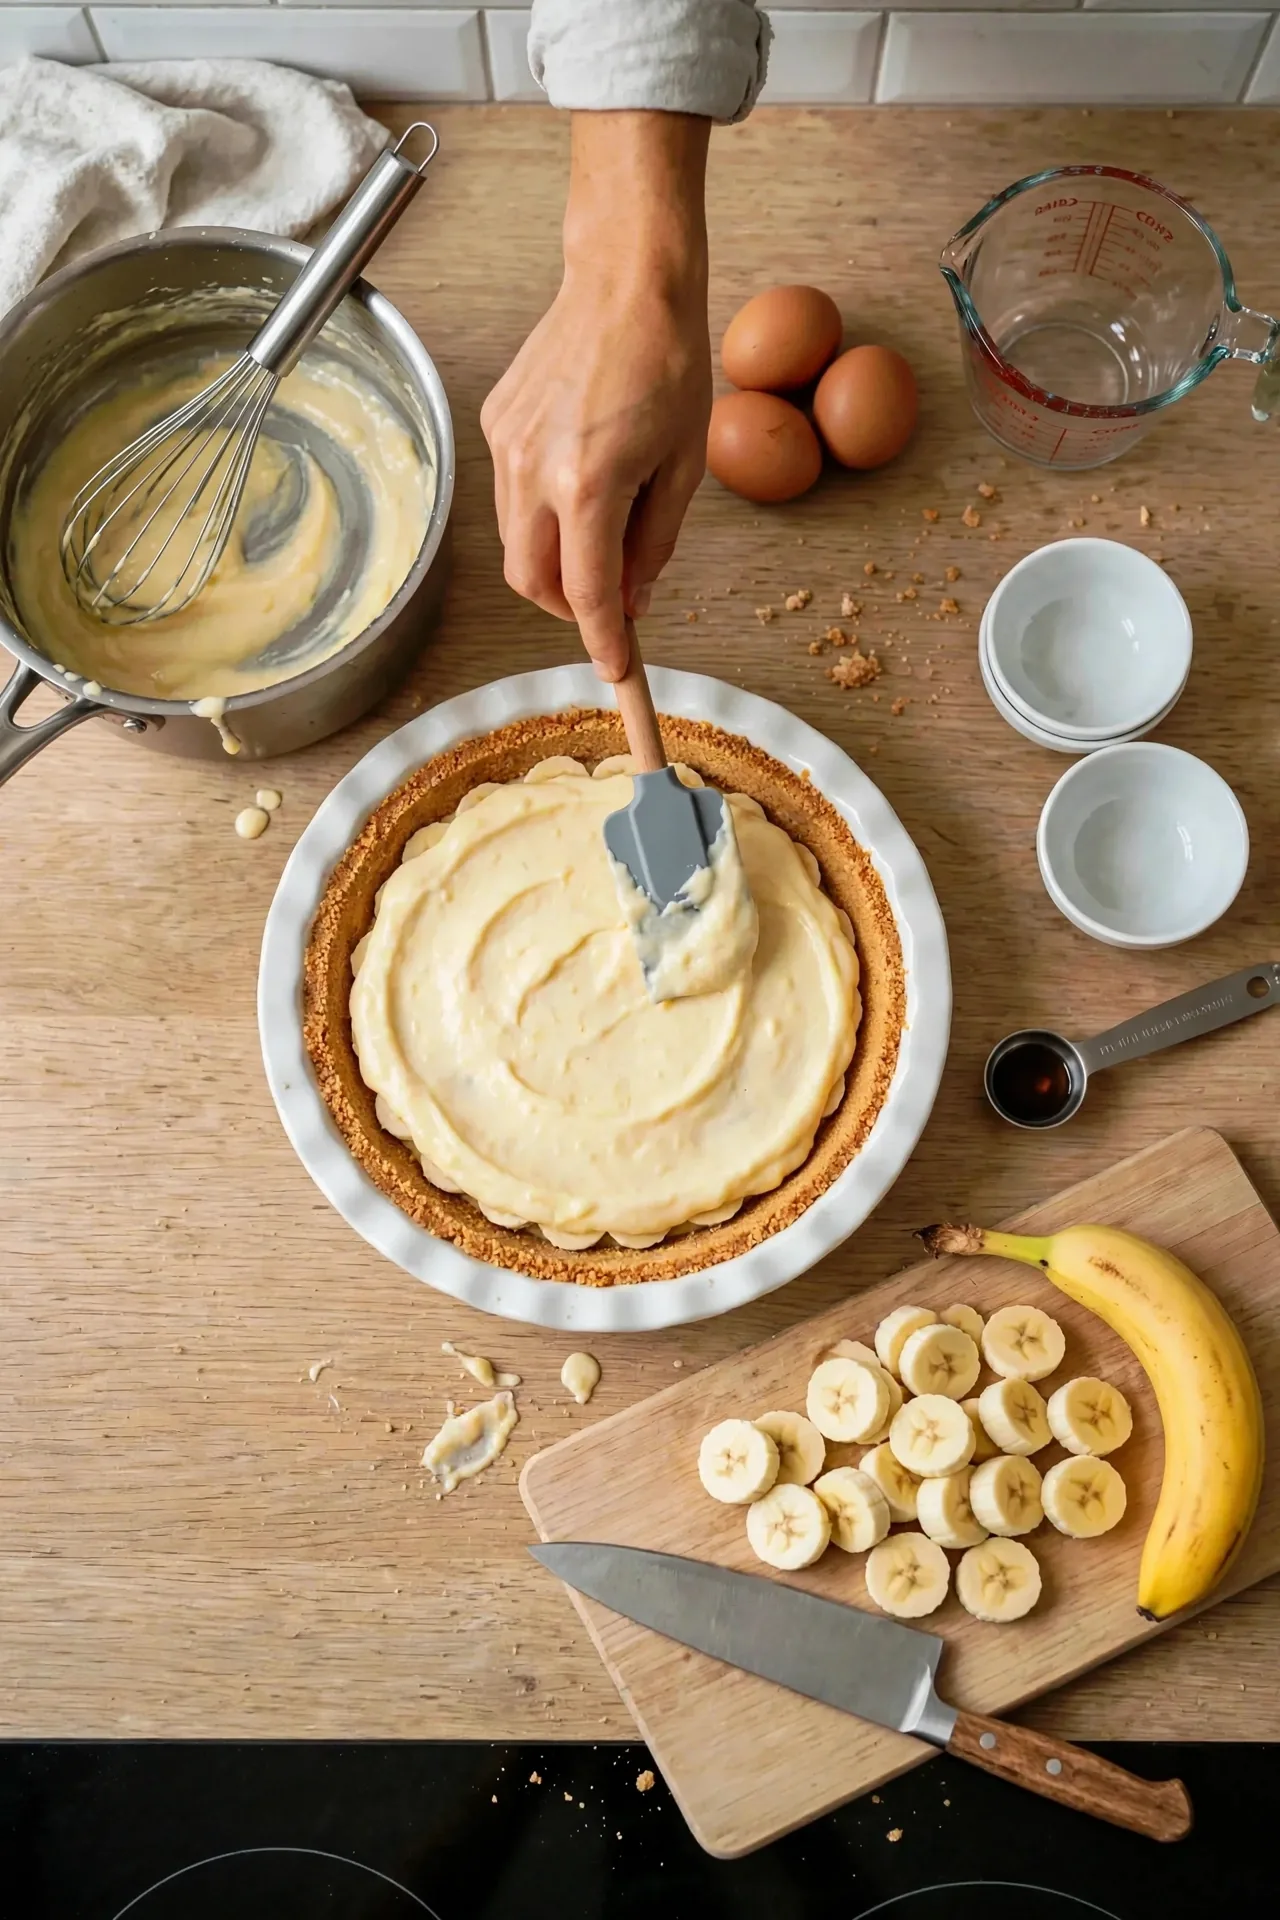
Cover with plastic wrap pressed on the surface and chill for at least 4 hours, then finish with whipped cream and banana slices as in Step 5.
Heads Up on Milk Amounts
Pudding mixes are formulated for specific milk quantities, and a “pie filling” direction on the box may differ from the standard-pudding direction. Follow the box when it conflicts with the amount above.
Meringue Version: Baked Meringue Topping
Use the same crust, custard, and banana layer. Meringue goes on the hot filling and gets baked, so this version skips the cream and the long cold-chill before topping. The 4 whites left over from the custard are exactly what you need.
Keep the oven at 350°F (175°C). Build the pie as in Steps 2 and 4, but do not chill it: the custard should still be hot when the meringue goes on. A hot filling helps cook the underside of the meringue, which is one of the better defenses against a layer of liquid forming between the two.
Beat the 4 egg whites with ¼ teaspoon cream of tartar in a clean, dry bowl until foamy and white. Any grease or yolk in the bowl keeps whites from whipping up, so use a spotless bowl and beaters.
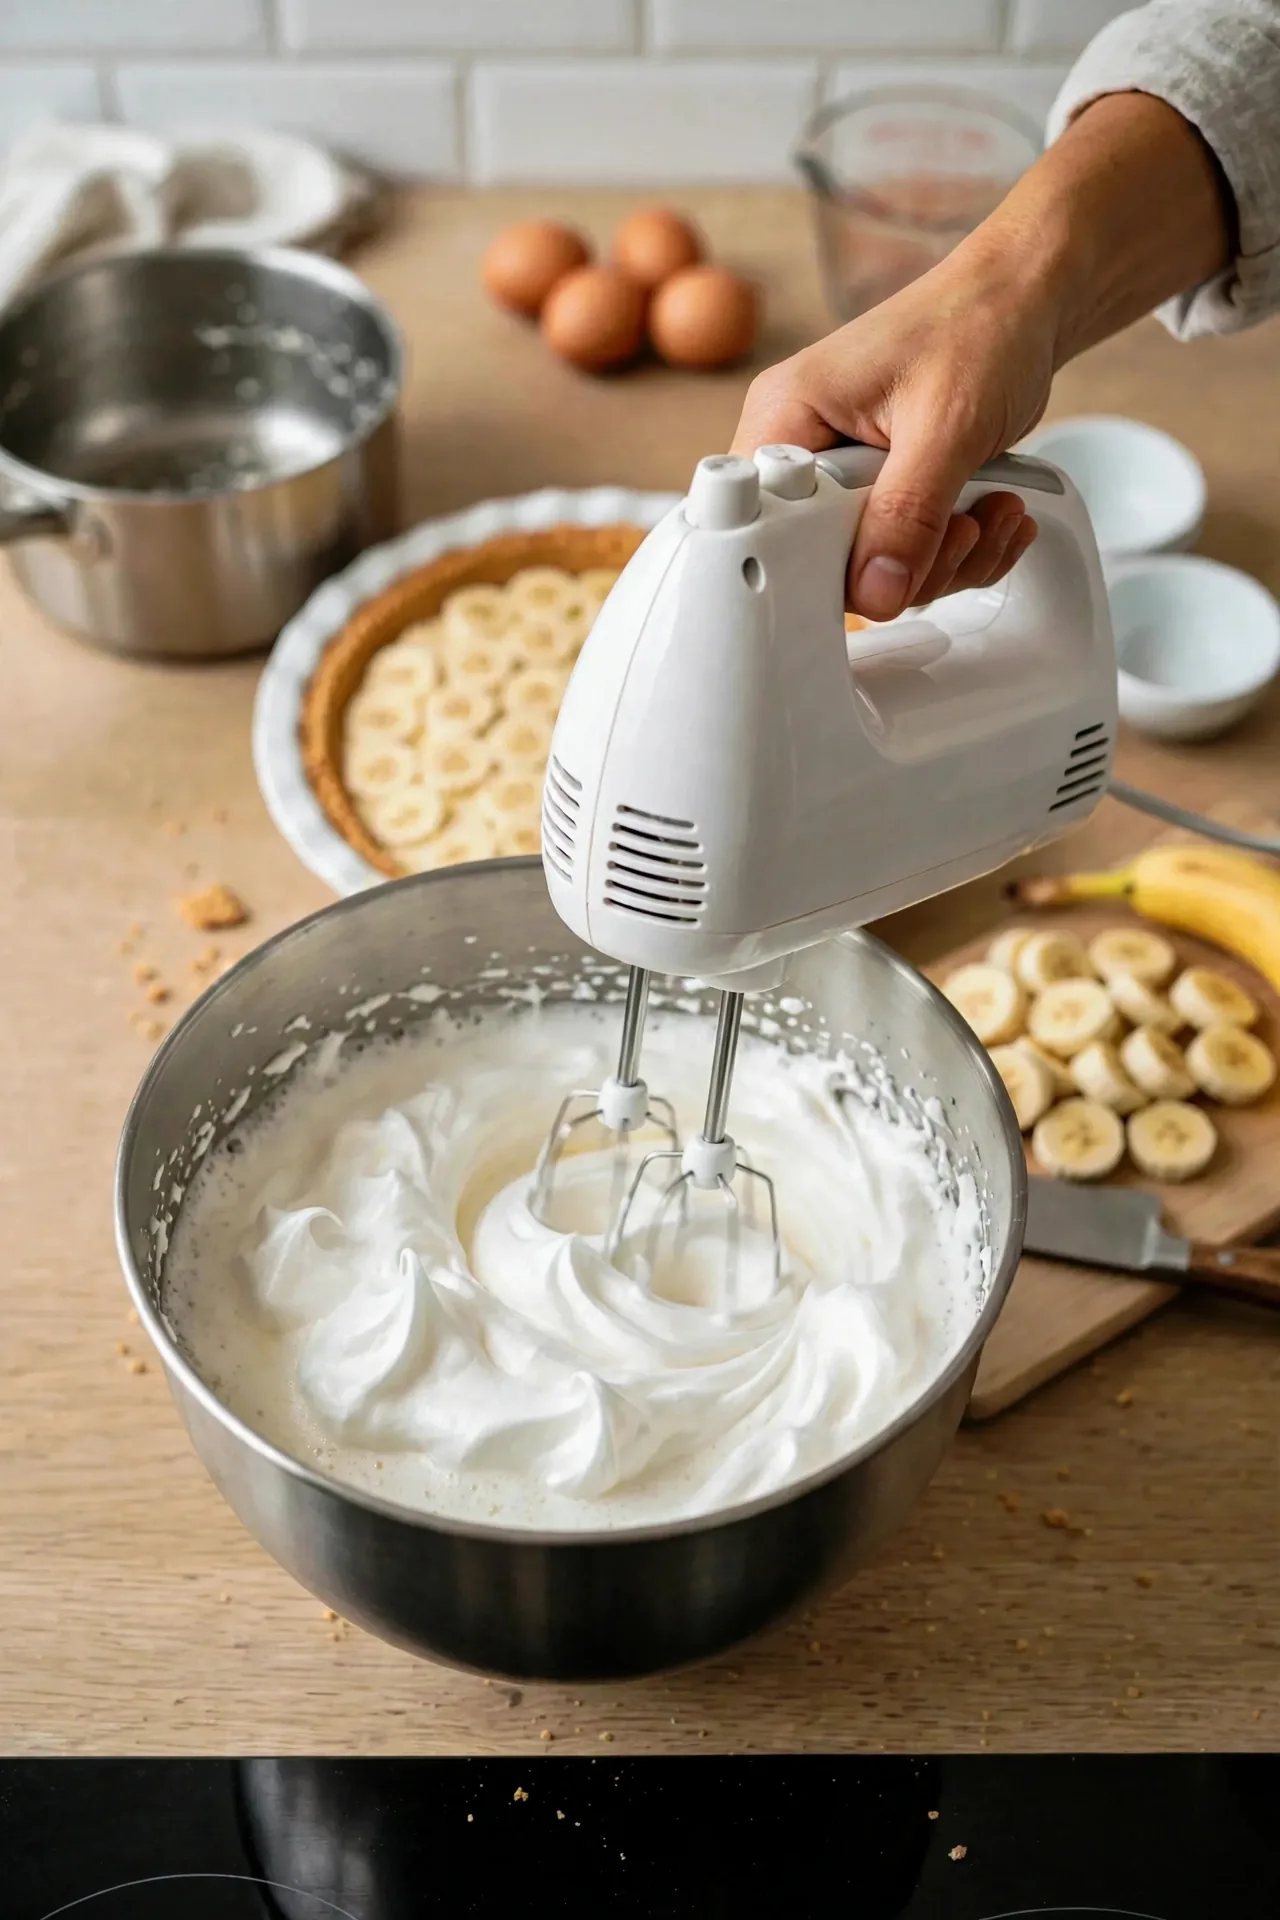
Add ½ cup sugar a spoonful at a time while the mixer runs, and keep beating until the whites form glossy, soft peaks.
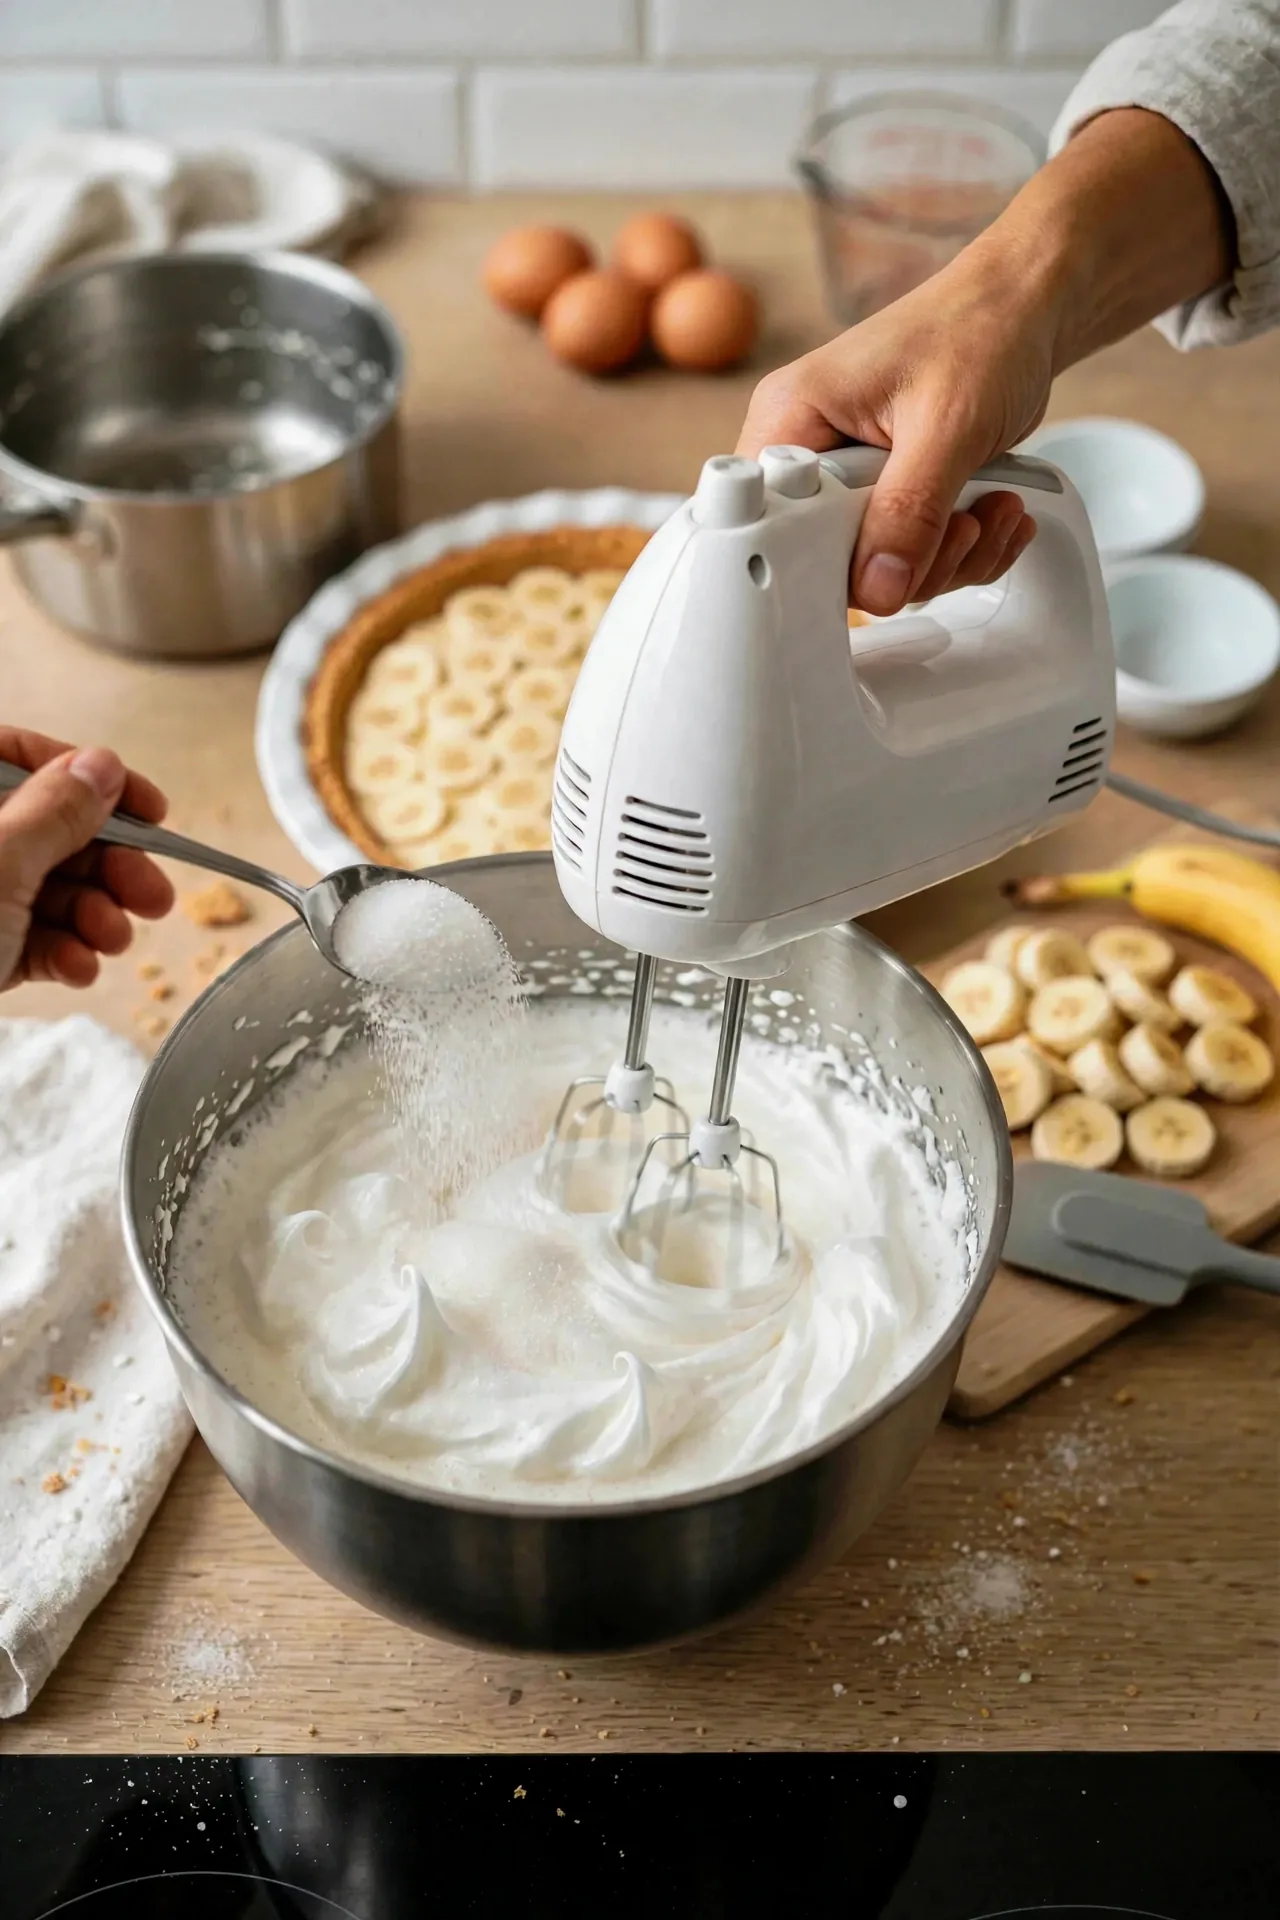
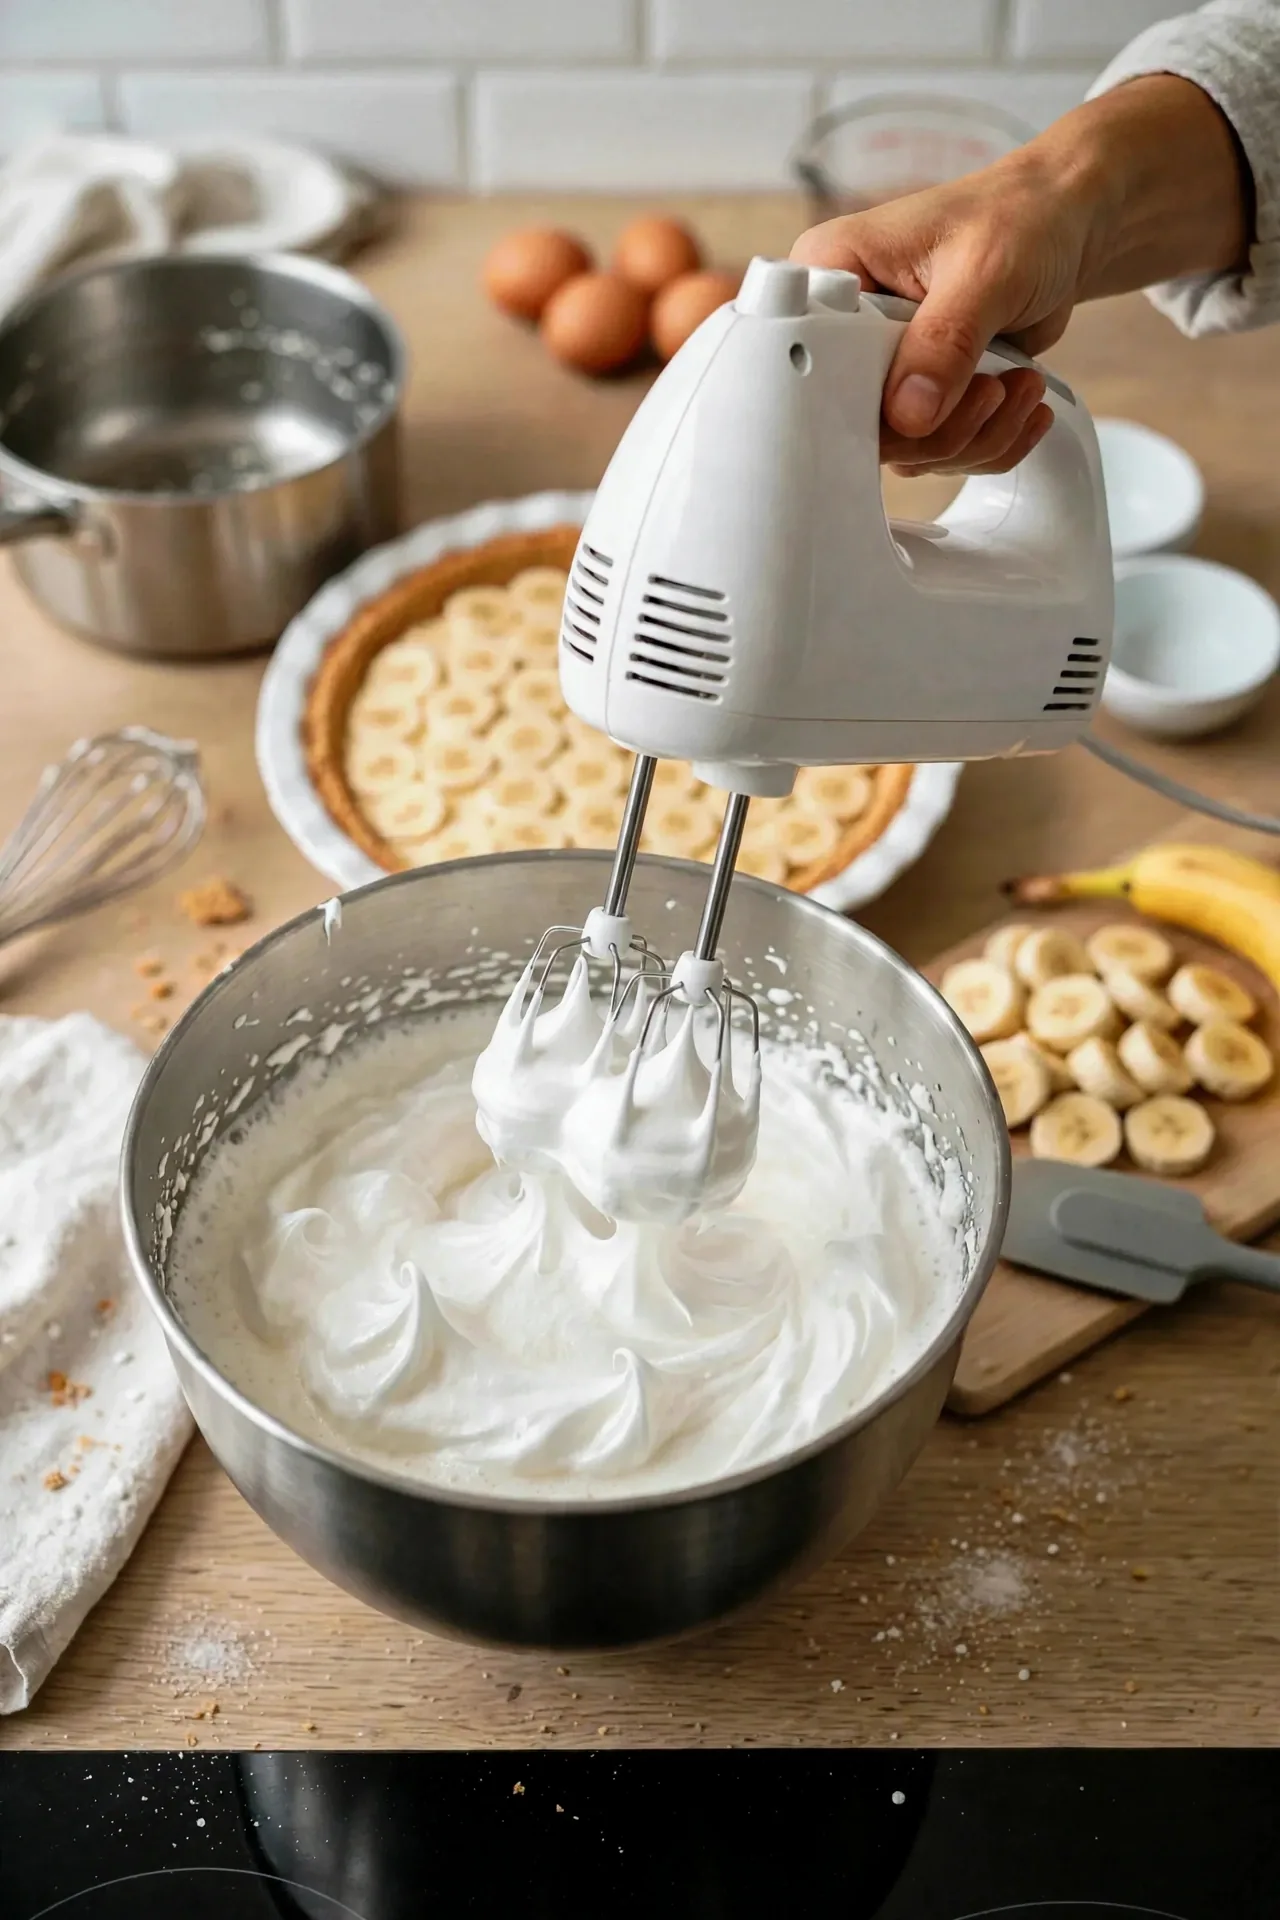
Add ½ teaspoon vanilla and beat to stiff, glossy peaks that stand straight when the beaters lift. Rub a little between your fingers: it should feel smooth, with no gritty sugar.
Spread the meringue over the hot custard, touching the crust all the way around so the meringue is sealed to the edge. A gap between meringue and crust is where it shrinks away and weeps. Swirl it into peaks with the back of a spoon.
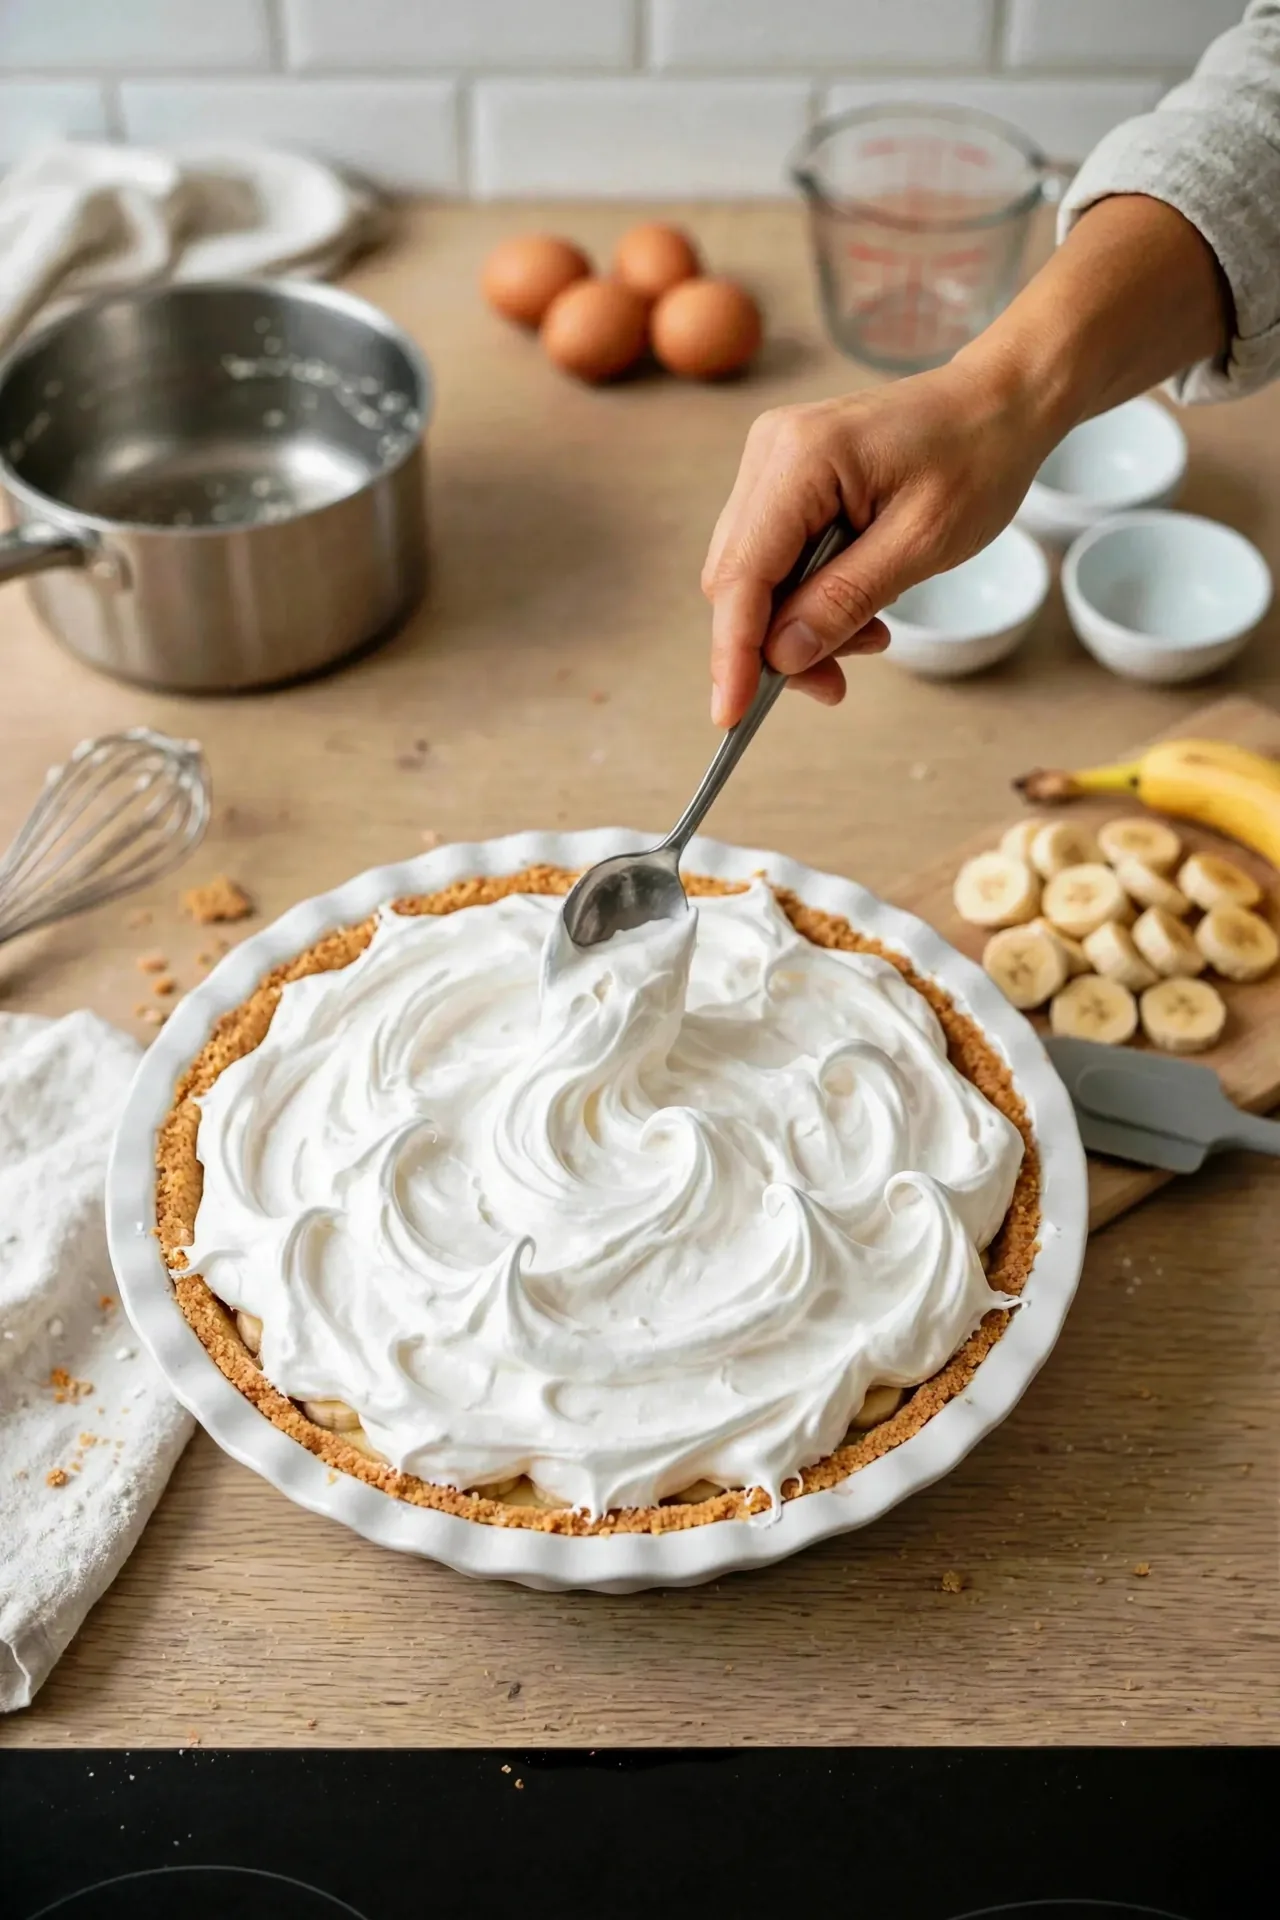
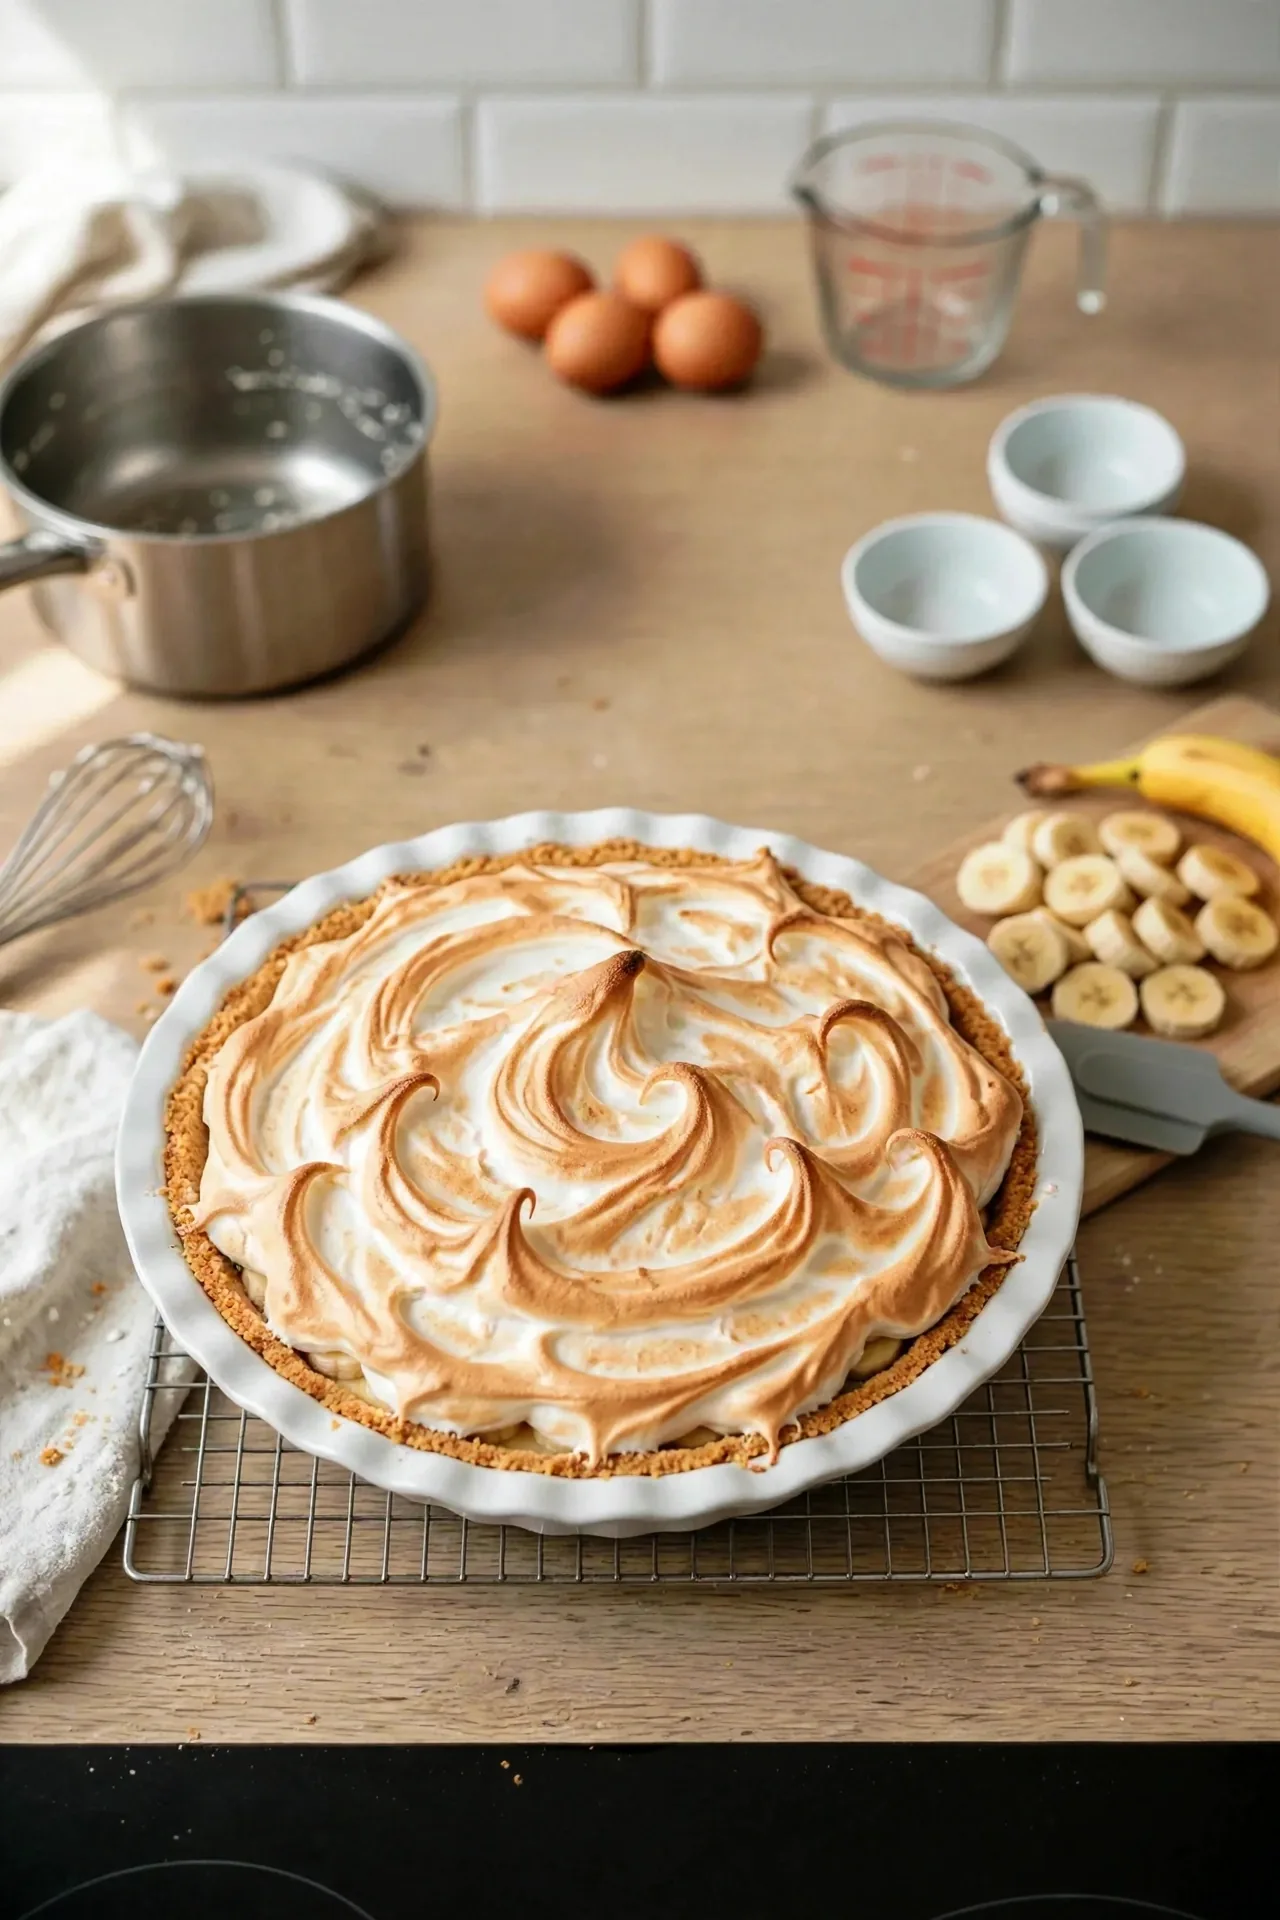
Bake for roughly 10 to 12 minutes, until the peaks are golden brown. Ovens vary, so go by color rather than the timer. Cool on a rack for about an hour, then refrigerate until fully chilled, at least 4 hours.
Egg-White Safety
Baking until the meringue looks golden does not guarantee that every part of it has reached a safe internal temperature. If you serve the pie to anyone pregnant, elderly, very young, or immunocompromised, use pasteurized egg whites for the meringue.
Recipe Card: Banana Cream Pie
Ingredients
Method
- Preheat the oven to 350°F (175°C). Mix the crumbs, ¼ cup sugar, and melted butter until the crumbs look like damp sand.
- Press the crumbs firmly into a 9-inch pie plate, up the sides. Bake 8 to 10 minutes, until set and toasty. Cool completely.
- Separate the eggs and whisk the 4 yolks in a heatproof bowl. Set the bowl by the stove.
- Whisk ¾ cup sugar, the cornstarch, and salt in a saucepan. Gradually whisk in the milk until smooth.
- Cook over medium heat, whisking constantly, until the mixture thickens and a few large bubbles break the surface.
- Remove from the heat. Whisk about 1 cup of the hot mixture into the yolks a little at a time. Scrape the yolk mixture back into the pan.
- Return to medium heat and cook about 1 more minute, whisking, until thick, glossy, and slowly bubbling.
- Off the heat, stir in the 2 tablespoons butter and 2 teaspoons vanilla until smooth.
- Slice 2 bananas into ¼-inch coins and layer them across the cooled crust. Pour the custard over, level the top, and press plastic wrap directly onto the surface.
- Refrigerate at least 4 hours, until fully set.
- Whip the cream with the powdered sugar and 1 teaspoon vanilla to medium-firm peaks. Spread over the pie, top with the third banana sliced into coins, and serve cold.
- Pudding shortcut: replace steps 3 to 8 with 2 boxes (3.4 oz each) instant vanilla pudding whisked into 3 cups cold whole milk (follow the box), stand about 5 minutes, then continue from step 9.
- Meringue version: skip the whipped cream. Keep the custard hot, beat 4 egg whites with ¼ teaspoon cream of tartar, gradually add ½ cup sugar, then ½ teaspoon vanilla, to stiff glossy peaks. Spread over the hot filling, sealing to the crust. Bake at 350°F (175°C) for roughly 10 to 12 minutes, until golden. Cool about 1 hour, then chill at least 4 hours.
Notes
Where Banana Cream Pie Usually Goes Wrong
- The crust crumbles when sliced. Usually the crumbs were not pressed firmly or the mixture was too dry. Next time, press harder against the plate and check for the damp-sand texture before filling.
- The filling is runny after chilling. Often the custard was pulled off the heat before it bubbled. Once it has set soft, there is no reliable way to firm it up. Cook it to a full bubble next time.
- The custard has lumps or small egg flecks. Pour it through a fine-mesh sieve into a clean bowl before it goes in the pie. This removes most lumps, though it will not fix a custard that has fully scorched.
- Banana slices turn brown at the cut edges. Slice them last, cover them fully with filling, and keep the garnish bananas for the moment of serving.
- The whipped cream looks wet or starts to separate after a few hours. Whip to medium-firm peaks and top the pie close to serving time.
Swaps and Adjustments
- Pastry crust instead of graham: use a 9-inch blind-baked crust, fully cooled. The filling steps stay the same.
- Store-bought crust: a ready-made graham crust works, and the instructions on the package will say whether it needs baking before filling.
- Vanilla wafer crumbs: can stand in for graham crackers. Use the same amount, and rely on the damp-sand texture check rather than adding extra butter.
Keeping It: Make-Ahead and Storage
The crust can be baked a day ahead and kept covered at room temperature. The filled pie, with plastic wrap on the surface, can chill overnight. Add the whipped cream and the garnish bananas close to serving.
Keep the pie refrigerated, since it contains milk and eggs, and avoid leaving it at room temperature for more than 2 hours. Leftovers keep best covered in the refrigerator for about 2 days, though the bananas darken and the crust softens a little each day. Freezing is not recommended: custard fillings tend to separate when thawed.
Banana Cream Pie Facts
- The custard-over-bananas idea is old. According to the Wikipedia entry on banana cream pie, the dish originated in the United States, and an early recipe from 1906 in The Blue Ribbon Cook Book placed custard over bananas with no further baking.
- Cornstarch needs heat to do its job. Starch granules swell and thicken as the liquid heats, and recipes call for bubbling so the thickening is complete before the pie is chilled.
- Bananas brown because of air exposure. Cut banana flesh darkens as enzymes in the fruit react with oxygen, which is why this recipe covers the slices with filling and saves the garnish slices for the end.
Banana Cream Pie FAQ
Can I make the whole pie a day ahead?
Yes, up to the whipped cream. Chill the filled pie overnight and top it before serving. The cut edges of the bananas may darken slightly by the next day, since the filling covers them but does not seal out all the air.
Can I use 2% milk instead of whole milk?
The custard will usually still thicken, but it tastes less rich and sets a bit softer. Whole milk gives the most dependable result.
Does the pudding version taste different?
Instant pudding tastes sweeter and less eggy than cooked custard, and the texture is smoother and slightly lighter. It is a good option when you do not want to stand at the stove.
Can I freeze banana cream pie?
It is not recommended. Dairy and egg custards tend to separate and turn watery after thawing, and thawed banana slices go soft.
Serving and Pairing
Serve the pie cold, straight from the refrigerator, and use a clean knife for each cut. A cup of black coffee suits it well, since the bitterness cuts through the sweet custard. If the pie is going to a gathering, bring the whipped cream and bananas separately and finish it on arrival.
Emily Hart
Hi, I'm Emily! I develop cozy, doable recipes for busy home cooks — clear steps, honest ingredients, and flavors the whole table will love. Follow on Pinterest
Follow on Pinterest

Leave a Reply