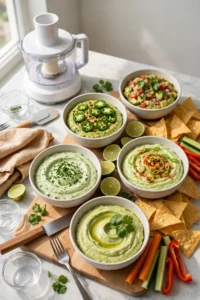
Thai Peanut Sauce 5 Ways (Satay, Noodles, Spring Rolls & More)
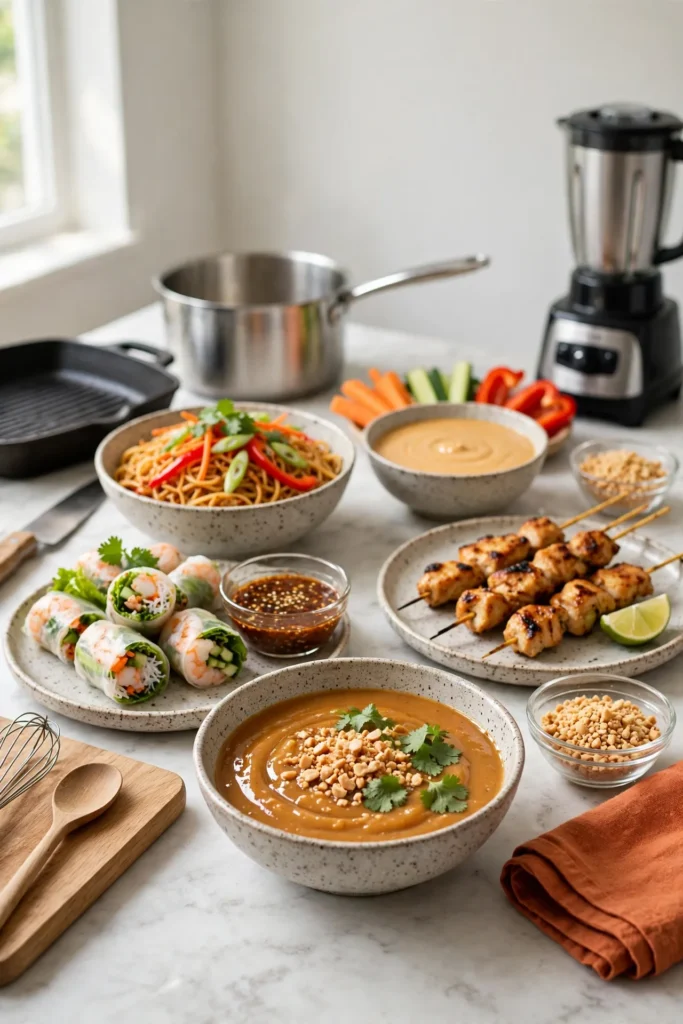
Whisk once, eat five ways: satay, spring rolls, noodles and dips from one Thai peanut sauce.
 Pin it
In this post
Start with Recipe 1 — the base Thai peanut sauce that the other recipes use. Then jump straight to the one you want:
- Recipe 1: Thai Peanut Sauce (The Base)
- Recipe 2: Peanut Sauce for Spring Rolls
- Recipe 3: Chicken Satay with Peanut Sauce
- Recipe 4: Peanut Sauce Noodles
- Recipe 5: Creamy Peanut Sauce (Blender Dip)
One bowl of peanut sauce, five dinners. The base gets whisked once — peanut butter, coconut milk, soy, lime, garlic, ginger, chili — then divided four ways: a hoisin-spiked dip for spring rolls, a drizzle for chicken satay, a loosened toss for noodles, plus a fifth version blended extra-silky with more coconut milk for dipping vegetables.
No cooking involved in the sauce itself. The whole blog is assembly and whisking, which makes it the lowest-effort highest-reward thing on this site.
Recipe 1: Thai Peanut Sauce (The Base)
Everything starts here. Ten minutes, one bowl, no heat.
You need:
- ½ cup creamy peanut butter
- ½ cup coconut milk (full-fat, shaken)
- 3 tablespoons soy sauce
- 2 tablespoons fresh lime juice
- 1 tablespoon rice vinegar
- 2 tablespoons brown sugar
- 1 teaspoon toasted sesame oil
- 2 garlic cloves, minced
- 1 tablespoon freshly grated ginger
- 1–2 teaspoons chili garlic sauce (to taste)
- Warm water, to thin
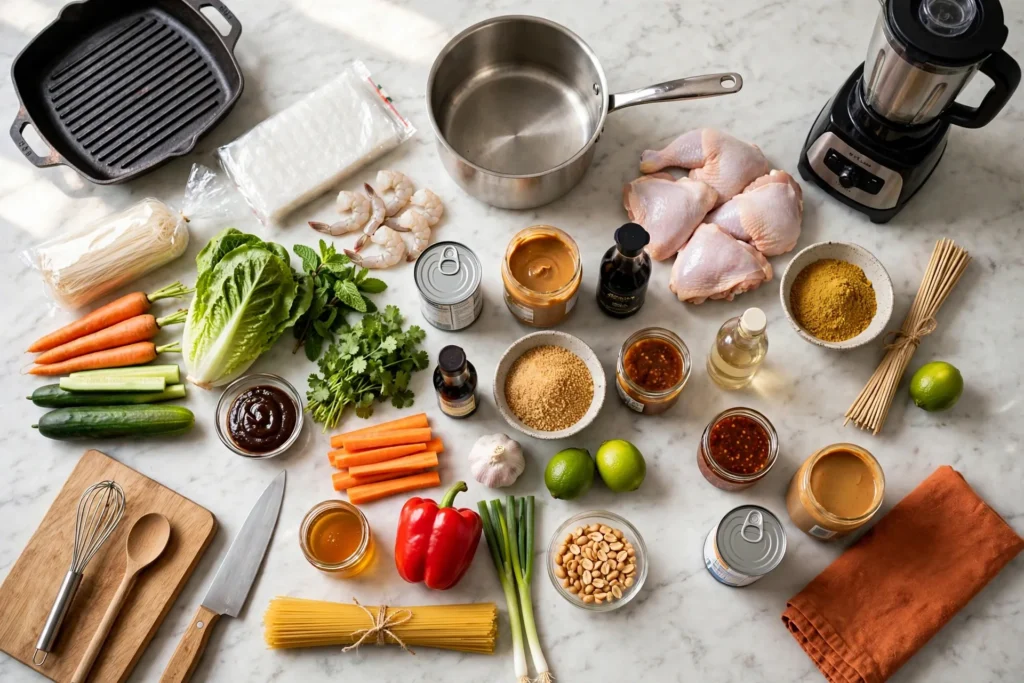
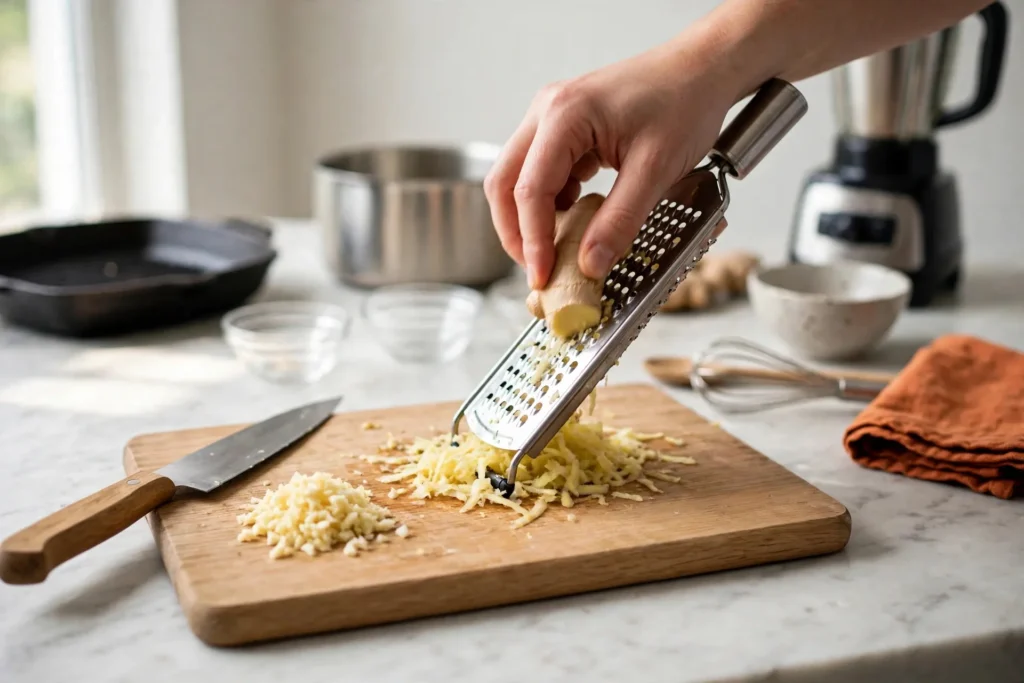
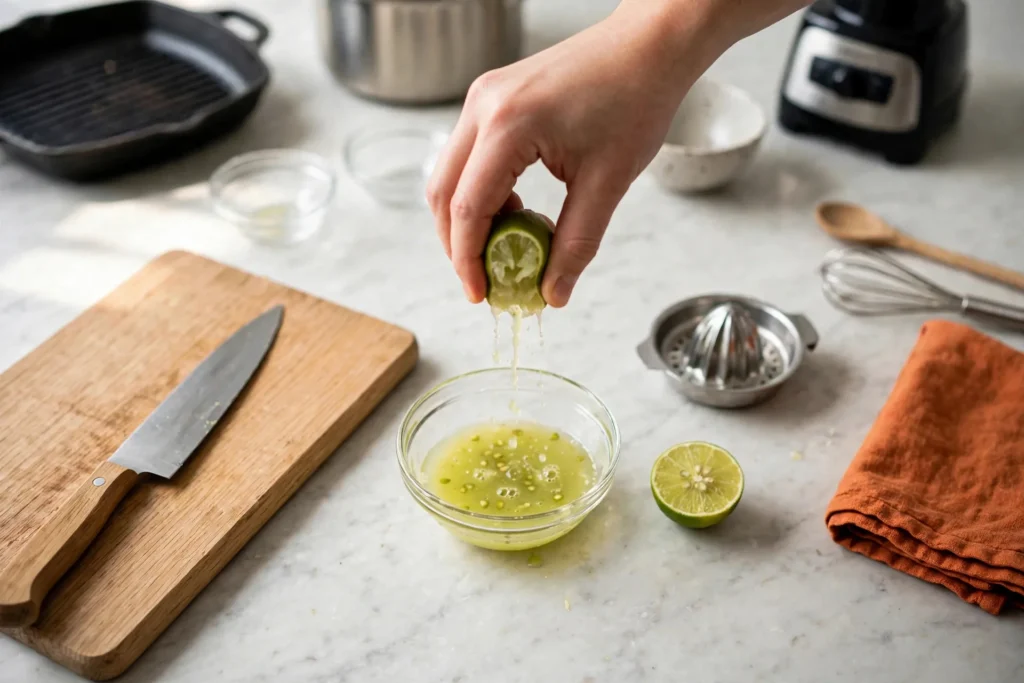
Mince the garlic and grate the ginger. Squeeze the limes — fresh juice, not the bottle; the sauce is bright because of it.
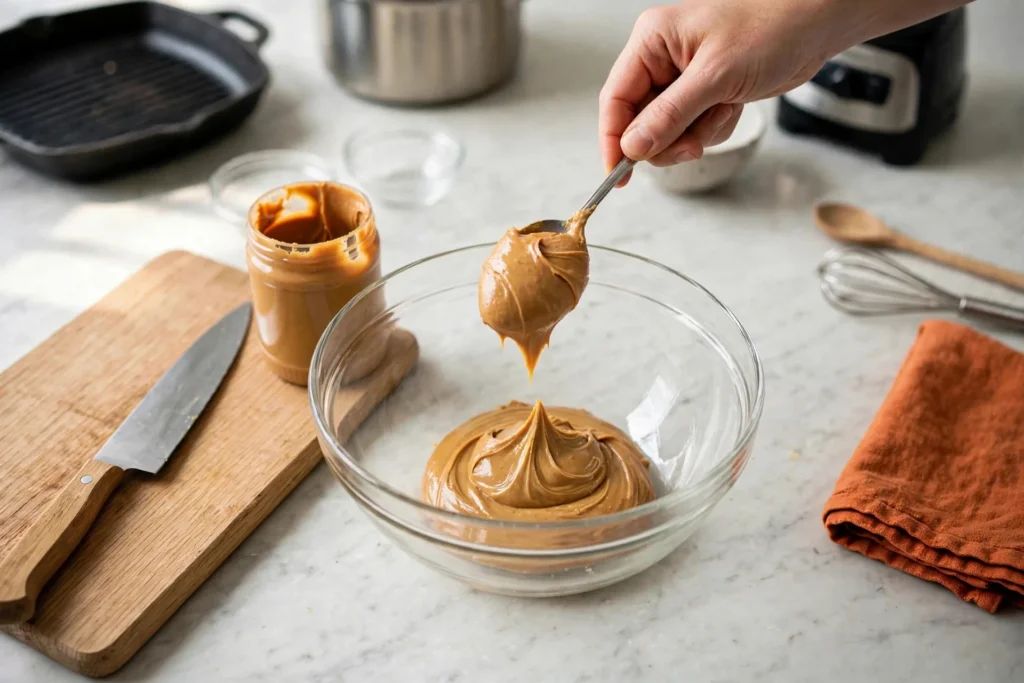
Spoon the peanut butter into a large bowl. It’ll be thick and stubborn; that’s expected.
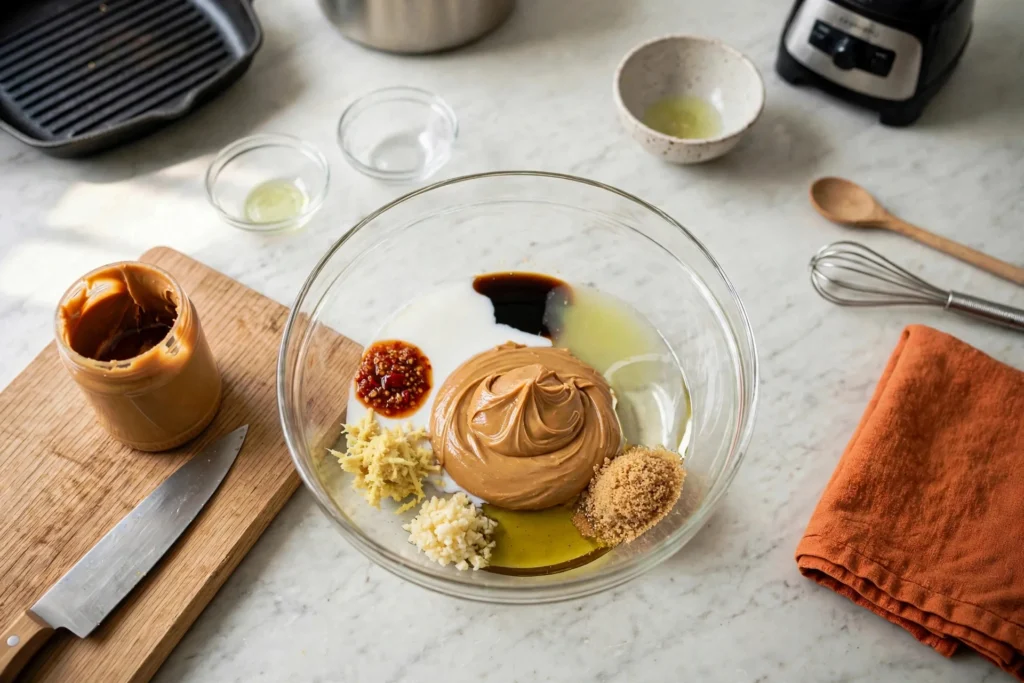
Add everything else on top — coconut milk, soy, lime juice, vinegar, brown sugar, sesame oil, garlic, ginger, chili sauce — sitting separately for now so you can see the colors before they merge.
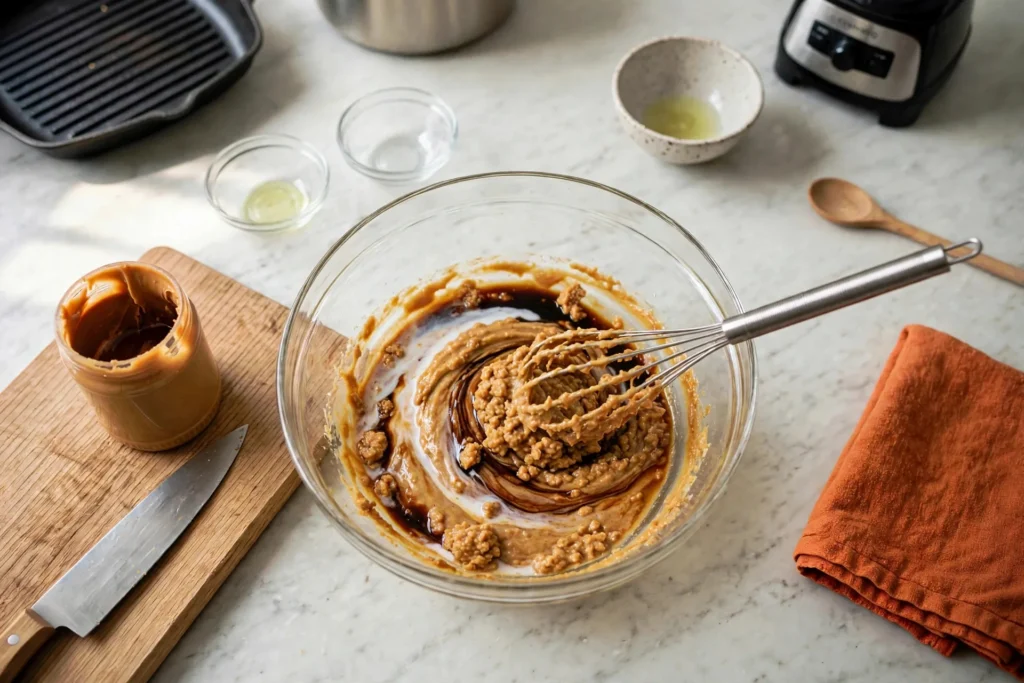
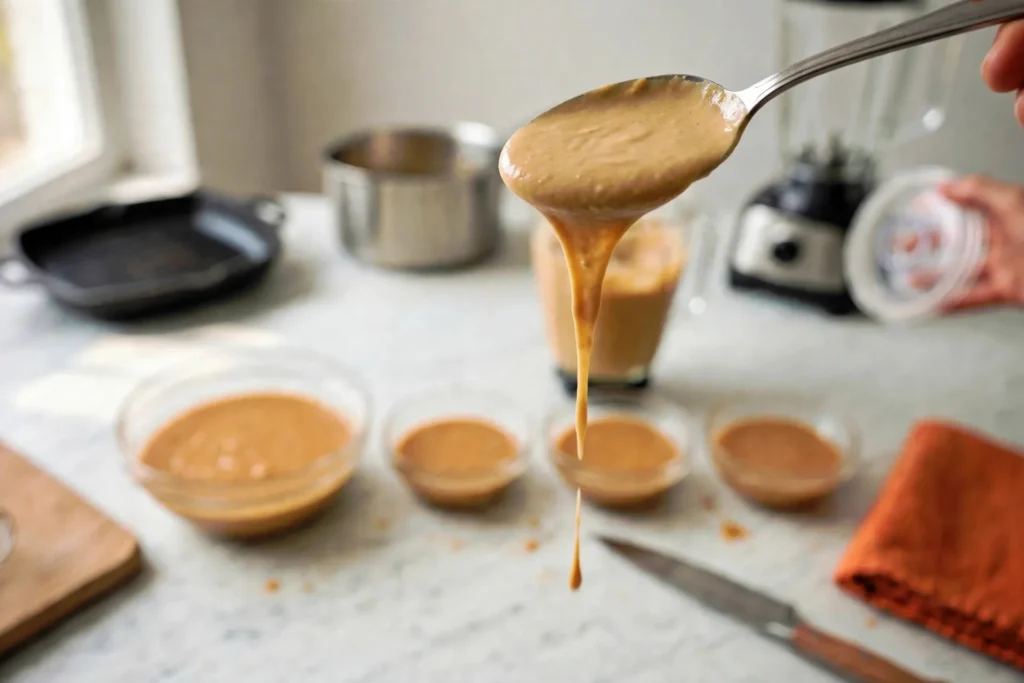
Whisk. It’ll look too thick and clumpy at first, with streaks of soy and coconut milk. Keep going — then drizzle in warm water a tablespoon at a time, whisking, until it turns glossy, golden-tan and pourable. Thick enough to coat a spoon, loose enough to fall in a ribbon.
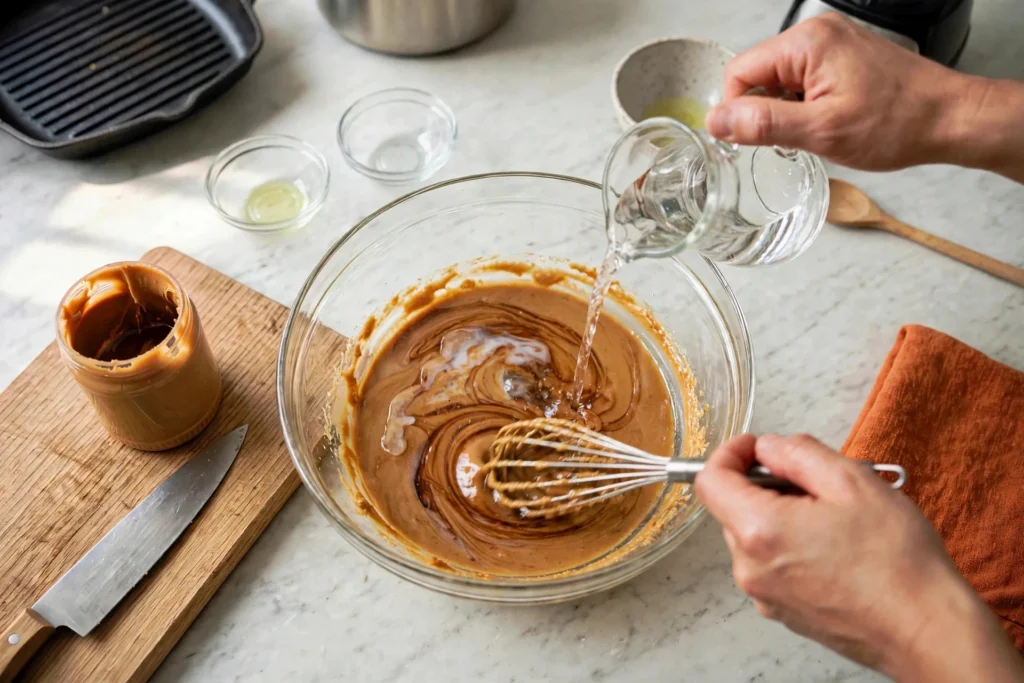
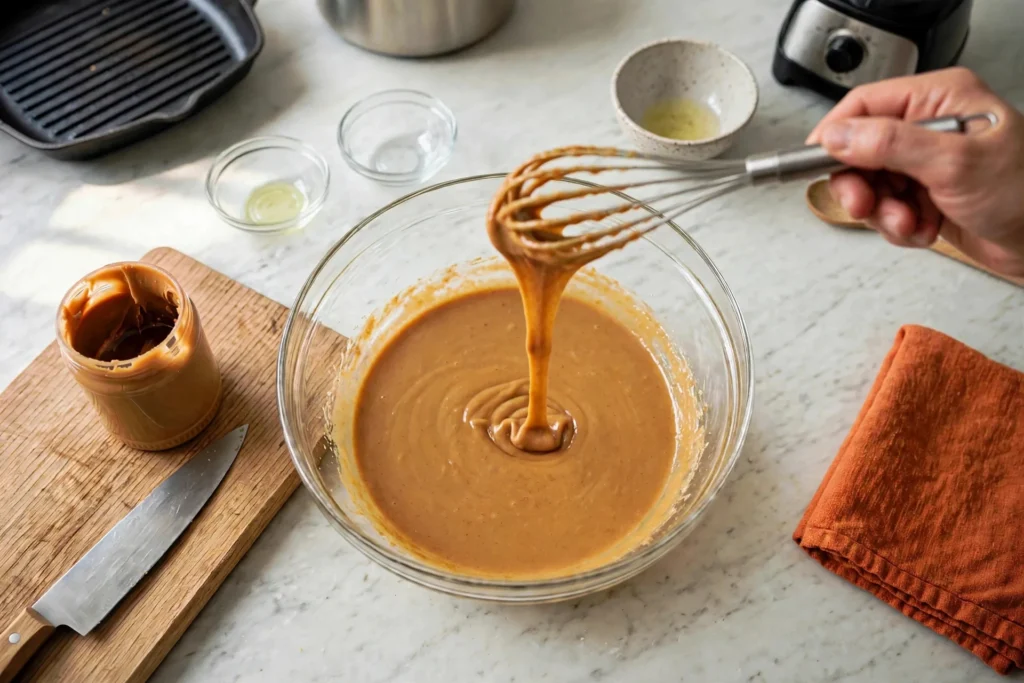
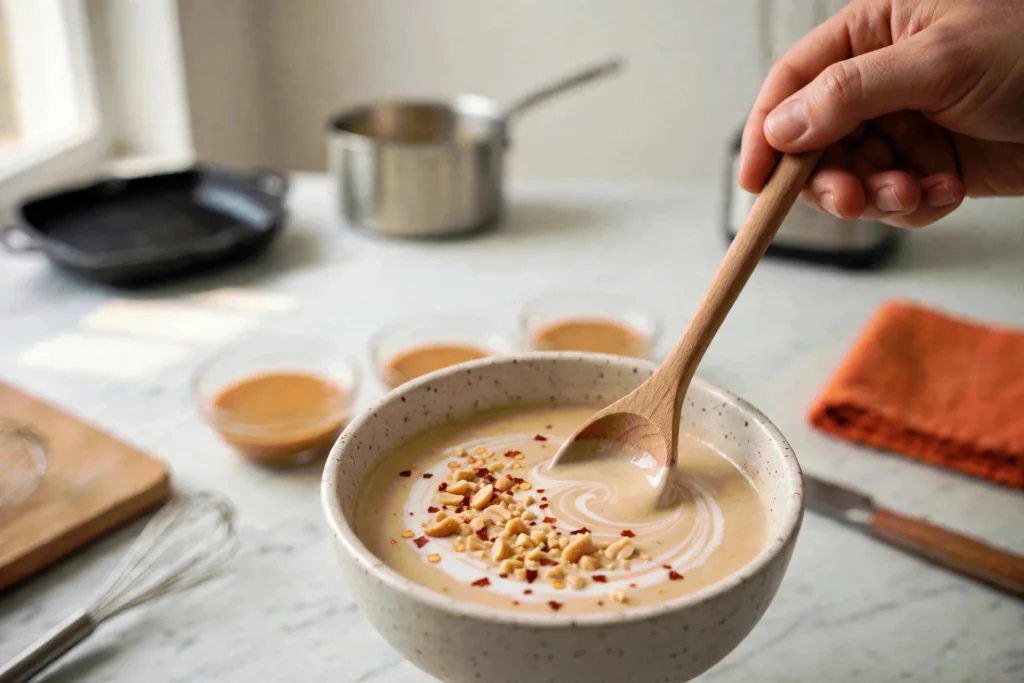
Taste and adjust: more lime for brightness, more chili for heat, more sugar if the peanut butter was unsweetened. Spoon into a bowl, swirl a little coconut milk on top, and finish with crushed peanuts, cilantro and chili flakes.
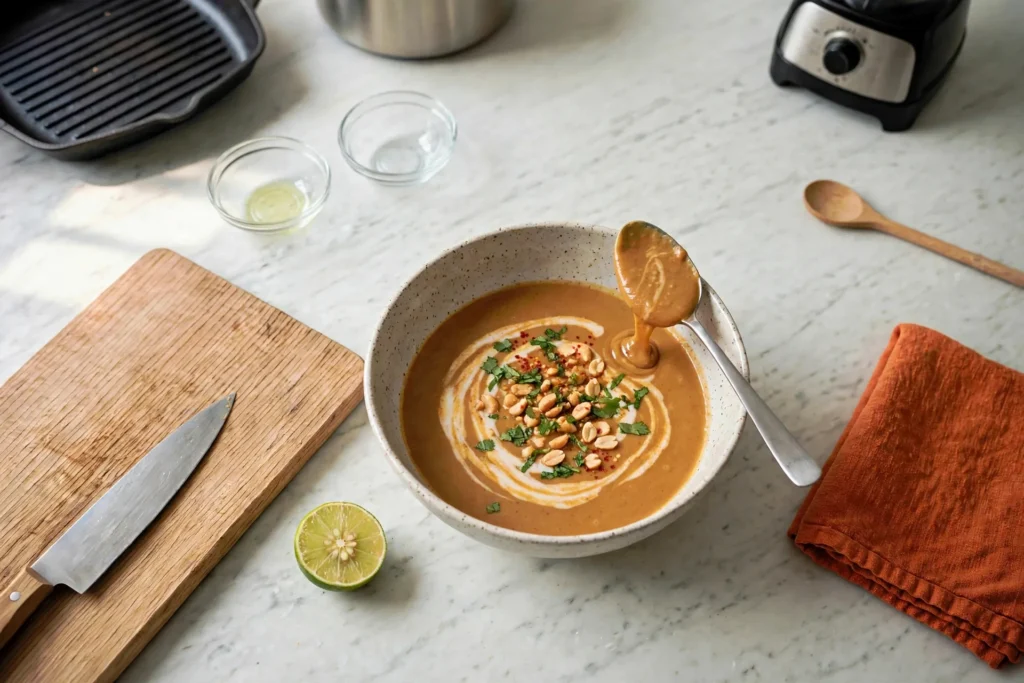
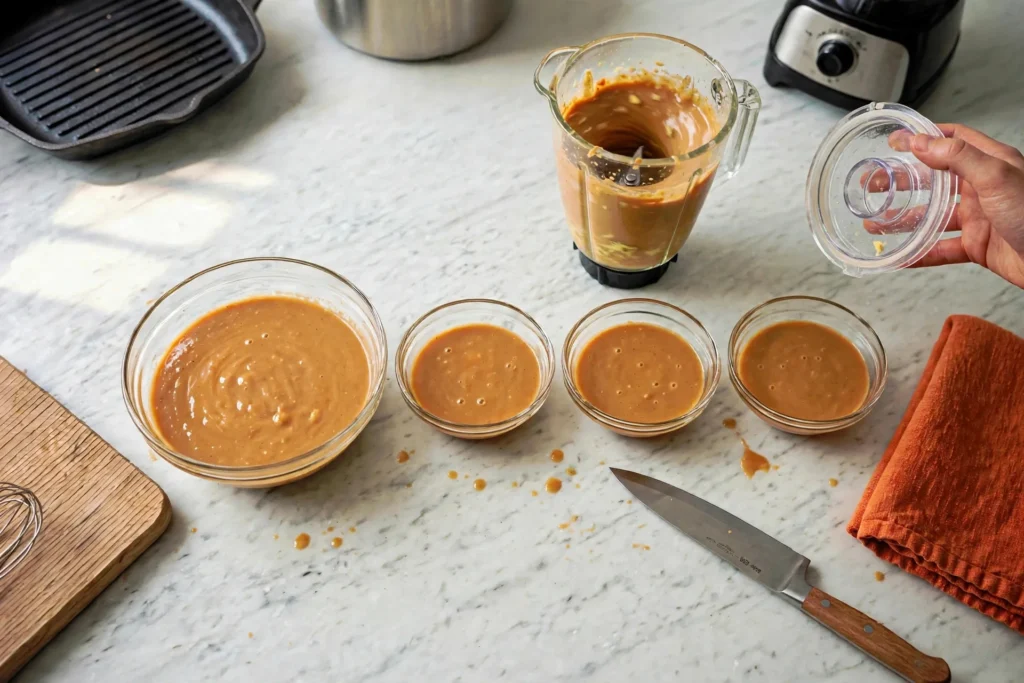
Divide what’s left into four bowls — one larger, three smaller. Each of the next recipes takes one.
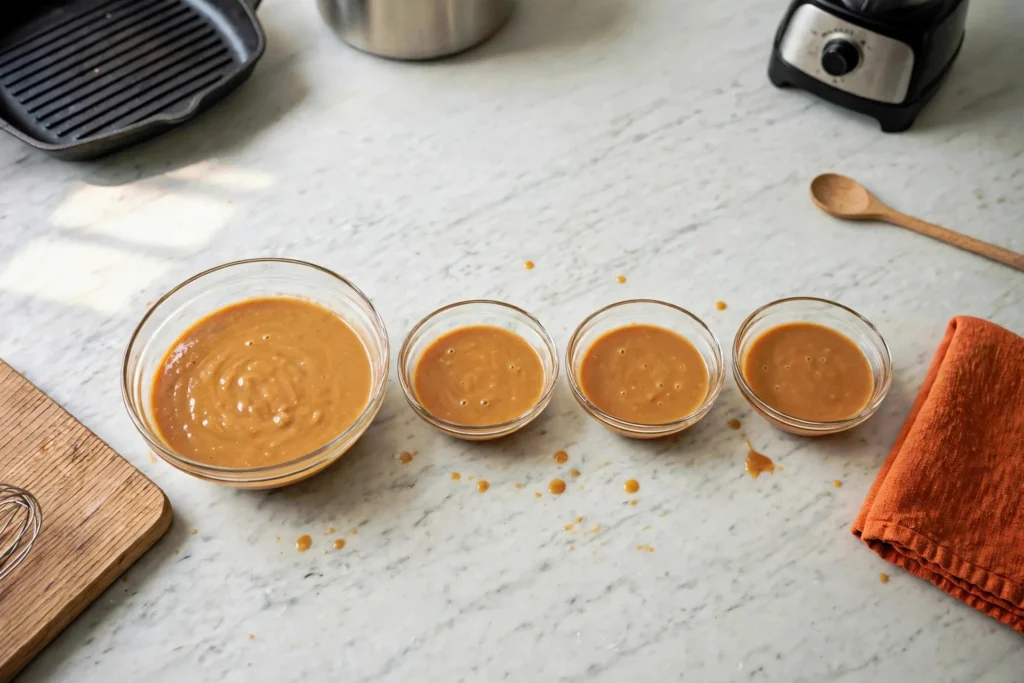
Keep it a week in the fridge. It thickens when cold; whisk in warm water to loosen.
Ingredients
Equipment
Method
- Mince garlic; grate ginger; squeeze limes.
- Spoon peanut butter into bowl; add all remaining ingredients except water.
- Whisk until combined (thick and clumpy at first).
- Drizzle warm water 1 tbsp at a time, whisking, until glossy, golden-tan, pourable ribbon.
- Taste: lime/chili/sugar to balance. Divide for recipes 2–4 or store.
Notes
Recipe 2: Peanut Sauce for Spring Rolls
The base plus hoisin, served with fresh shrimp spring rolls. The hoisin makes the dip darker, sweeter, and stickier — built for clinging to rice paper.
You need, for the dip:
- 1 small bowl of the base peanut sauce (about ½ cup)
- 1 tablespoon hoisin sauce
- Crushed peanuts, to finish
For 8 spring rolls:
- 8 round rice paper wrappers
- 4 oz thin rice vermicelli
- 12 cooked shrimp, halved lengthwise
- 1 cup julienned carrot
- 1 cup thin cucumber sticks
- 8 lettuce leaves, torn
- Fresh mint and cilantro leaves
Stir the hoisin into the peanut sauce until marbled, then smooth. Dark streaks at first, then one darker golden sauce.
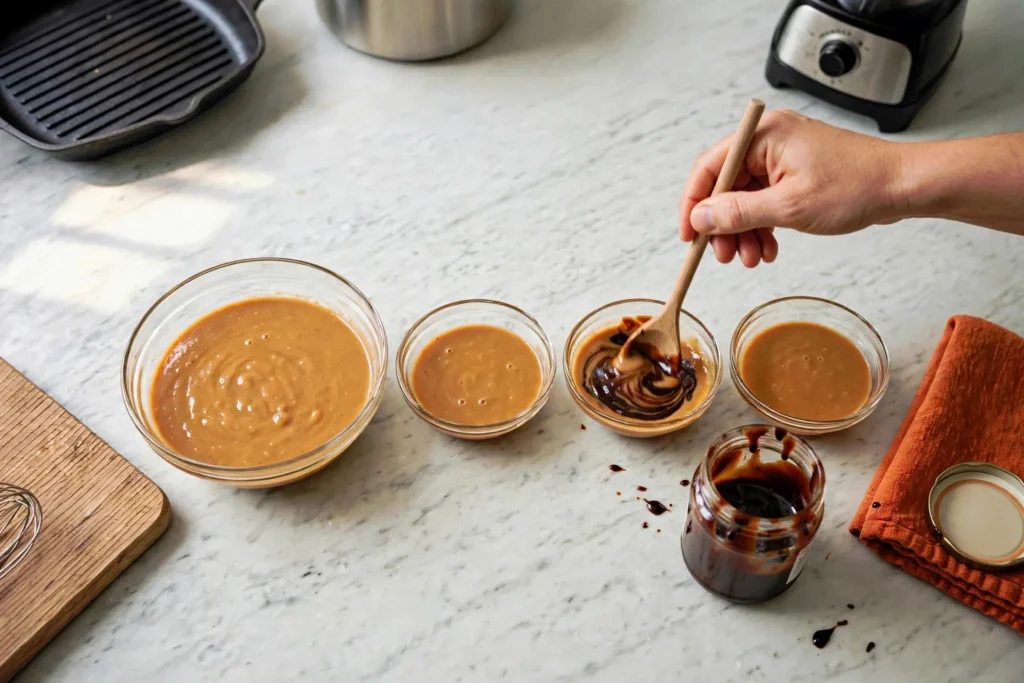
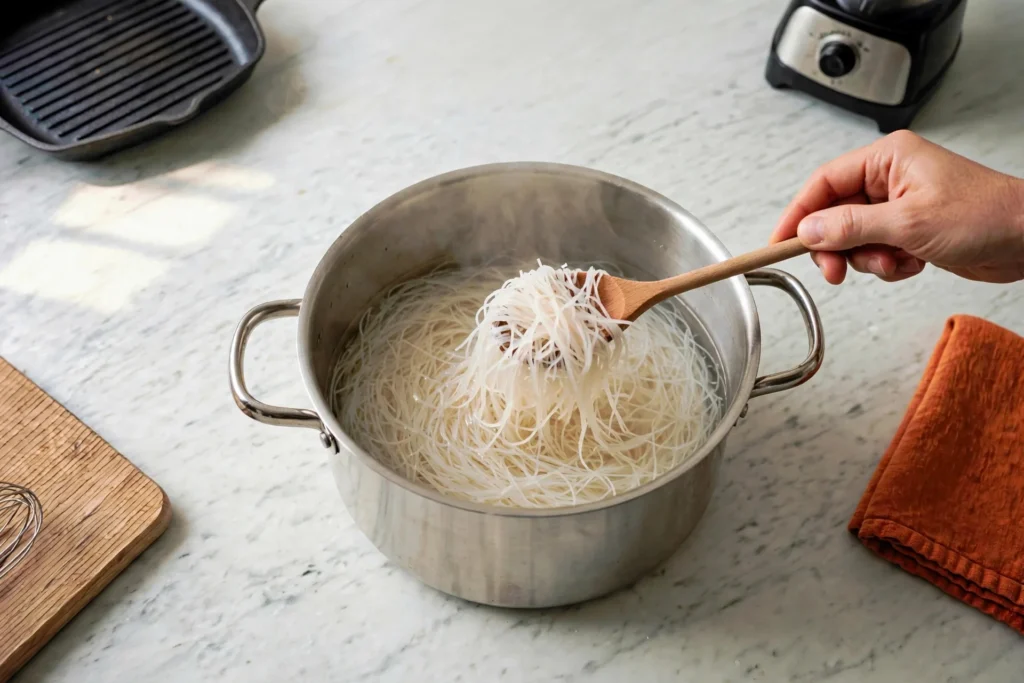
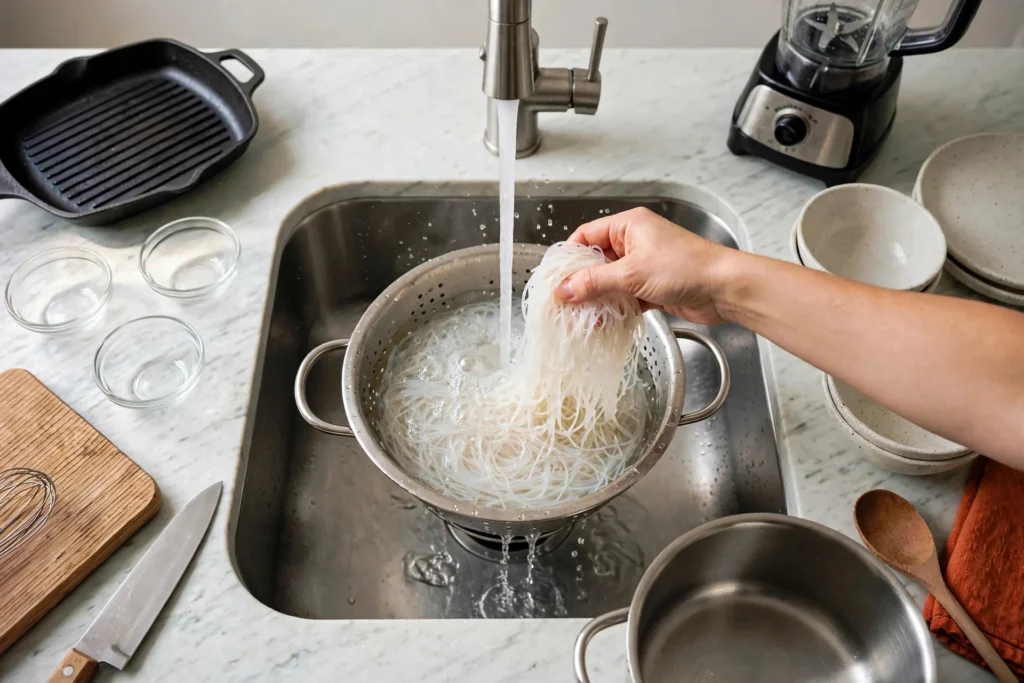
Cook the vermicelli in hot water until just soft — 3 to 4 minutes — then drain and rinse under cold water so the strands stay separate.
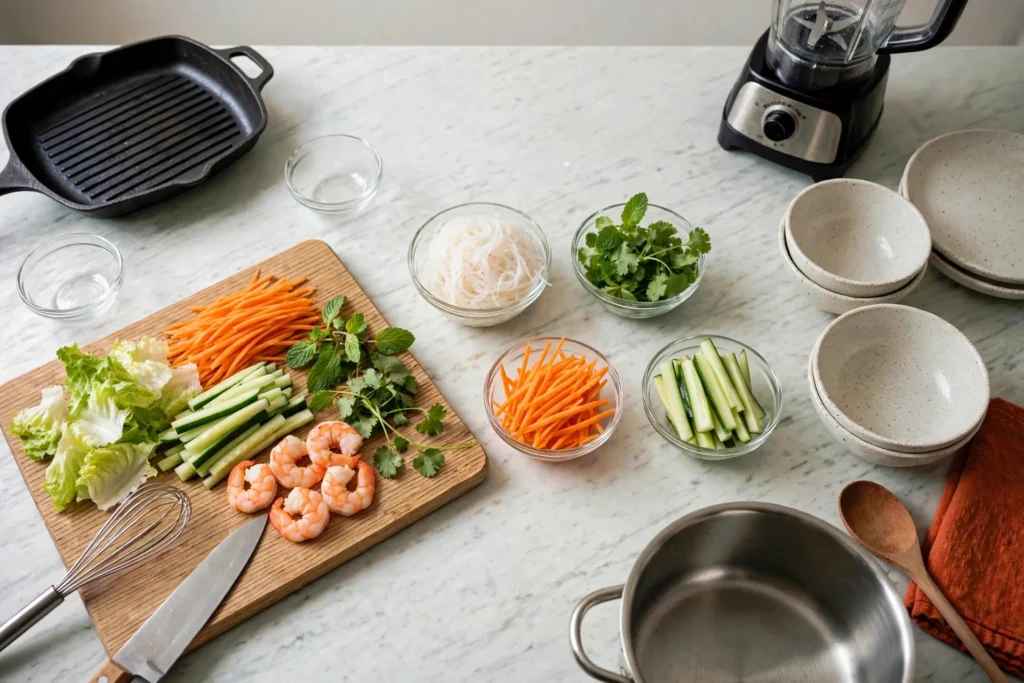
Prep everything within arm’s reach: carrot, cucumber, lettuce, herbs, halved shrimp, vermicelli. Rolling goes fast once you start, and stopping to chop mid-roll dries the wrapper out.
Dip one rice paper wrapper in warm water — a few seconds, until it just starts to soften. It keeps softening on the board, so don’t soak it limp.

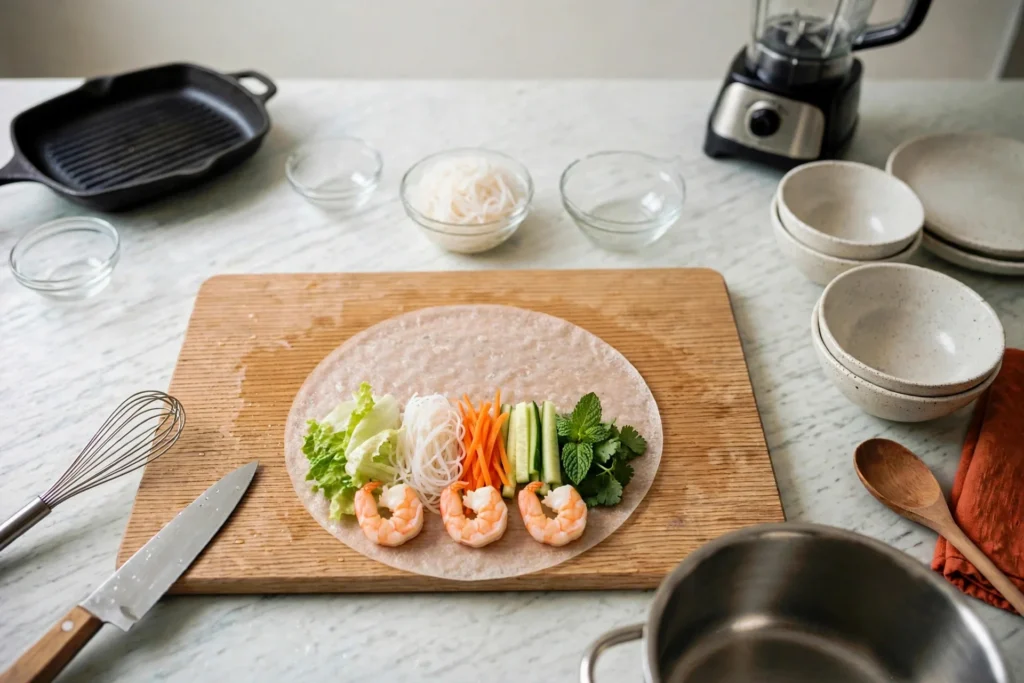
Lay it flat and layer fillings on the lower third: lettuce, vermicelli, carrot, cucumber, herbs, and shrimp pink-side down so the color shows through the wrapper. Leave the edges clear.
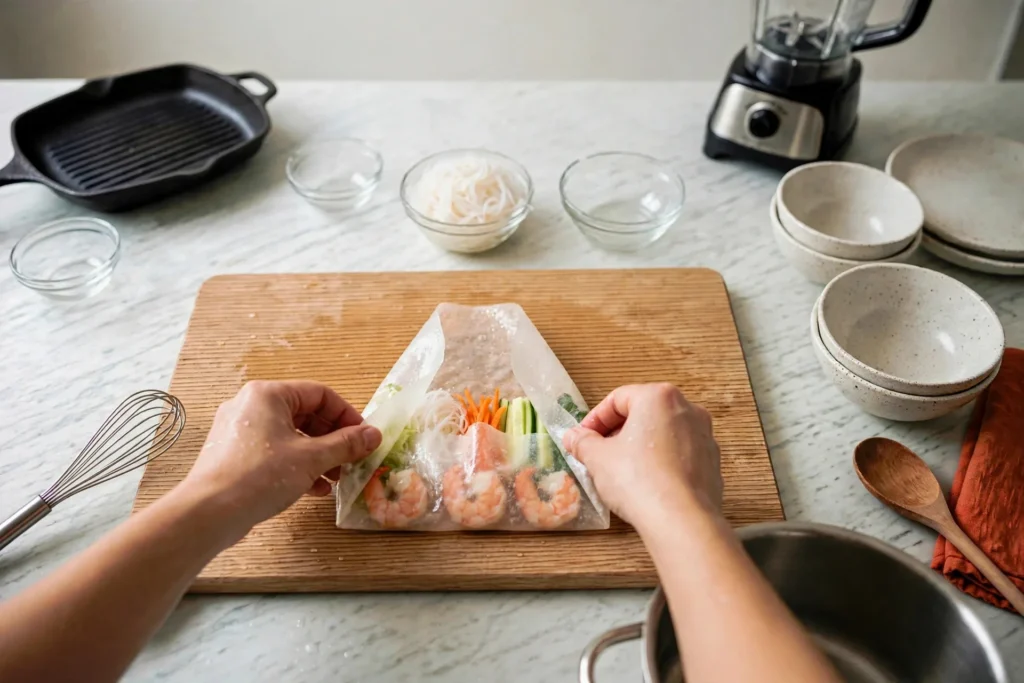
Fold the bottom edge over the fillings, tuck tight, fold in the sides, then roll to the top. Firm and neat, like a burrito. The shrimp and vegetables should show through the clear wrapper.
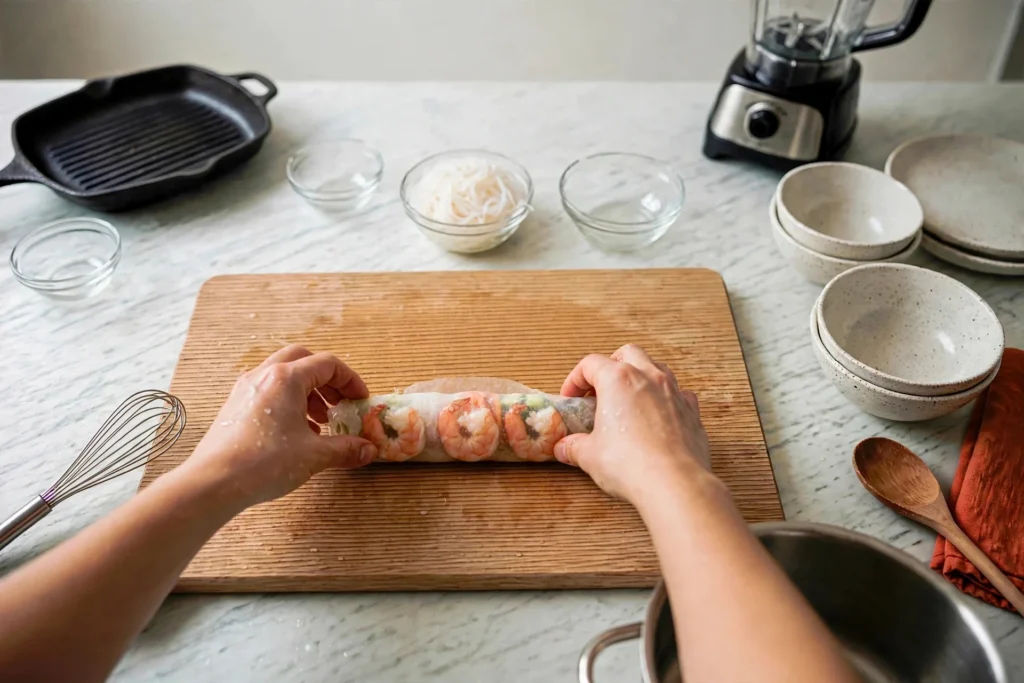
Line them on a plate without touching — they stick to each other — and cover with a damp towel while you roll the rest.
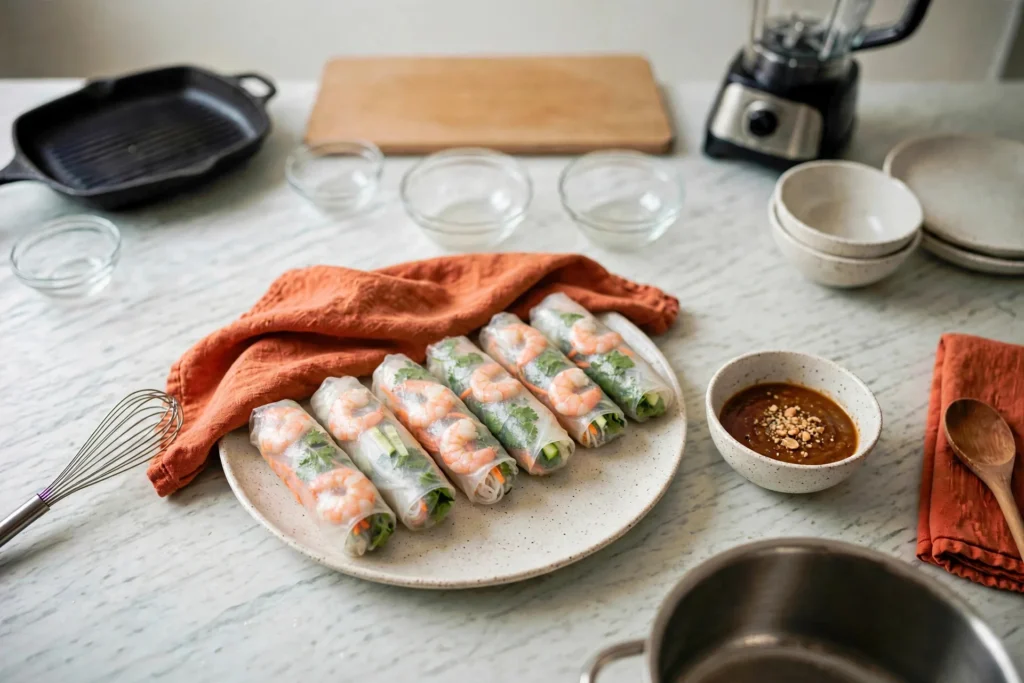
Cut in half on a diagonal to show the cross-section: neat layers of vermicelli, carrot, cucumber, lettuce, pink shrimp.
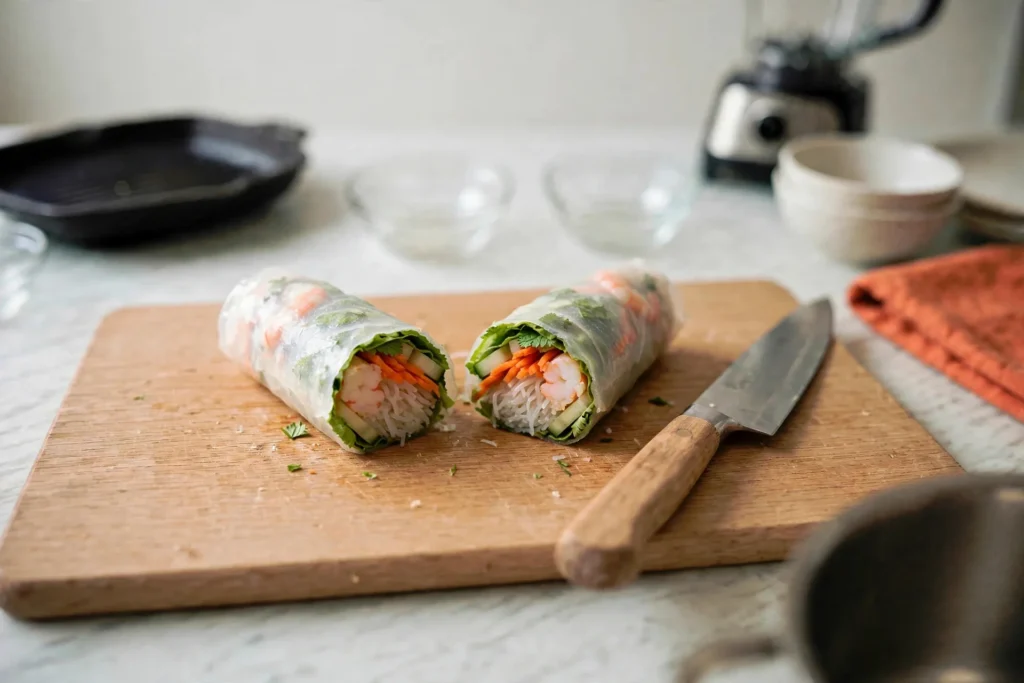
Serve standing on their cut ends beside the hoisin-peanut dip, with lime and cilantro. Dip a cut half partway in — the cross-section catches the most sauce.
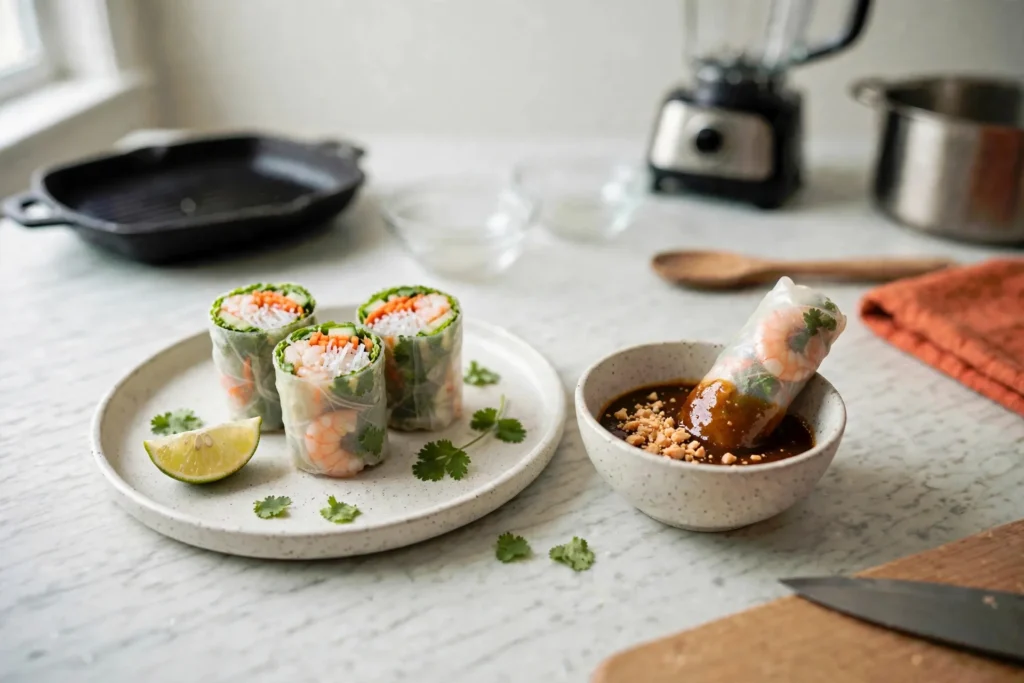
Serve them within the hour. Rice paper toughens as it sits, and there’s no fixing it.
Ingredients
Equipment
Method
- Stir the hoisin into the peanut sauce until marbled, then smooth.
- Cook the vermicelli in hot water 3–4 minutes until just soft; drain and rinse under cold water so the strands stay separate.
- Prep everything within arm's reach: carrot, cucumber, lettuce, herbs, halved shrimp, vermicelli.
- Dip one rice paper wrapper in warm water a few seconds until it just starts to soften. Lay flat; layer fillings on the lower third — lettuce, vermicelli, carrot, cucumber, herbs, shrimp pink-side down. Fold the bottom over the fillings, tuck tight, fold in the sides, then roll to the top.
- Line on a plate without touching; cover with a damp towel while you roll the rest. Cut in half on a diagonal and serve standing on cut ends beside the dip, with lime and cilantro. Serve within the hour.
Notes
Recipe 3: Chicken Satay with Peanut Sauce
Coconut-curry marinated chicken on skewers, seared on a grill pan until charred at the edges, served with the base sauce for dipping and drizzling.
You need:
- 1½ lb boneless chicken thighs, sliced into long strips
- ½ cup coconut milk
- 2 tablespoons soy sauce
- 1 tablespoon curry powder
- 2 garlic cloves, minced
- 1 tablespoon lime juice
- 1 teaspoon brown sugar
- Wooden skewers, soaked 30 minutes
- 1 small bowl of the base peanut sauce (about ½ cup), for serving
- Lime wedges, cucumber slices, cilantro
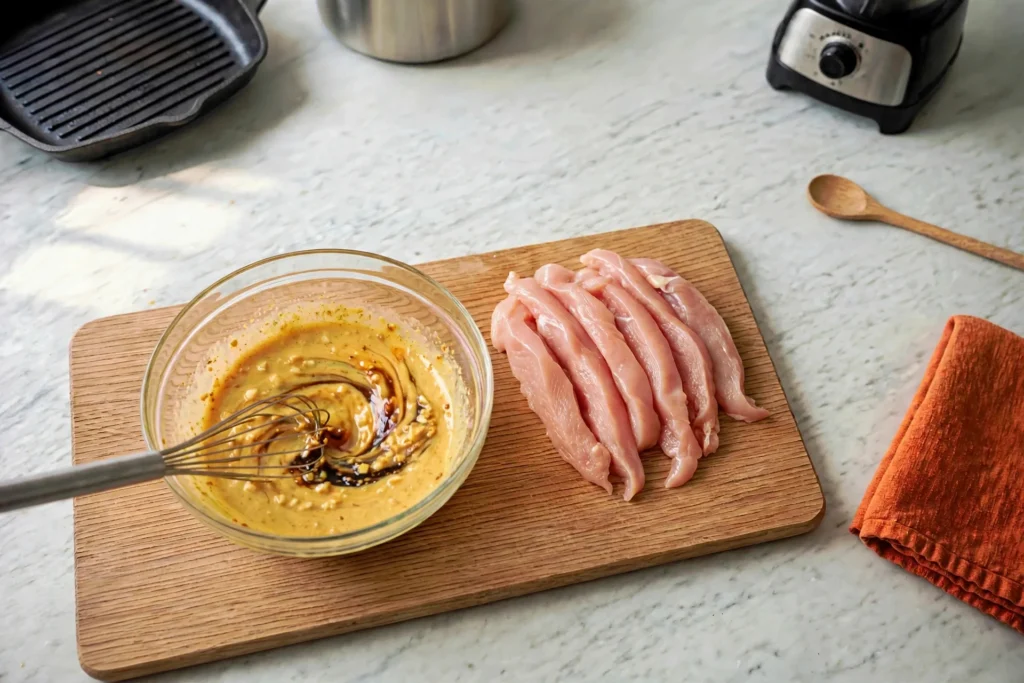
Slice the thighs into long, even strips — against the grain where you can. Even thickness means even cooking on the skewer.
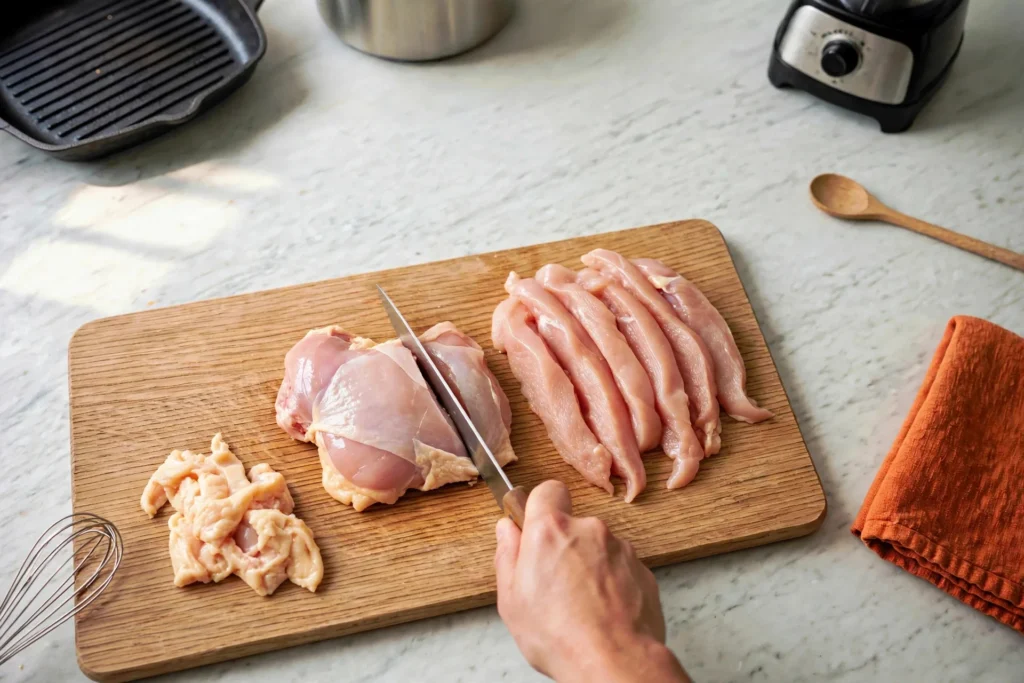
Whisk the marinade in a bowl: coconut milk, soy, curry powder, garlic, lime juice, brown sugar. It’ll be pale yellow-orange with flecks of curry.
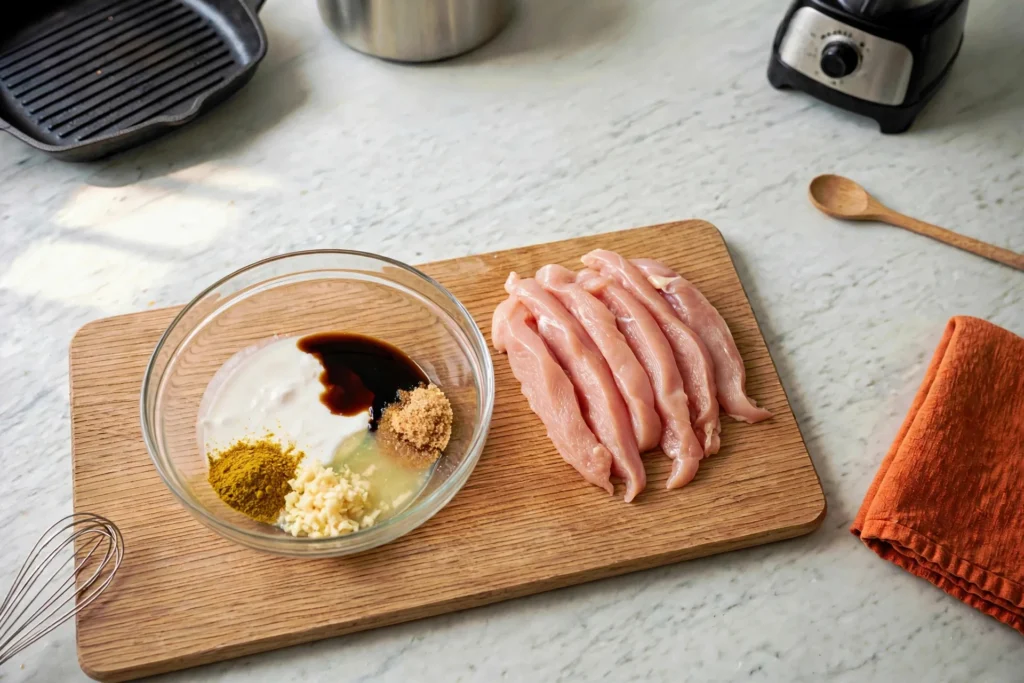
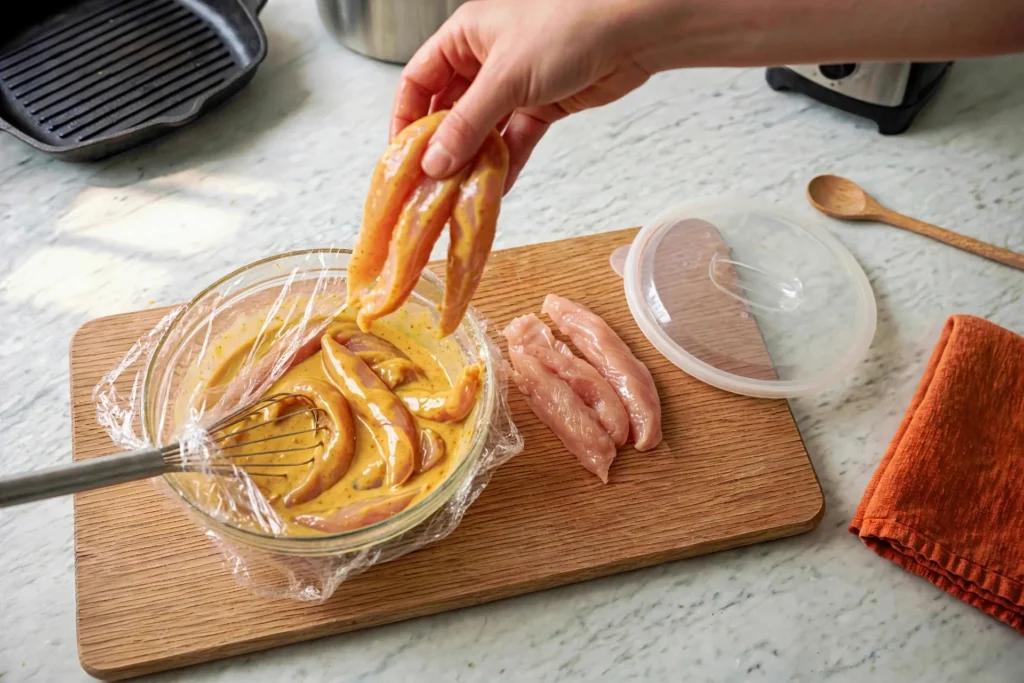
Toss the chicken strips through it by hand until every strip is glossy and coated. Cover and marinate at least 30 minutes — 2 hours is better, overnight is best.
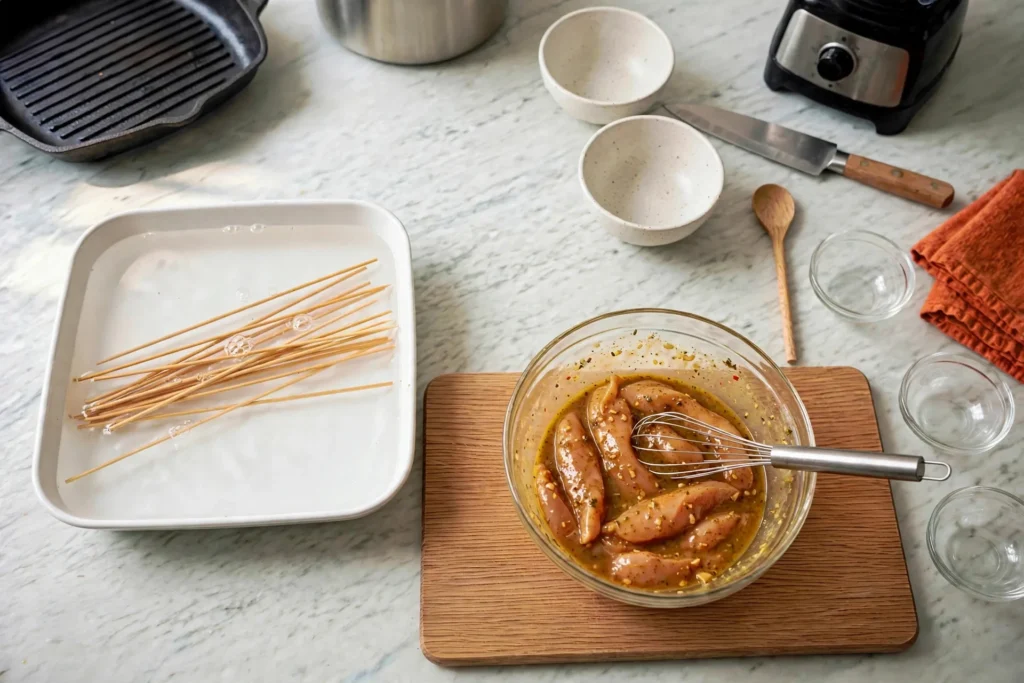
Soak the wooden skewers in water while the chicken marinates so they don’t burn on the grill pan.
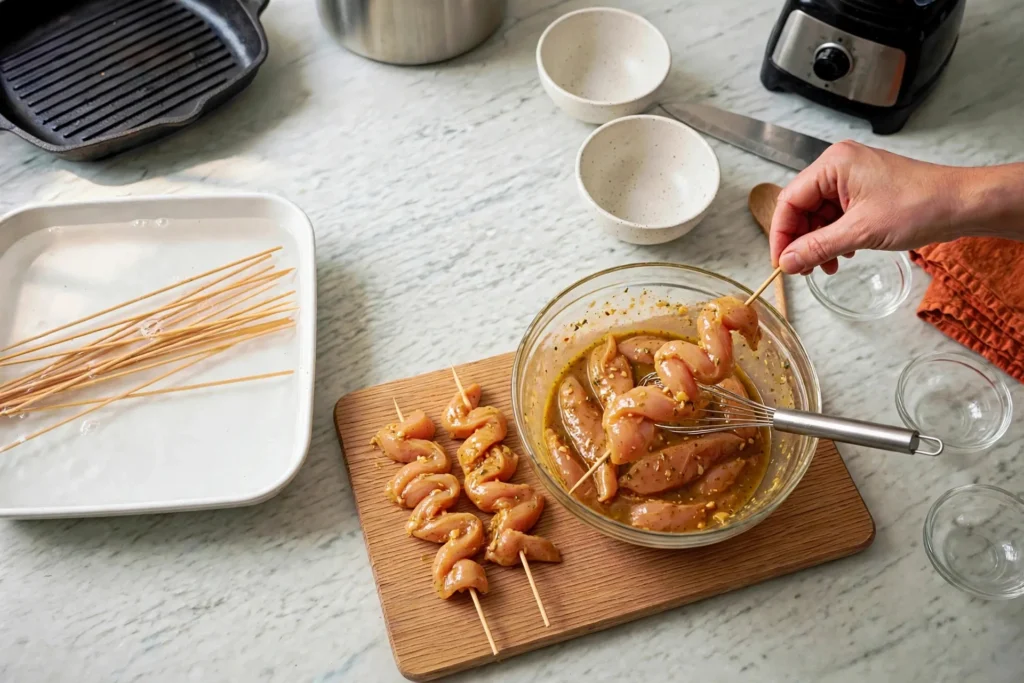
Thread each strip onto a skewer in a zigzag — the folds catch char and hold sauce. Line them up on a plate, neat and evenly spaced.
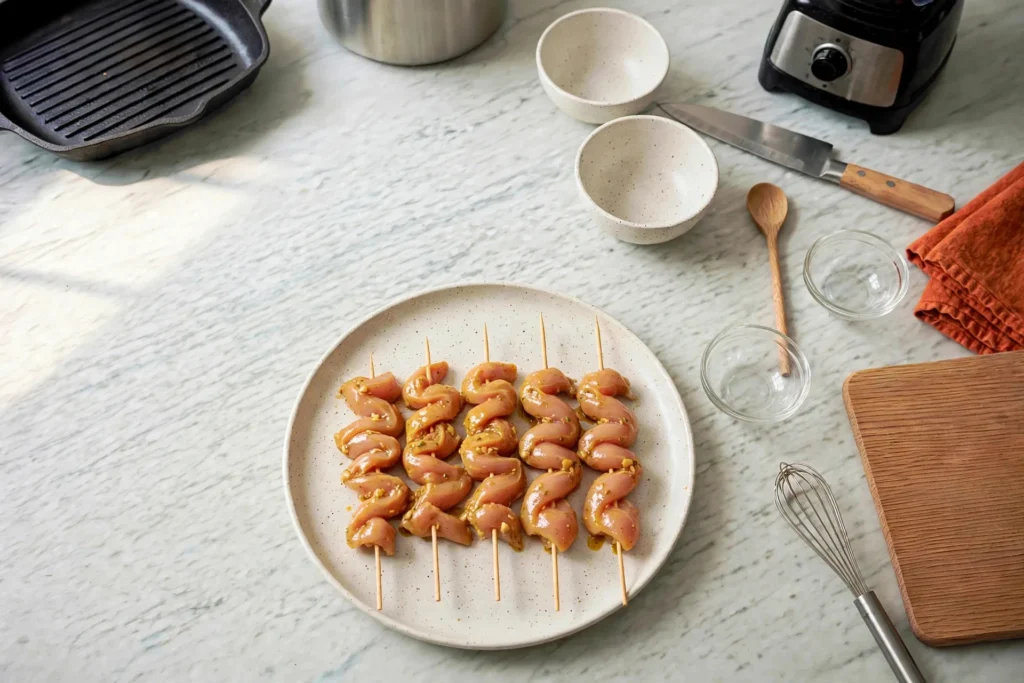
Sear on a hot grill pan, 3 to 4 minutes per side. Don’t crowd the pan; the skewers need contact with the heat to char. Flip once — the second side shows golden-brown grill marks.
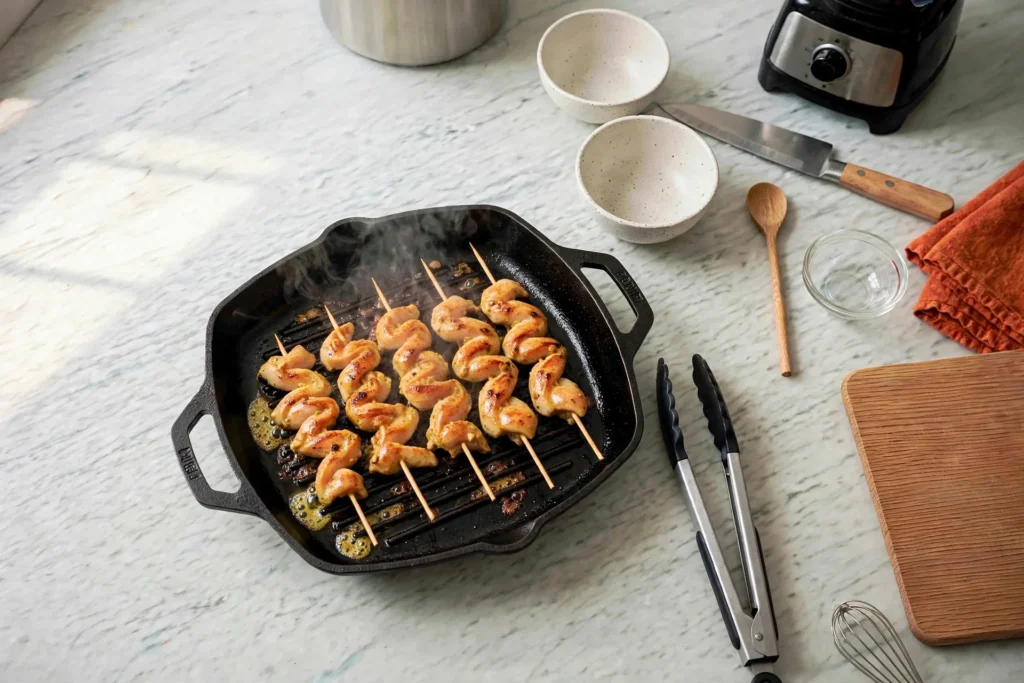
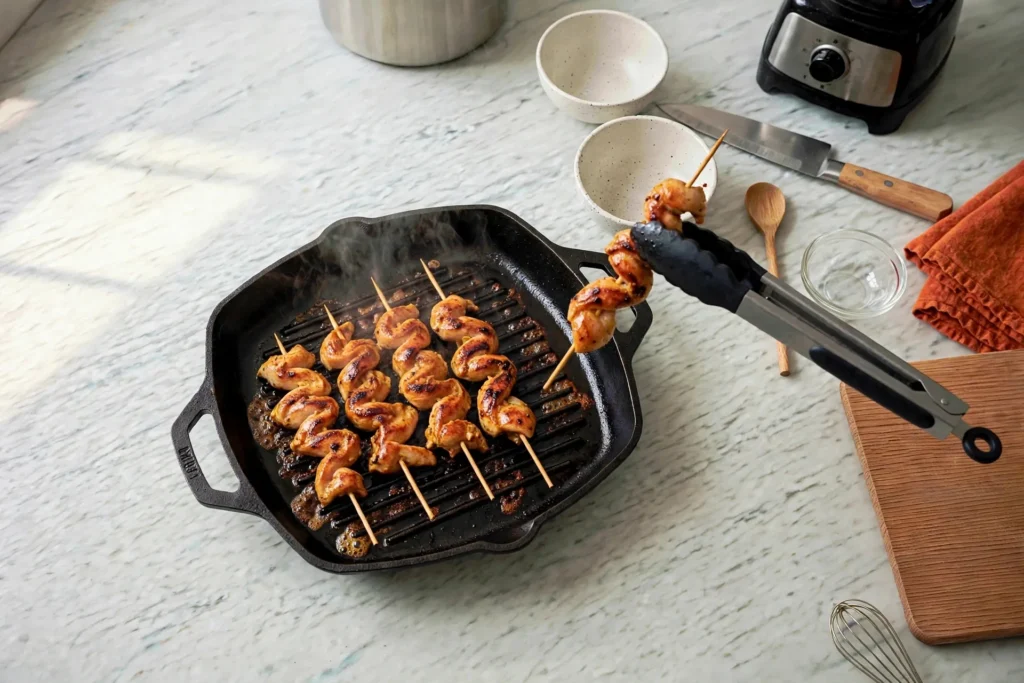
Check the thickest piece: 165°F (74°C). Rest a minute, then drizzle with peanut sauce and set the dipping bowl alongside.
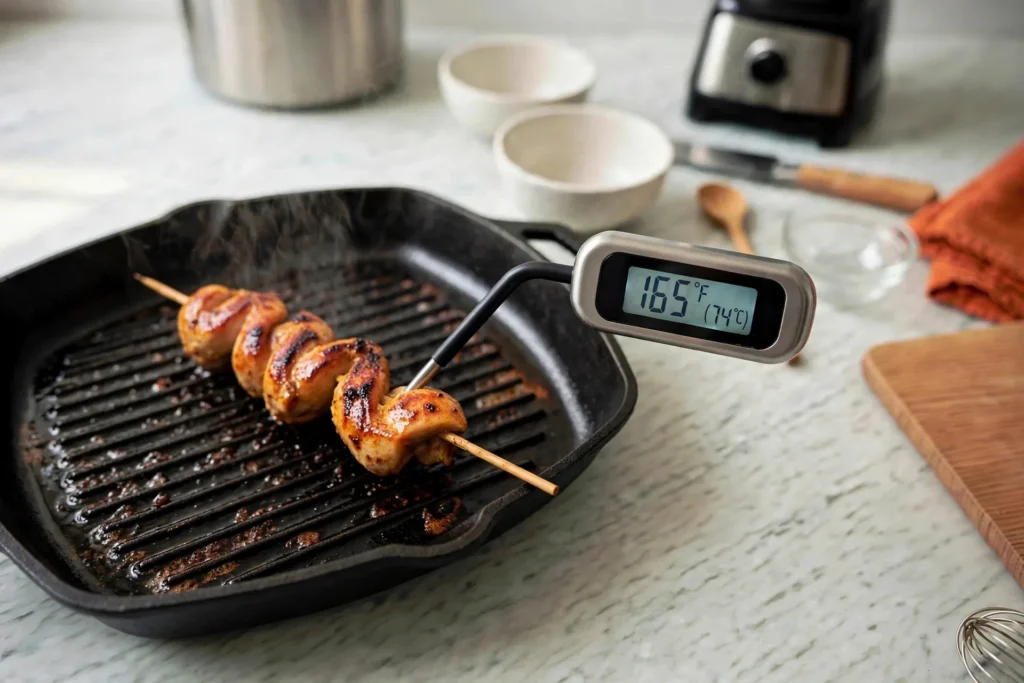
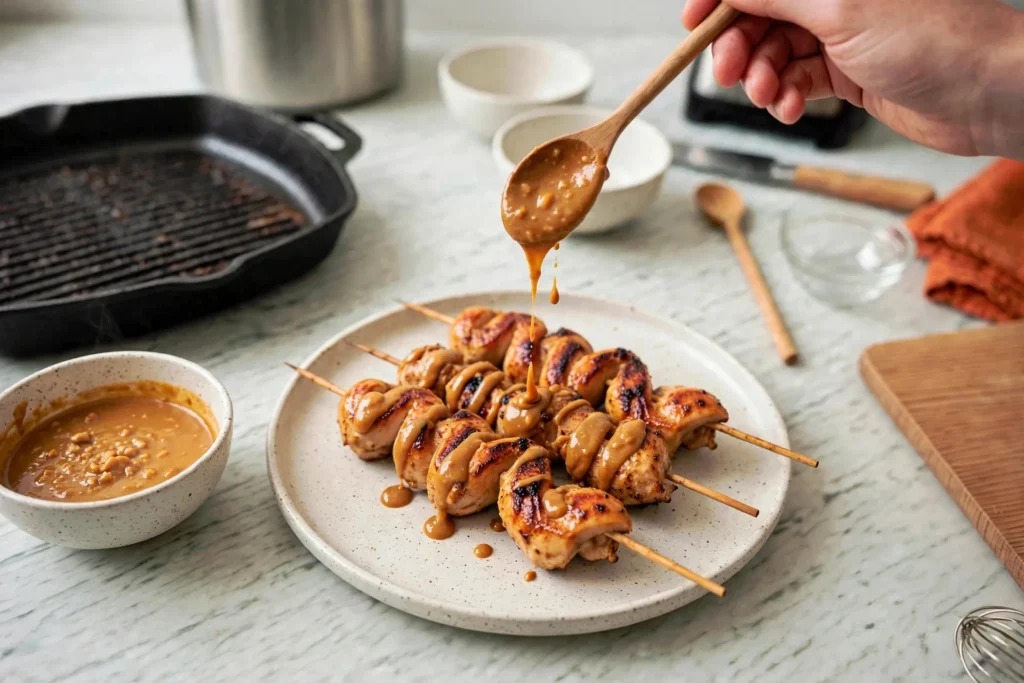
Serve on a plate with lime wedges, cucumber and cilantro. One skewer held up to the camera should glisten — juicy, charred, glossy.
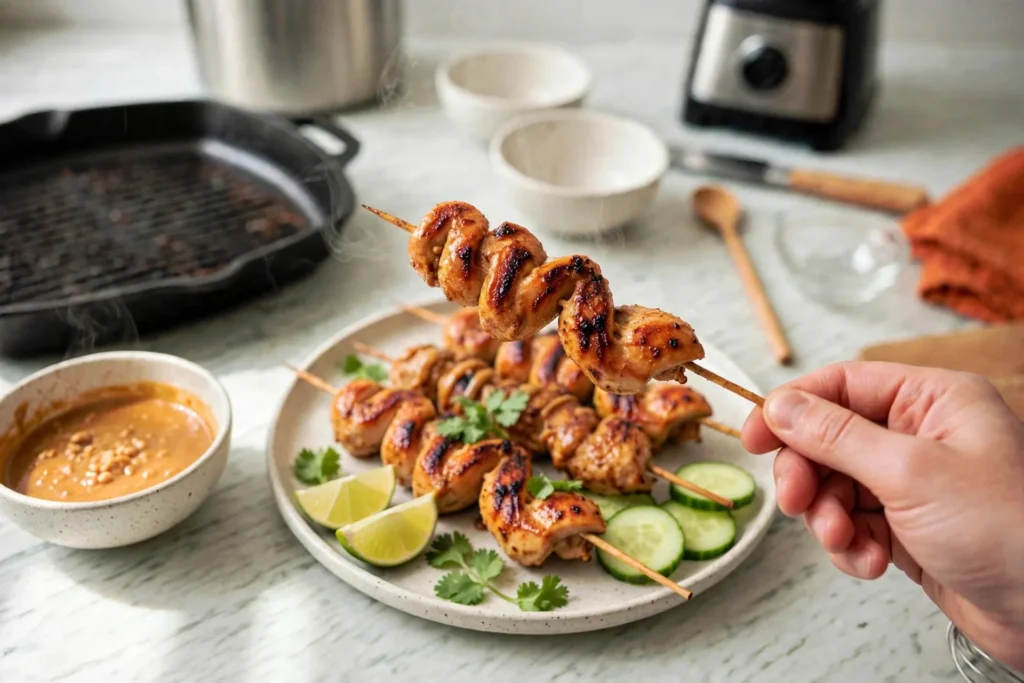
Serve it hot off the grill pan. Satay waits for no one.
Ingredients
Equipment
Method
- Whisk the marinade: coconut milk, soy sauce, curry powder, garlic, lime juice and brown sugar. Toss the chicken strips through it until coated; cover and marinate 30 minutes (2 hours is better, overnight is best).
- Soak the wooden skewers in water for 30 minutes while the chicken marinates.
- Thread each chicken strip onto a skewer in a zigzag and line them up on a plate.
- Sear on a hot grill pan 3–4 minutes per side until charred and the thickest piece reads 165°F (74°C).
- Drizzle with peanut sauce and serve hot with a bowl of dip, lime wedges, cucumber and cilantro.
Notes
Recipe 4: Peanut Sauce Noodles
The base thinned looser and tossed with spaghetti and crunchy vegetables. Weeknight-fast, endlessly riffable.
You need:
- 8 oz spaghetti
- 1 small bowl of the base peanut sauce (about ¾ cup)
- Warm water, to thin
- 1 red bell pepper, julienned
- 1 large carrot, shredded
- 3 scallions, sliced
- ½ cucumber, thinly sliced
- Crushed peanuts, cilantro, lime wedges, to finish
Prep the vegetables first — julienned pepper, shredded carrot, sliced scallions, cucumber. Bright piles, kept separate.
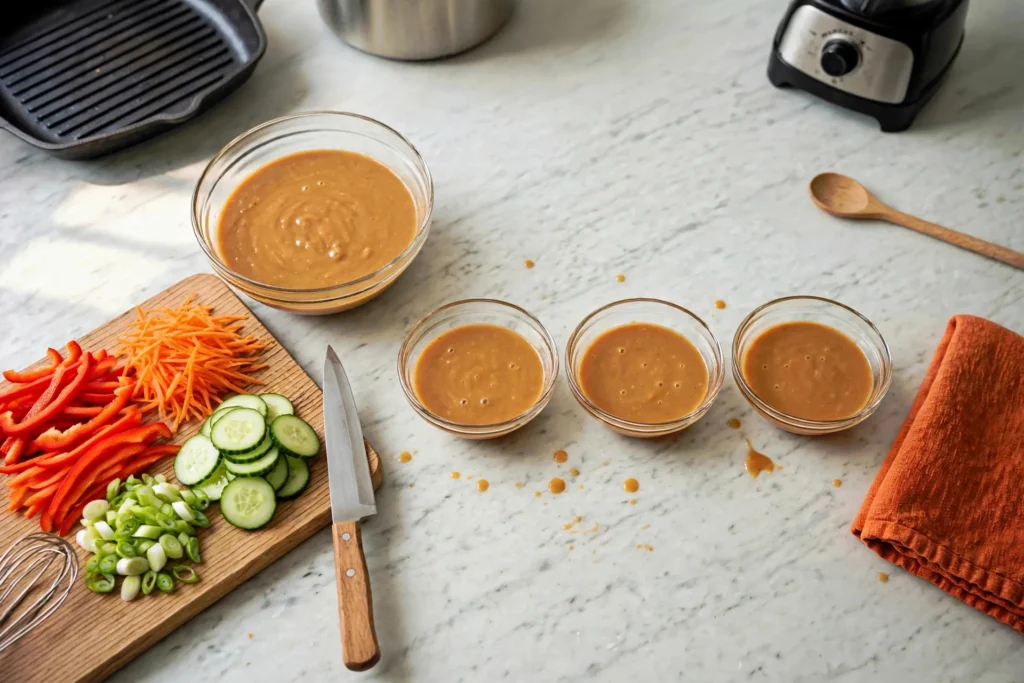
Boil the spaghetti in well-salted water until just al dente. Before draining, scoop out a jug of the starchy cooking water — liquid gold for loosening the sauce later.
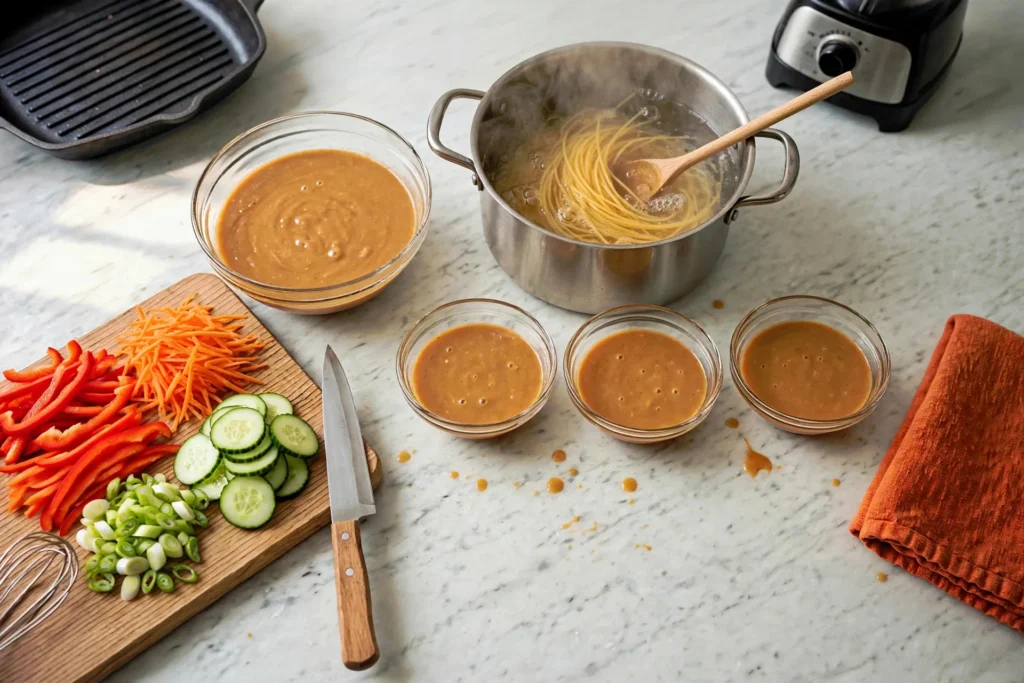
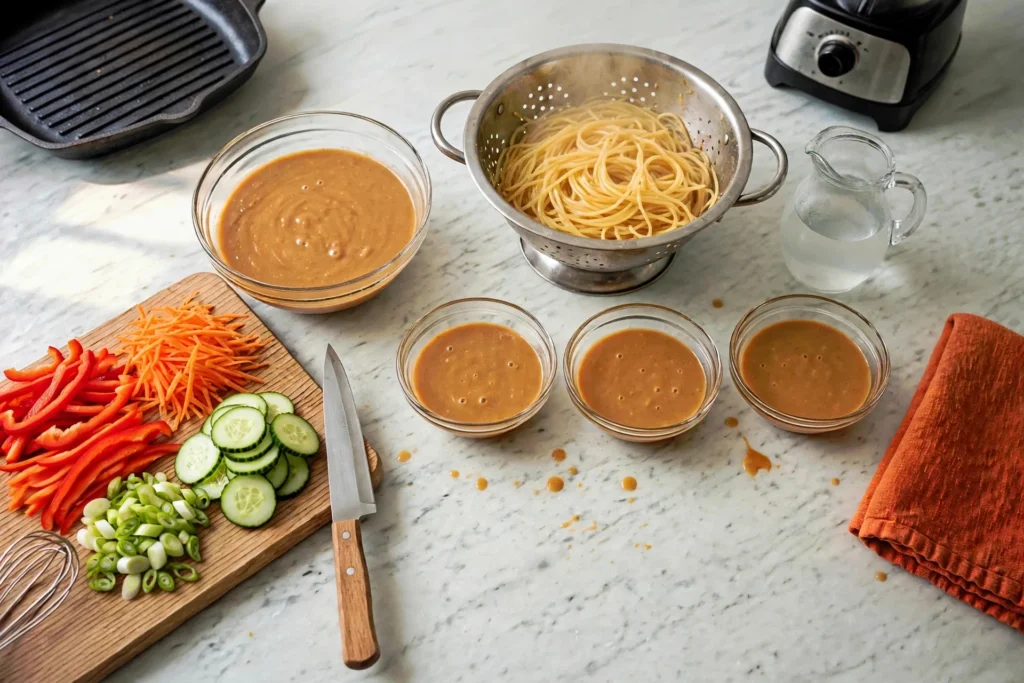
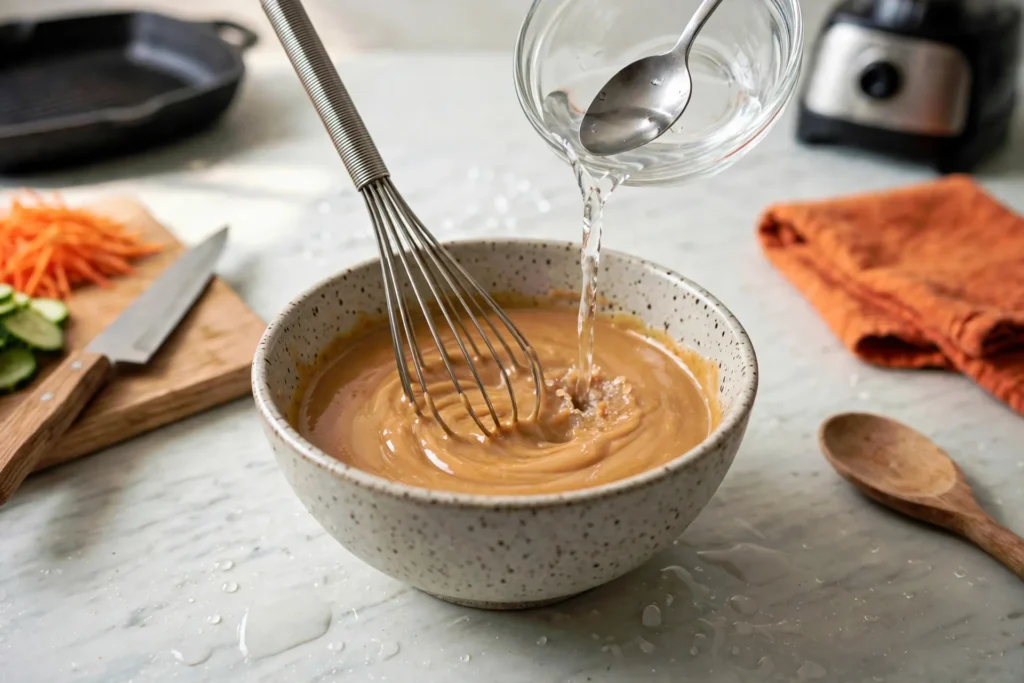
Whisk warm water into the peanut sauce a spoonful at a time until it pours like cream — looser than the dip version. It needs to coat every strand, not sit in blobs.
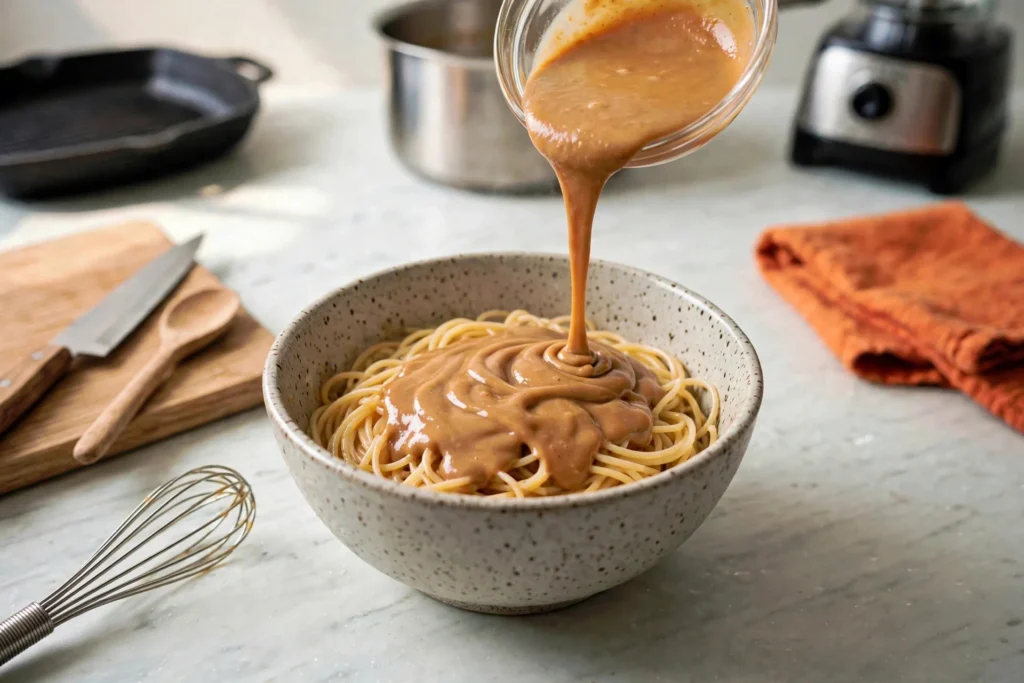
Pour over the warm spaghetti in a big bowl.
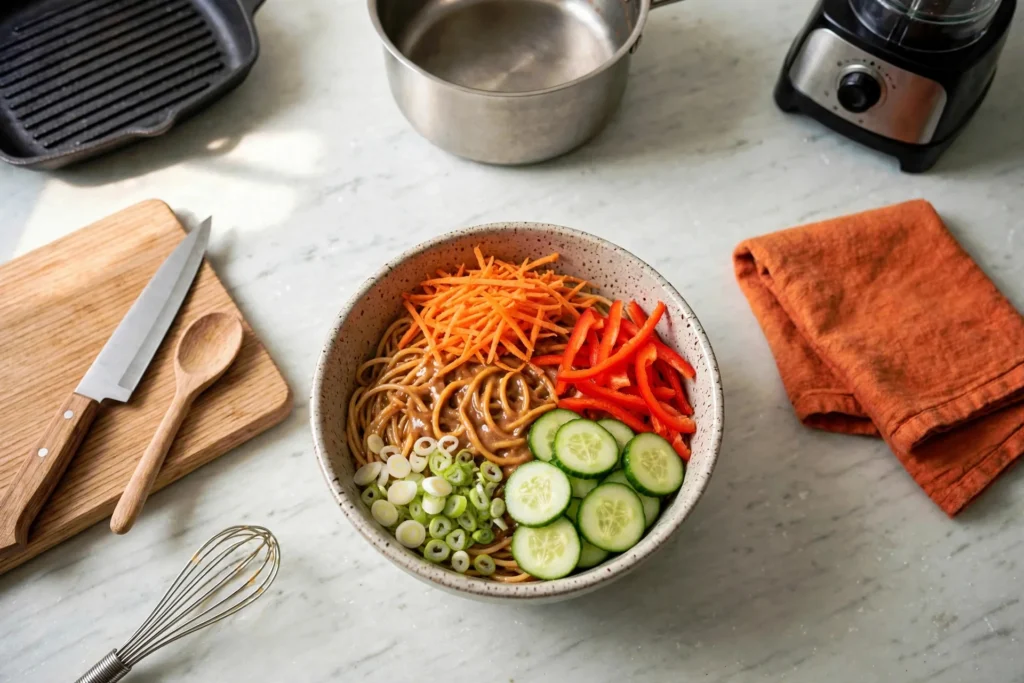
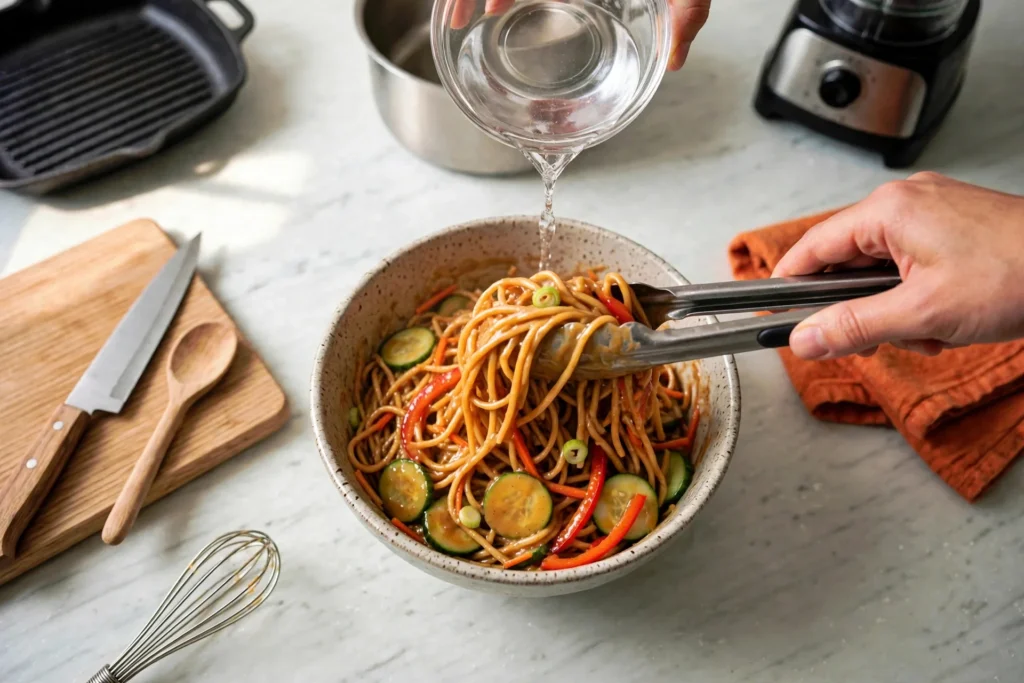
Pile the vegetables on top in bright sections, then toss with tongs until every strand is glossy and the vegetables are mixed through. Add splashes of the reserved pasta water if it tightens up — the starch helps the sauce cling instead of pooling.
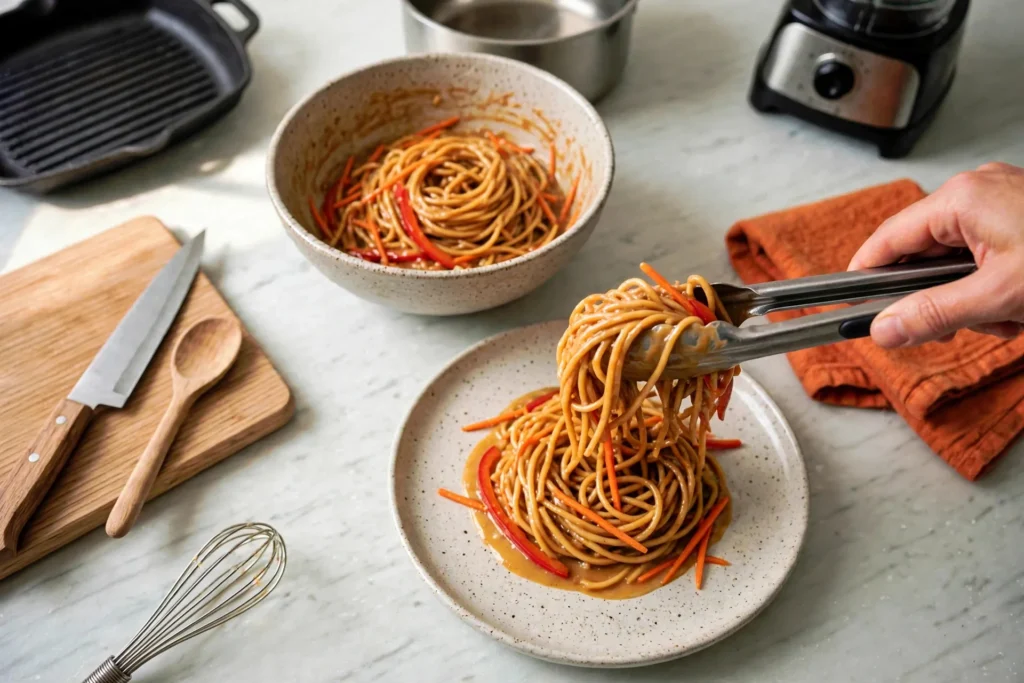
Twirl nests onto plates with the tongs. Finish with crushed peanuts, scallion, cilantro and a lime wedge.
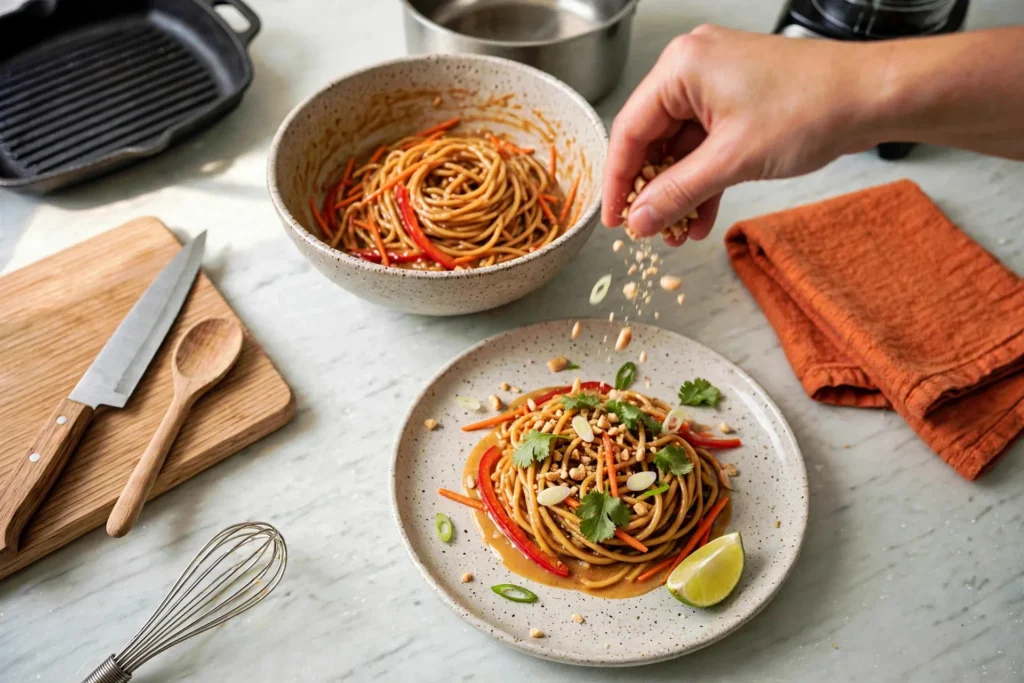

Serve it warm. Cold peanut noodles are a different dish — still good, but the sauce firms up and needs loosening.
Ingredients
Equipment
Method
- Prep the vegetables: julienned pepper, shredded carrot, sliced scallions and cucumber.
- Boil the spaghetti in well-salted water until just al dente; scoop out 1 cup of the starchy cooking water, then drain.
- Whisk warm water into the peanut sauce a spoonful at a time until it pours like cream.
- Pour the sauce over the warm spaghetti; add the vegetables and toss with tongs, loosening with splashes of the reserved pasta water.
- Twirl nests onto plates and finish with crushed peanuts, scallion, cilantro and a lime wedge. Serve warm.
Notes
Recipe 5: Creamy Peanut Sauce (Blender Dip)
A richer, silkier variation made fresh in the blender with extra coconut milk — paler, smoother, and built for dunking raw vegetables.
You need:
- ½ cup creamy peanut butter
- ¾ cup coconut milk (full-fat)
- 2 tablespoons soy sauce
- 2 tablespoons lime juice
- 1 tablespoon honey
- 2 garlic cloves
- 1 tablespoon fresh ginger, roughly chopped
- 1 teaspoon chili garlic sauce
- Carrot sticks, cucumber sticks, red bell pepper strips, for dipping
Everything goes into the blender jar in layers — peanut butter, coconut milk, soy, lime, honey, garlic, ginger, chili sauce. No whisking, no thinning by hand.
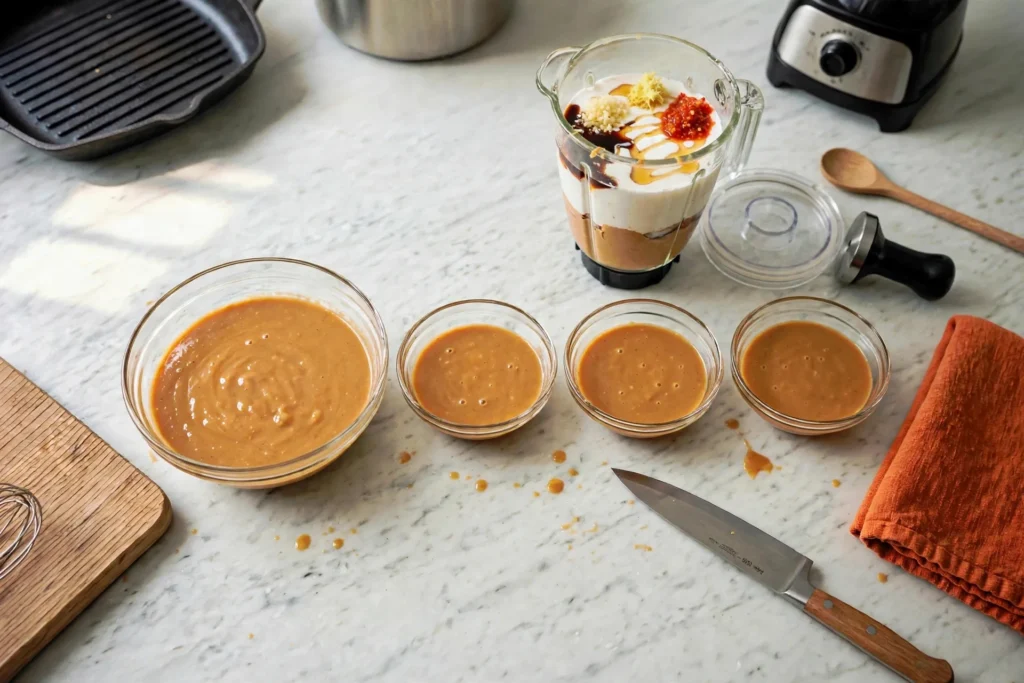
Blend until it runs in a smooth vortex, pale tan and glossy. A few ginger bits near the blades at first are fine; give it another 20 seconds.
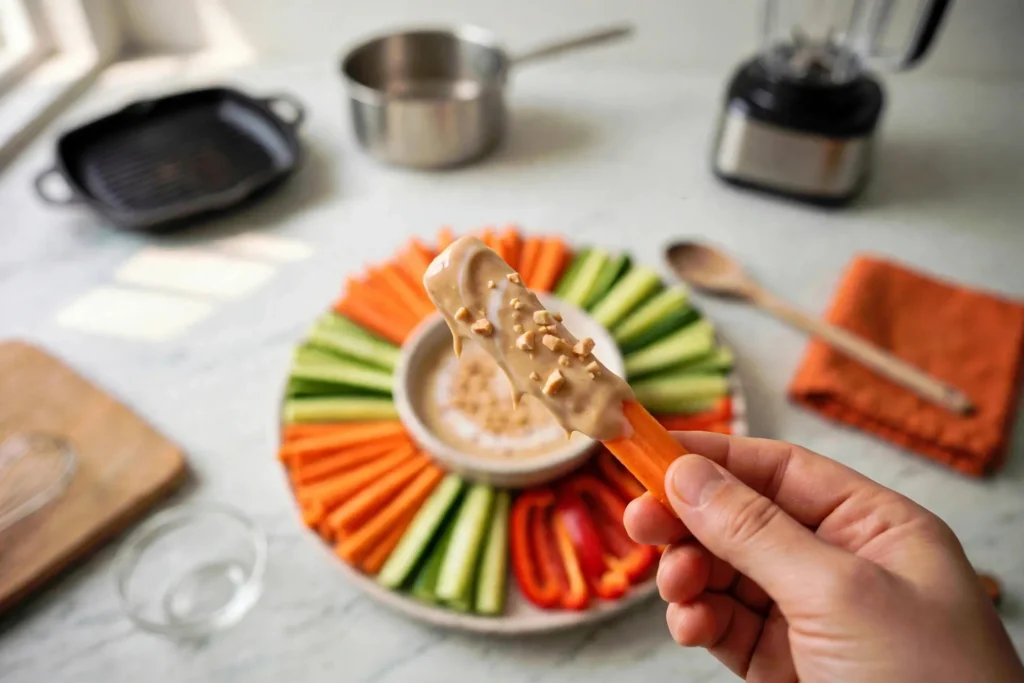
Lift a spoon: the sauce should fall in a thick, perfectly smooth ribbon, silkier and paler than the whisked base. A thin even coat clings to the back of the spoon.
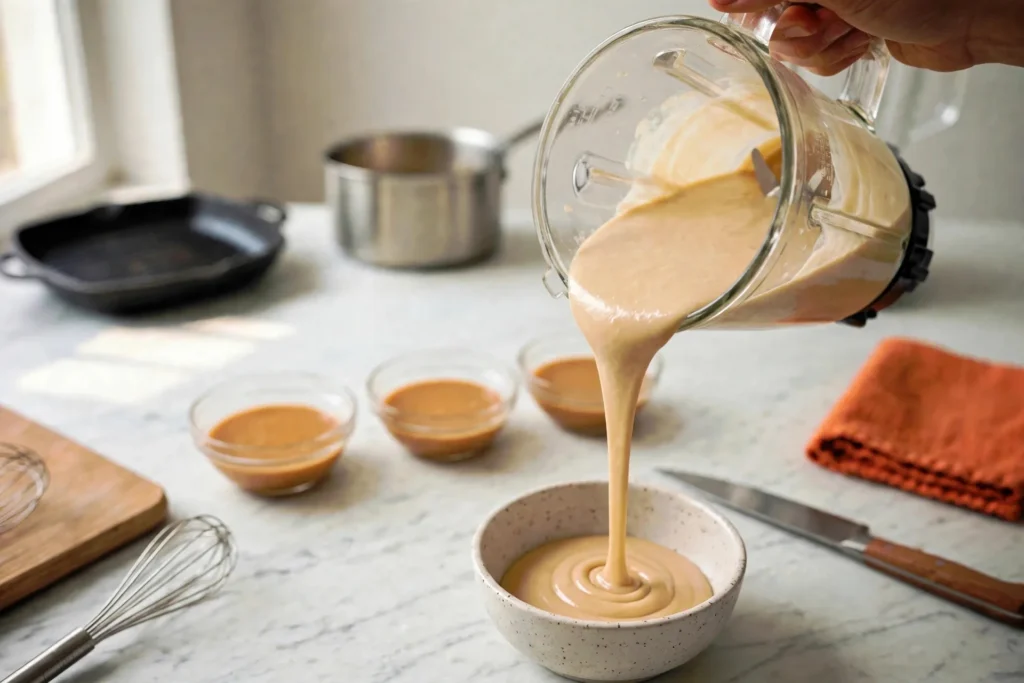
Pour into a small bowl in a thick glossy stream.
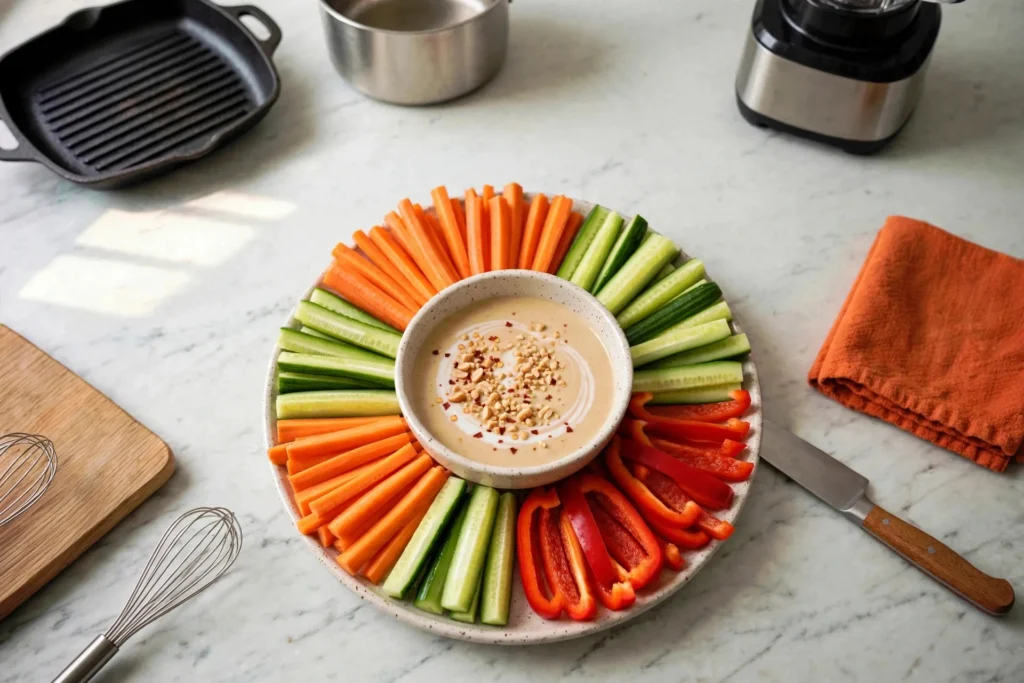
Swirl a thin ribbon of coconut milk across the surface and sprinkle crushed peanuts and chili flakes — the white spiral against the tan is the whole garnish.
Fan the vegetable sticks around the bowl on a platter. Colors vivid, everything within dunking reach.
A carrot stick lifted out should carry a thick, even coat — that’s the test. The platter behind, the swirl and peanuts visible.
Serve it at room temperature. Cold dulls the coconut; warm makes it runny.
Ingredients
Equipment
Method
- Layer all sauce ingredients in the blender jar — peanut butter, coconut milk, soy, lime, honey, garlic, ginger, chili sauce.
- Blend until it runs in a smooth vortex, pale tan and glossy; give it another 20 seconds if ginger bits remain.
- Spoon test: thick, perfectly smooth ribbon; a thin even coat clings to the back of the spoon.
- Pour into a small bowl in a thick glossy stream.
- Swirl a thin ribbon of coconut milk across the surface; sprinkle crushed peanuts and chili flakes; fan the vegetable sticks around the bowl. Serve at room temperature.
Notes
All Five Together
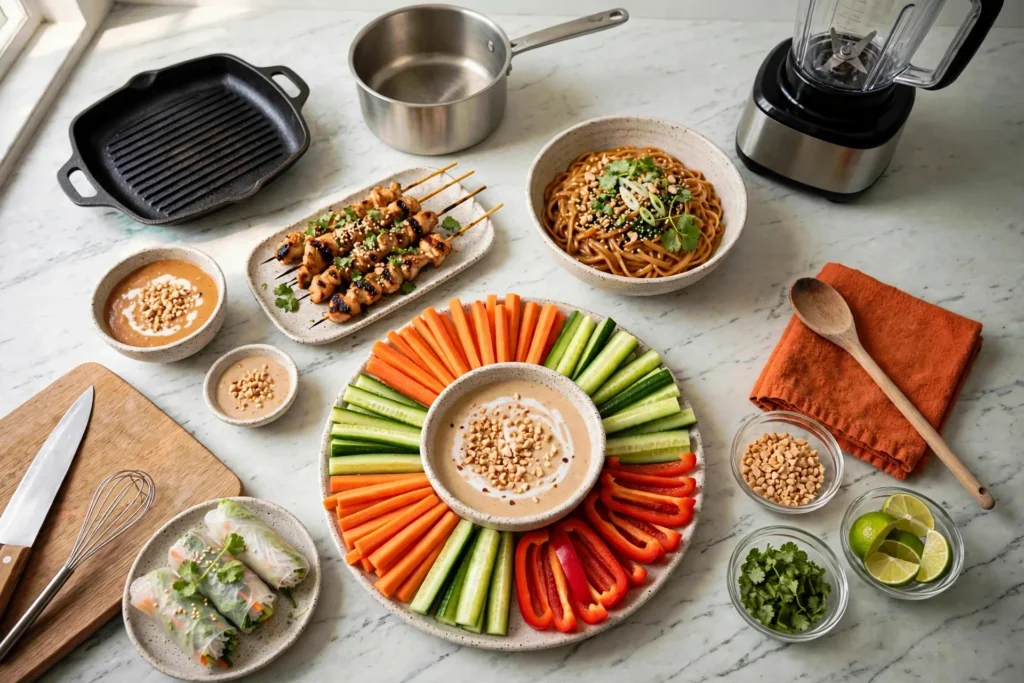
The base sauce, the spring rolls, the satay skewers, the noodle nests, the creamy dip — one whisked bowl at the start, five completely different plates at the end.
Tips That Actually Matter
Thin gradually. Every version of this sauce goes from stiff to perfect to runny within a few tablespoons of water. Add it slowly, whisking, and stop the moment it ribbons.
Taste before you serve. Peanut butters vary wildly in salt and sweetness. The recipe is a starting point; your lime, chili and sugar adjustments are the recipe.
Keep the sauce gentle. If you warm it, do it low. Peanut butter and coconut milk split at high heat into an oily mess — and unlike the teriyaki glaze, there’s no coming back.
Soak the skewers. Thirty minutes in water. Dry skewers scorch, and scorched wood tastes like a campfire in the worst way.
Rice paper: quick dip, not a soak. A few seconds in warm water. It keeps softening on the board — soaked wrappers tear when you roll.
If You’re Out of Something
- No coconut milk: the base works with water plus an extra tablespoon of peanut butter, though it’s less rich. Don’t use sweetened coconut cream.
- No chili garlic sauce: sriracha, or red pepper flakes soaked in a teaspoon of hot water. Heat is heat.
- No rice vinegar: lime juice covers it — add an extra squeeze.
- No hoisin: the spring roll dip works with an extra teaspoon of brown sugar and a drop more soy. Different, not worse.
- No vermicelli: thin rice sticks or even angel hair. The roll just needs something soft inside.
- Peanut allergy: sunflower seed butter behaves similarly in the base, though the flavor shifts. Don’t serve it as “peanut sauce” to anyone with the allergy, obviously.
Storing and Make-Ahead
The base sauce keeps 1 week refrigerated; the creamy blender version keeps 5 days. Both thicken when cold — whisk in warm water to bring them back. Marinated satay chicken holds overnight in the fridge (in fact it’s better). Cooked satay keeps 3 days; reheat in a hot skillet, not the microwave, to keep the char. Spring rolls are a same-day affair — the wrappers toughen within hours. Peanut noodles keep 2 days refrigerated; loosen with warm water when serving cold, or warm gently.
Five Things Worth Knowing
- No-cook doesn’t mean no-technique. The whisking order matters: peanut butter first, liquids after, water last. Reverse it and you fight lumps the whole way.
- Full-fat coconut milk or nothing. Light coconut milk makes a thin, sad sauce that never quite comes together.
- Starchy pasta water is a sauce ingredient. For the noodles, it’s not optional — the starch is what makes the thinned sauce cling to every strand.
- 165°F for the satay. Same number as the chicken meatballs, same reason: poultry, no guessing.
- The blender version isn’t just the base, blended. More coconut milk and honey make it paler, silkier, sweeter — a dip, not a drizzle. Different tool, different sauce.
Frequently Asked Questions
Can I make the base with natural peanut butter?
Yes — the kind with oil on top. Stir it smooth first. You’ll likely need a touch more sugar since natural versions are less sweet.
My sauce split and looks oily — can it be saved?
Whisk in a tablespoon of warm water, then a teaspoon of peanut butter. If it split from high heat, though, it’s usually done — keep the sauce gentle next time.
Can I use crunchy peanut butter?
For the base, sure — it adds texture. For the creamy blender version, stick to creamy; crunchy bits ruin the silk.
How do I keep spring rolls from sticking together?
Don’t let them touch on the plate, and keep the damp towel over them. A light brush of oil on the plate helps too.
Can the satay be baked instead of grill-panned?
Yes — 425°F (220°C) for 15 to 18 minutes, flipping once. You lose the char marks but keep the flavor. A hot oven rack close to the broiler for the last 2 minutes fakes the char.
Is this gluten-free as written?
No — soy sauce and hoisin contain wheat. Swap tamari and gluten-free hoisin and the whole blog becomes gluten-free (rice paper, vermicelli and noodles need checking too — use tamari-seasoned everything and rice-based noodles).
One Bowl, Five Plates
Whisk once, eat five ways: a dip, a roll, a skewer, a noodle bowl, and the silkiest dip on the table. The base sauce is the kind of thing you start keeping in the fridge on purpose.
For another sauce that does heavy lifting across the week, the teriyaki from Teriyaki Meatballs 3 Ways plays the same game in a different key.