5 Instant Pot Rice Recipes (White, Basmati, Jasmine & Brown)
One Instant Pot method, four rices: white, basmati, jasmine and brown — same steps, only the water, minutes and rest change.
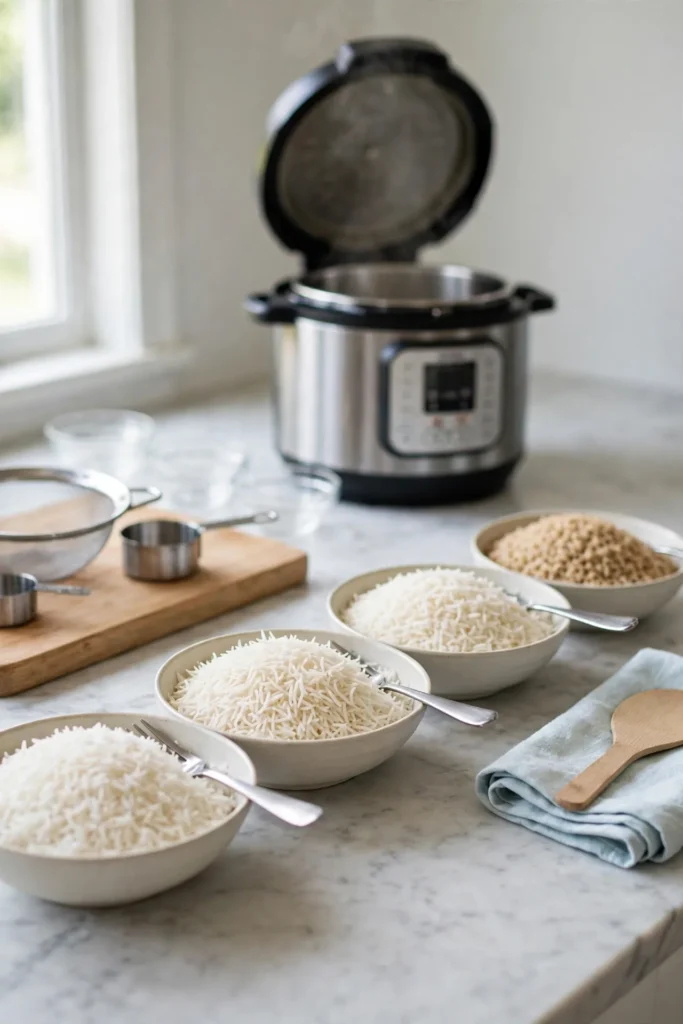 Pin it
In this post
Start with the shared method at the top — every recipe below uses it. Then jump straight to the rice you want:
- The Shared Method: How to Cook Rice in Instant Pot
- Recipe 1: Instant Pot White Rice
- Recipe 2: Instant Pot Basmati Rice
- Recipe 3: Instant Pot Jasmine Rice
- Recipe 4: Instant Pot Brown Rice
Rice in an Instant Pot goes wrong in the same few ways every time: it turns out gummy, it sticks to the bottom, or it comes out half raw in the middle while the top looks done. Each of those failures has a plain cause. The rice was not rinsed, the water was guessed instead of measured, or the lid came off too early and the steam escaped before the grains finished cooking.
This blog teaches one shared method first, then four rices that each change only a few details. White, basmati, jasmine and brown rice all cook in the same pot with the same basic steps: rinse, measure, seal, pressure cook, let the pressure come down on its own, and fluff. What changes is the water amount, the minutes on the display, and how long the pot rests before you open it. Learn the shared method once and the four recipes that follow are short, because most of the work is already done.
One rule runs through all five sections: the cooking time stays the same for 1 cup or a larger batch. The pot takes about 10 minutes to build pressure before the countdown starts, and that build time does not change the minutes you set. Do not try to make up for a bigger batch with more minutes. Scale the rice and the water together and keep the time as written.
The Shared Method: How to Cook Rice in Instant Pot
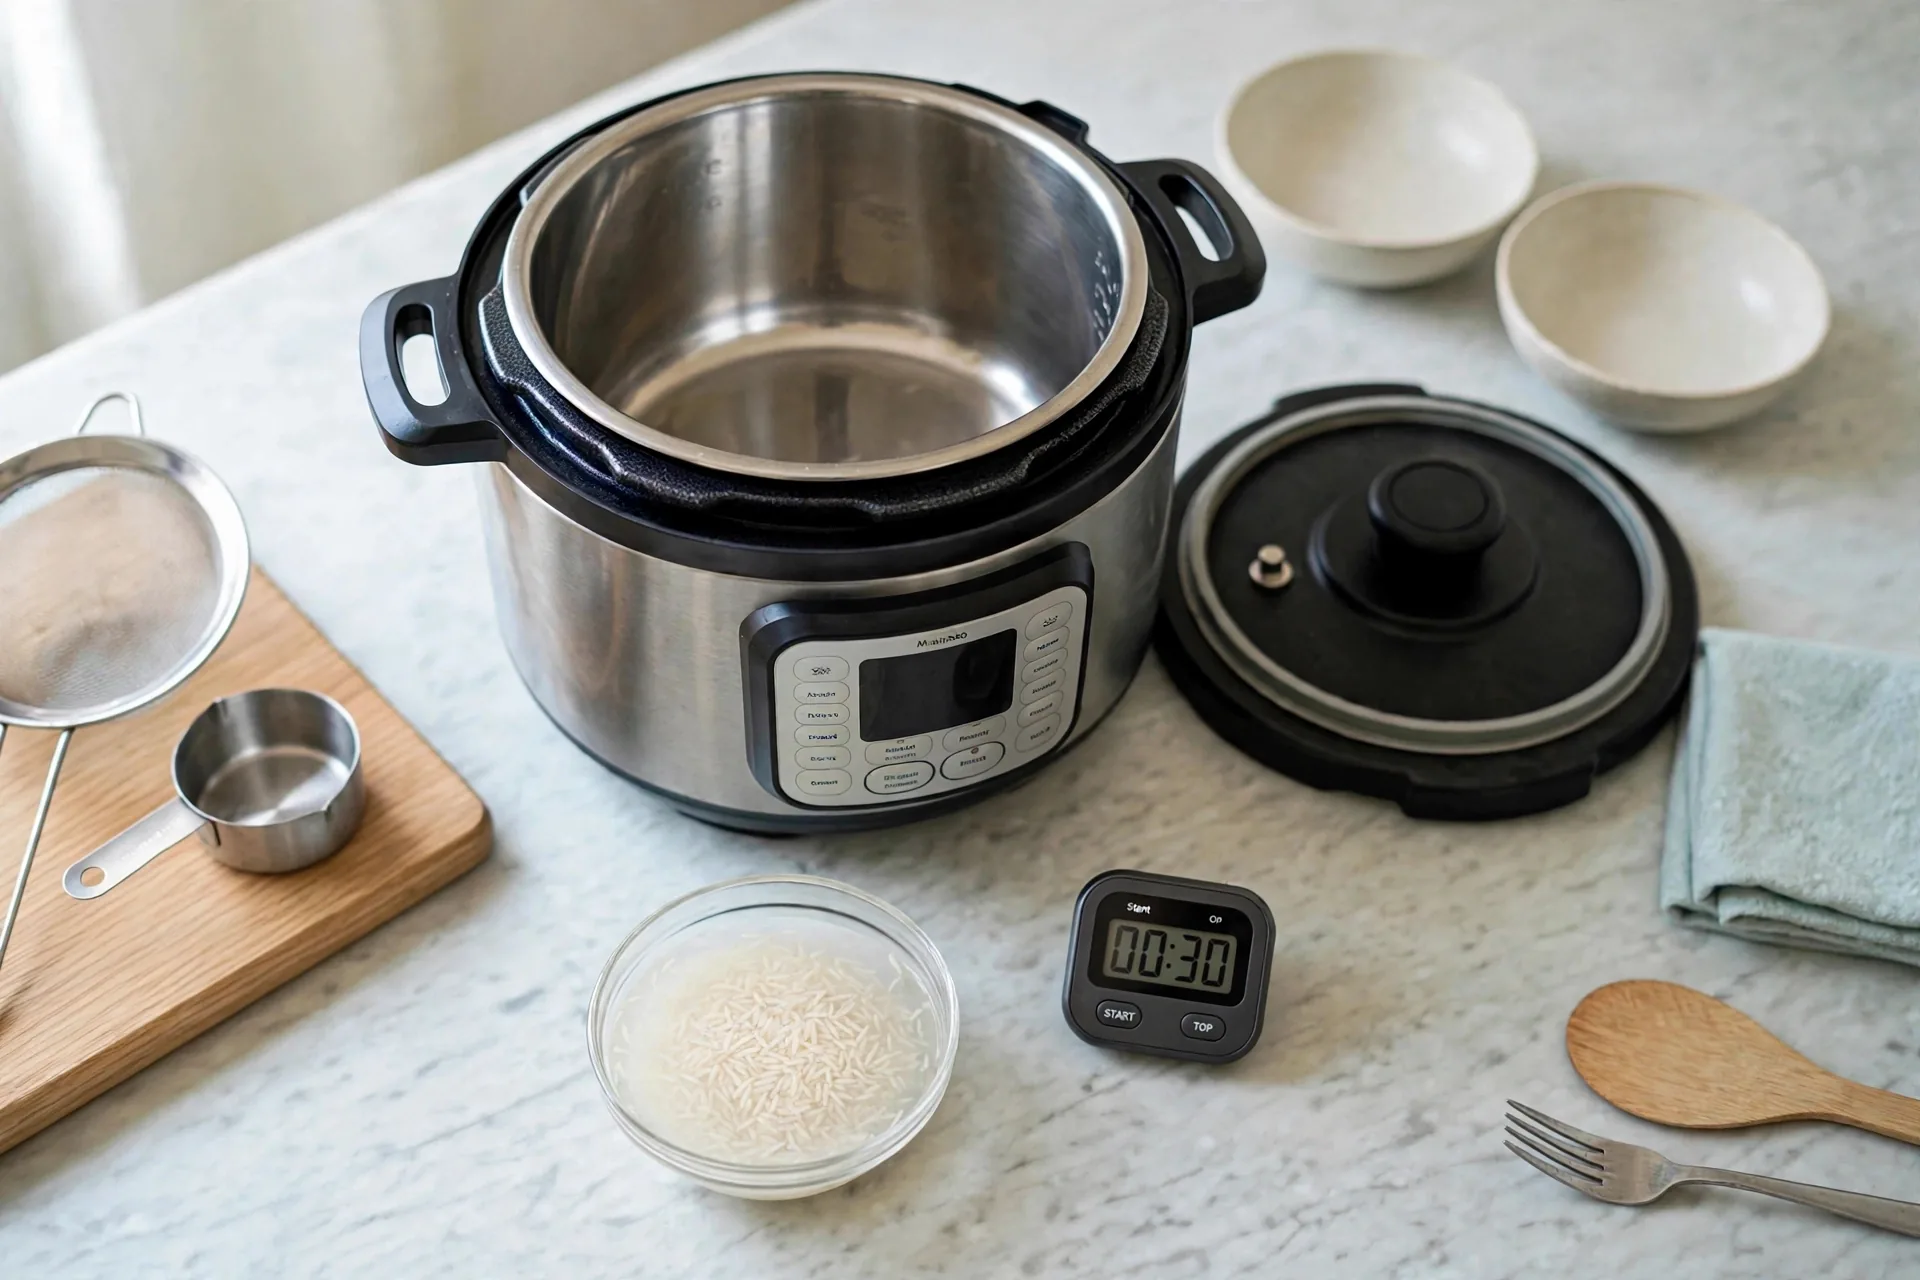
Everything starts here, so get the base right and all four recipes follow. You need a 6-quart electric pressure cooker, a dry measuring cup, a fine-mesh sieve, a fork, and a wooden rice paddle. The ingredients are simple on purpose: rice, water, salt, and a little oil for the recipes that call for it. No broth, no butter blocks, no herbs. Those additions change the water balance and the timing, and this blog keeps the method clean so the rice itself comes out right.
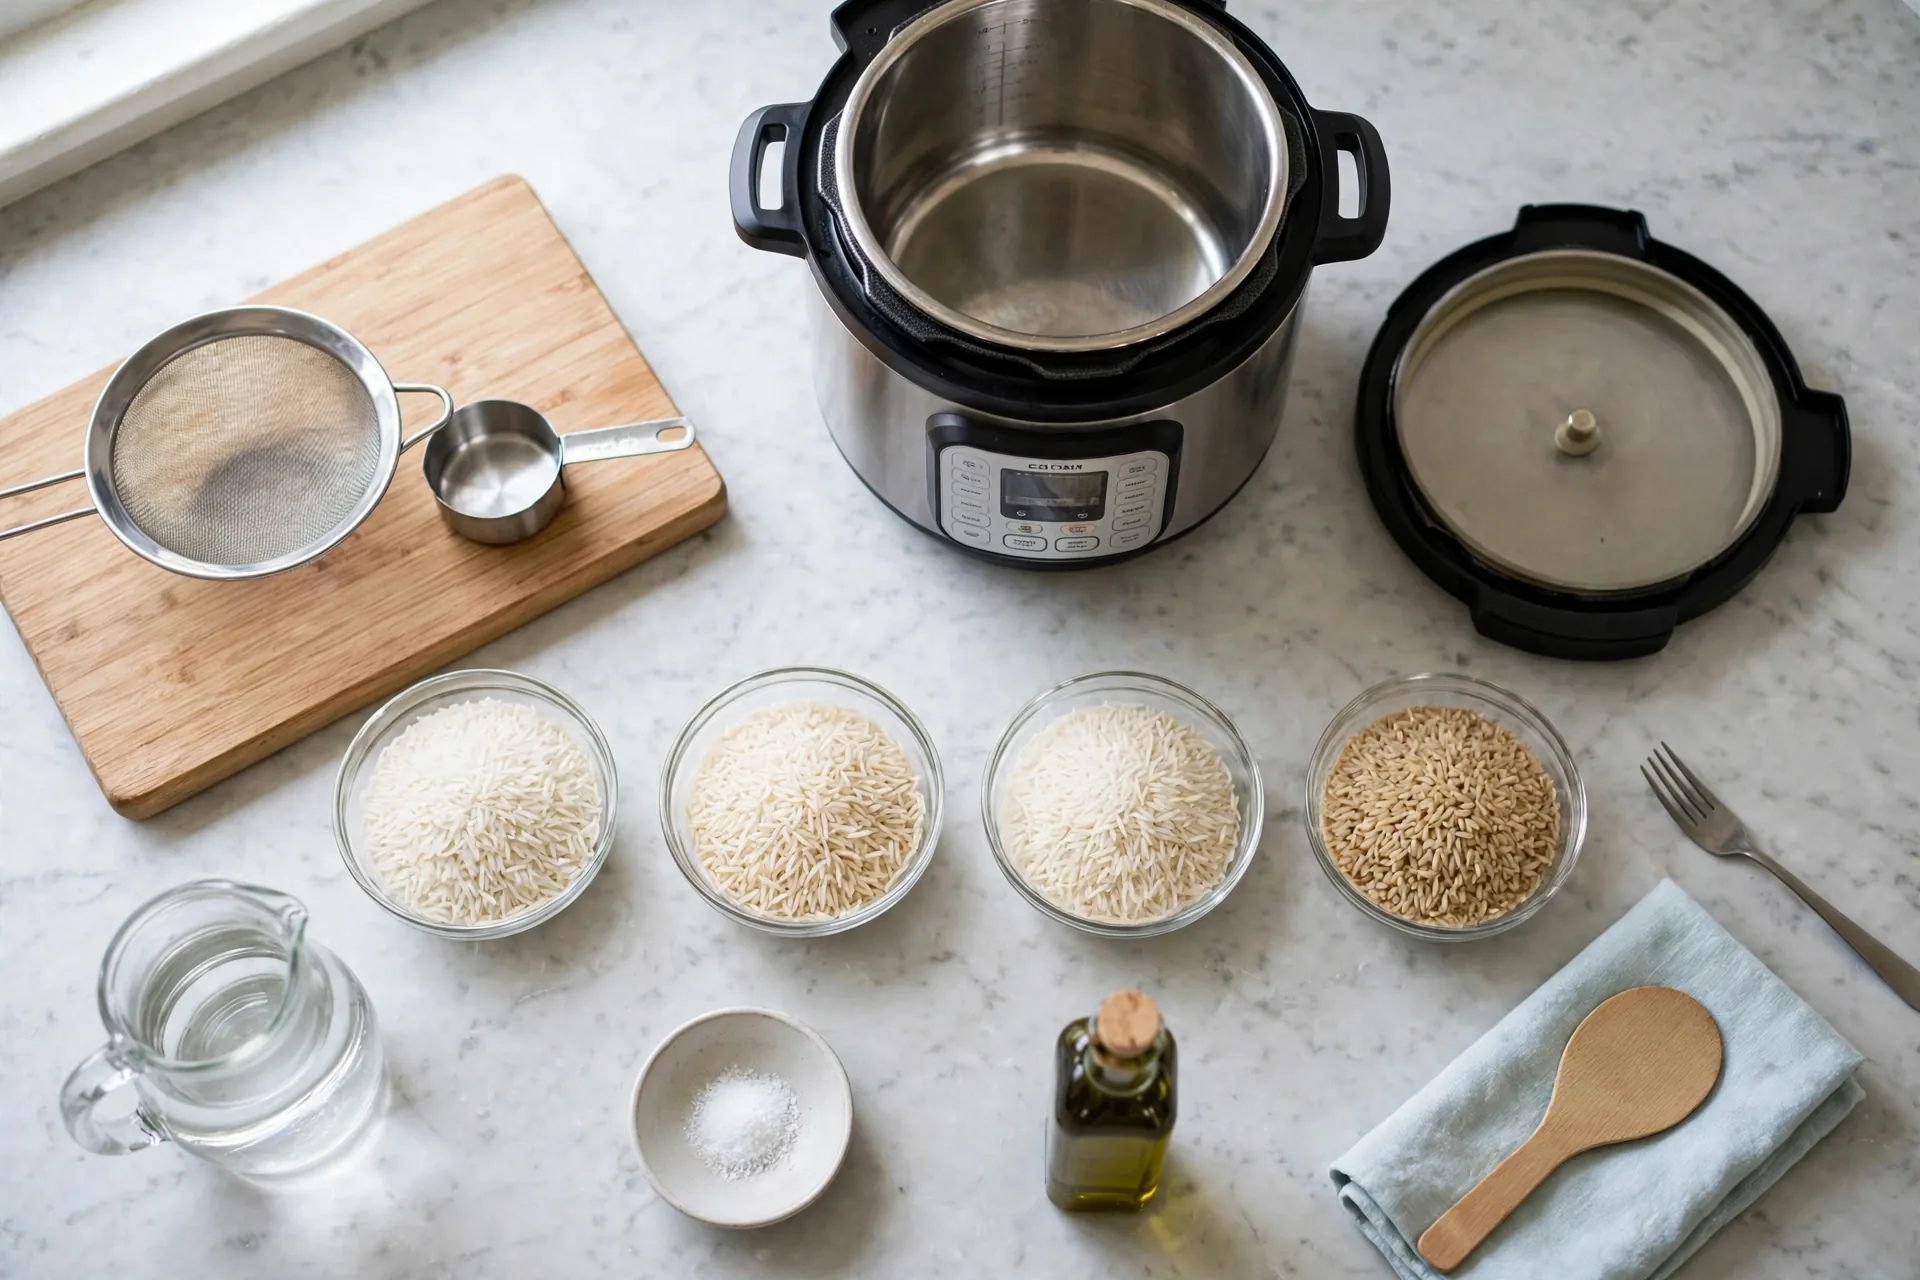
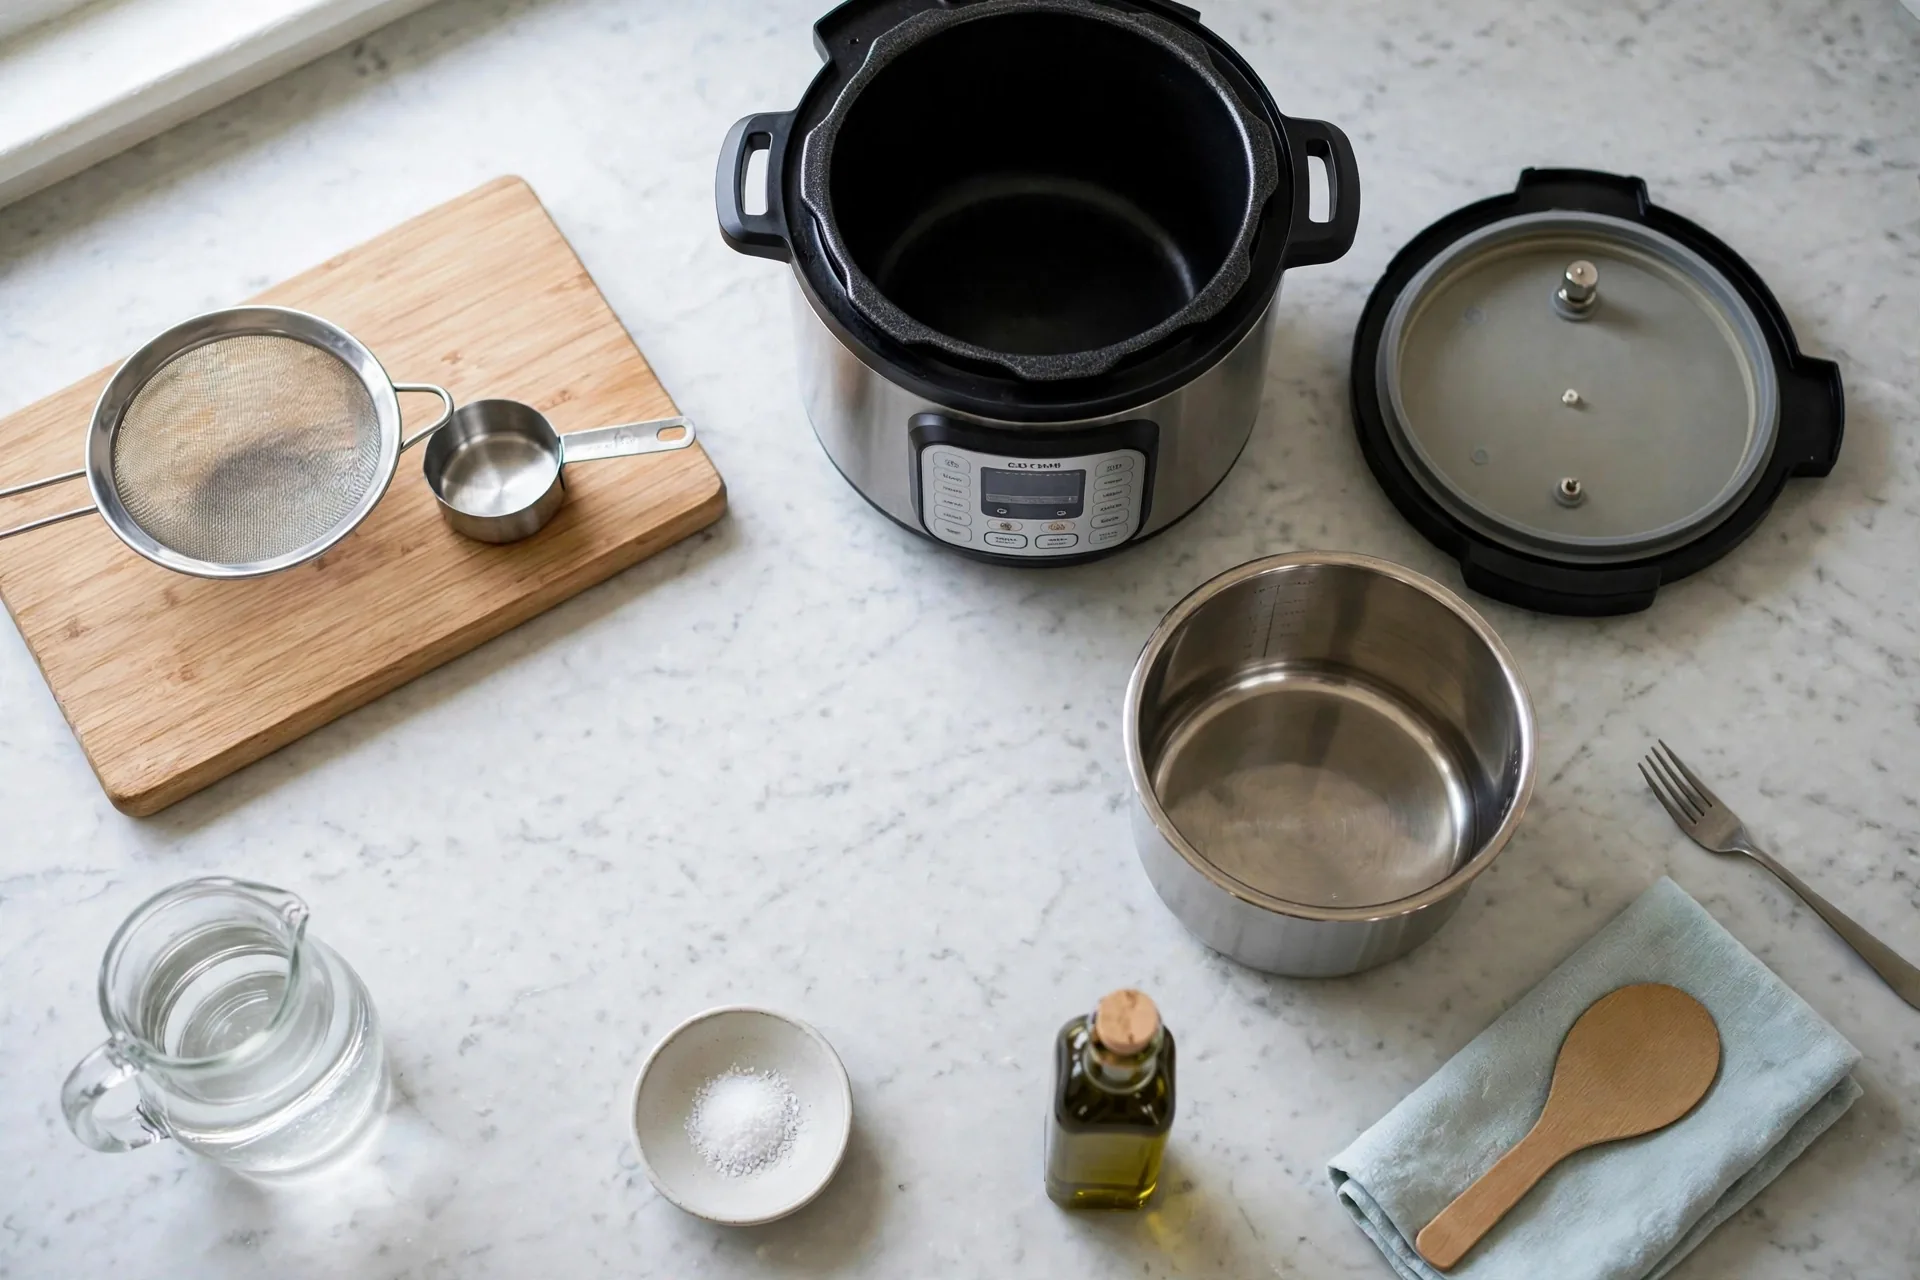
Know your pot before you cook in it. Take the lid off and turn it upside down. The silicone sealing ring should sit snug in the rim all the way around, with no section popped out or twisted. Next to it sit the steam release valve and the float valve pin. The removable stainless steel inner pot lifts out. If the ring is loose, steam escapes during cooking and the rice dries out. Press the ring back into place with your fingers until it sits even.
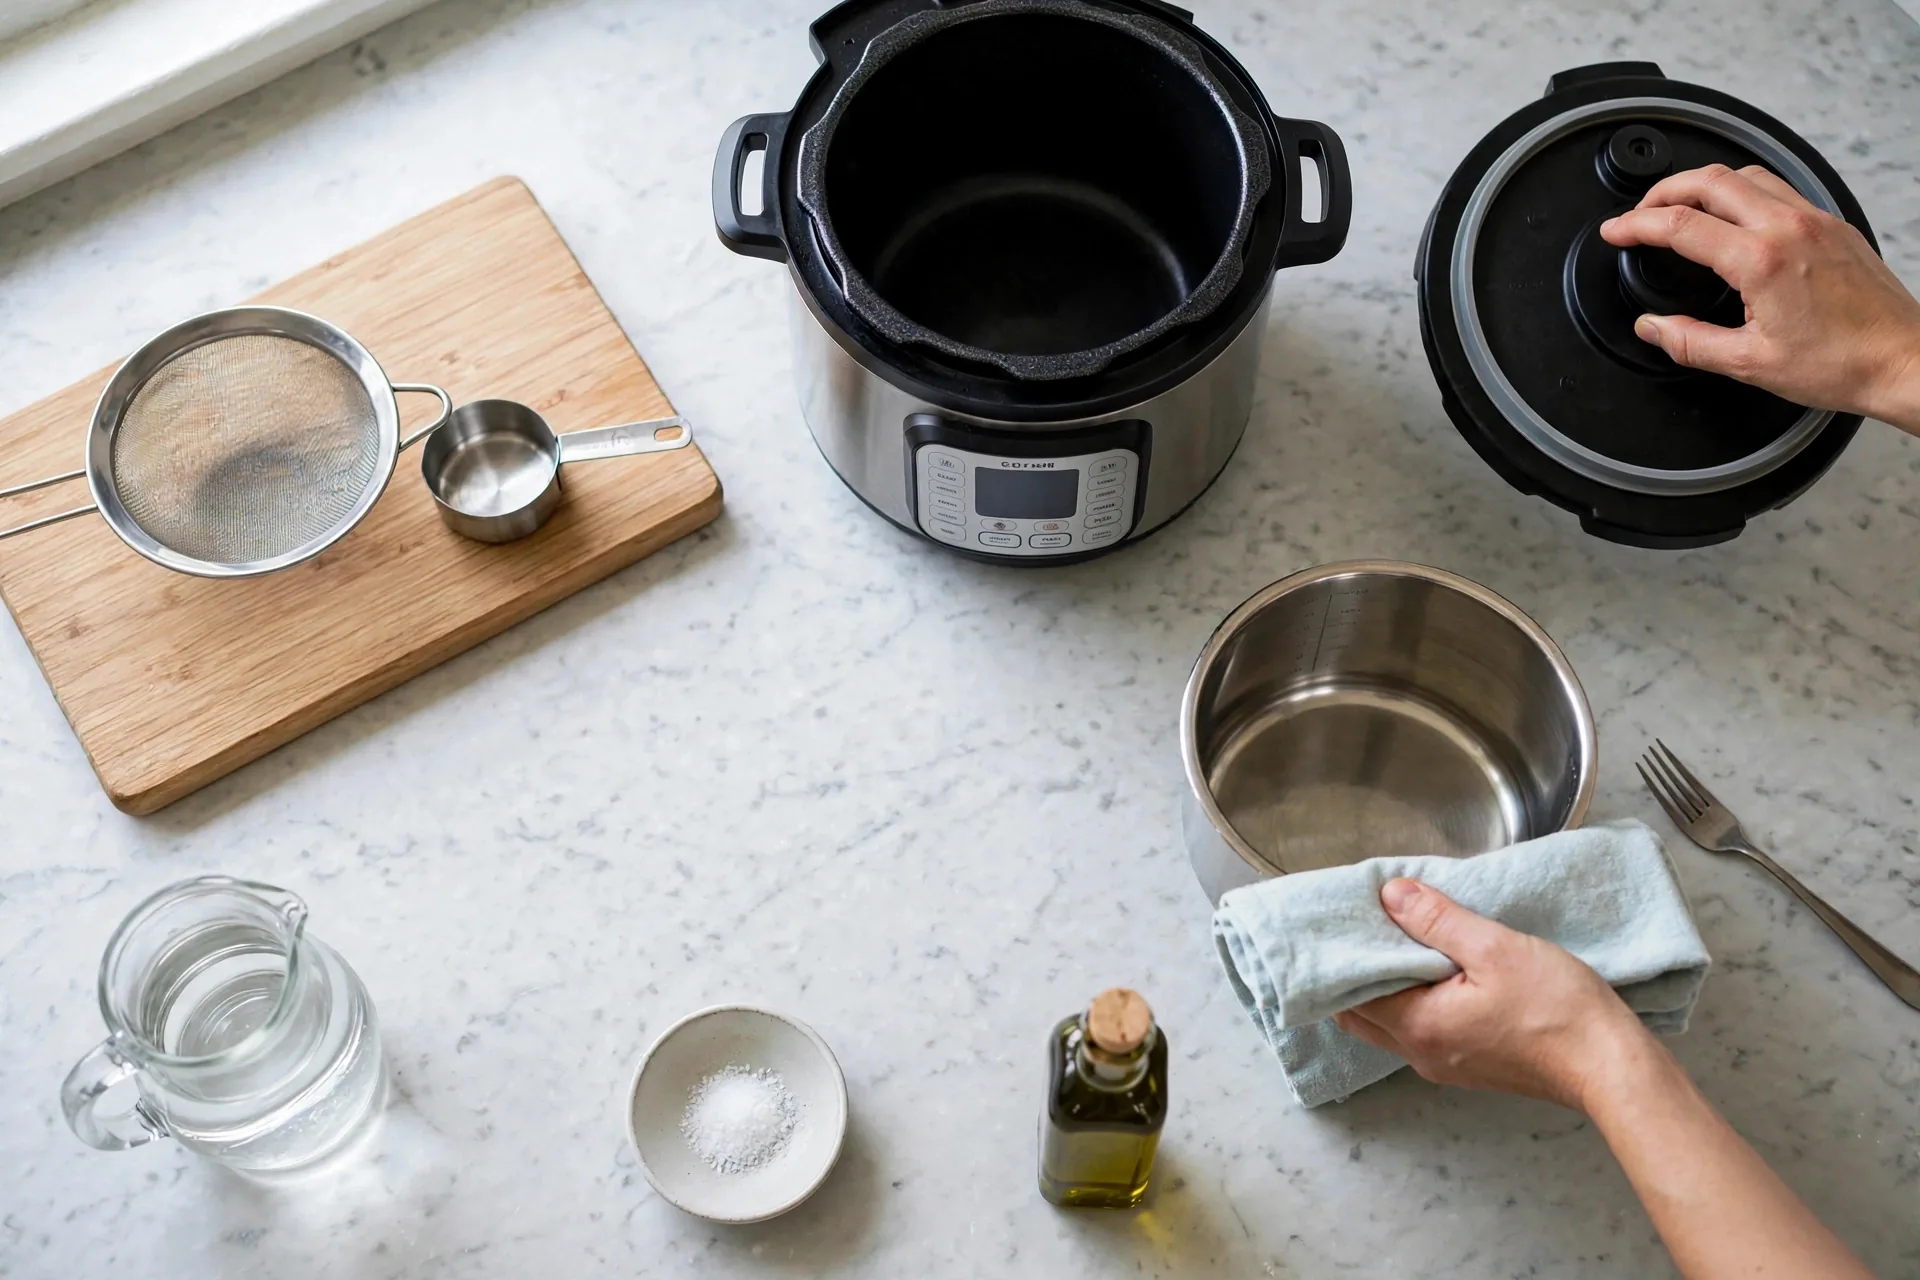
Check the ring again and dry the pot. Press the sealing ring snug into the lid rim with one hand. With the other hand, dry the outside of the inner pot with a clean towel before it goes back in the cooker. A wet pot exterior drips into the heating element and can trip the pot’s sensors. The pot should be clean and dry on the outside before you start.
Measure the rice with a dry measuring cup, not a liquid jug. Fill the cup and level the top with the flat of a knife. A heaped cup throws the whole ratio off, and the ratio is the part that decides whether the rice comes out separate or wet. One level cup of dry rice feeds about four people as a side dish and cooks to about three cups.
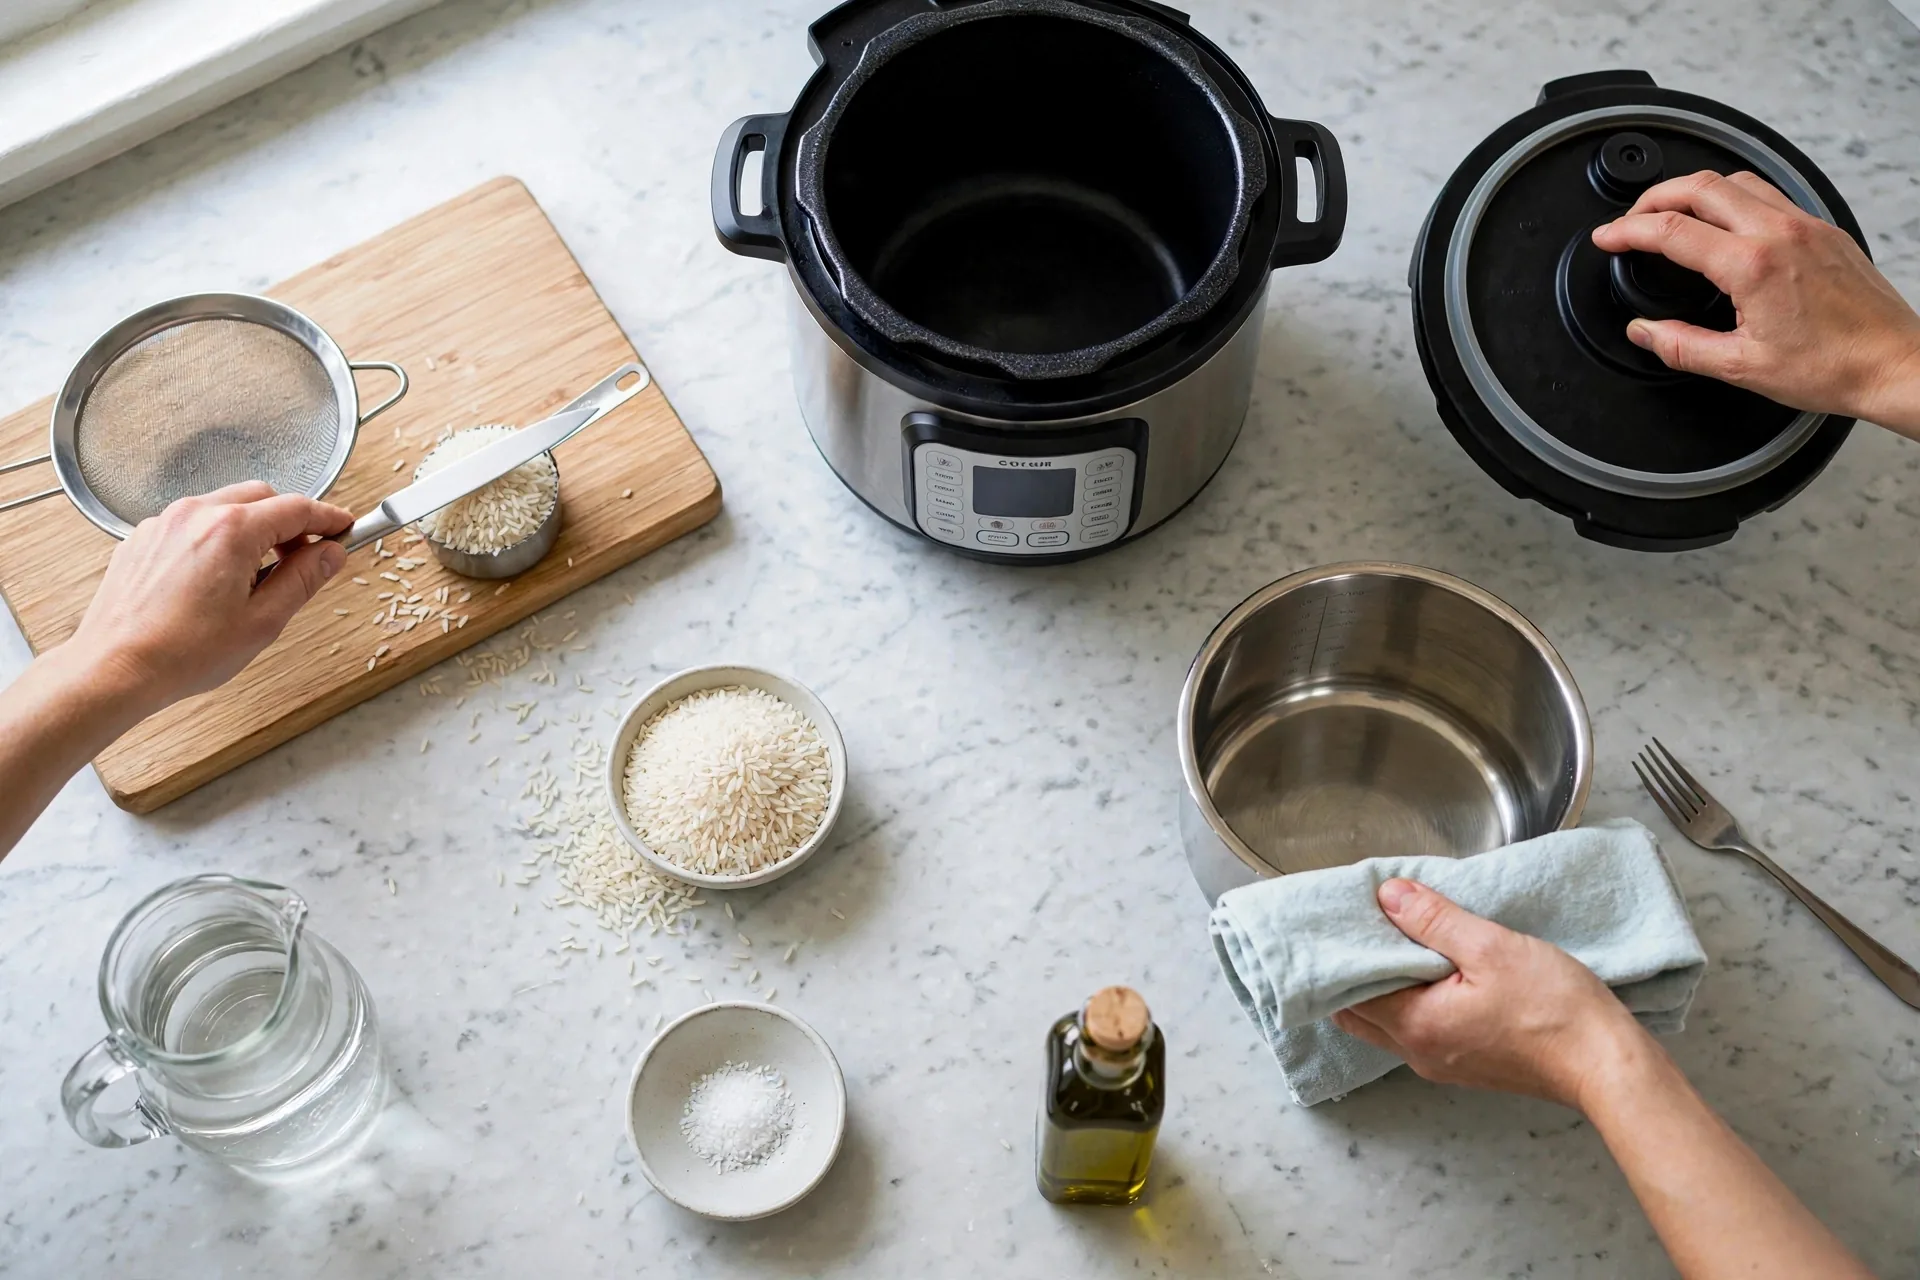
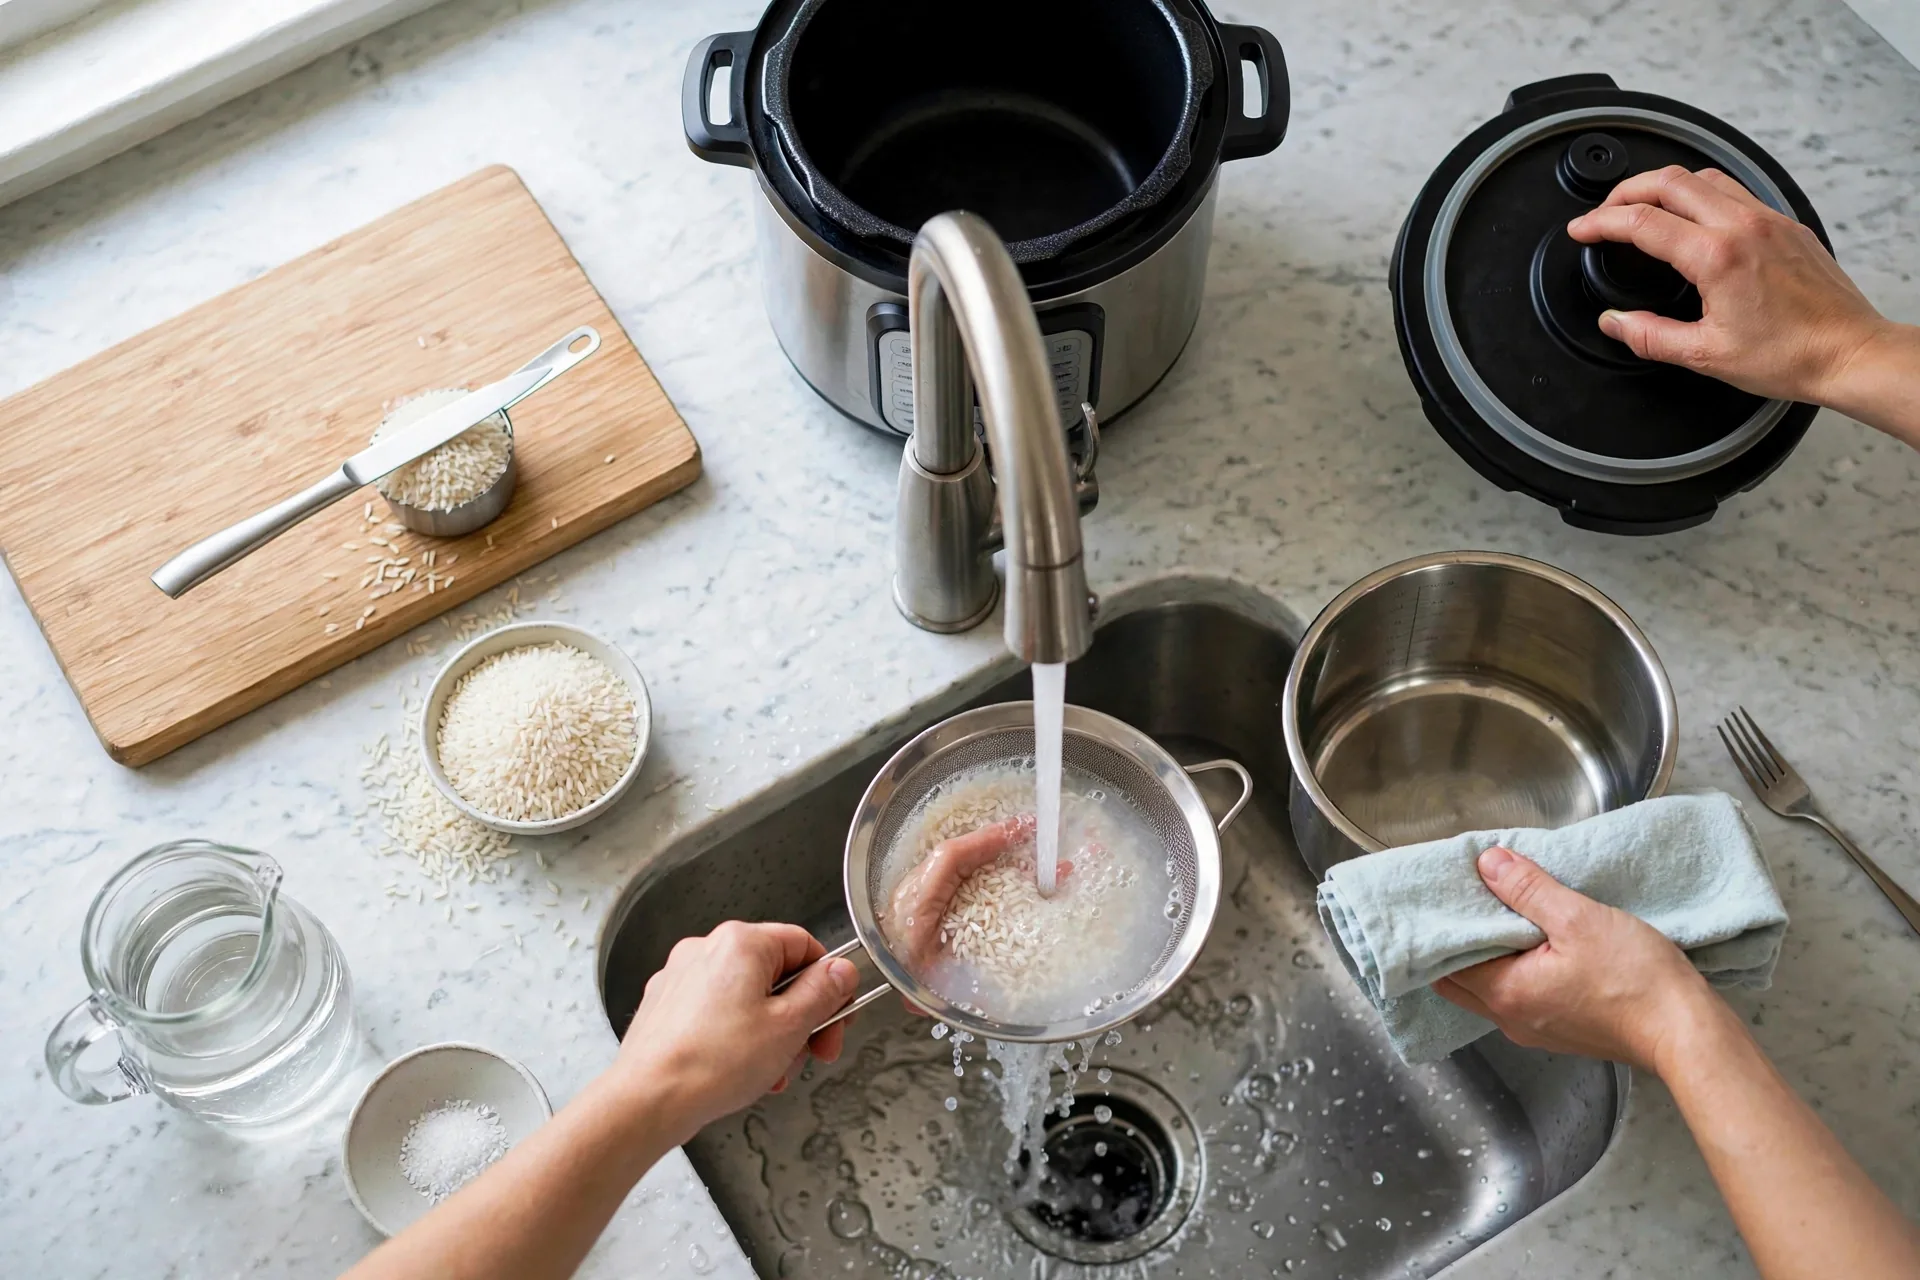
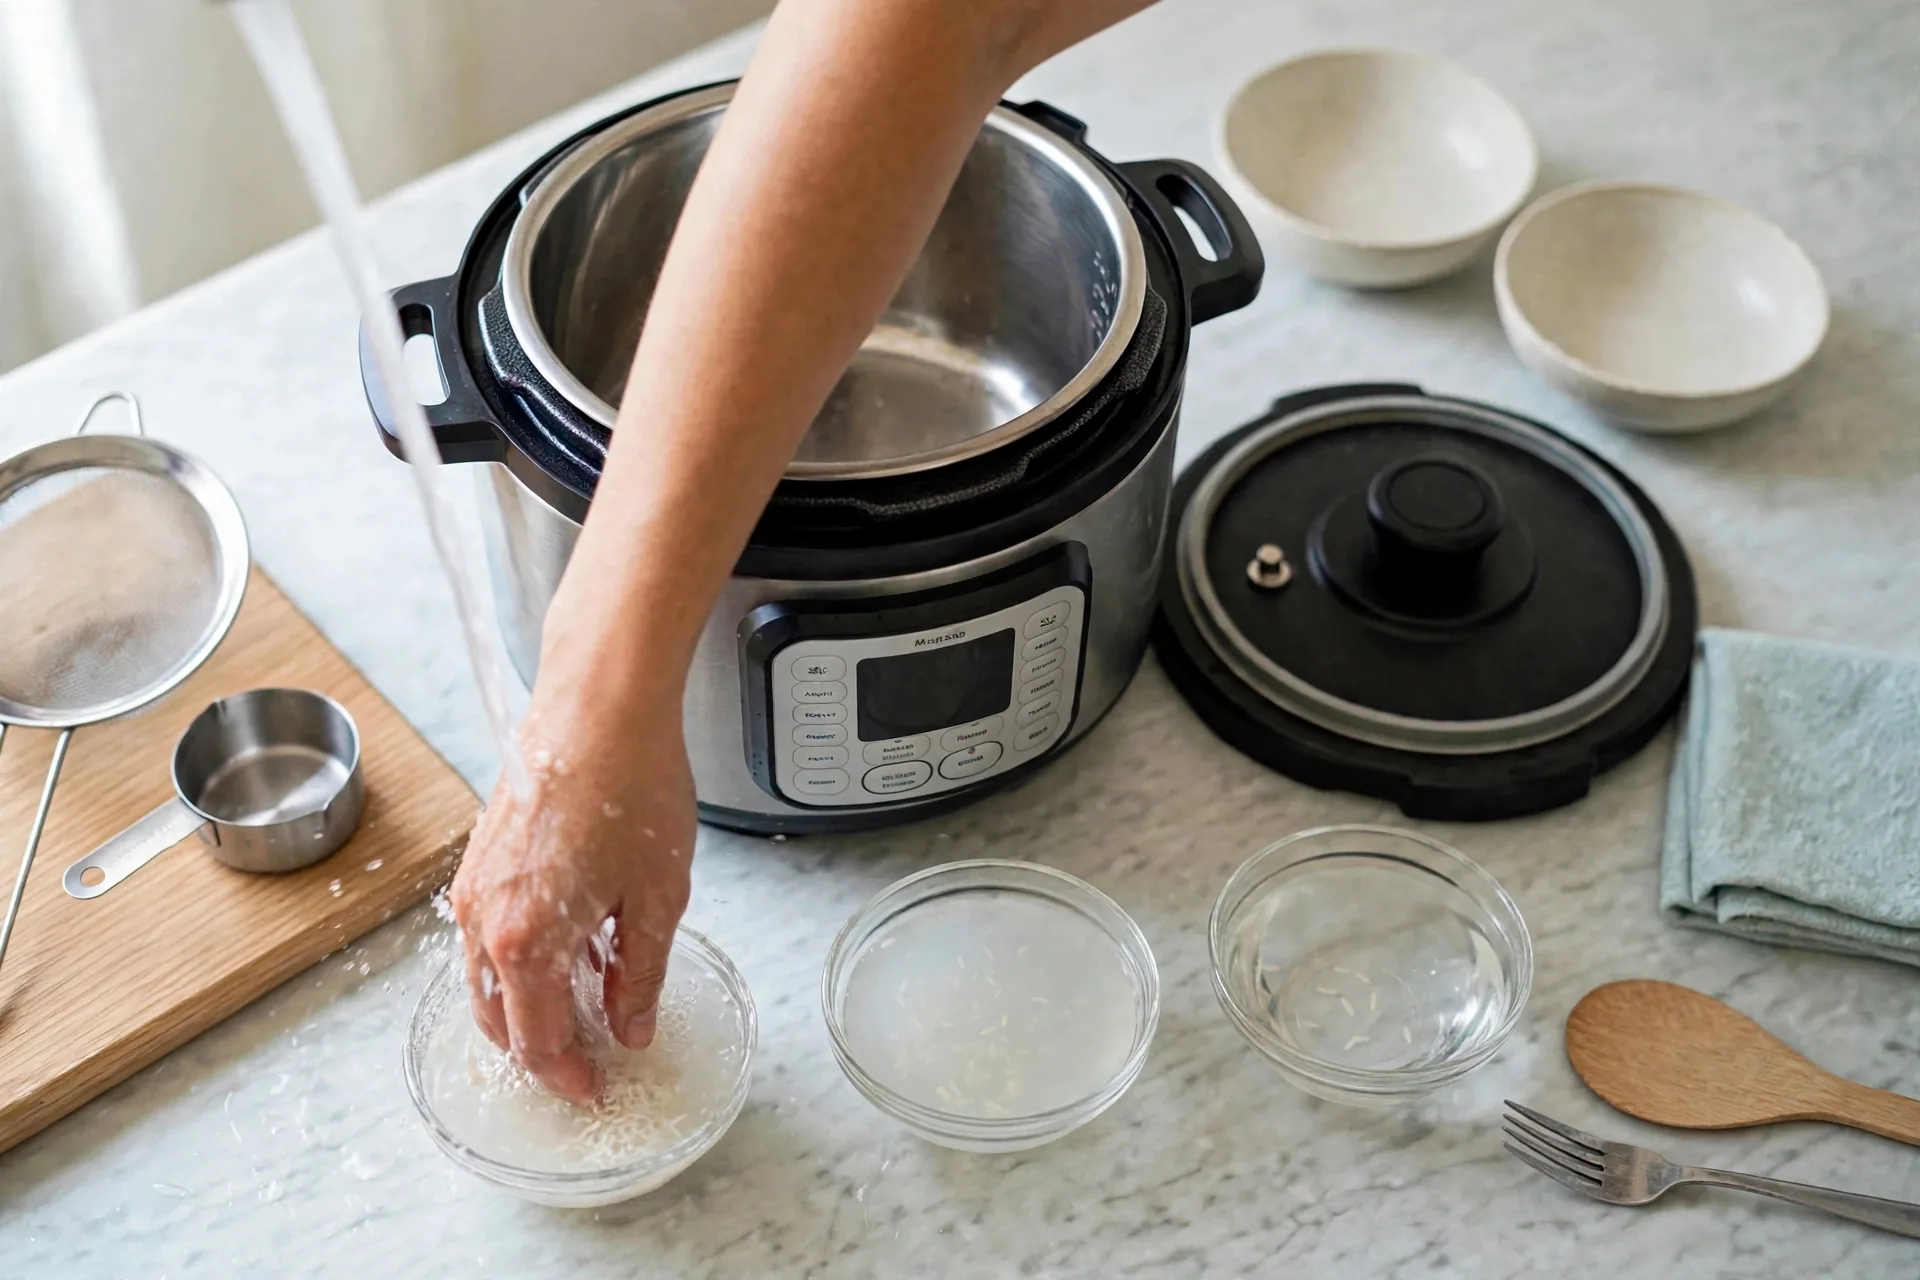
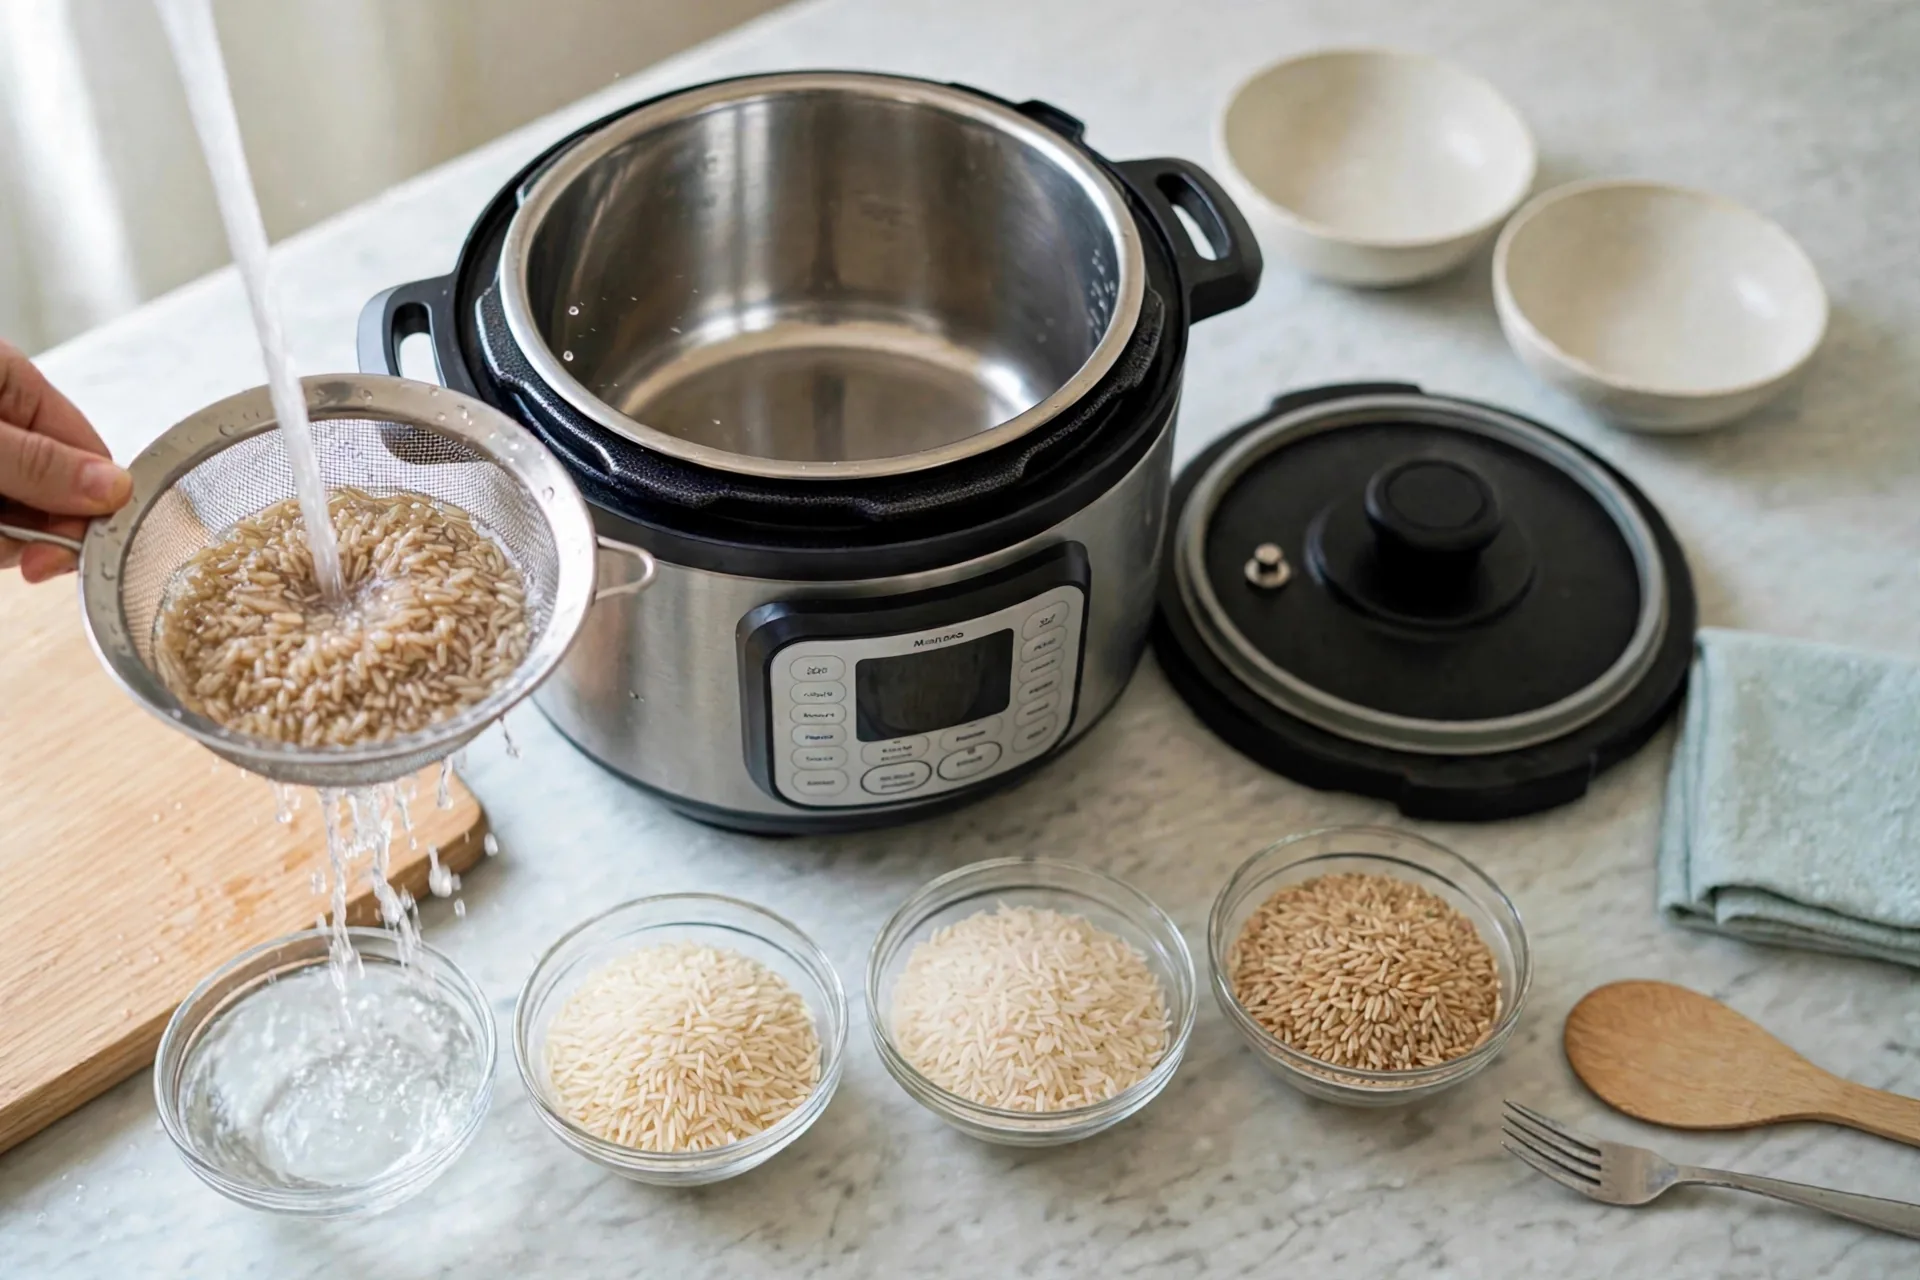
Rinse white rice in the fine-mesh sieve under cold running water. Hold the sieve under a thin stream and swish the rice with your hand. The water that runs off looks cloudy and milky at first. That cloudiness is loose surface starch, and it is the main reason rinsed rice cooks up separate while unrinsed rice clumps. Keep rinsing until the water runs mostly clear. Brown rice is the exception: it does not need this rinse, and its own section explains why.
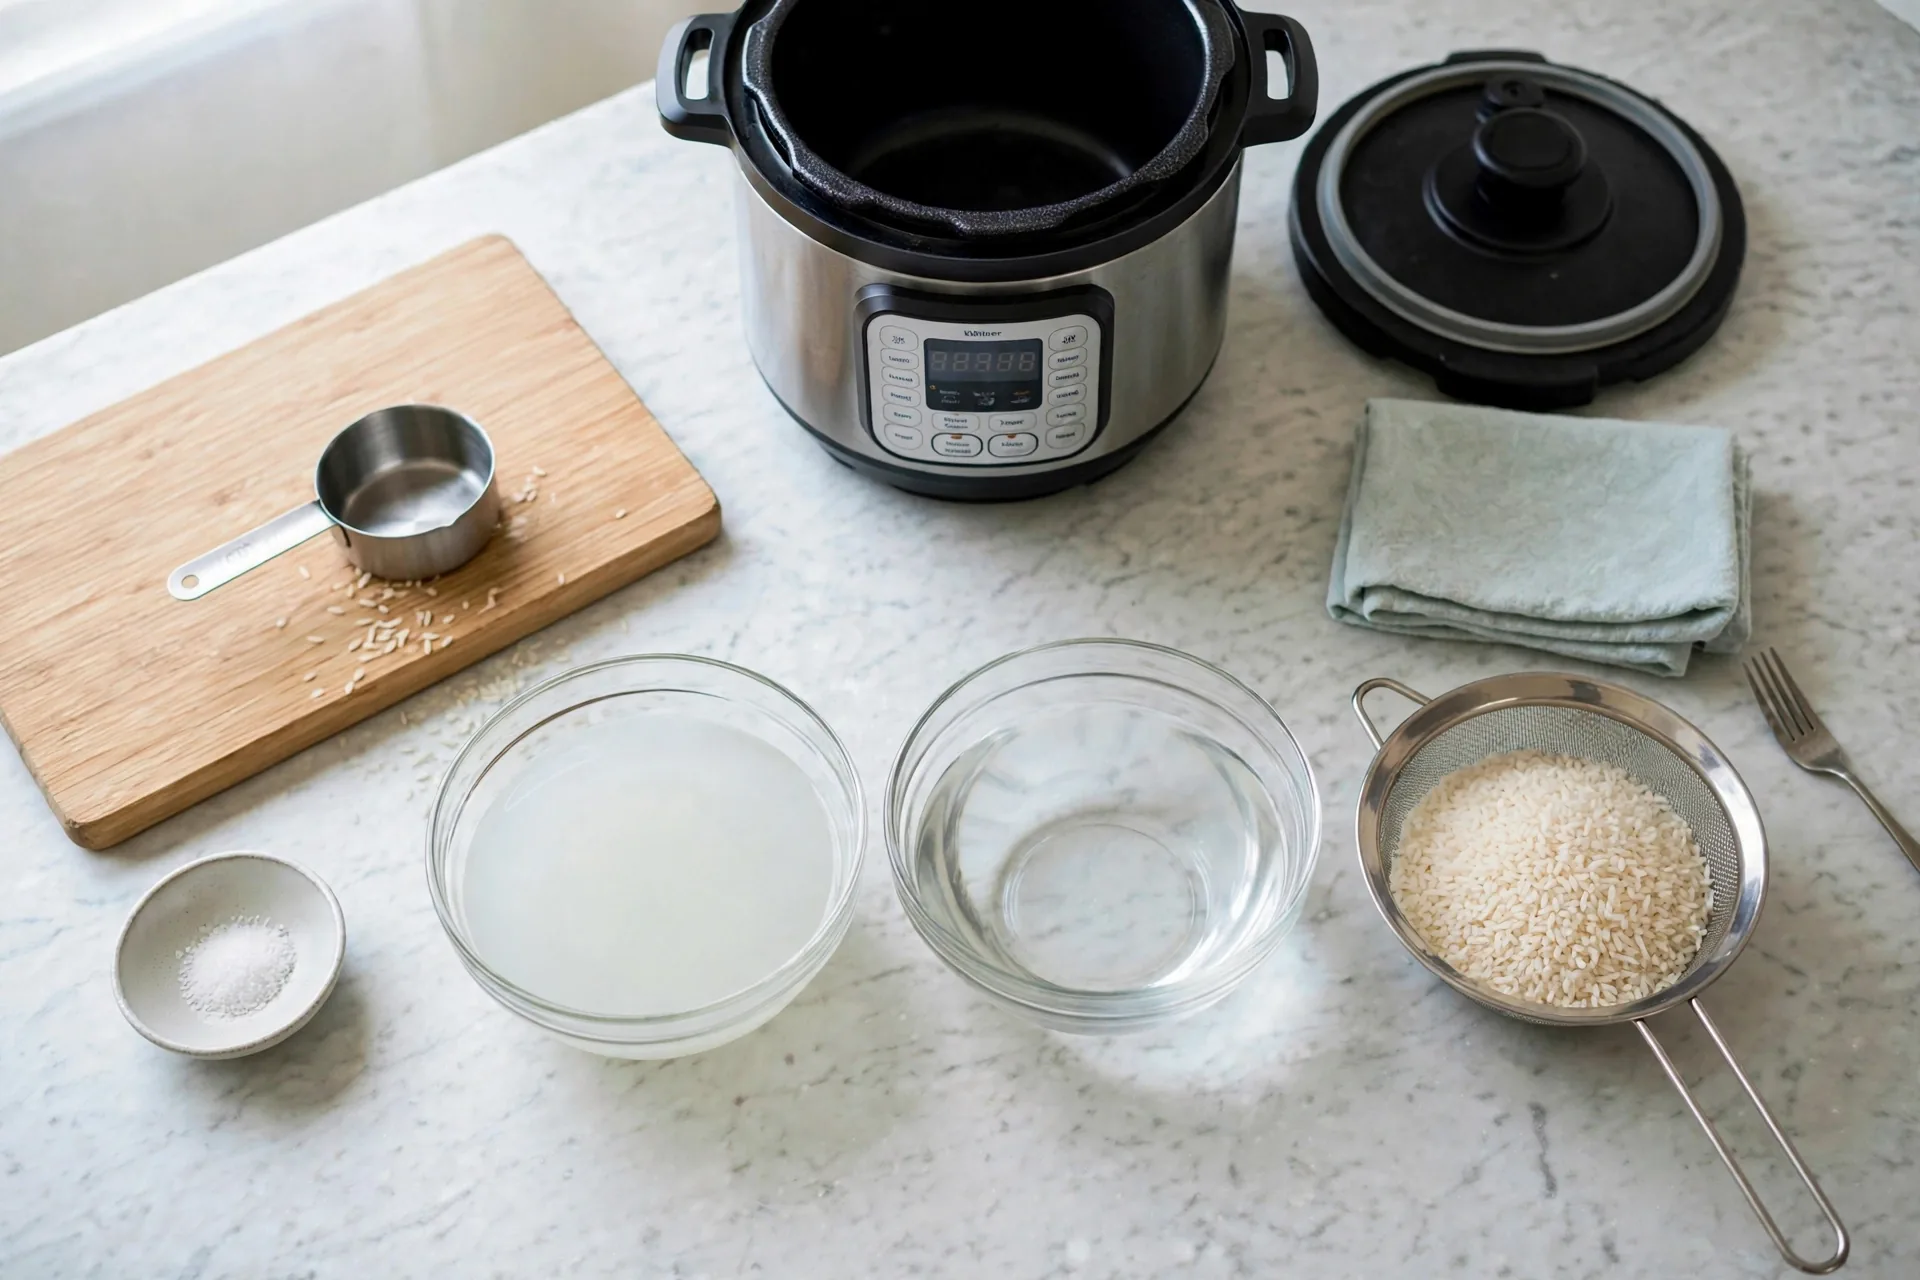
You can see the difference in two bowls of rinse water. The first rinse is cloudy and milky. The last rinse is nearly clear. When the water looks like the second bowl, the rice is ready. Do not skip this check because the rice “looks clean” dry. Dry rice always looks clean. The starch only shows once water hits it.
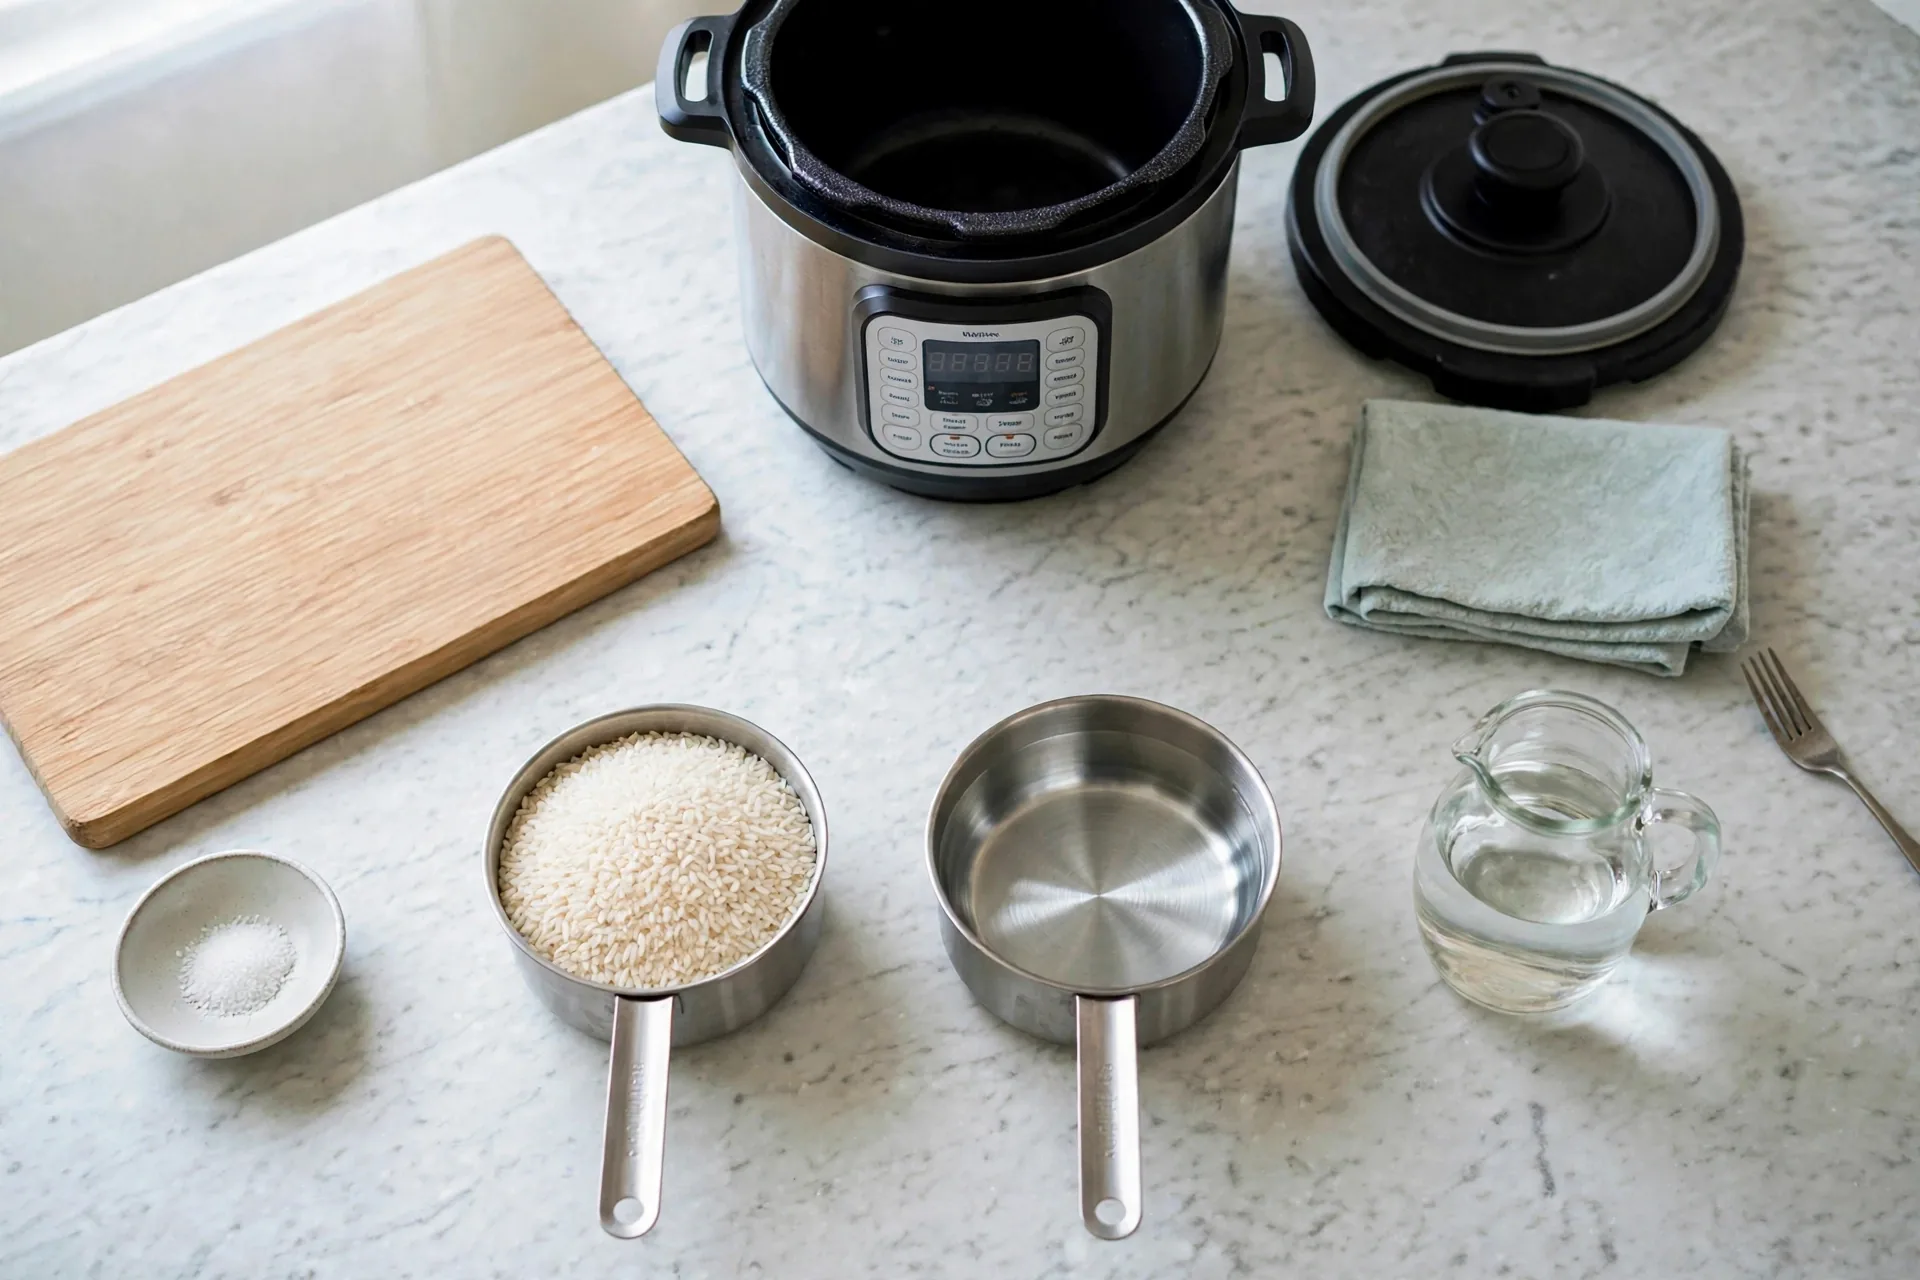
Use the same cup for the water. One level cup of rice gets one level cup of water for white, basmati and jasmine rice. Set the two cups side by side and check that the heights match. Guessing the water is the most common reason Instant Pot rice turns out wet. The pot seals tight and almost no water escapes as steam, so the water you put in is close to the water the rice absorbs. Too much water has nowhere to go.
Lock the lid. Turn the black lid into the locked position until the handles line up and the lid sits flat. The inner pot is inside with the rice and water already in it. A lid that is not fully locked will not build pressure, and the pot will sit hissing without ever starting the countdown.
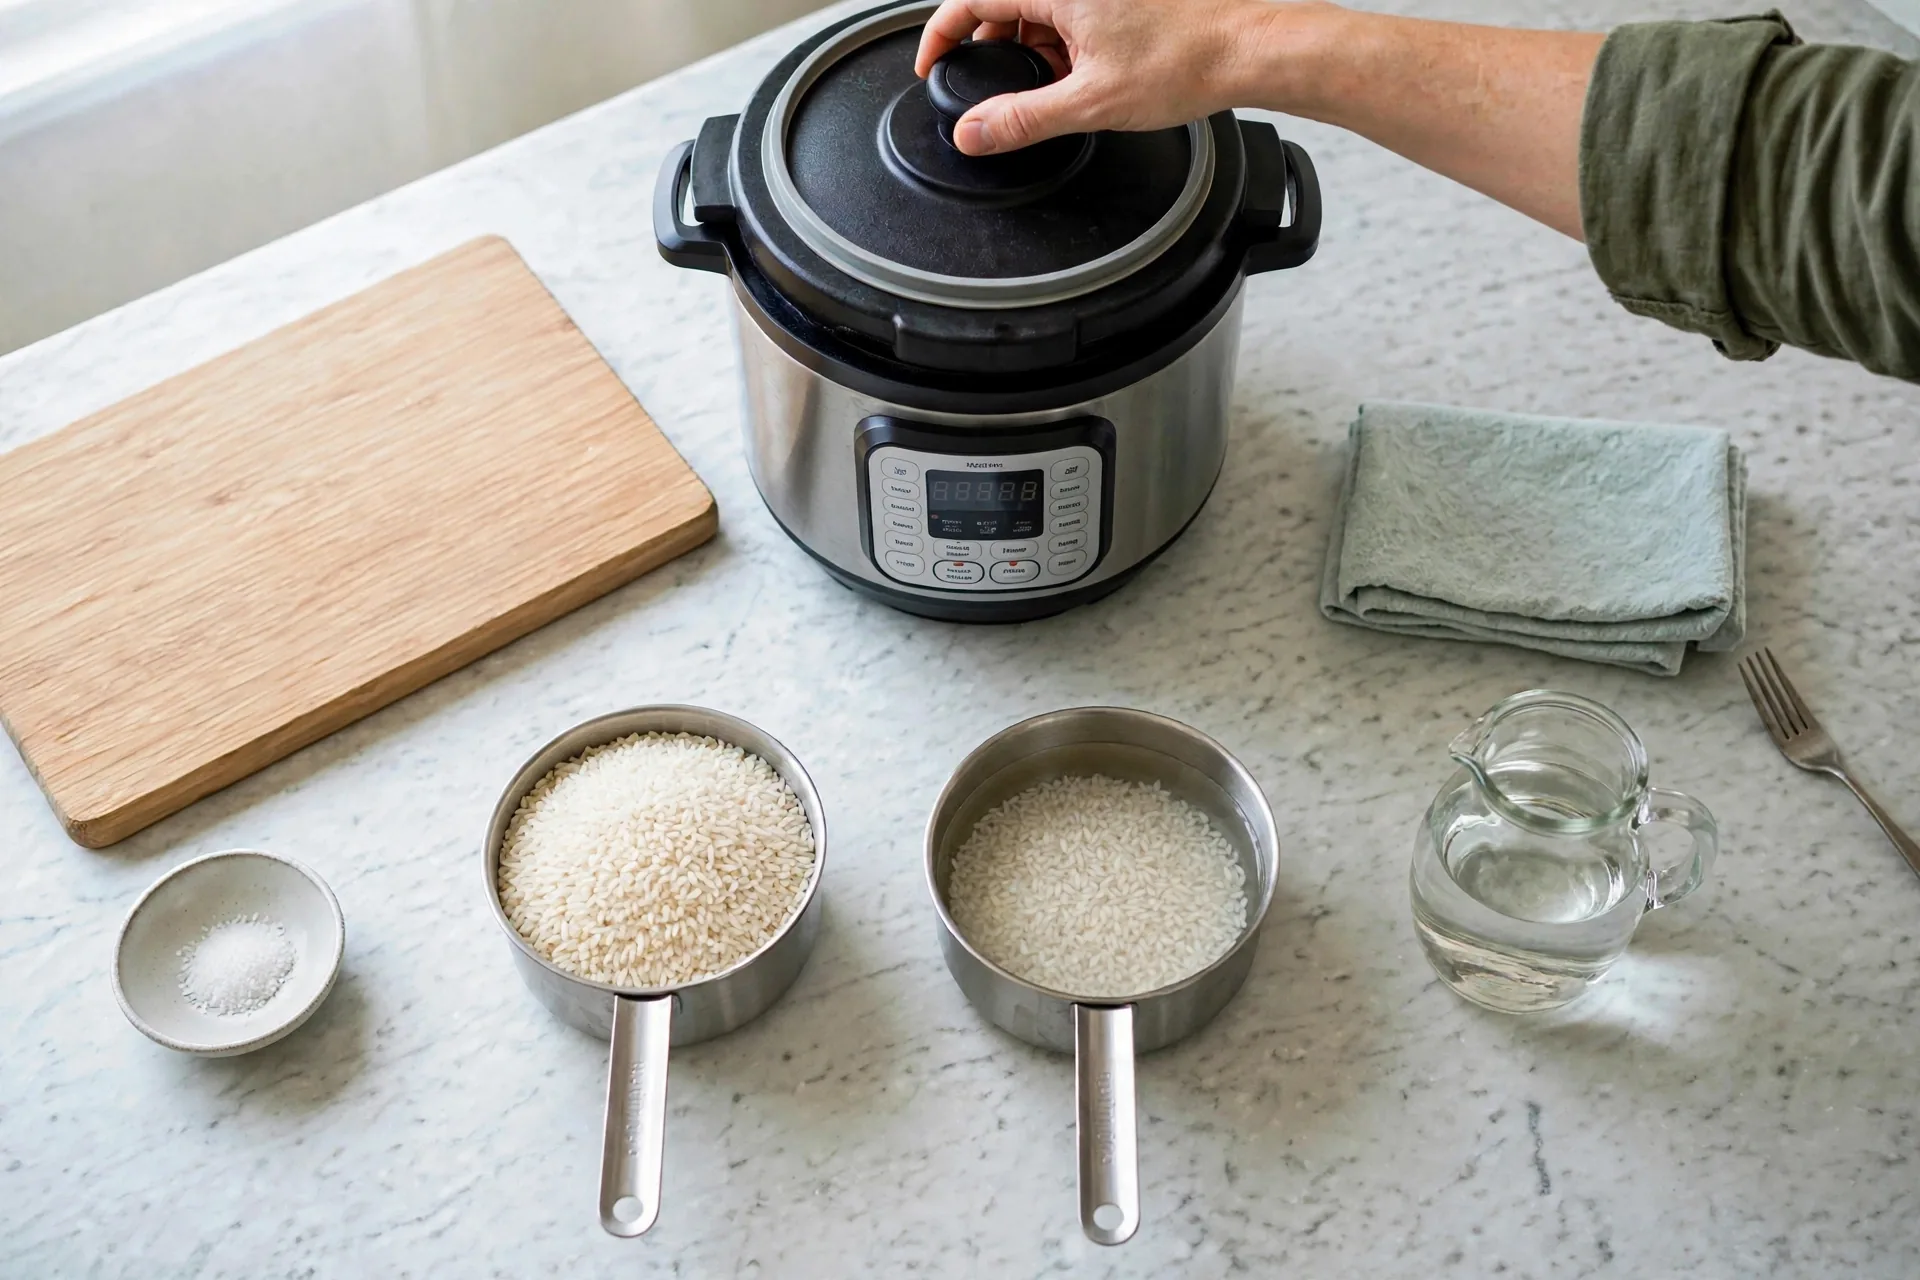
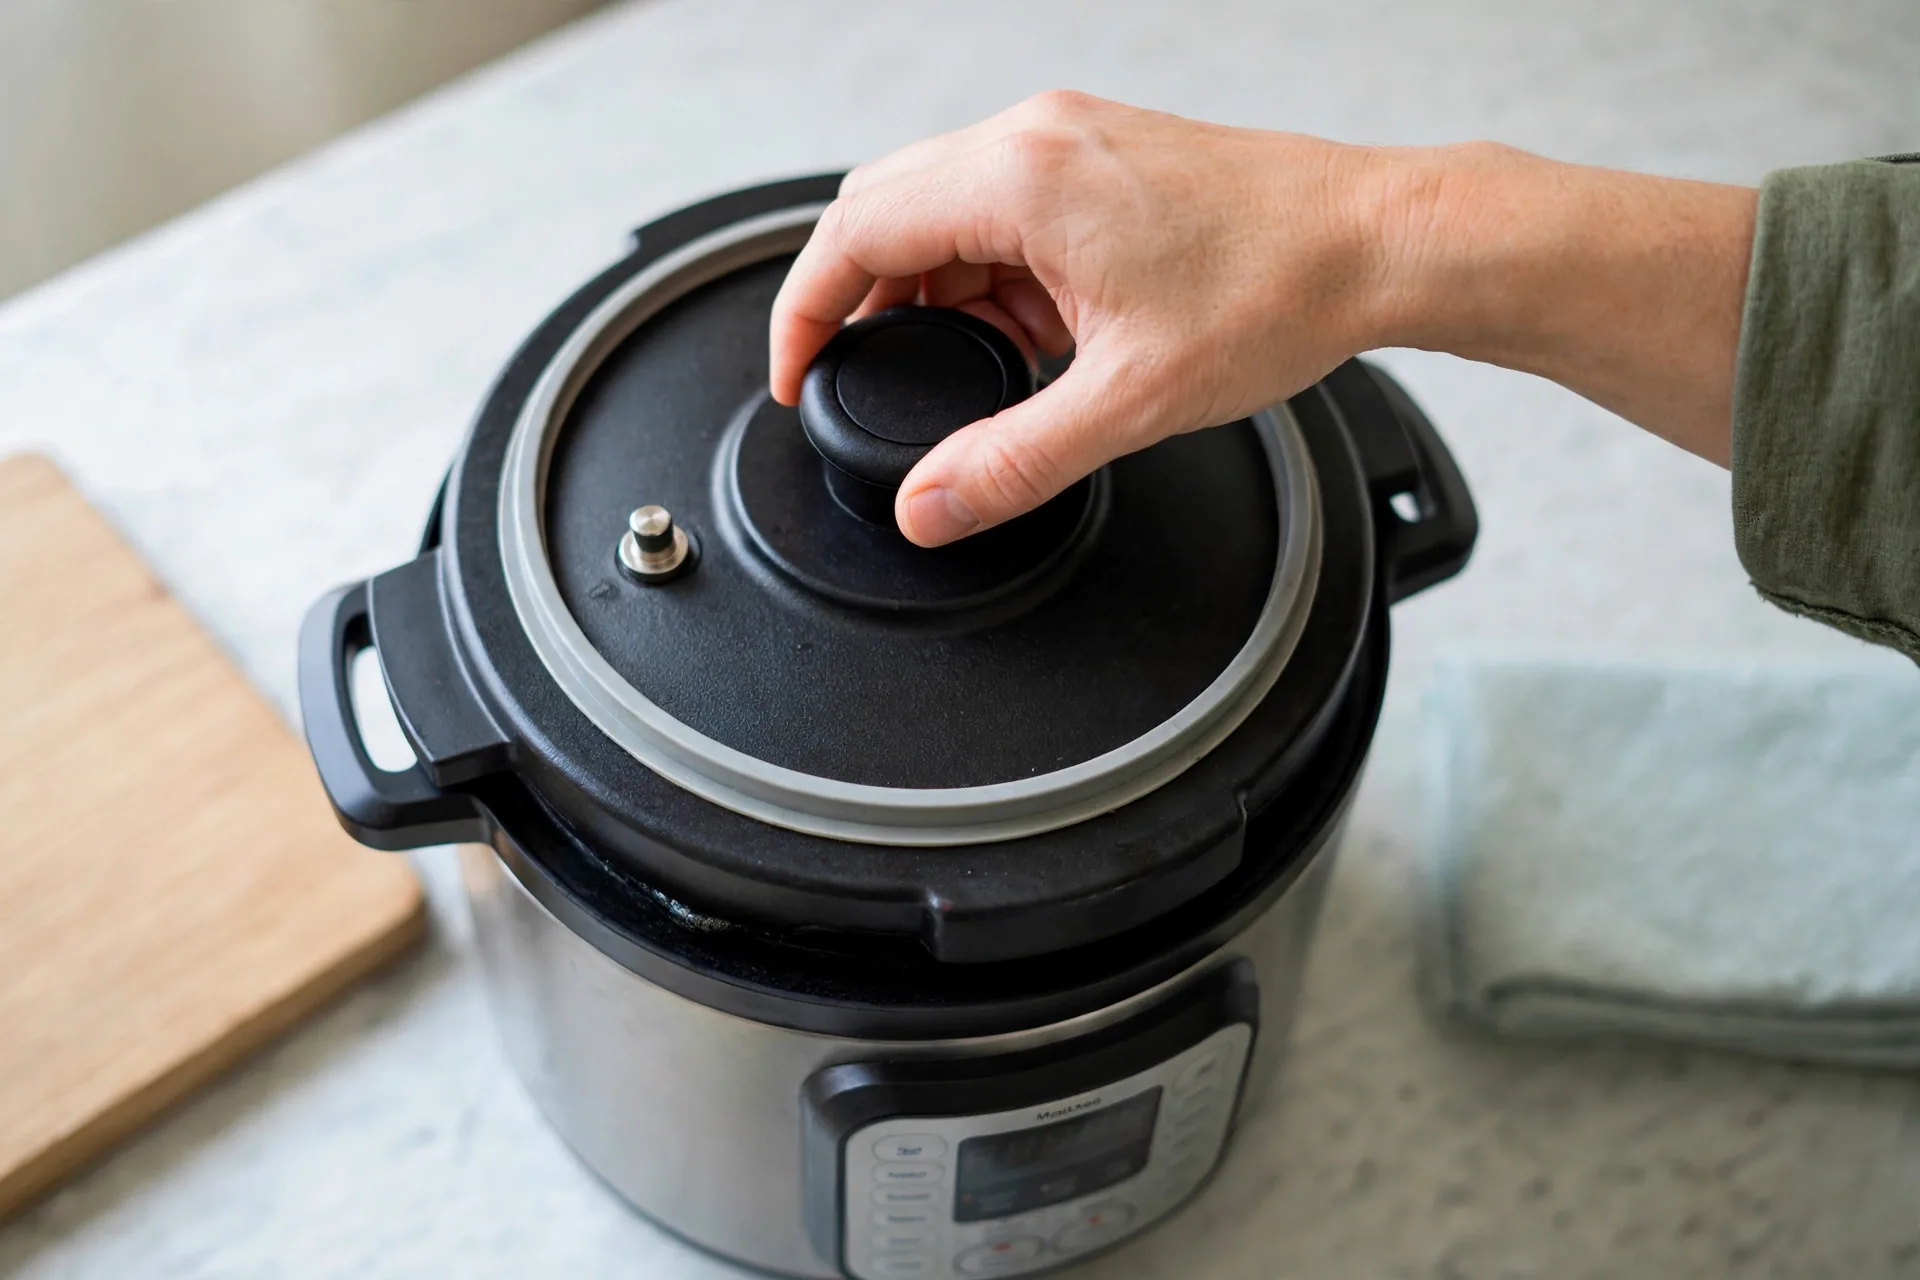
Turn the steam release valve to Sealing. Push it with a finger until it clicks into the sealing position. The float valve pin beside it sits down for now. It pops up once pressure builds. Do not touch the valve again while the pot cooks. A valve left on Venting lets all the steam out, and the rice boils dry instead of pressure cooking.
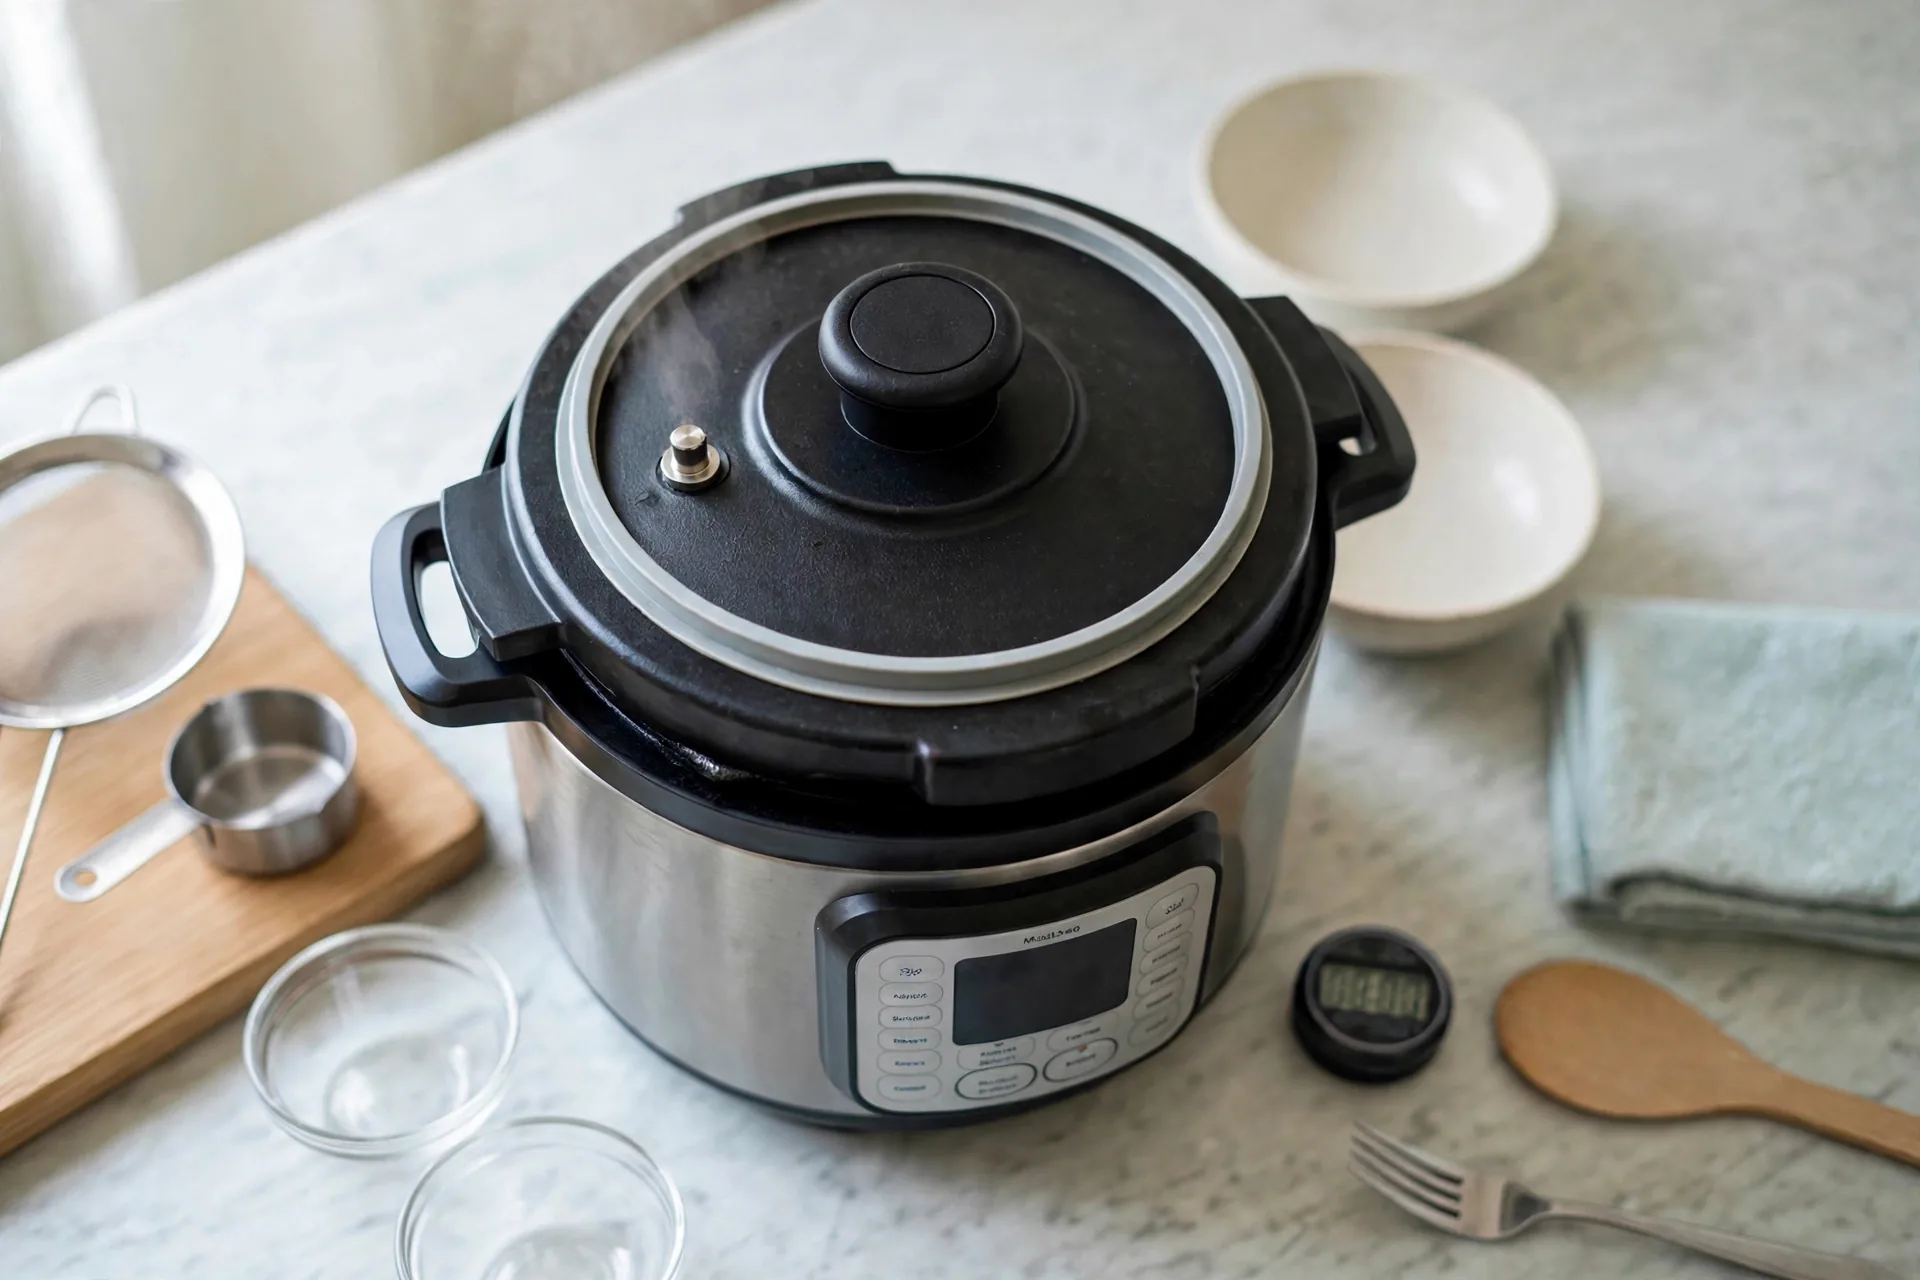
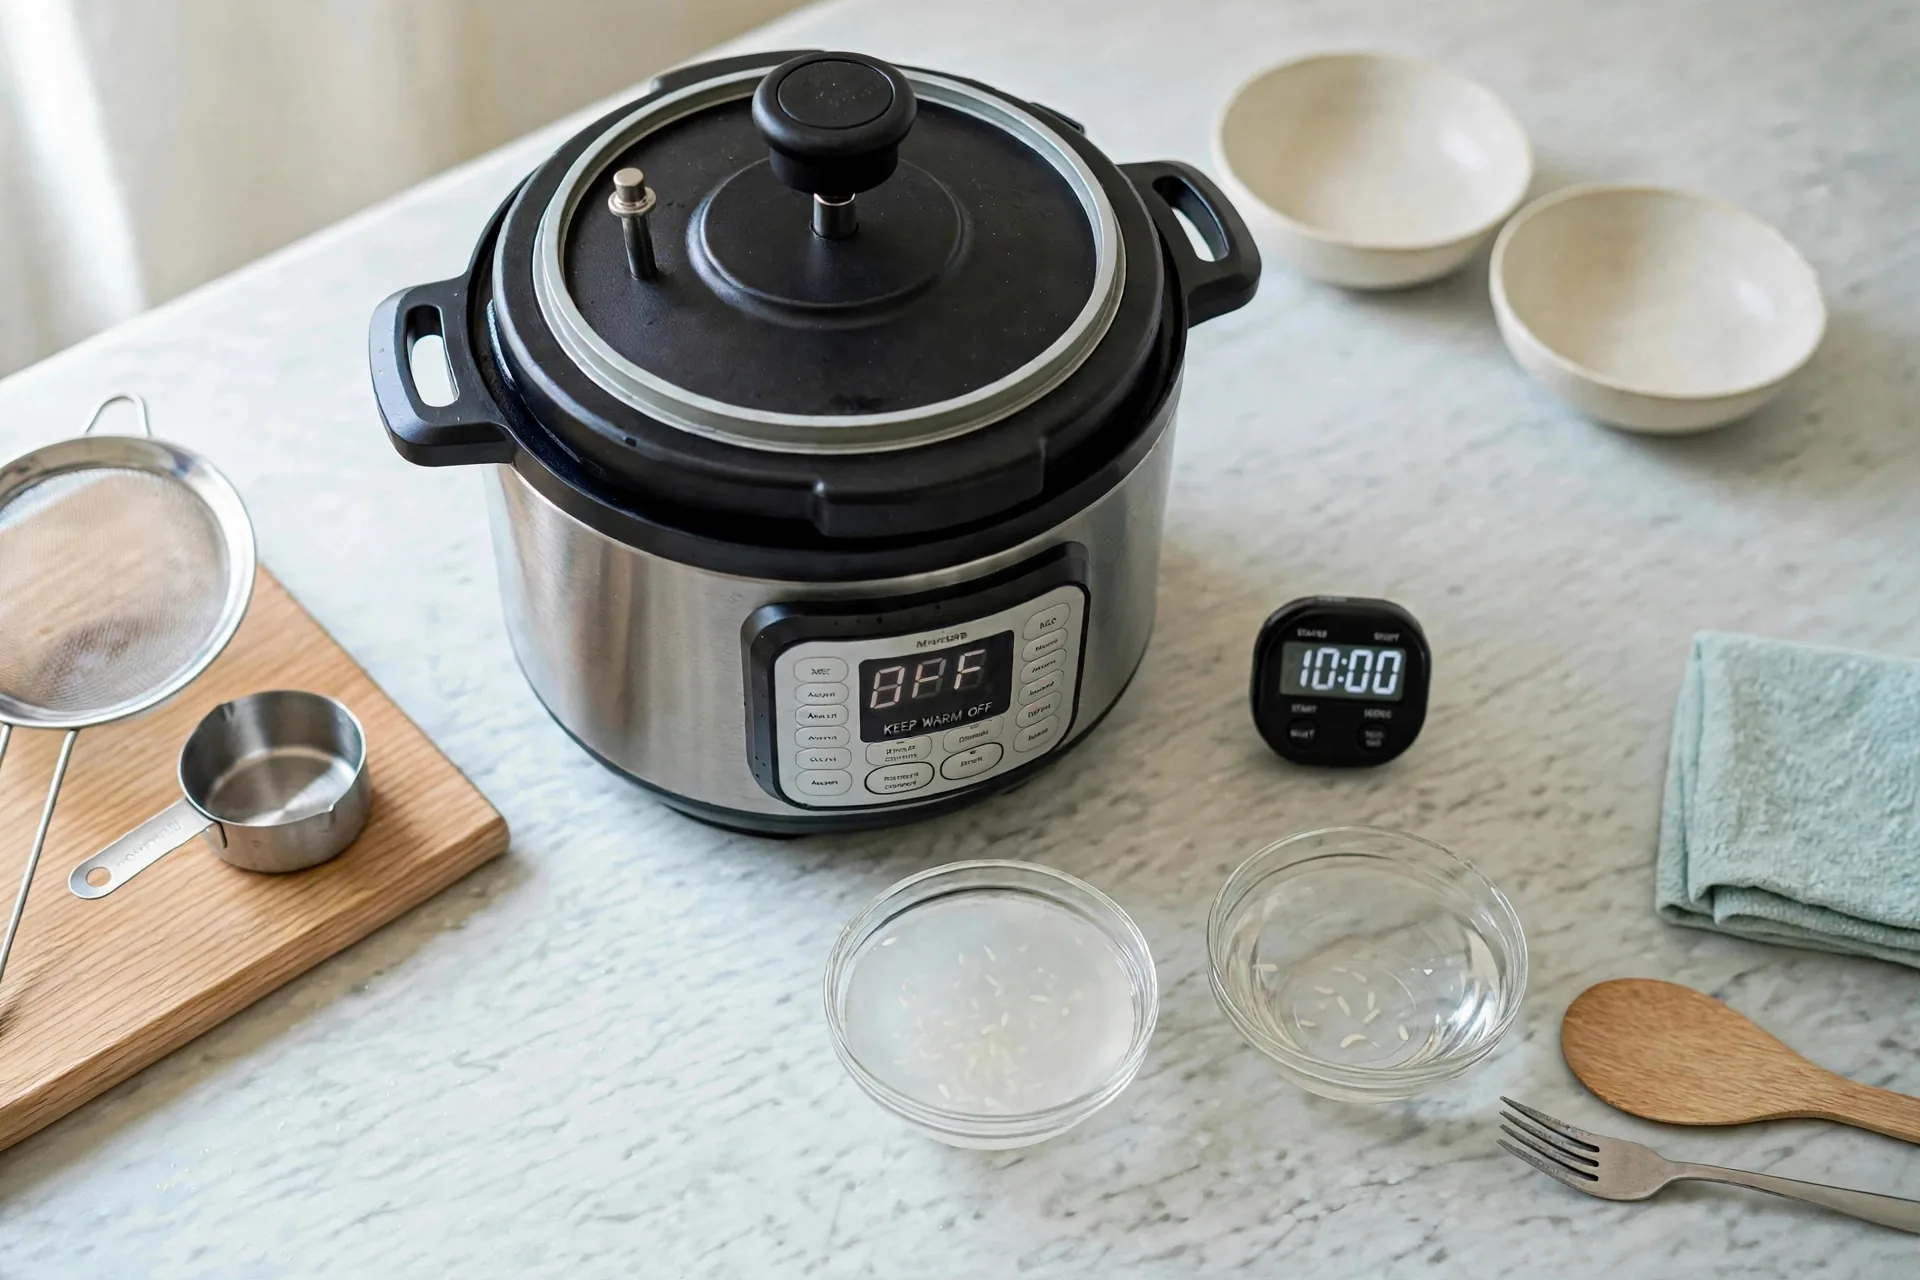
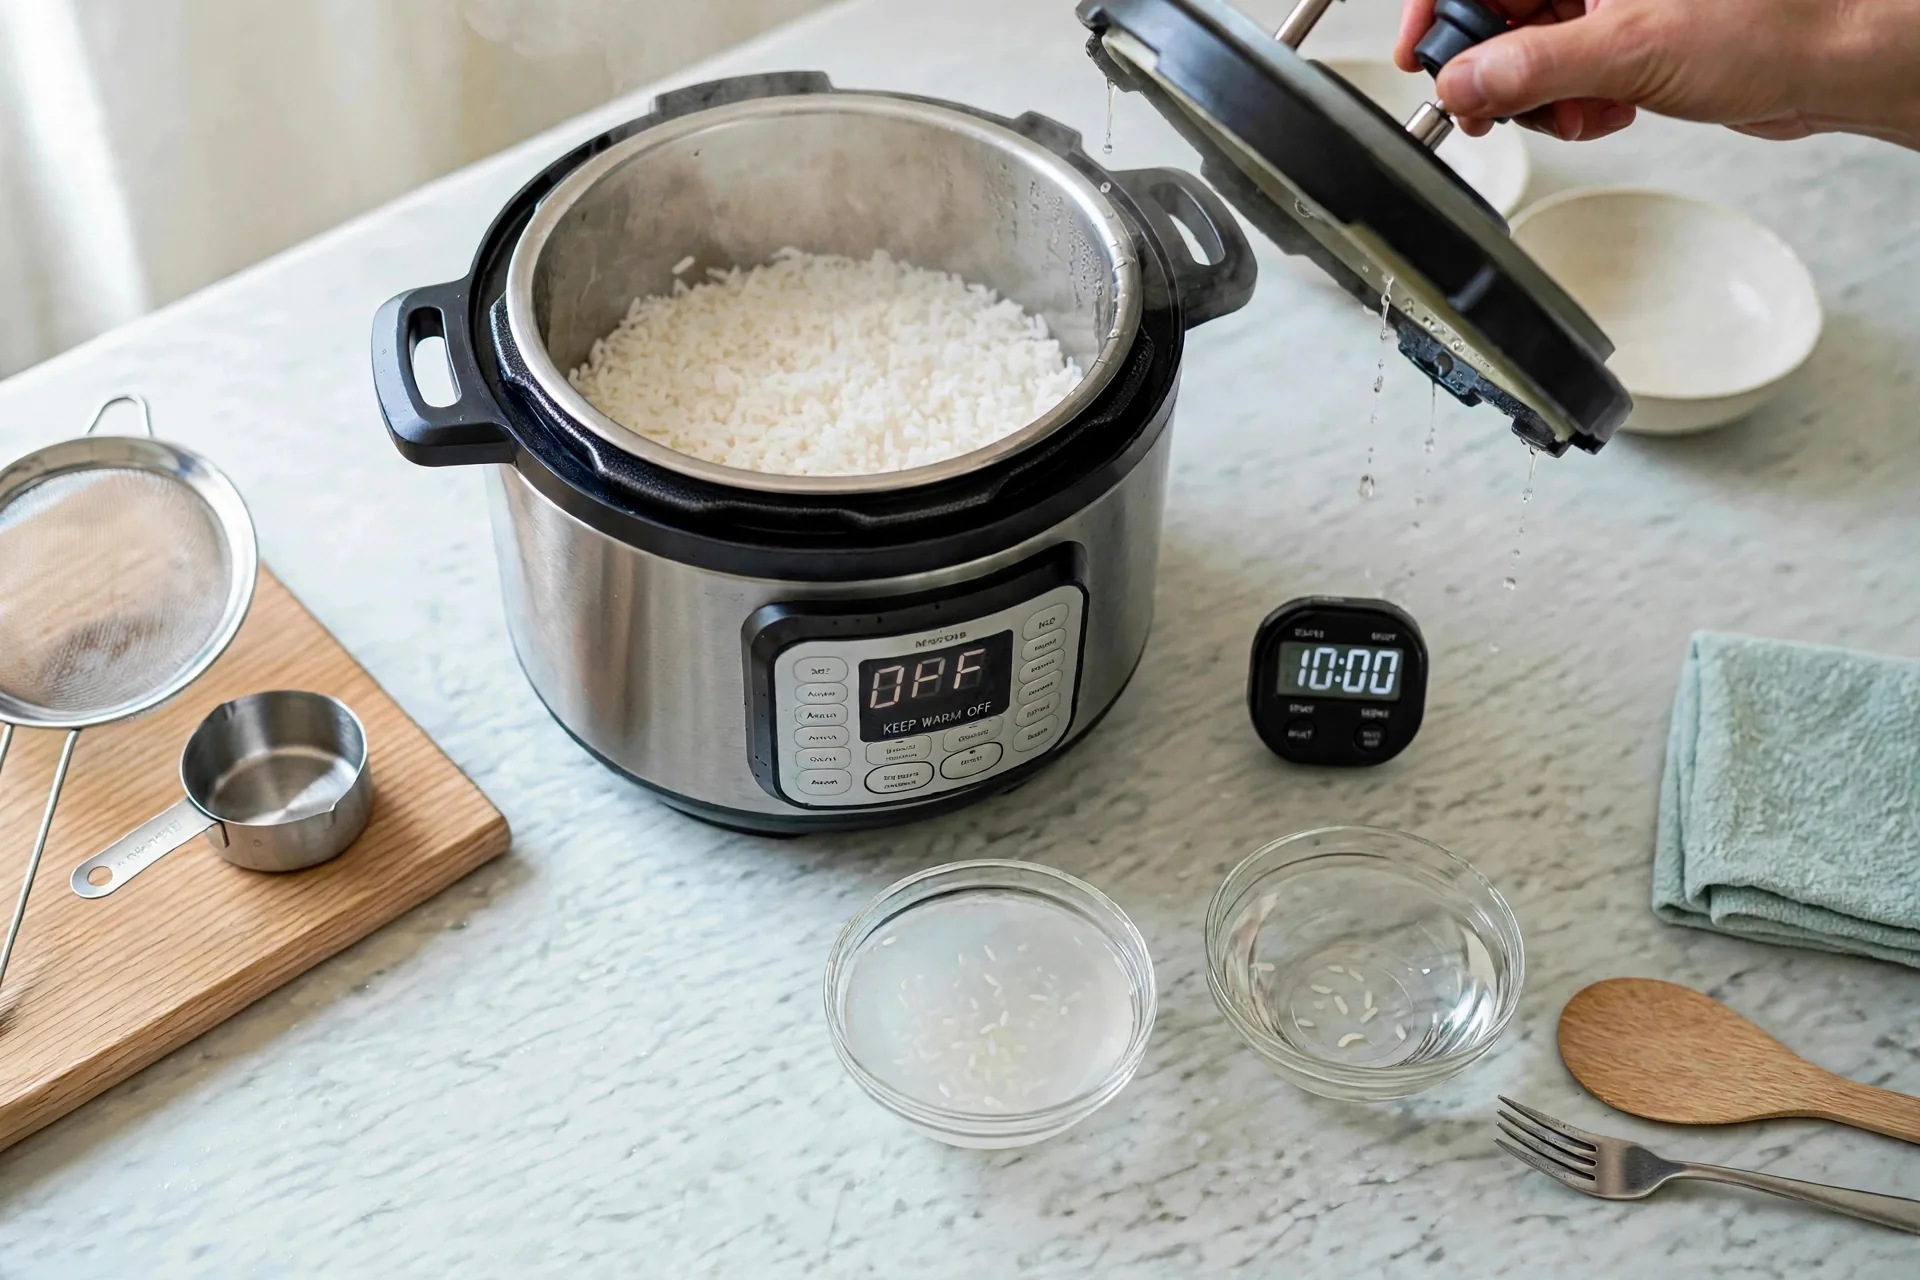
Natural release is the step people rush, and rushing it is what ruins the texture. When the countdown ends, leave the pot alone. The display switches to Keep Warm. Do not turn the valve, do not lift the lid, do not press anything. Inside, the pressure falls slowly and the rice finishes cooking in its own steam. The float valve pin drops flat when the pressure is gone. That dropped pin is your signal. A timer set to 10 minutes for white rice covers the wait. Hands stay away from the valve the whole time, because the steam escaping at the end is still hot enough to burn.
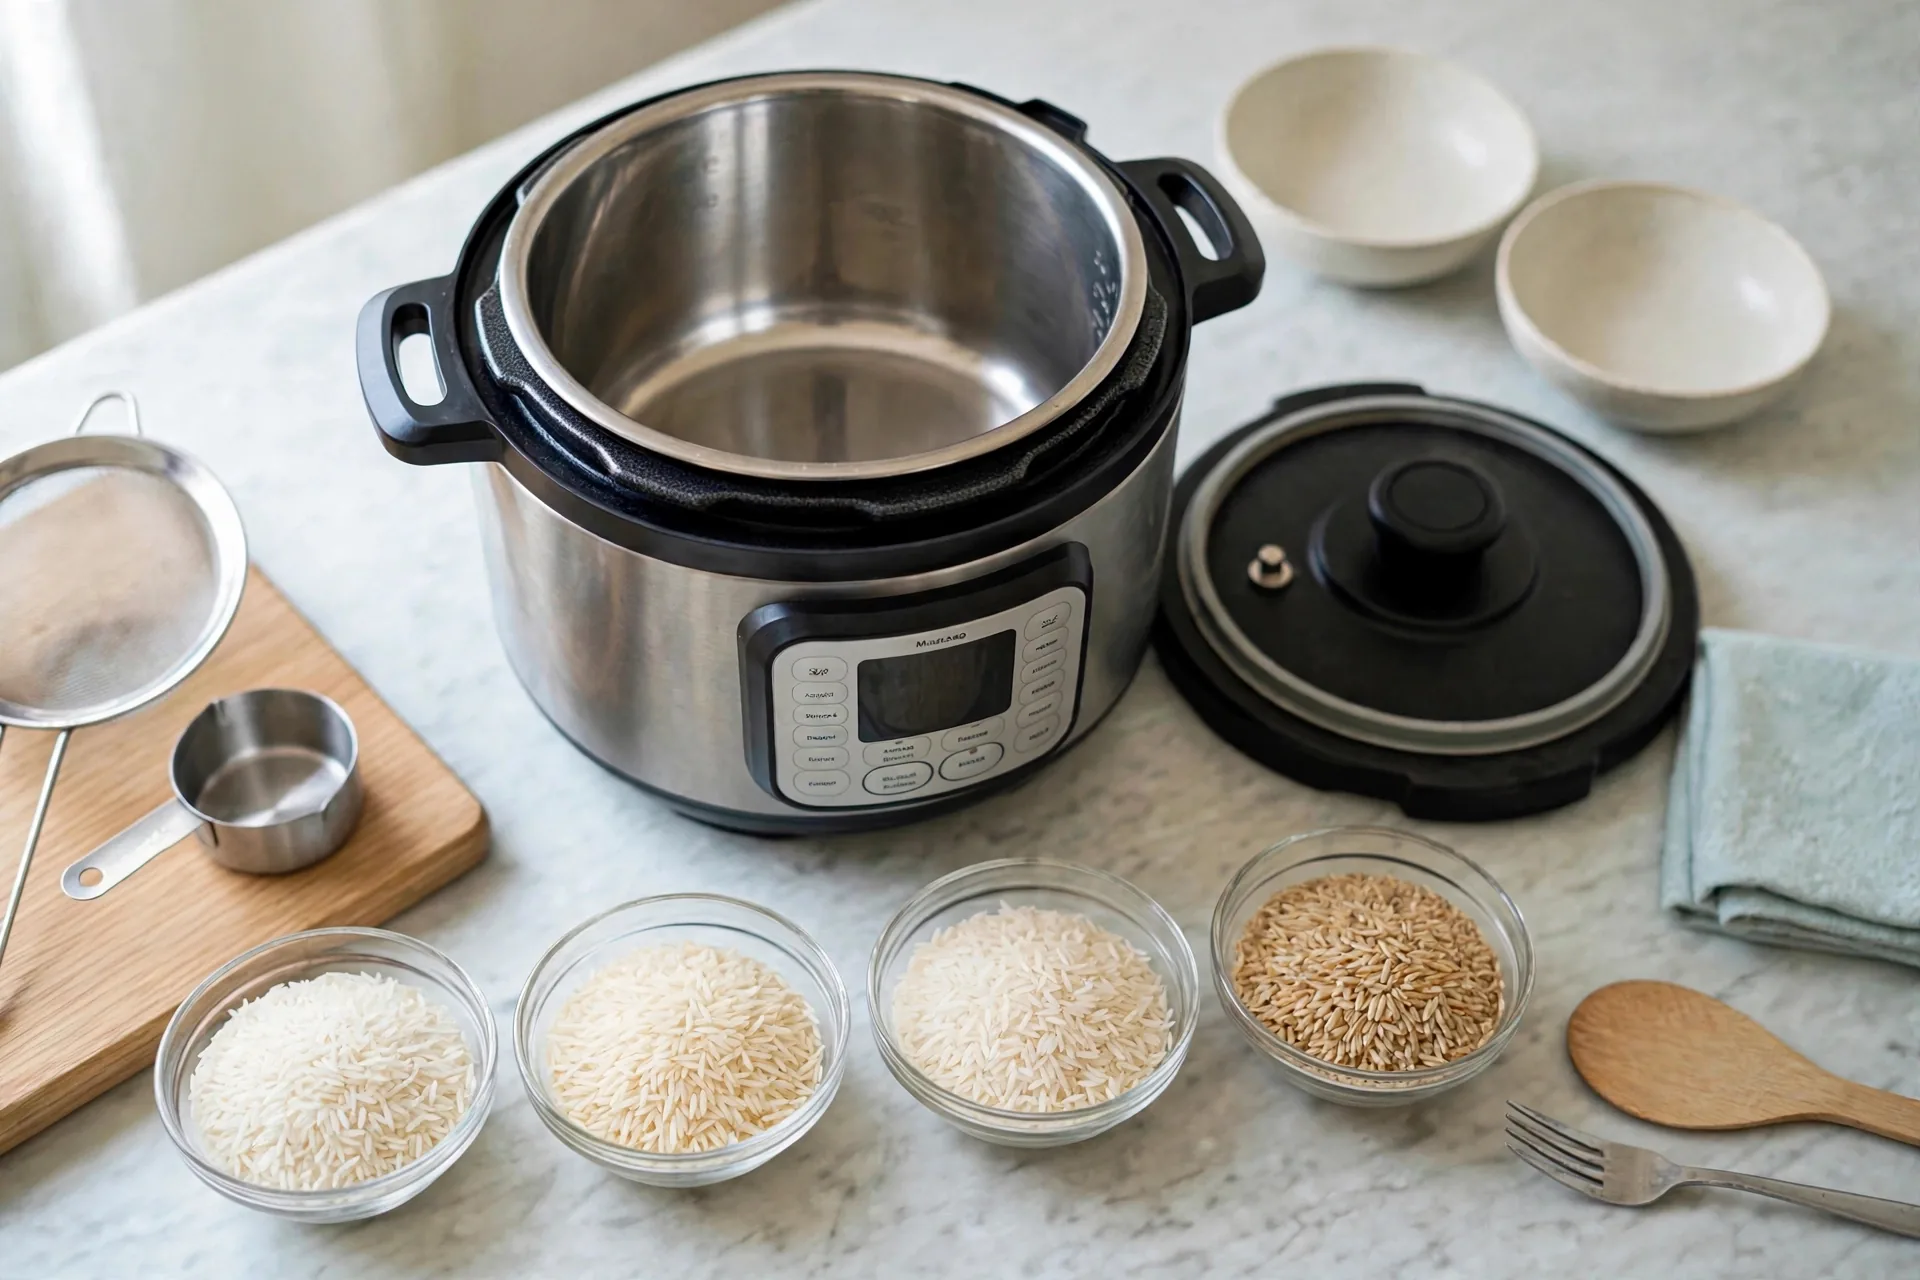
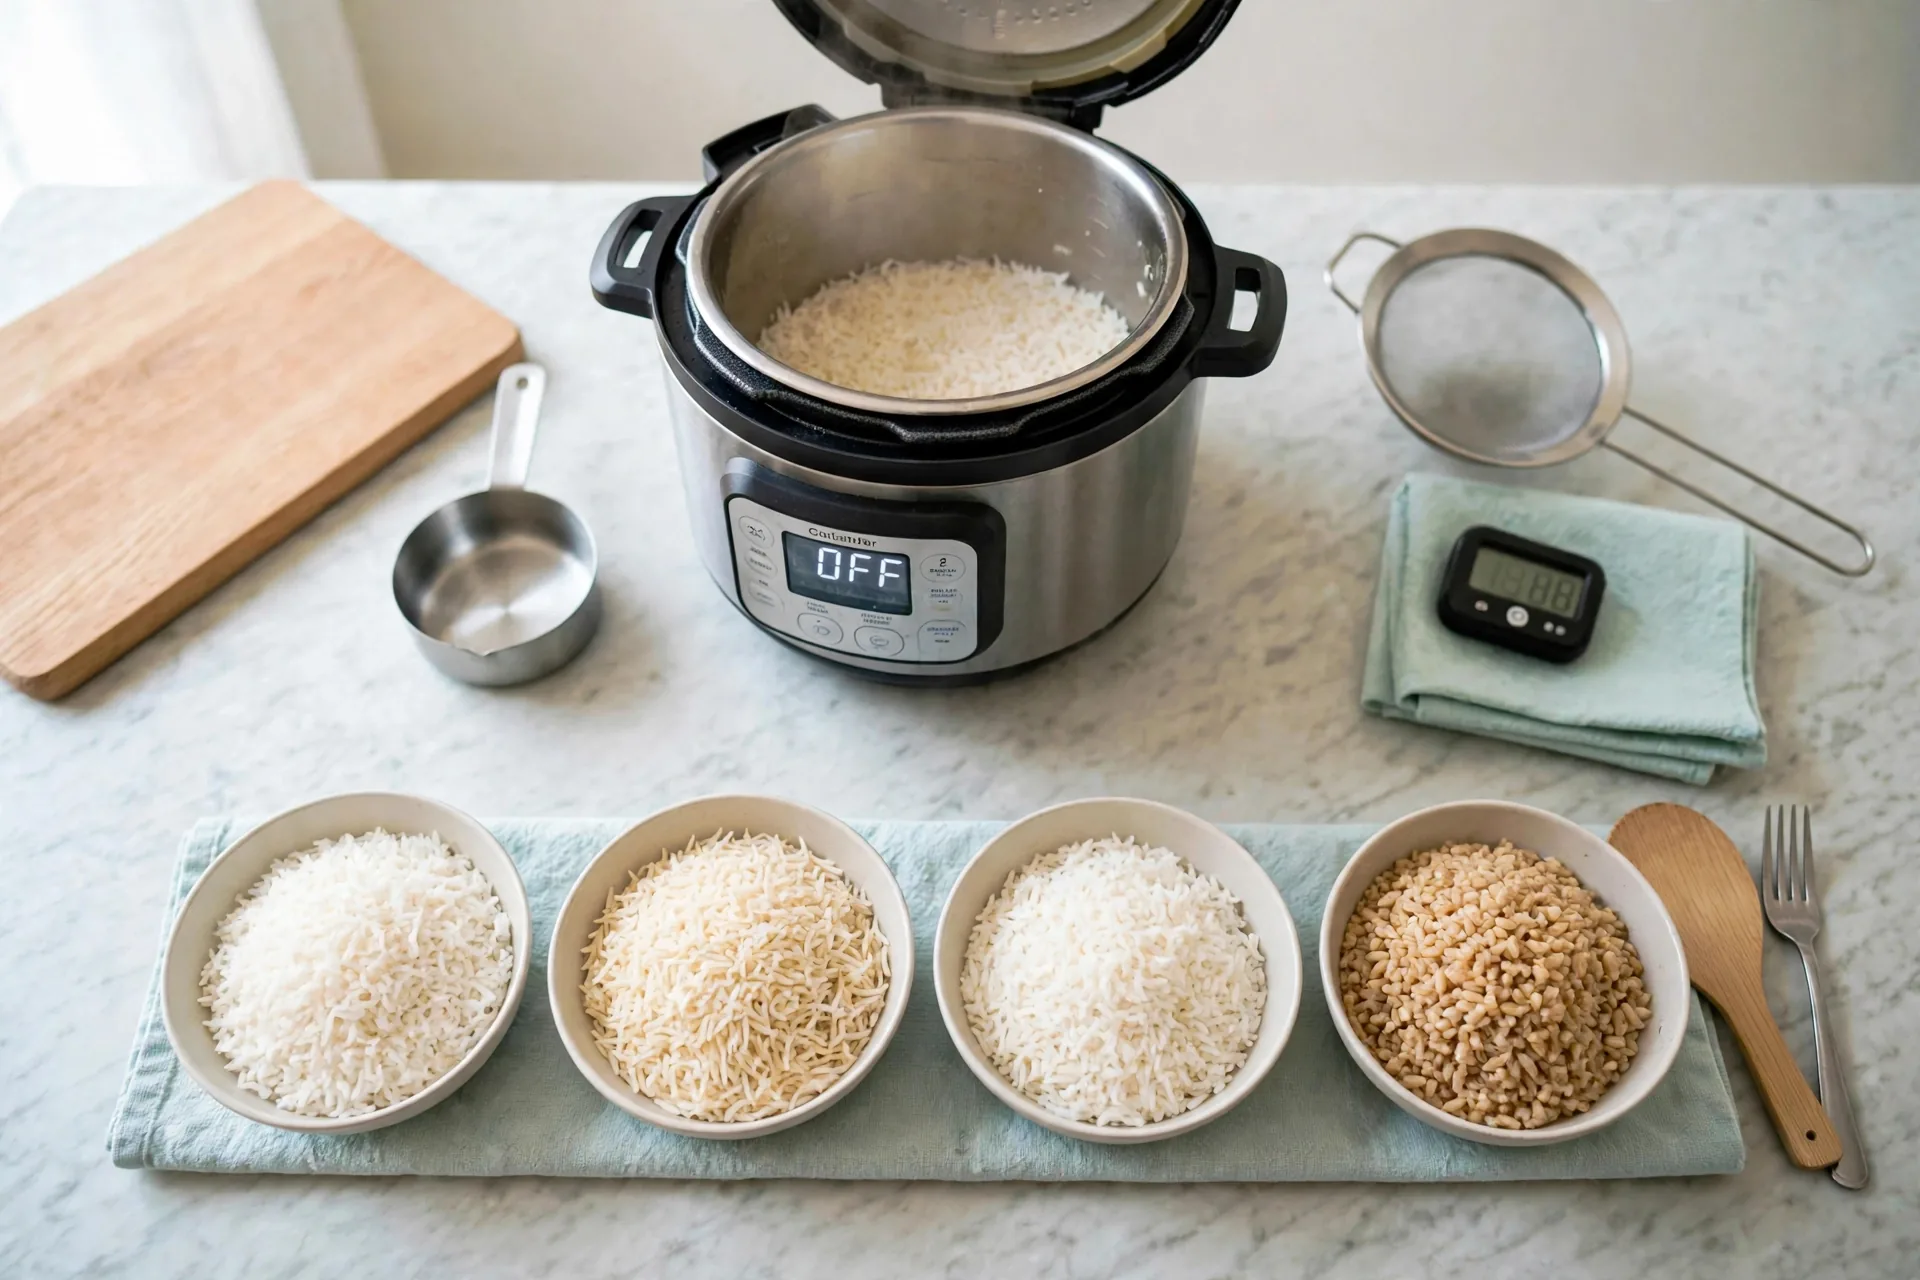
Four bowls of dry rice, side by side, show why one method covers four recipes. White long-grain, basmati, jasmine and brown look different before they ever touch water: different lengths, different colors, different surfaces. Each recipe below starts from one of these bowls and changes only what that rice needs. Nothing else about the method changes.
Recipe 1: Instant Pot White Rice
The plain one, and the one to learn first. Long-grain white rice, rinsed, cooked at a 1:1 ratio for 4 minutes on High pressure, rested 10 minutes. The finished grains stay separate and slightly glossy, with small steam holes across the surface. If this recipe works, the other three are small adjustments.
You need, for 4 servings as a side:
- 1 cup long-grain white rice
- 1 cup water
- 1/2 teaspoon salt
- 1 teaspoon olive oil
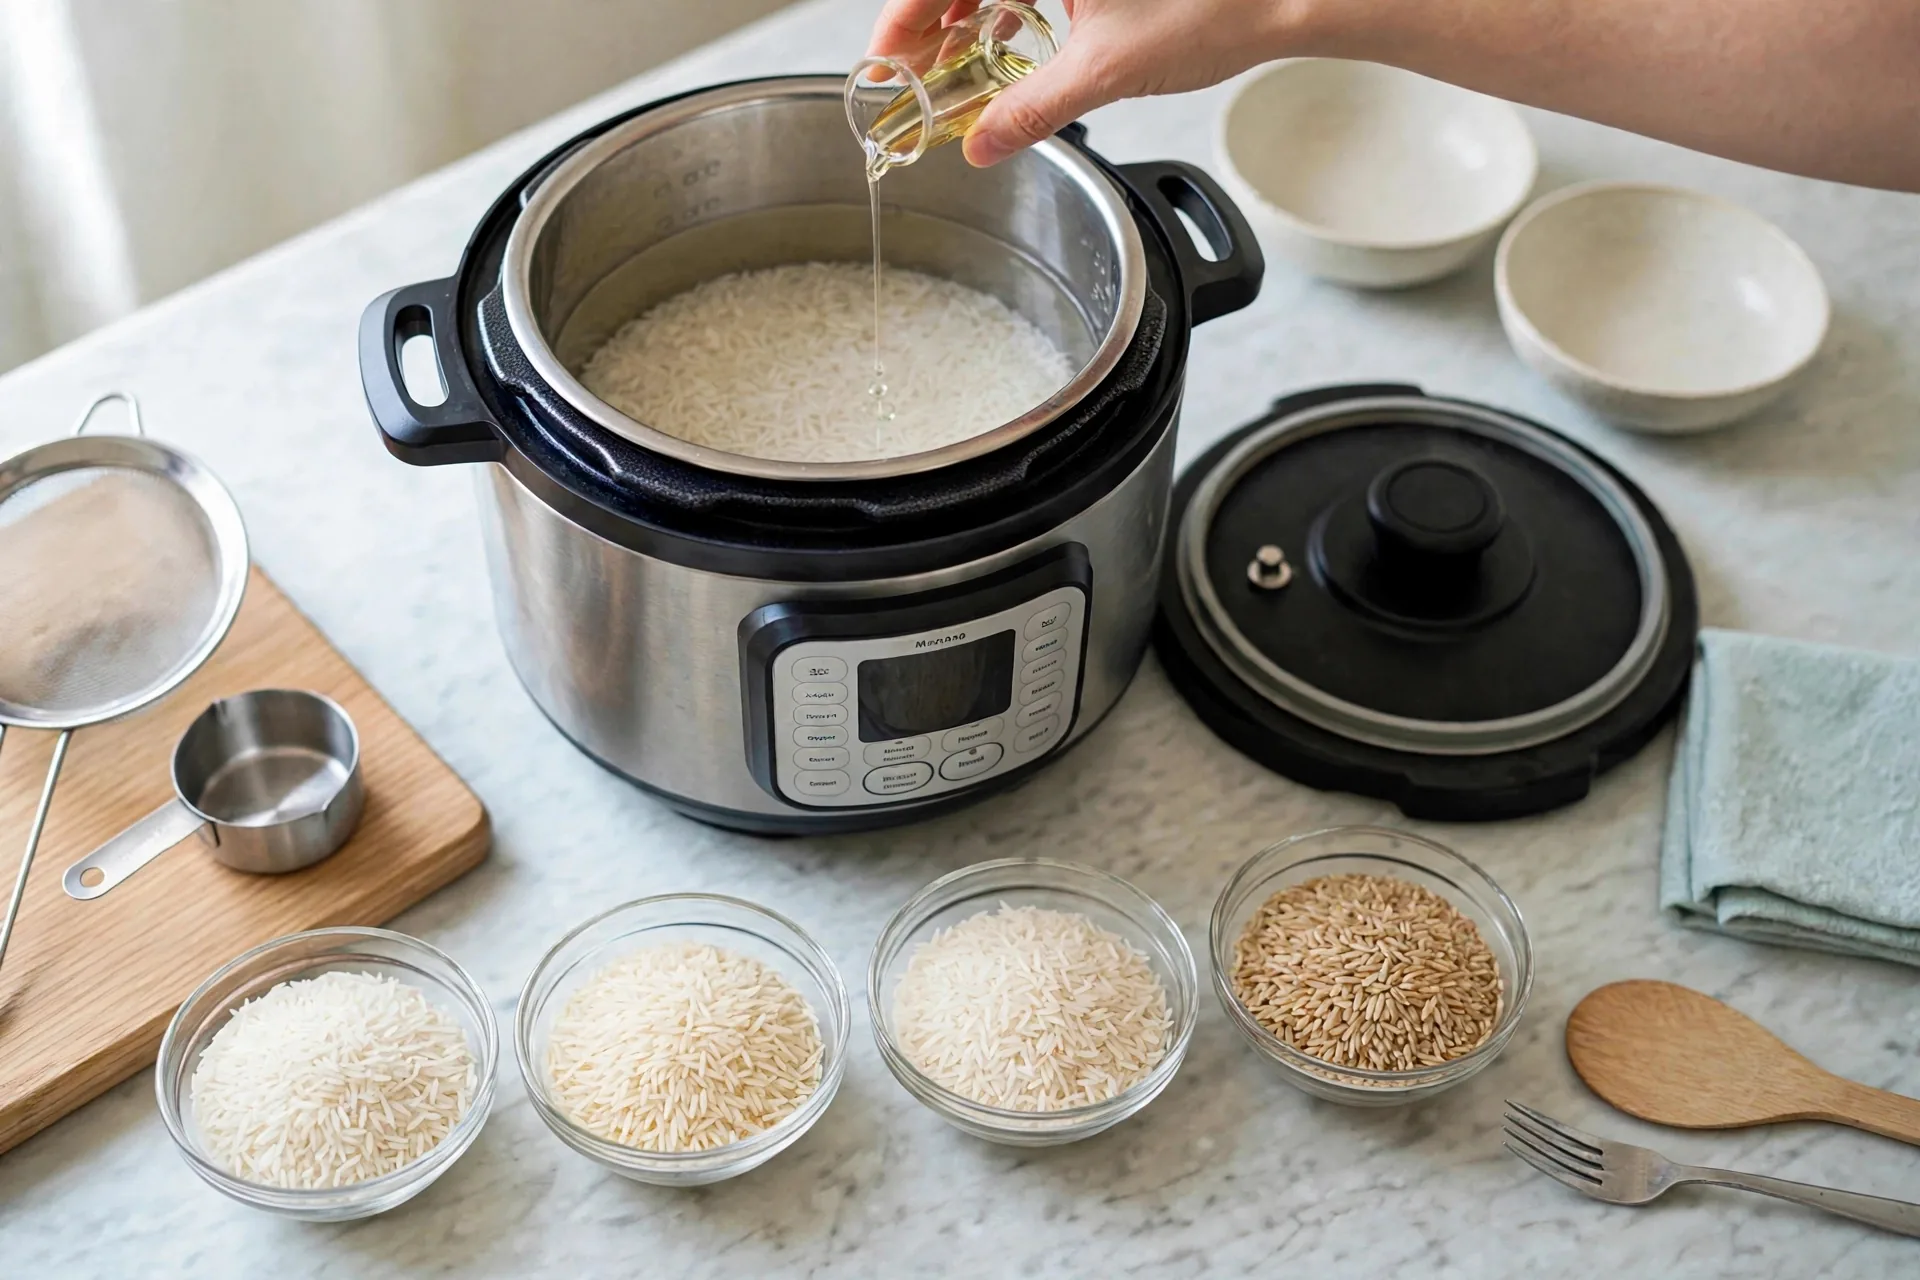
Put the rinsed rice in the inner pot with an equal amount of water. Add the salt and the oil. The rice sits at the bottom under clear water. The oil is a small amount, and its job is to keep the grains from sticking to each other, not to add flavor you can taste.
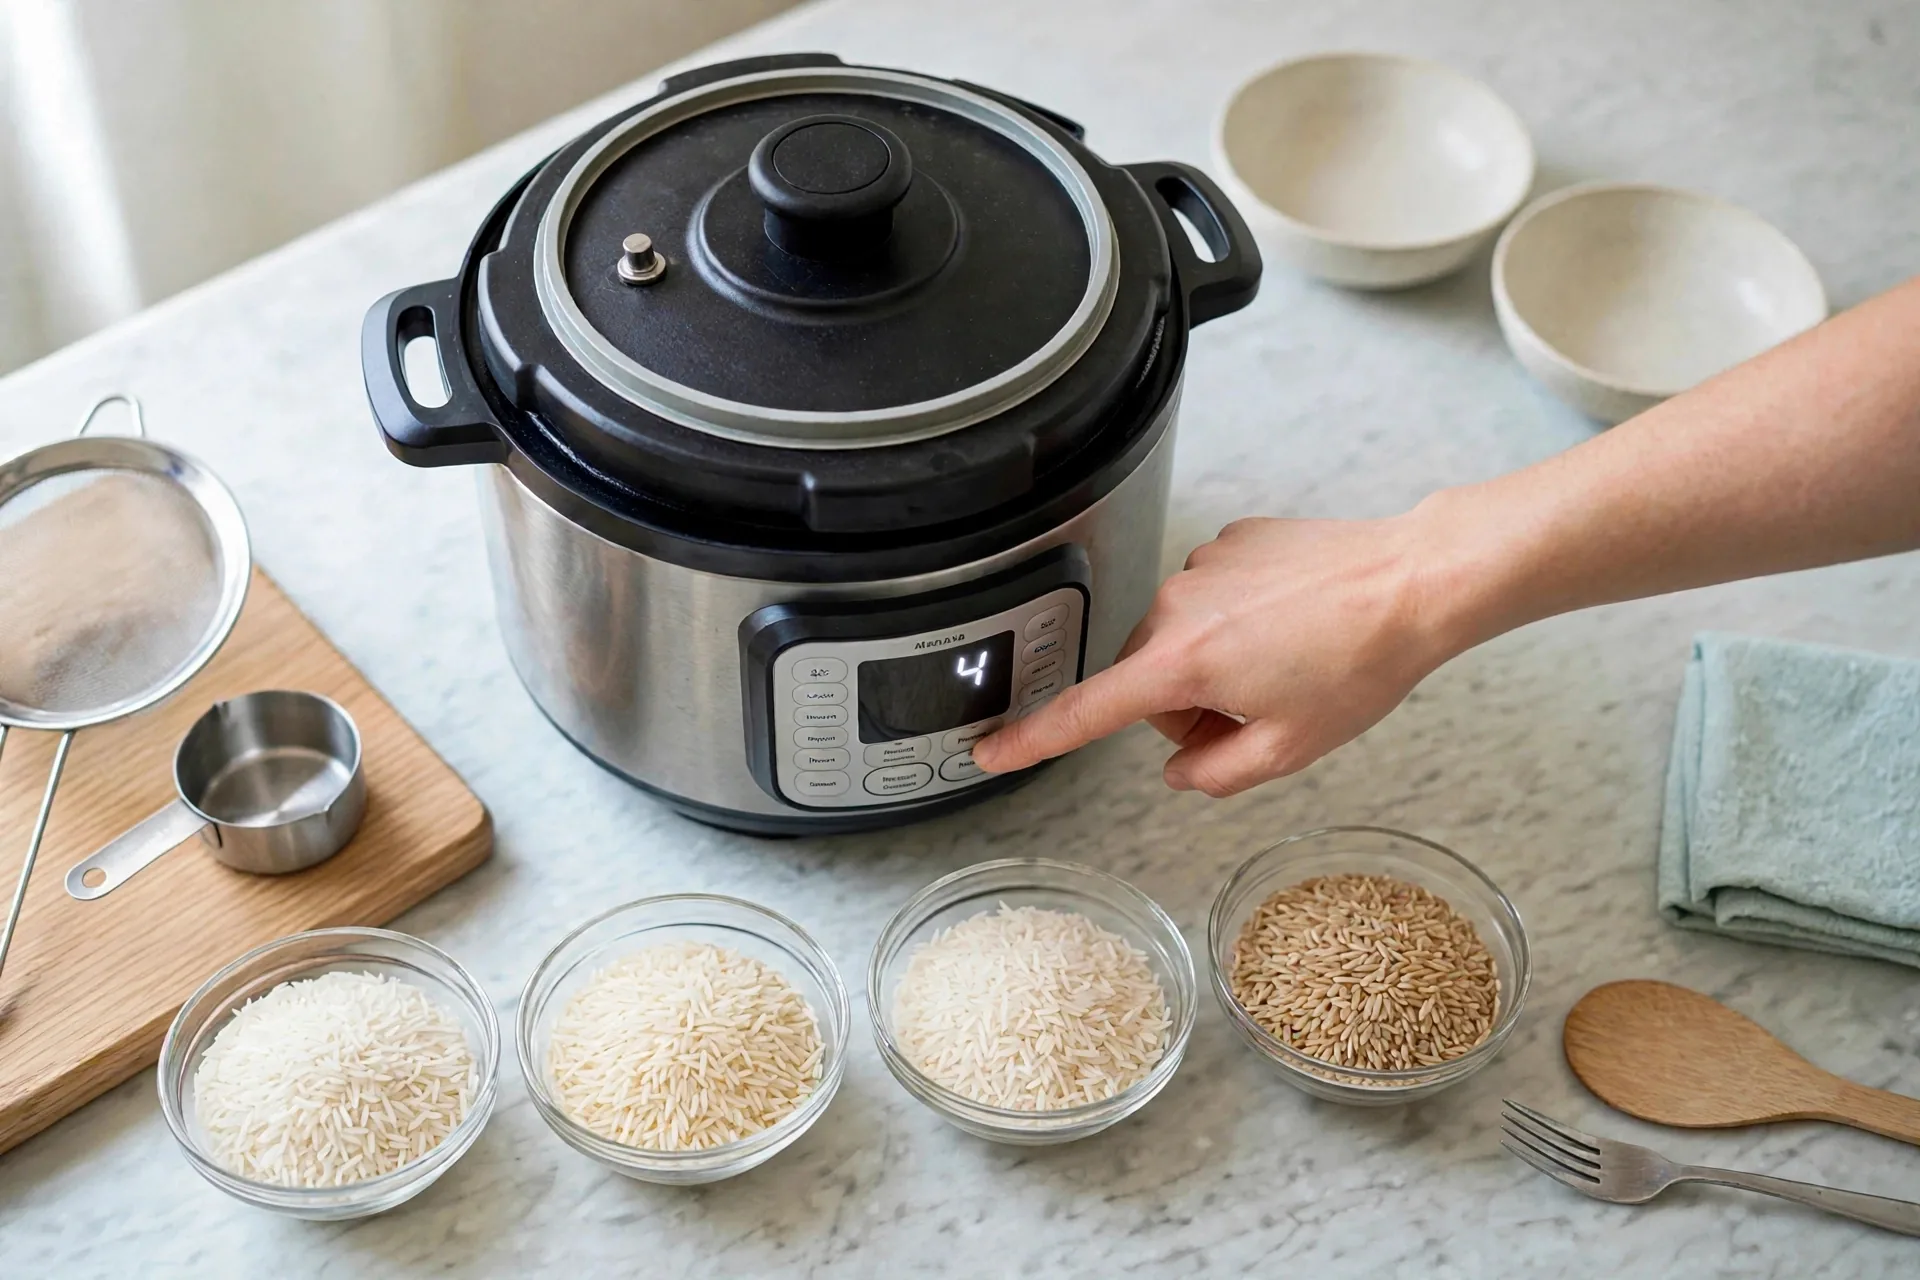
Lock the lid, turn the valve to Sealing, and set 4 minutes at High pressure. Press the Pressure Cook button and check the display reads 4. The pot takes about 10 minutes to build pressure before the countdown starts. That wait is normal. Do not add minutes to cover it.
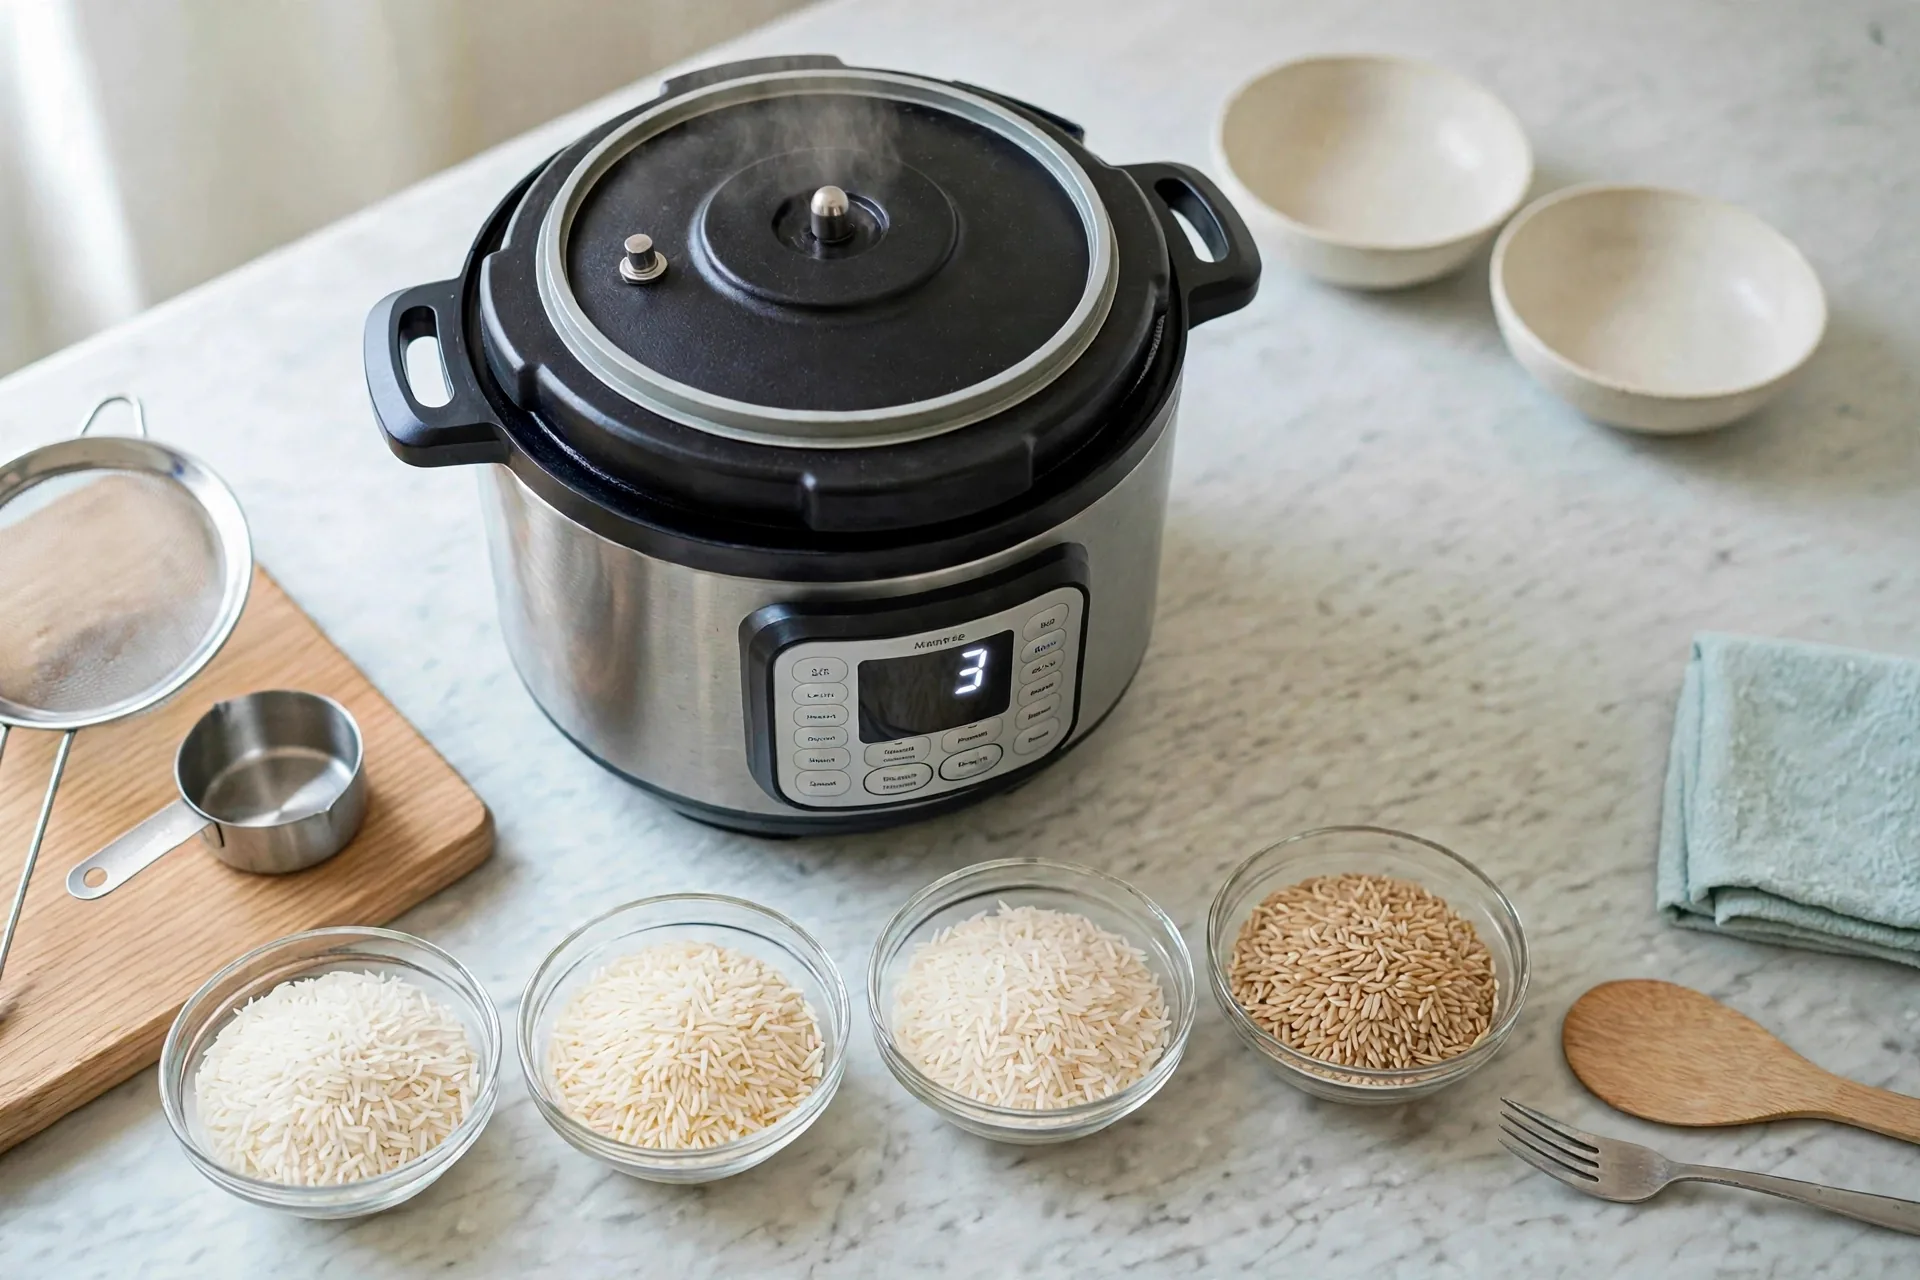
While the pot runs, the float valve pin pops up and a faint thin wisp of steam may show near the valve. The display counts down. Nothing gets opened. If steam pours out around the lid rim instead of a faint wisp at the valve, the sealing ring is not seated right. Stop and fix the ring rather than letting the pot run dry.
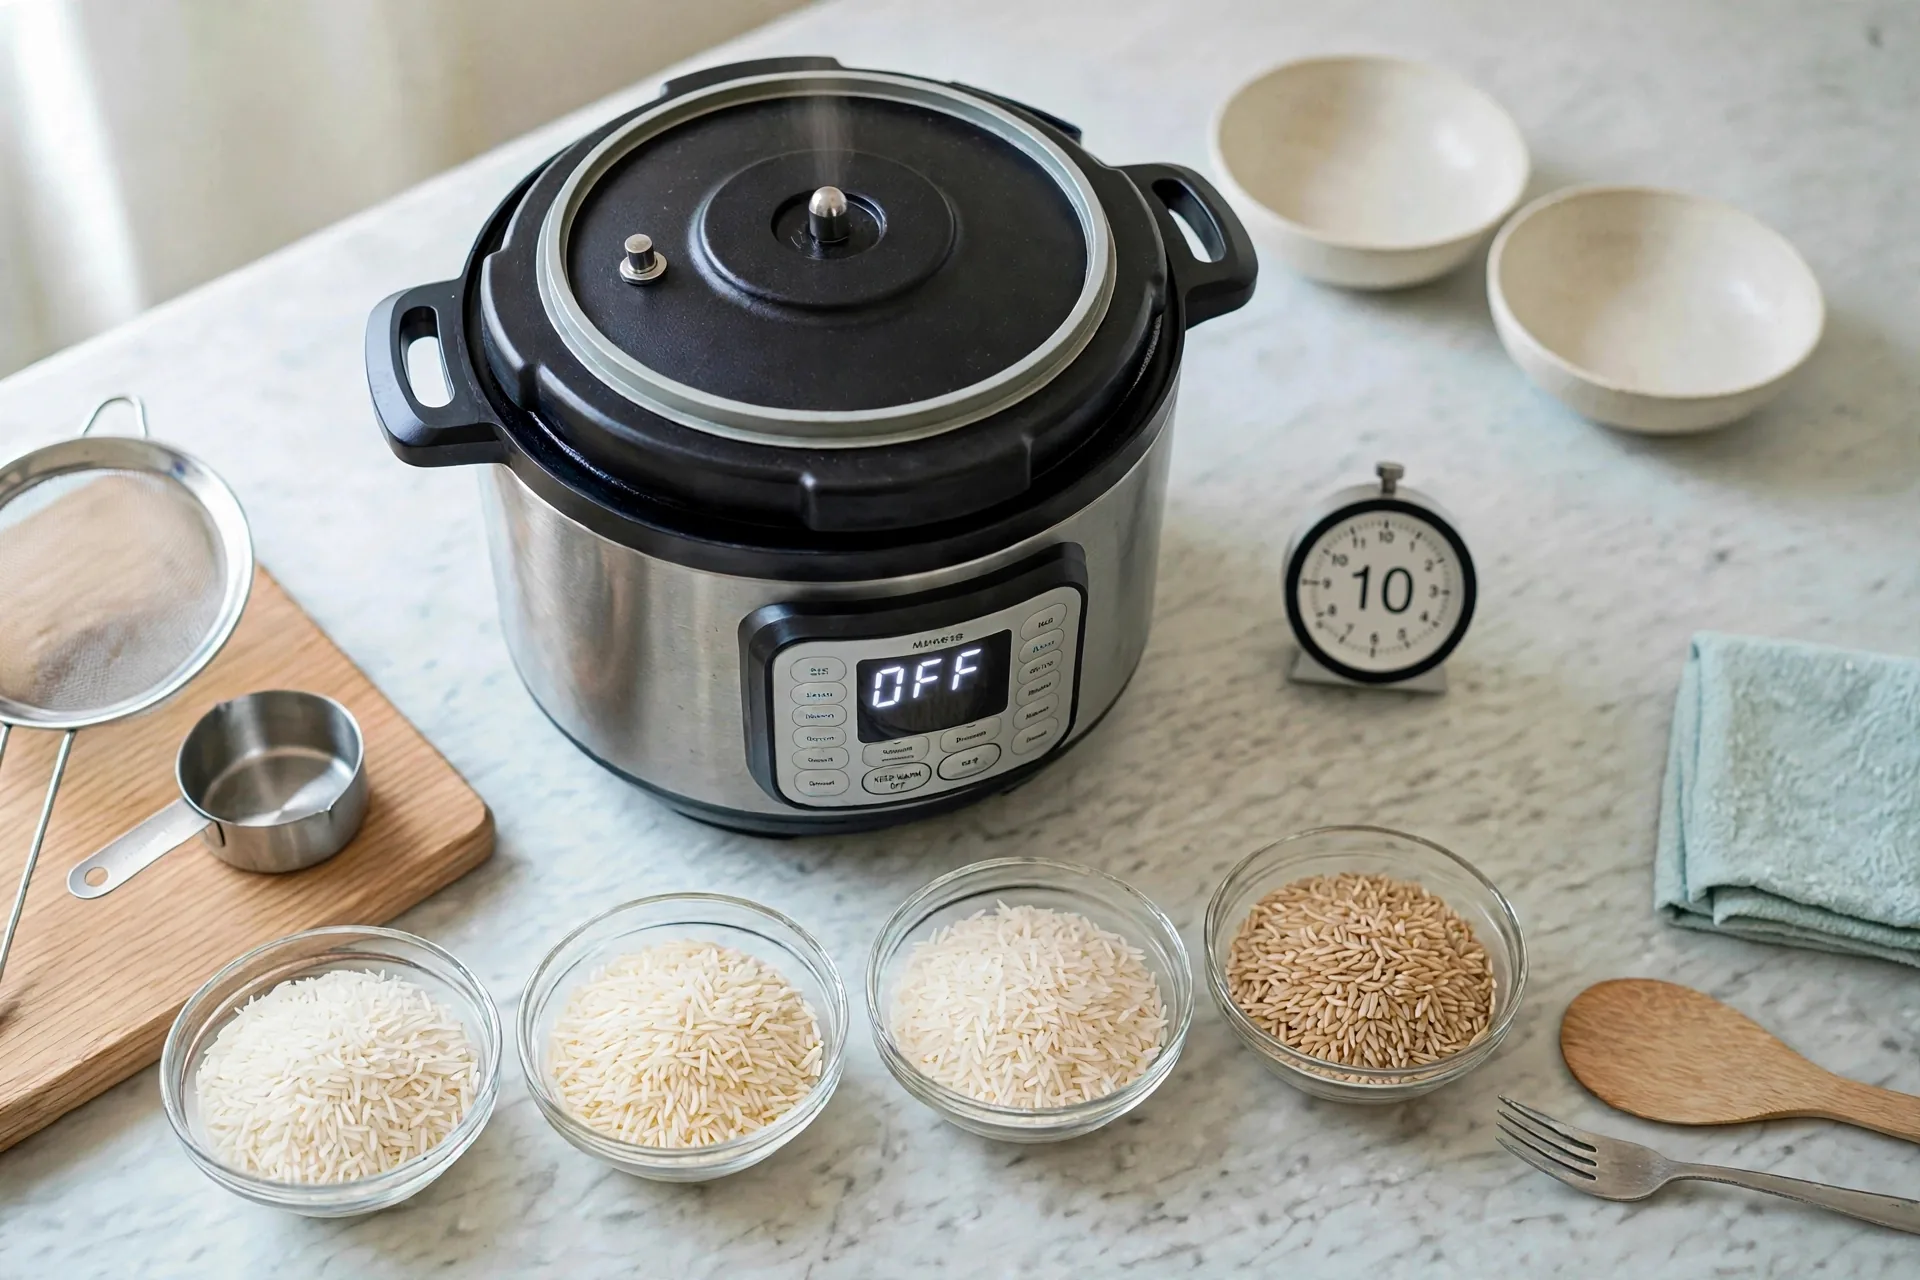
When the countdown ends, leave the pot alone for a natural release of 10 minutes. The display shows Keep Warm off on this method, and a timer beside the pot counts the 10 minutes. The float valve pin stays up during this wait. This rest matters more than it looks: the grains absorb the last of the steam and firm up. Opening early leaves the top layer wet and the bottom layer gummy.
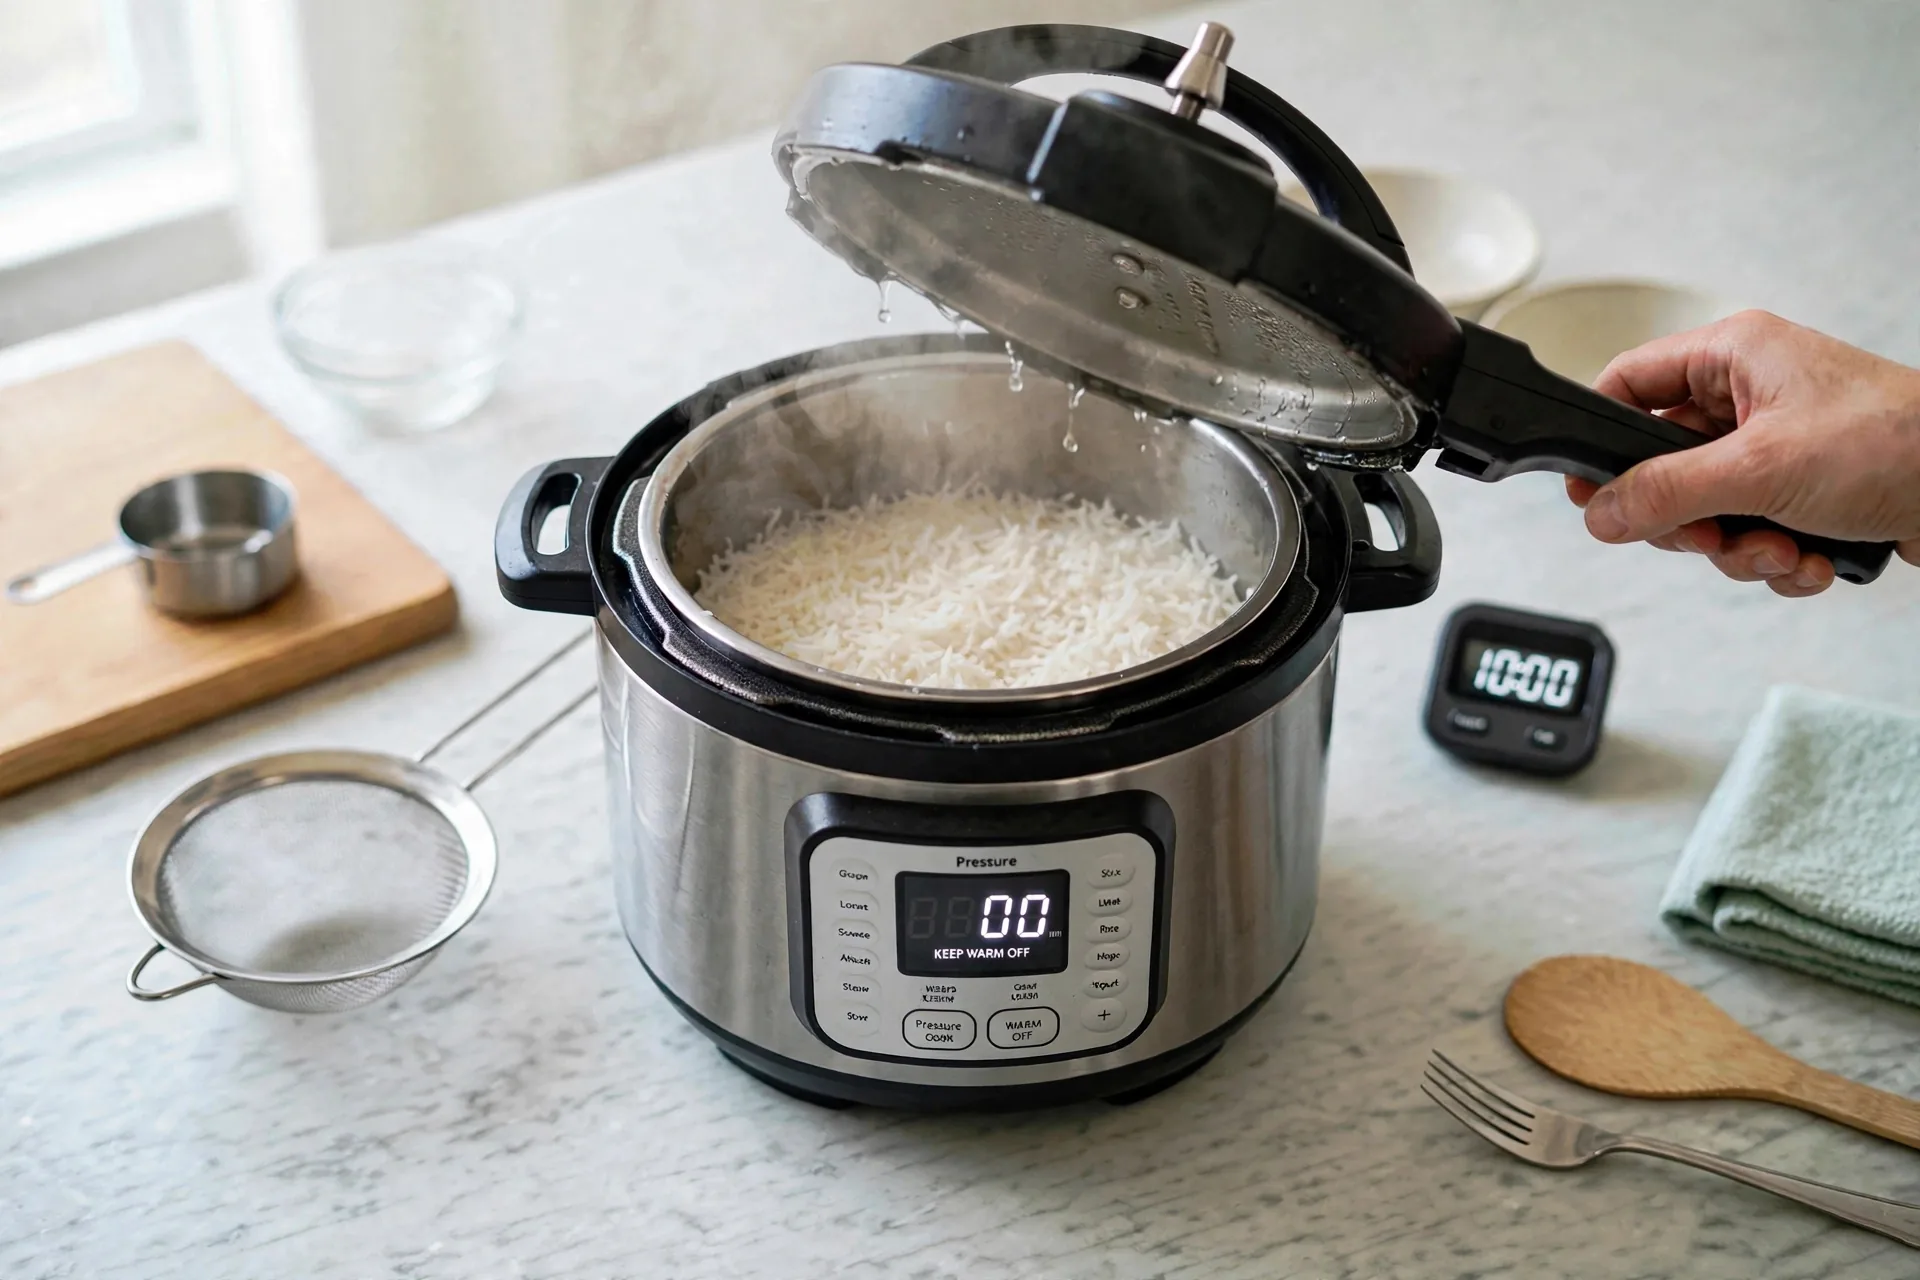
Open the lid away from your face. Lift it tilted so condensation drips back into the pot instead of onto the counter or your hand. The float valve pin is down by now. If the pin is still up, the pot is still under pressure. Put the lid back and wait. Never force a lid that resists.
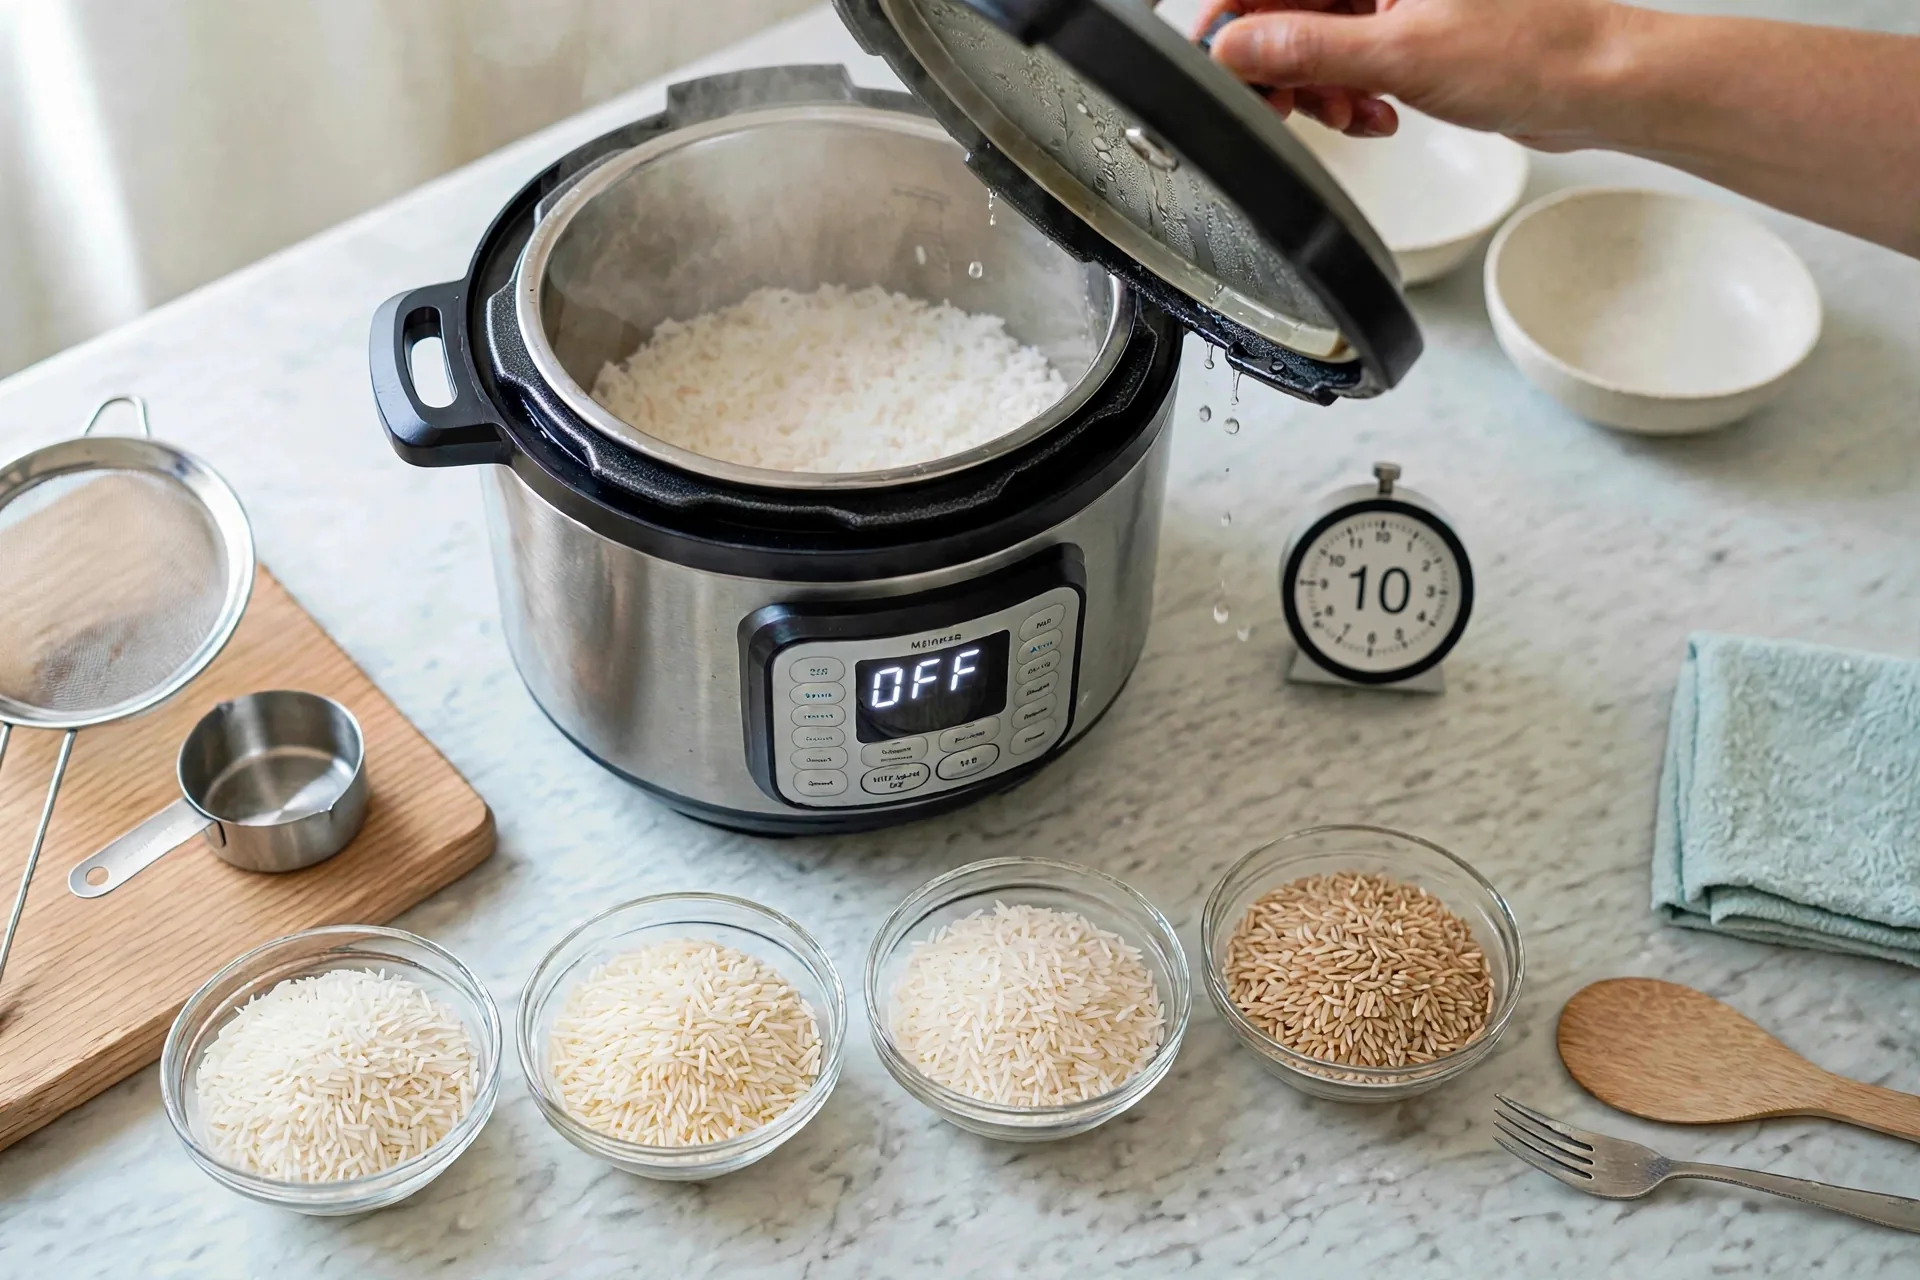
Look at the surface before you touch it. Cooked white rice shows small steam holes across the top, white and plump, grains clearly separate. If the surface looks wet and soupy, the rice needs a few more minutes with the lid on, not more water. If it looks dry and hard, the water was short or the seal leaked.
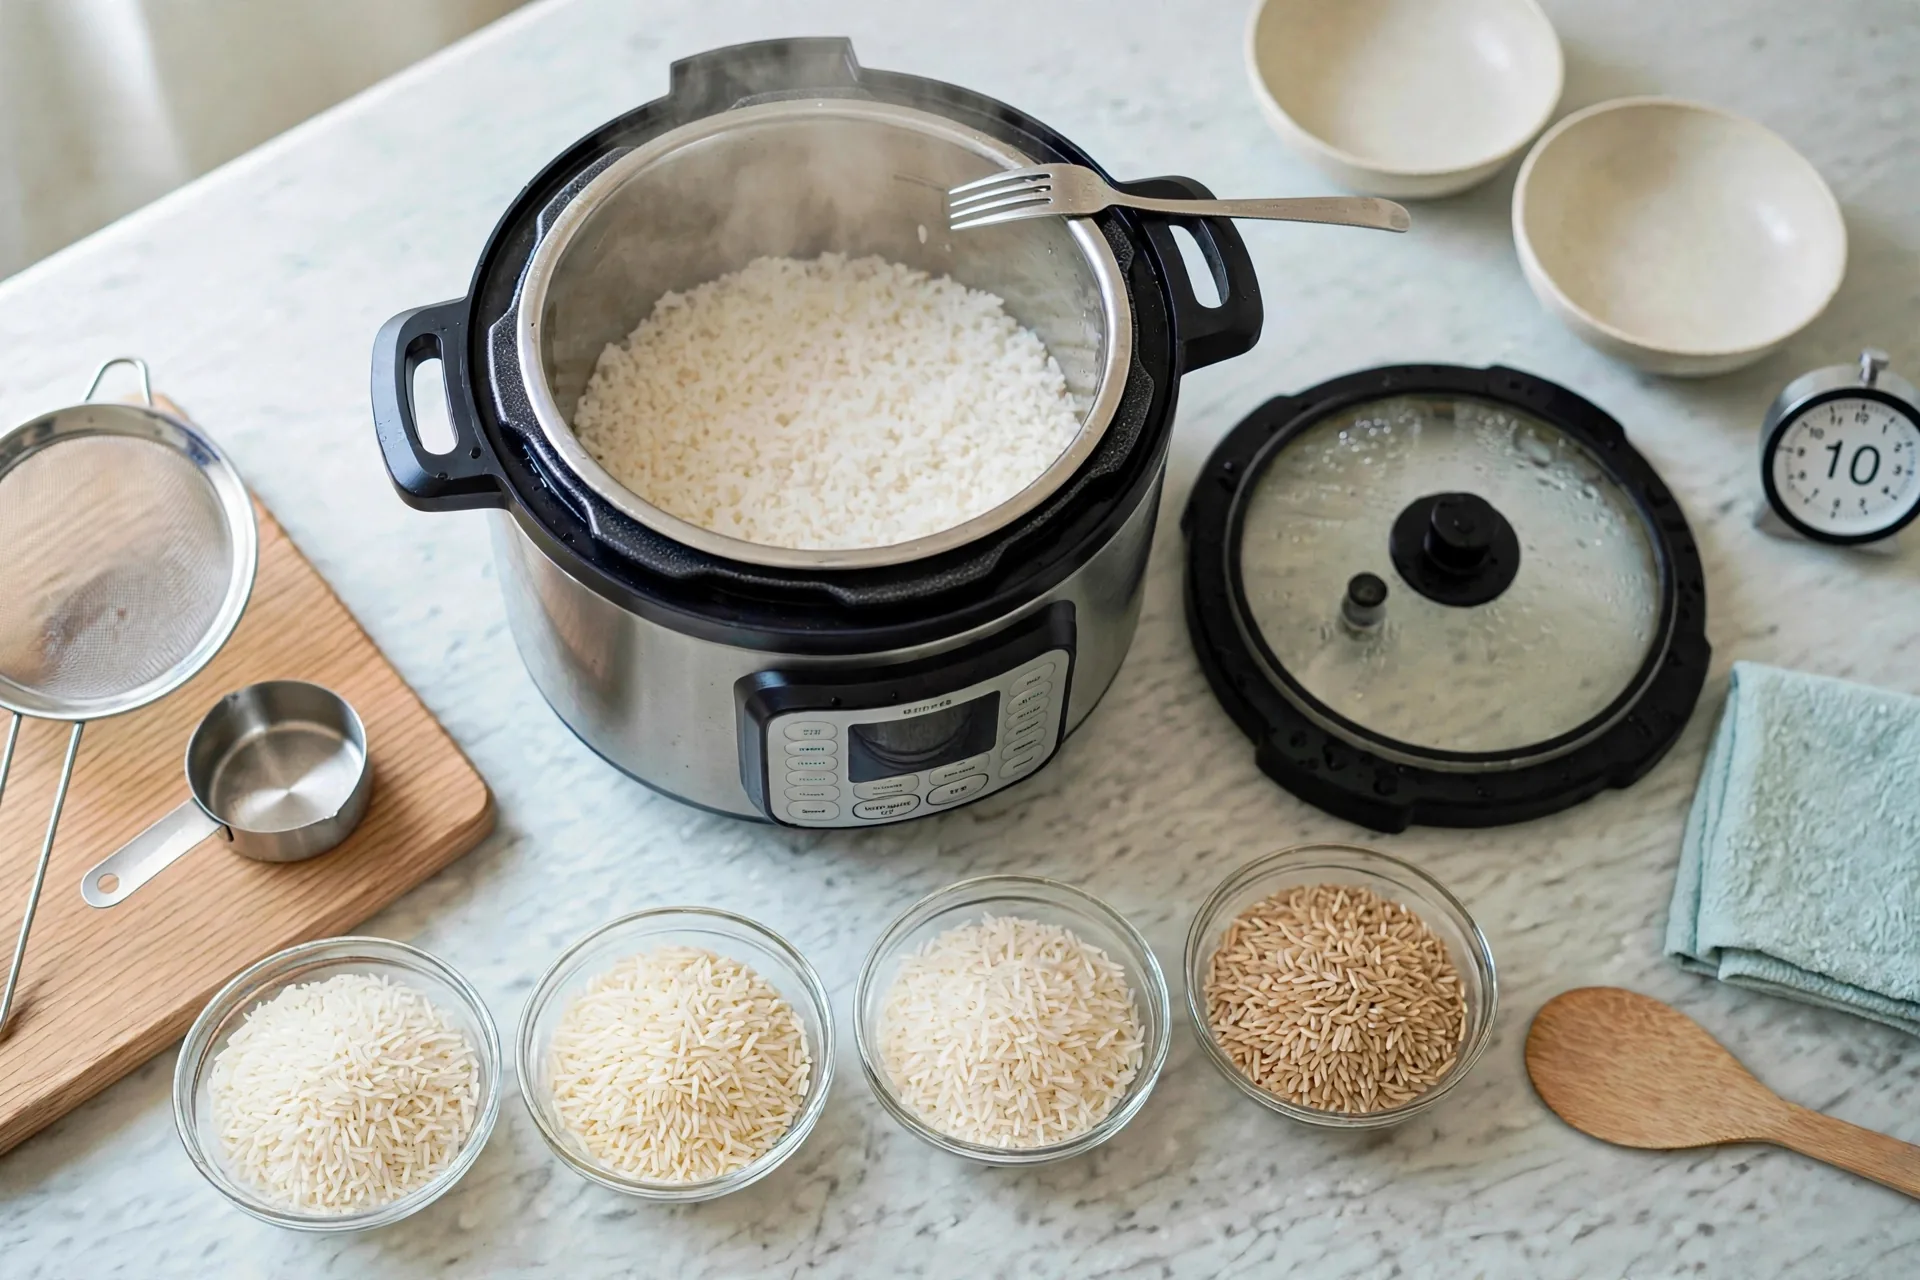
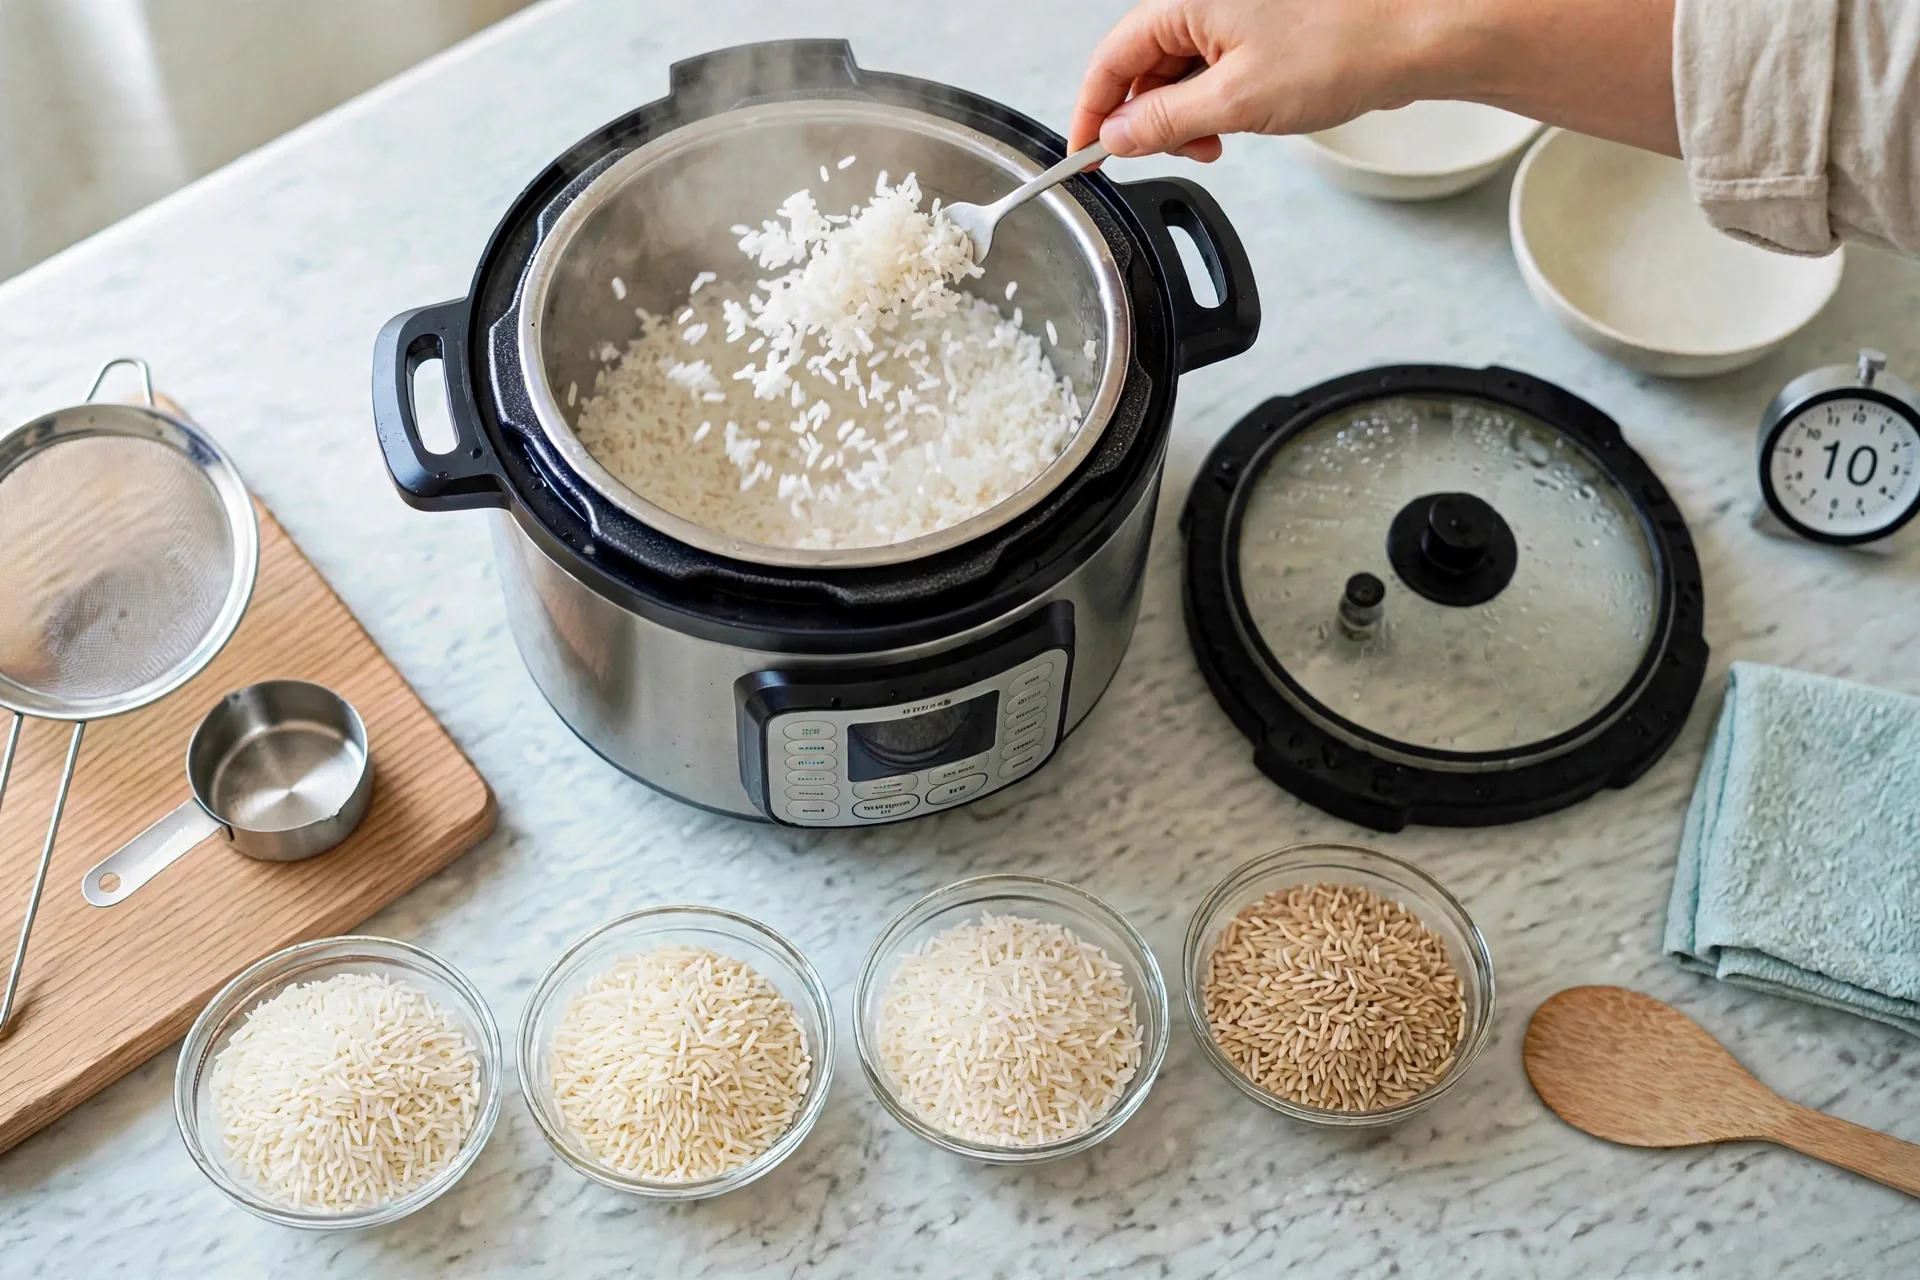
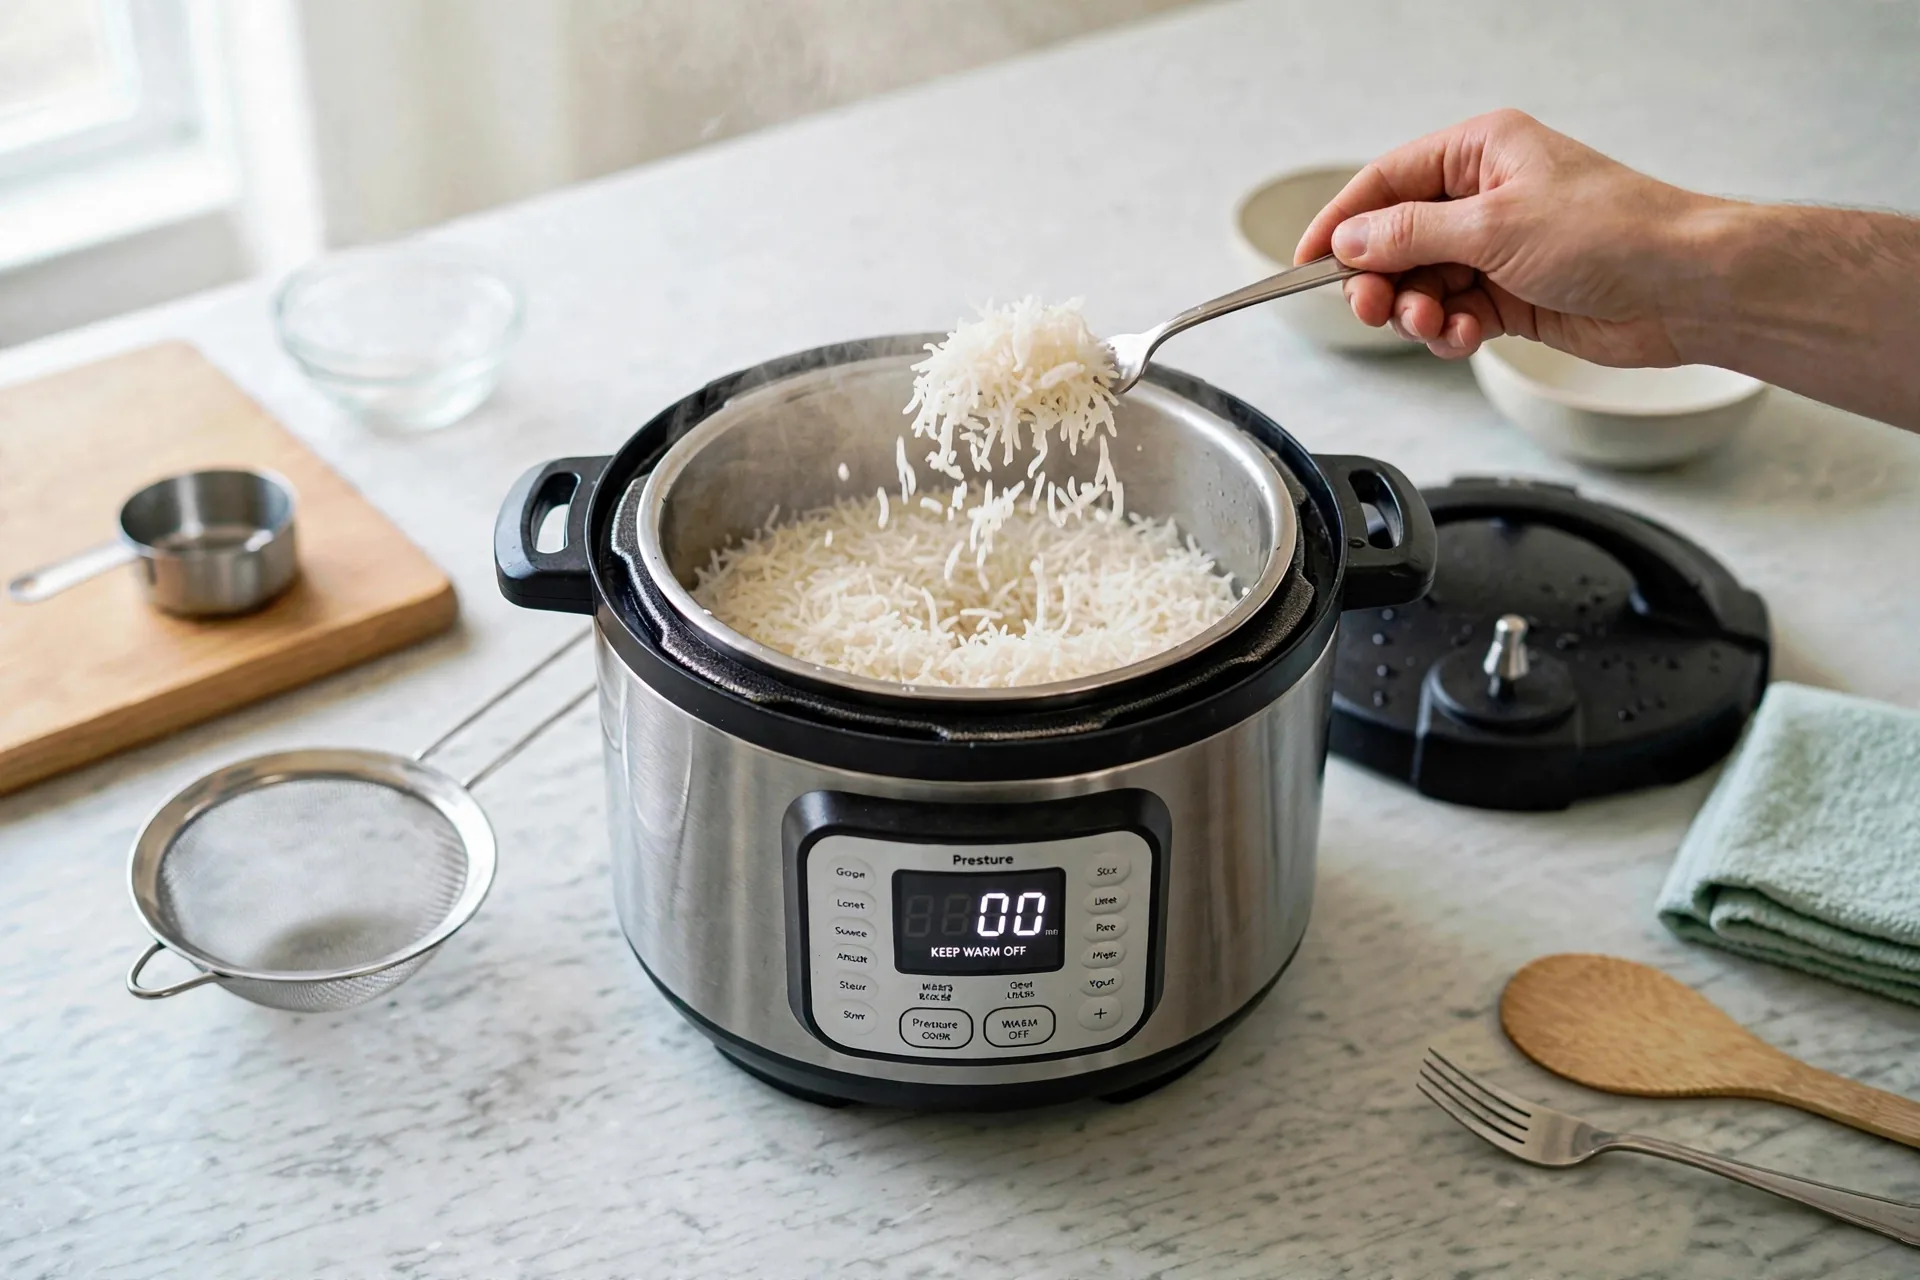
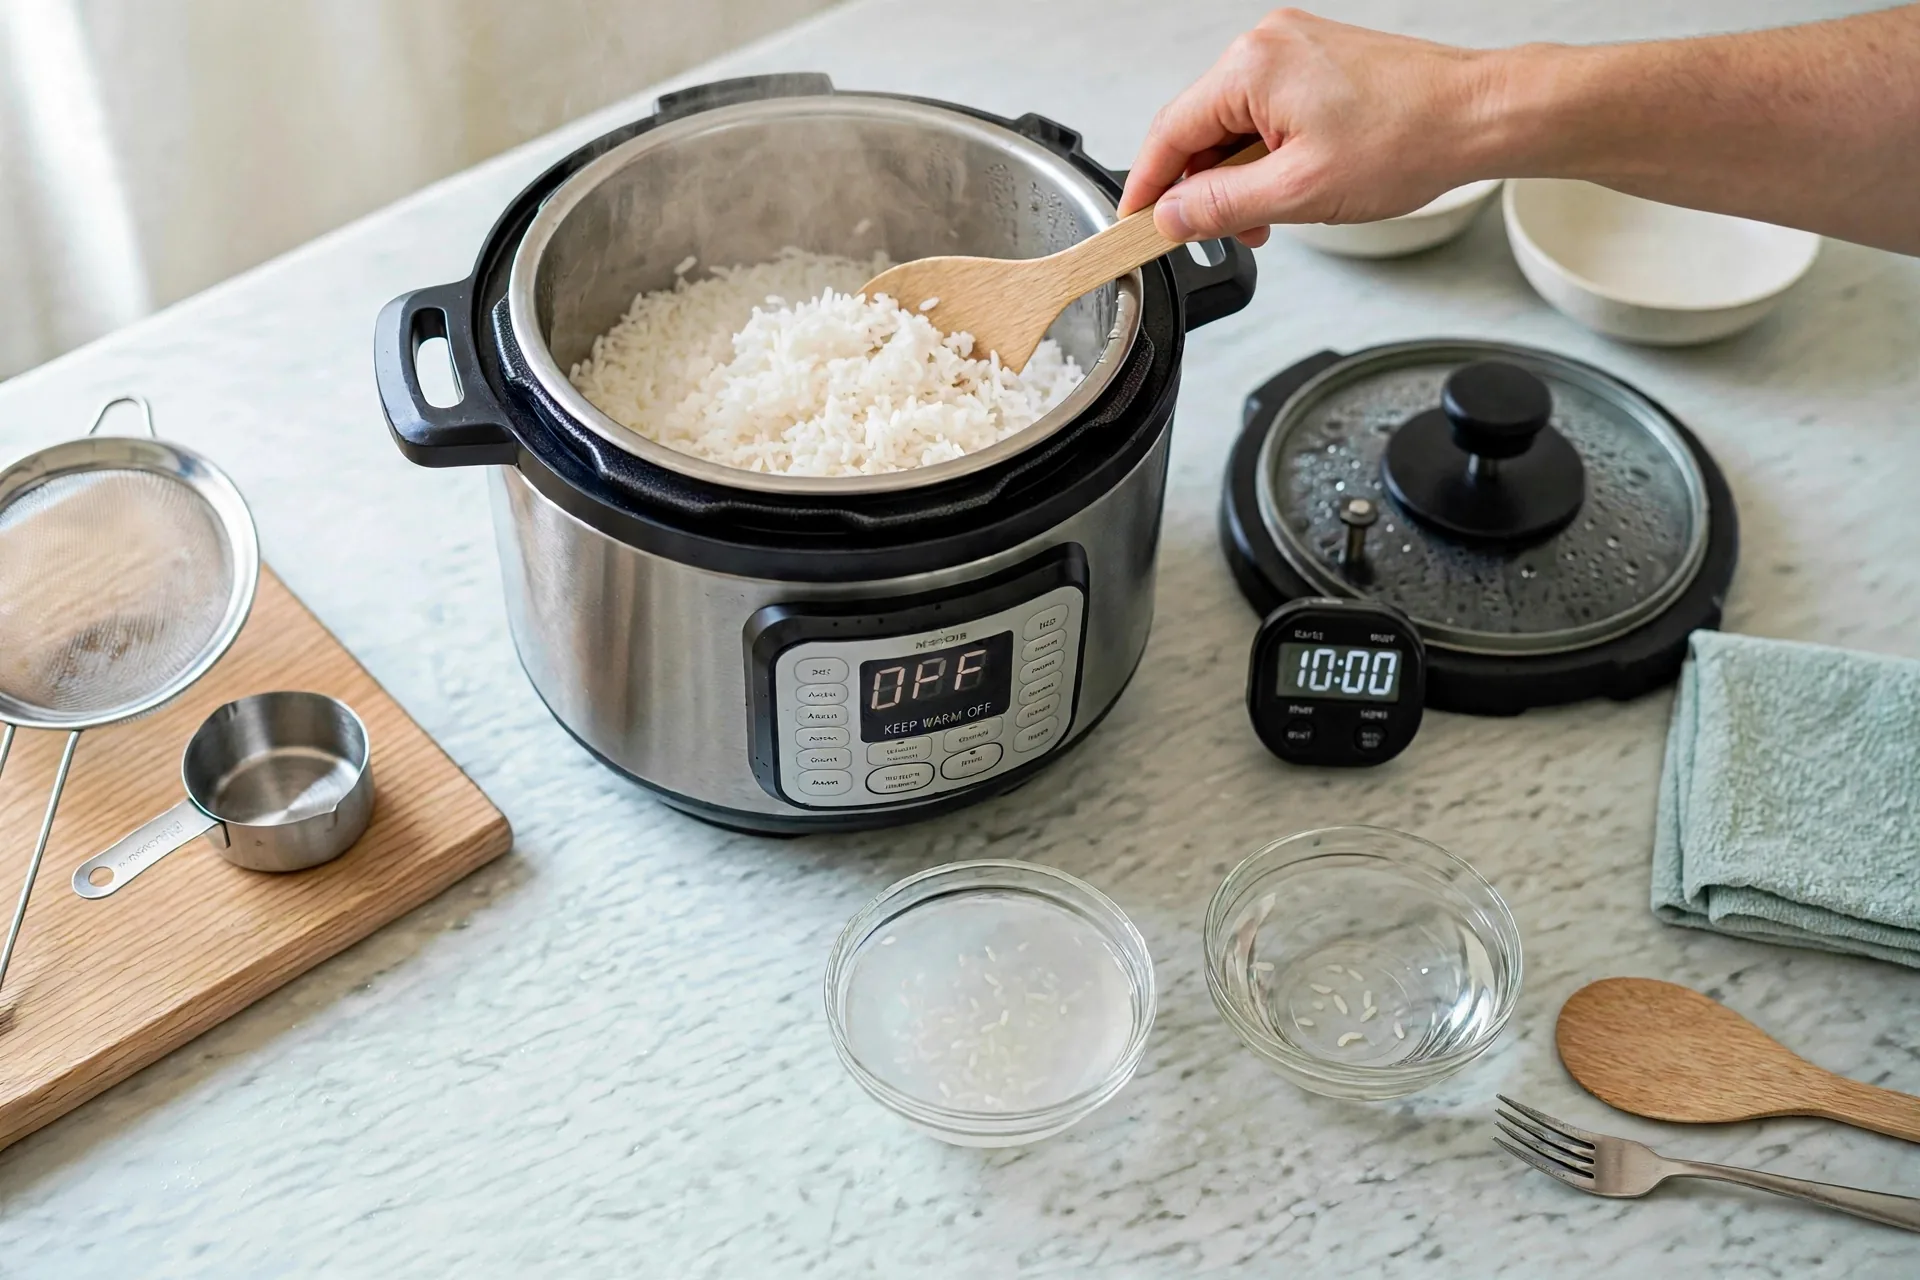
Fluff with a fork, not a spoon. Lift the grains gently from the bottom and let them fall loose. A spoon mashes. A fork separates. Steam rises as you fluff, and the texture should feel light and airy. Fluff right after opening, while the rice is hot, or the grains settle and stick as they cool.
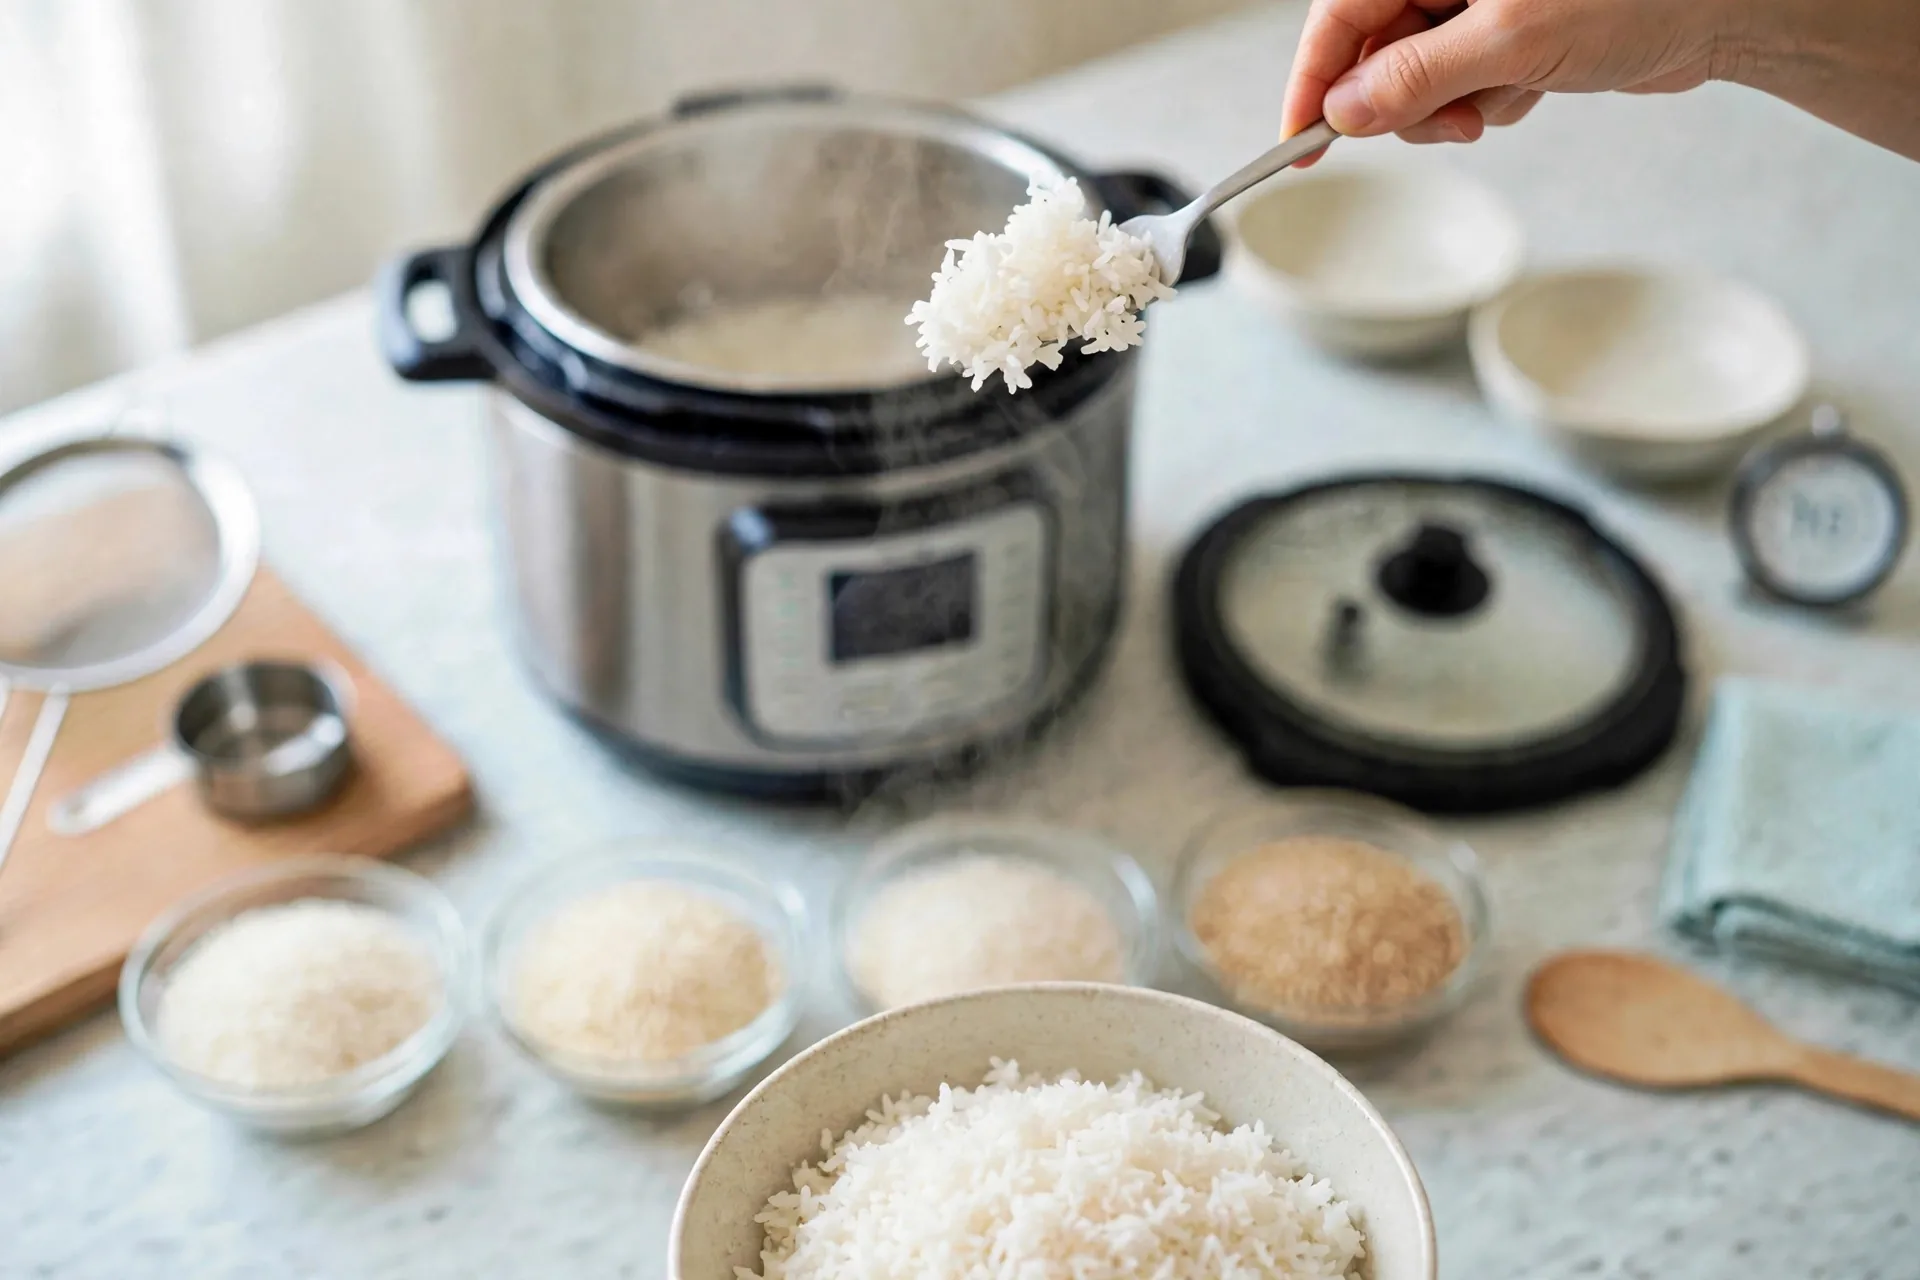
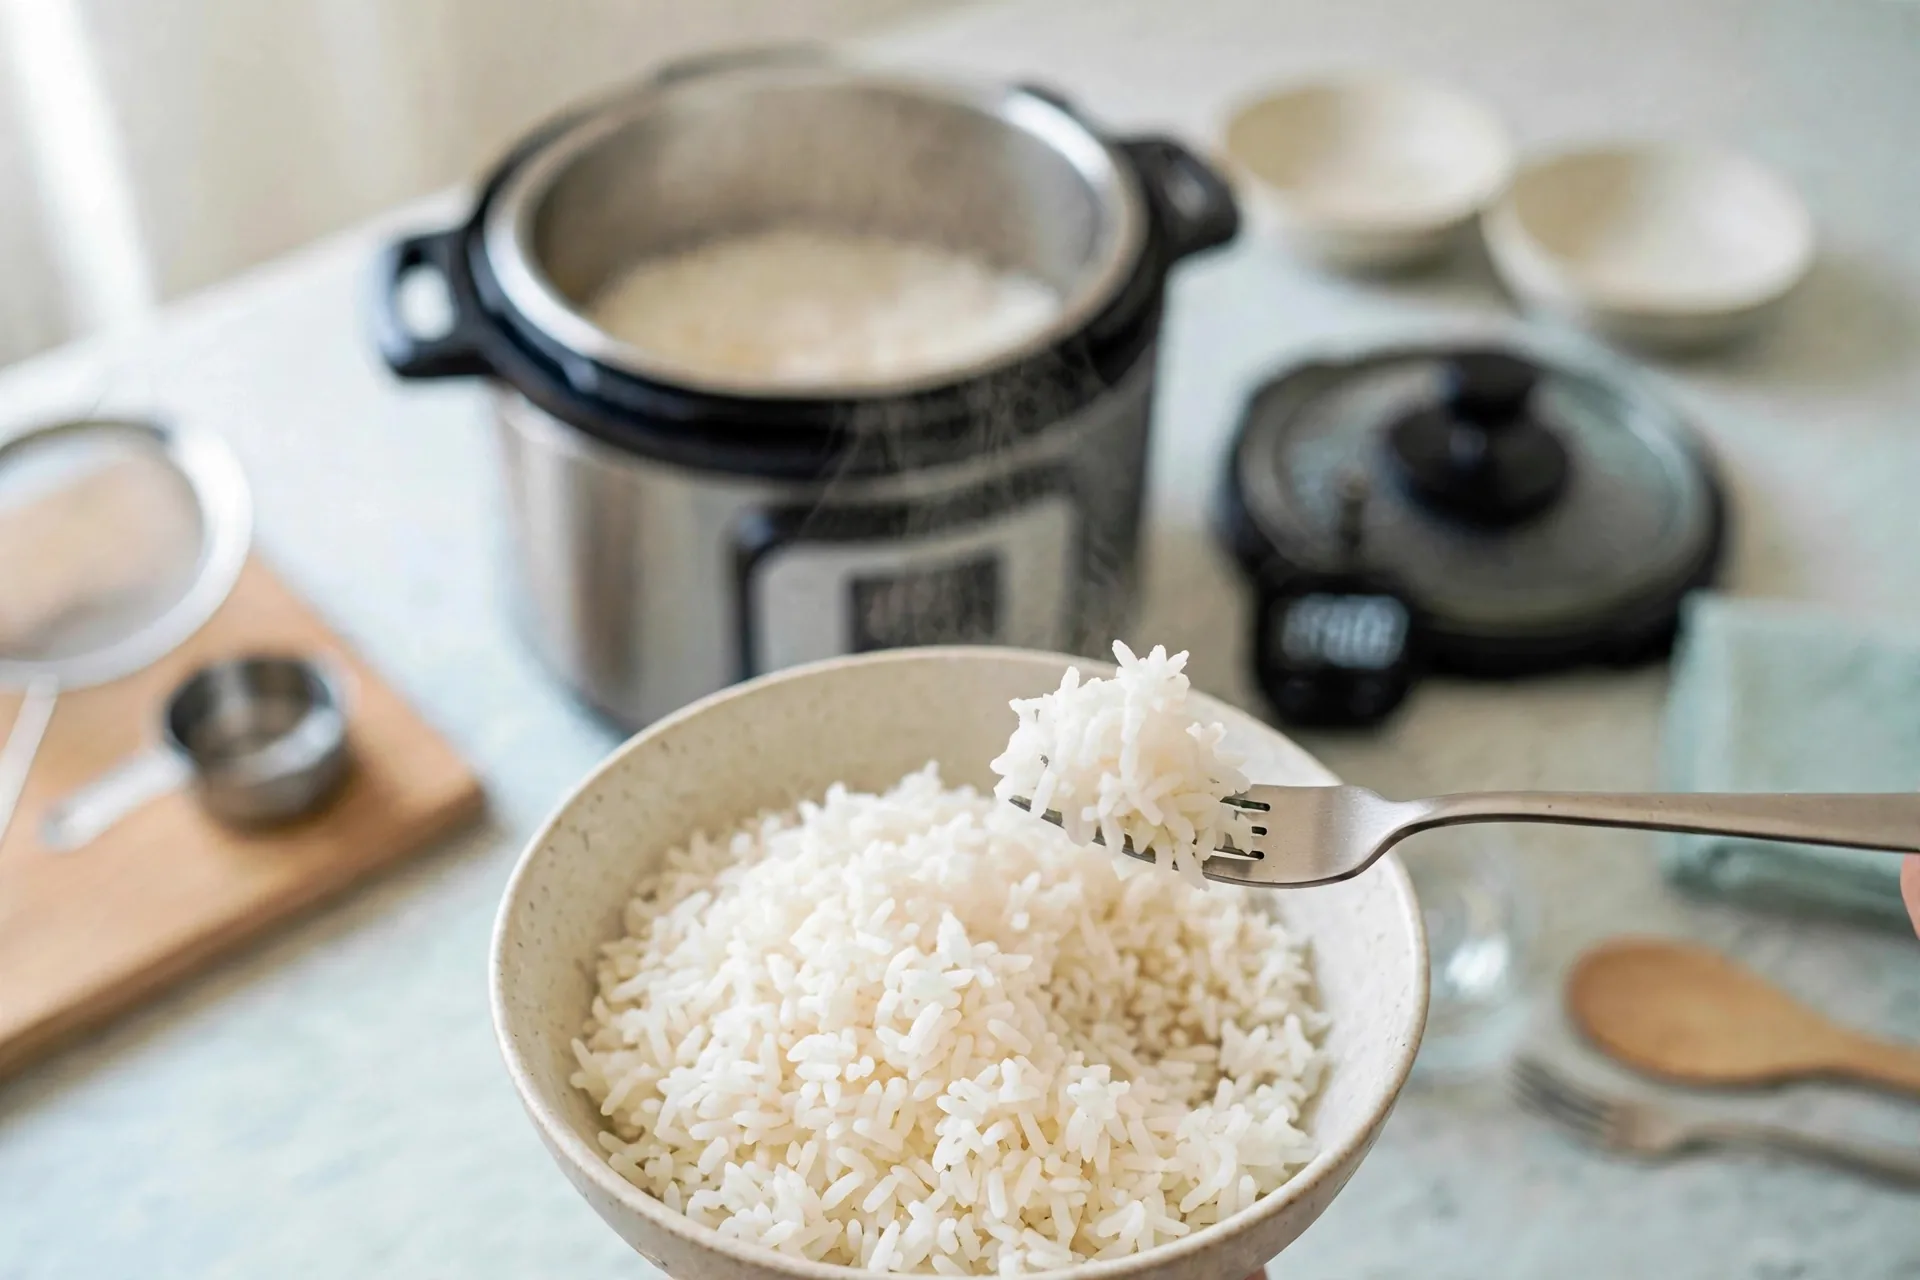
A bowl of fluffy white rice, grains separate and slightly glossy, steam still rising. This is the base rice for everything from stir-fries to bowls. It also shows up next to the Teriyaki Meatball Bowls on this site, where the sauce goes over rice instead of noodles.
Ingredients
Equipment
Method
- Rinse rice until water runs mostly clear.
- Add rice, water, salt, oil to inner pot.
- Lock lid, valve to Sealing, High pressure 4 minutes.
- Natural release 10 minutes, then release any remaining pressure.
- Open lid away from face; fluff with a fork; serve.
Notes
Recipe 2: Instant Pot Basmati Rice
Basmati changes two things: it gets a short soak, and its grains are longer and drier than white rice. The soak is what keeps those long grains from snapping during cooking. The time on the display stays 4 minutes and the ratio stays 1:1, so once the soak is done, this recipe runs the same as white rice.
You need, for 4 servings as a side:
- 1 cup basmati rice
- 1 cup water
- 1/2 teaspoon salt
- 1 teaspoon olive oil
Soak the basmati in a clear glass bowl covered with cool water. The long slender grains sit submerged and the water turns slightly cloudy. Soak 15 to 30 minutes. A timer beside the bowl keeps track. The soak is short on purpose. Longer soaking makes the grains fragile and they break when you stir them later.
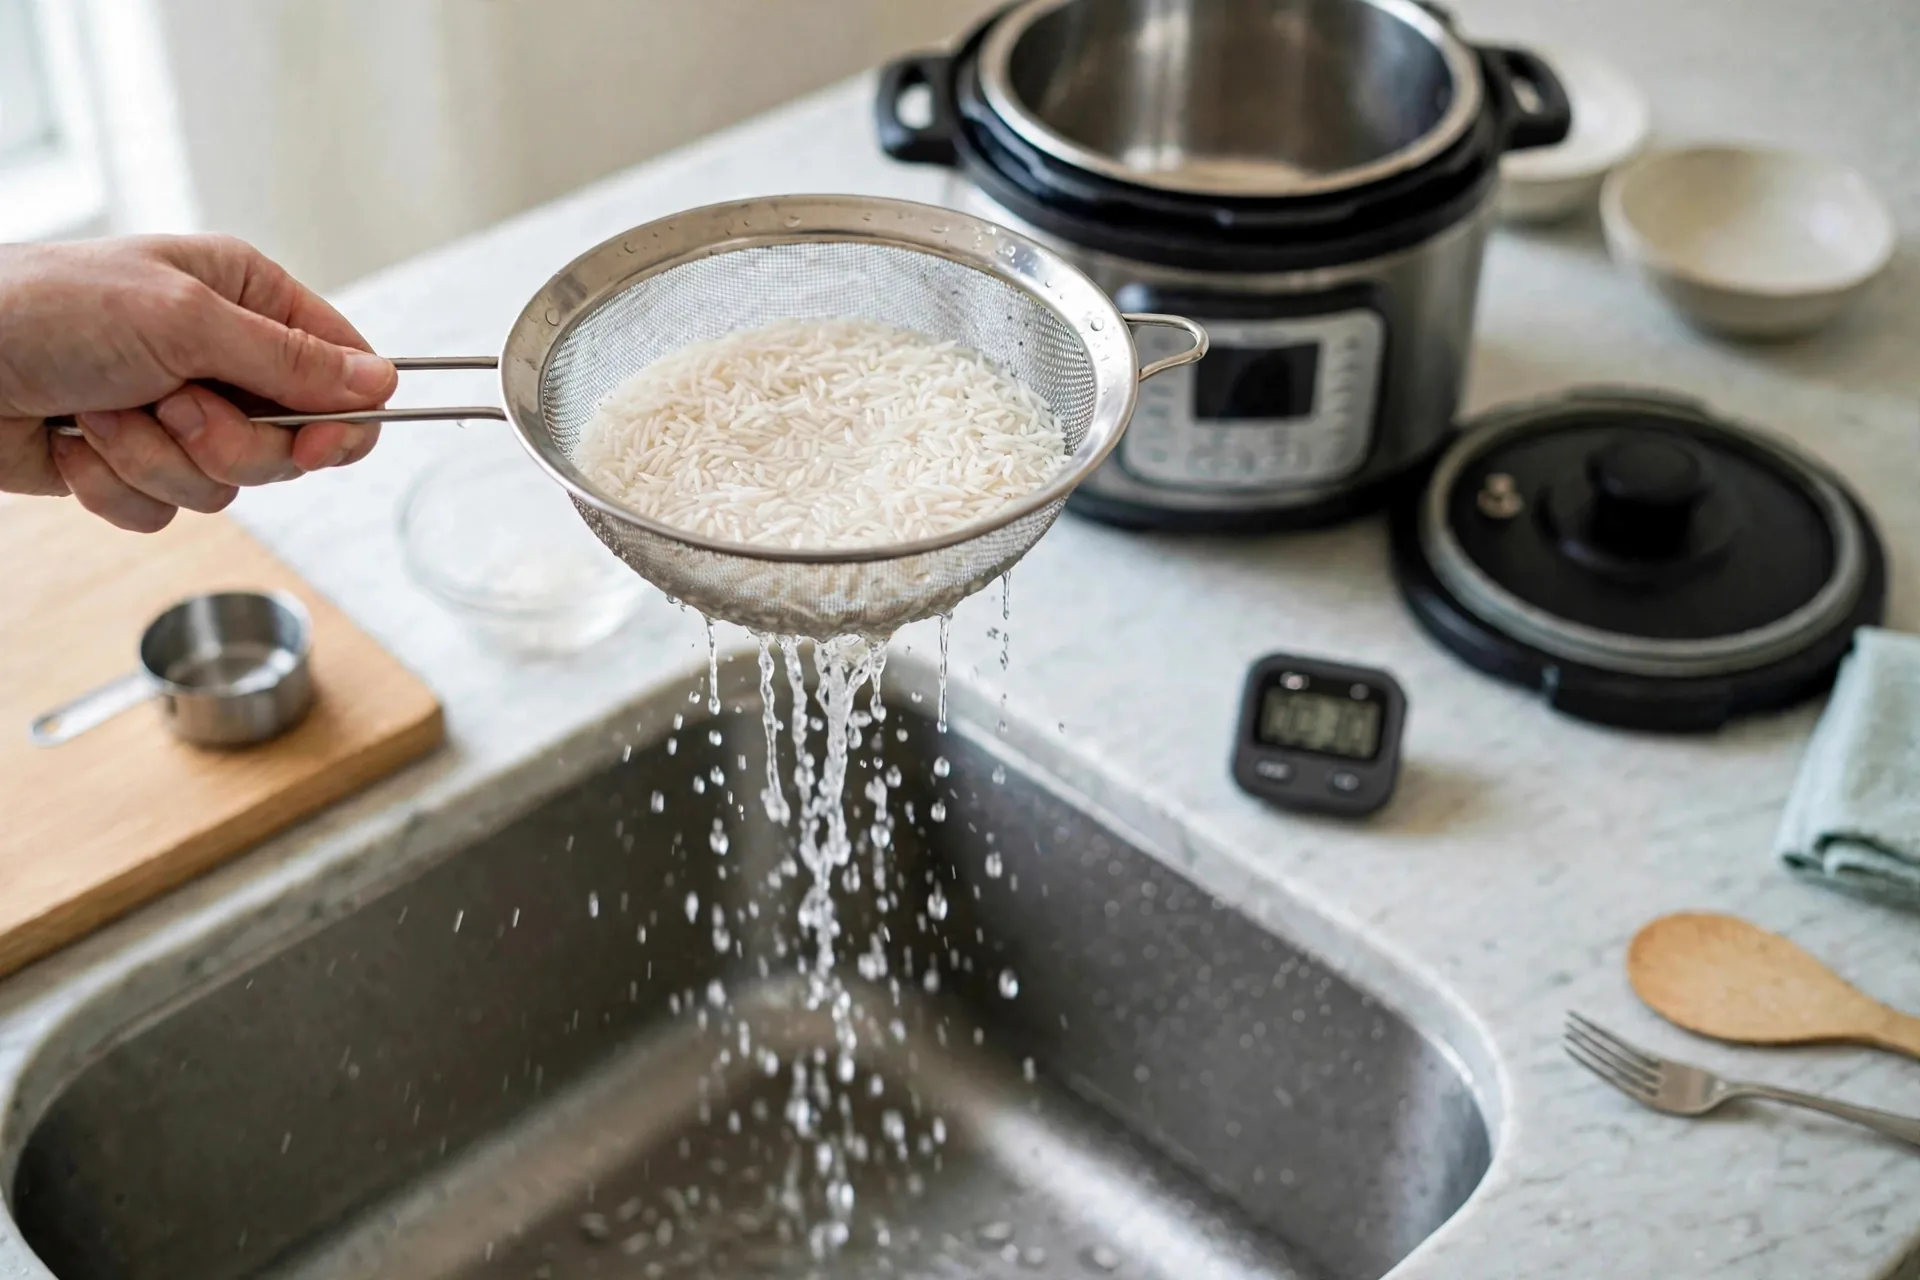
Drain the soaked basmati in the fine-mesh sieve over the sink. Give the sieve a gentle shake. The grains are long, white and opaque. Do not rinse hard after soaking. A hard rinse snaps the soaked grains and you lose the length that makes basmati what it is.
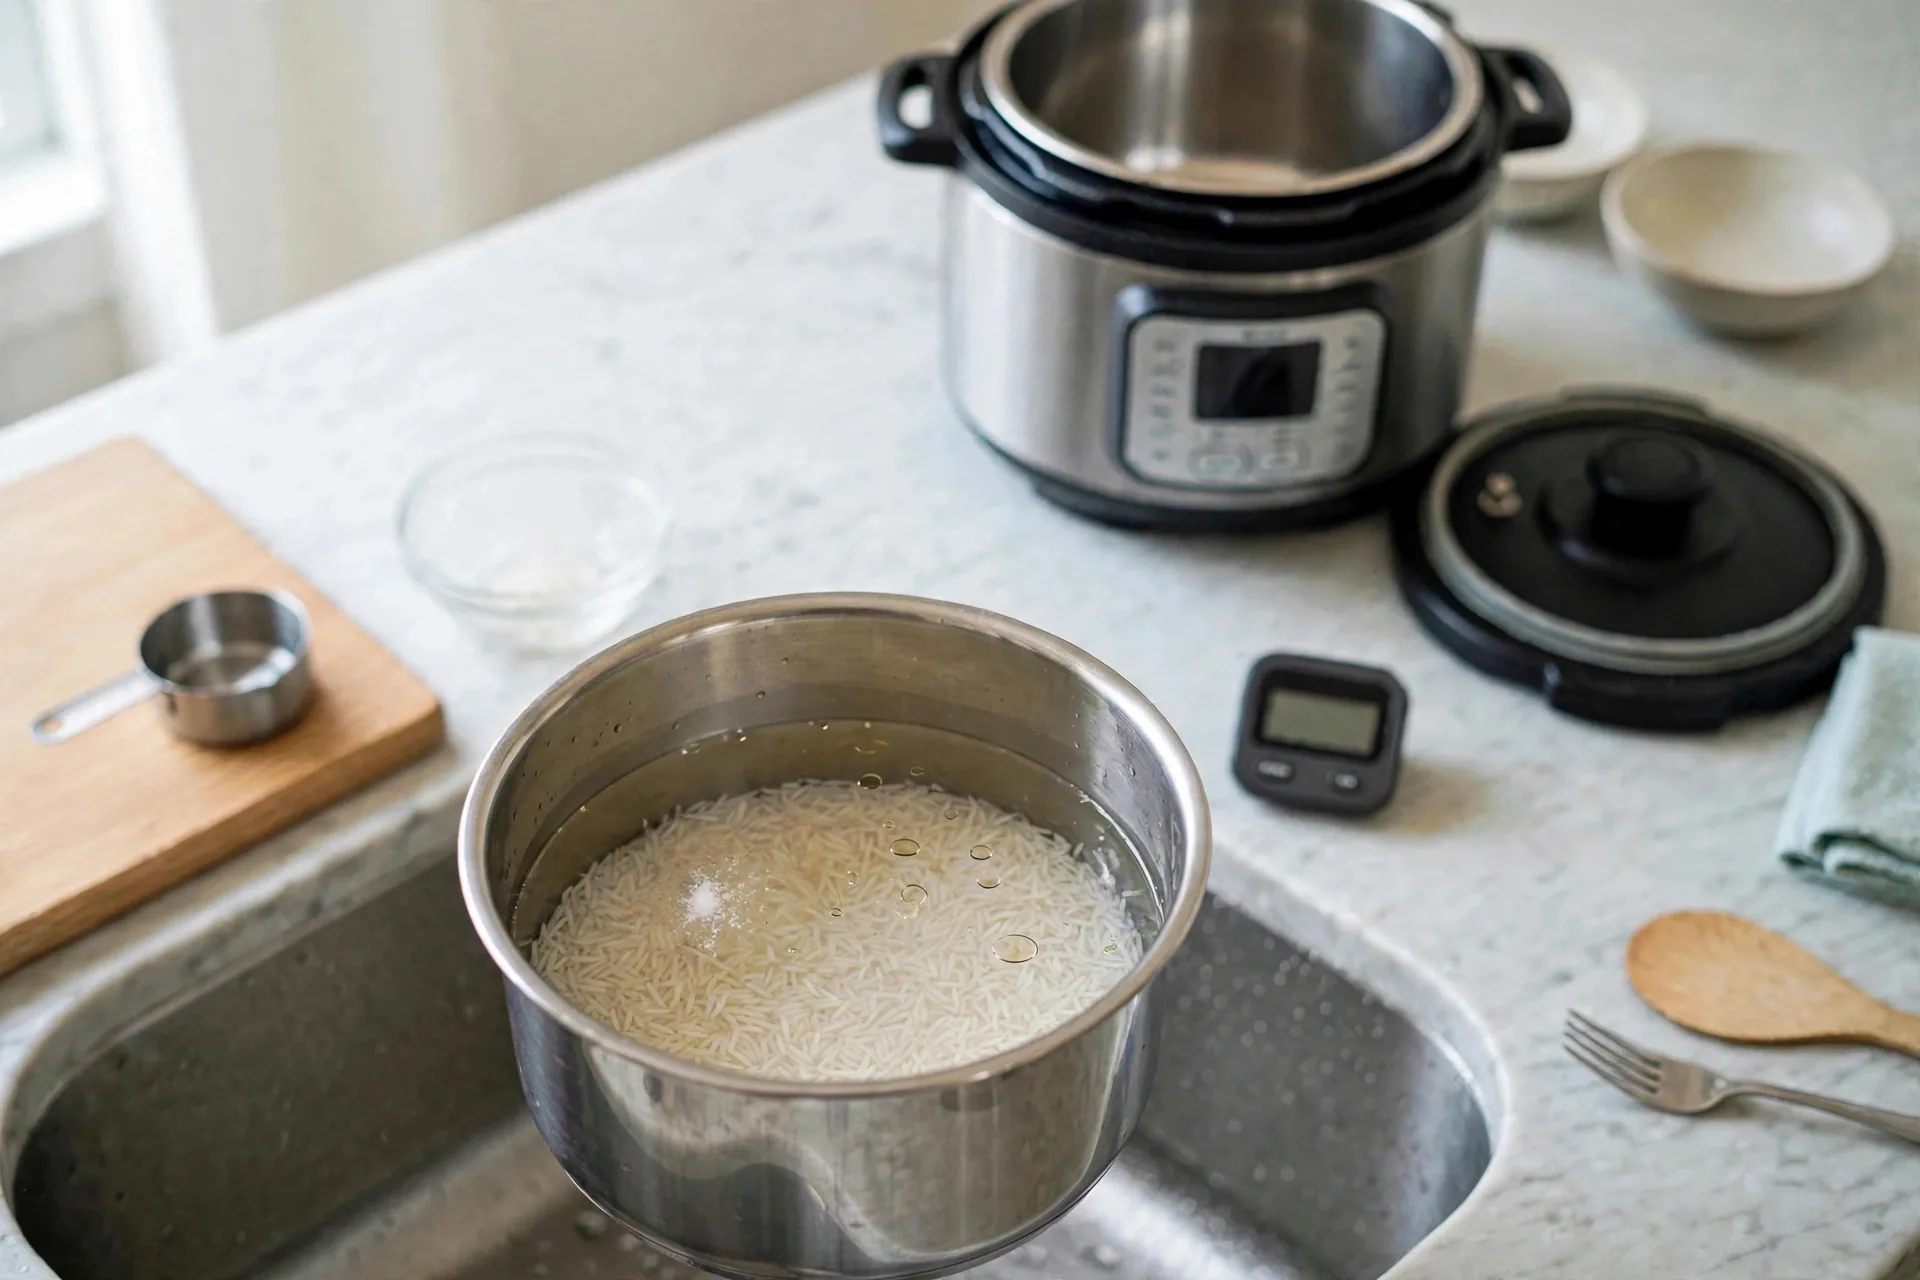
Put the drained basmati in the inner pot with an equal amount of water, a pinch of salt and a small drizzle of oil. The long grains lie flat at the bottom under clear water. Keep the ratio at 1:1. Basmati needs no extra water for the soak, because the soaked grains already hold some water. Extra water turns it sticky.
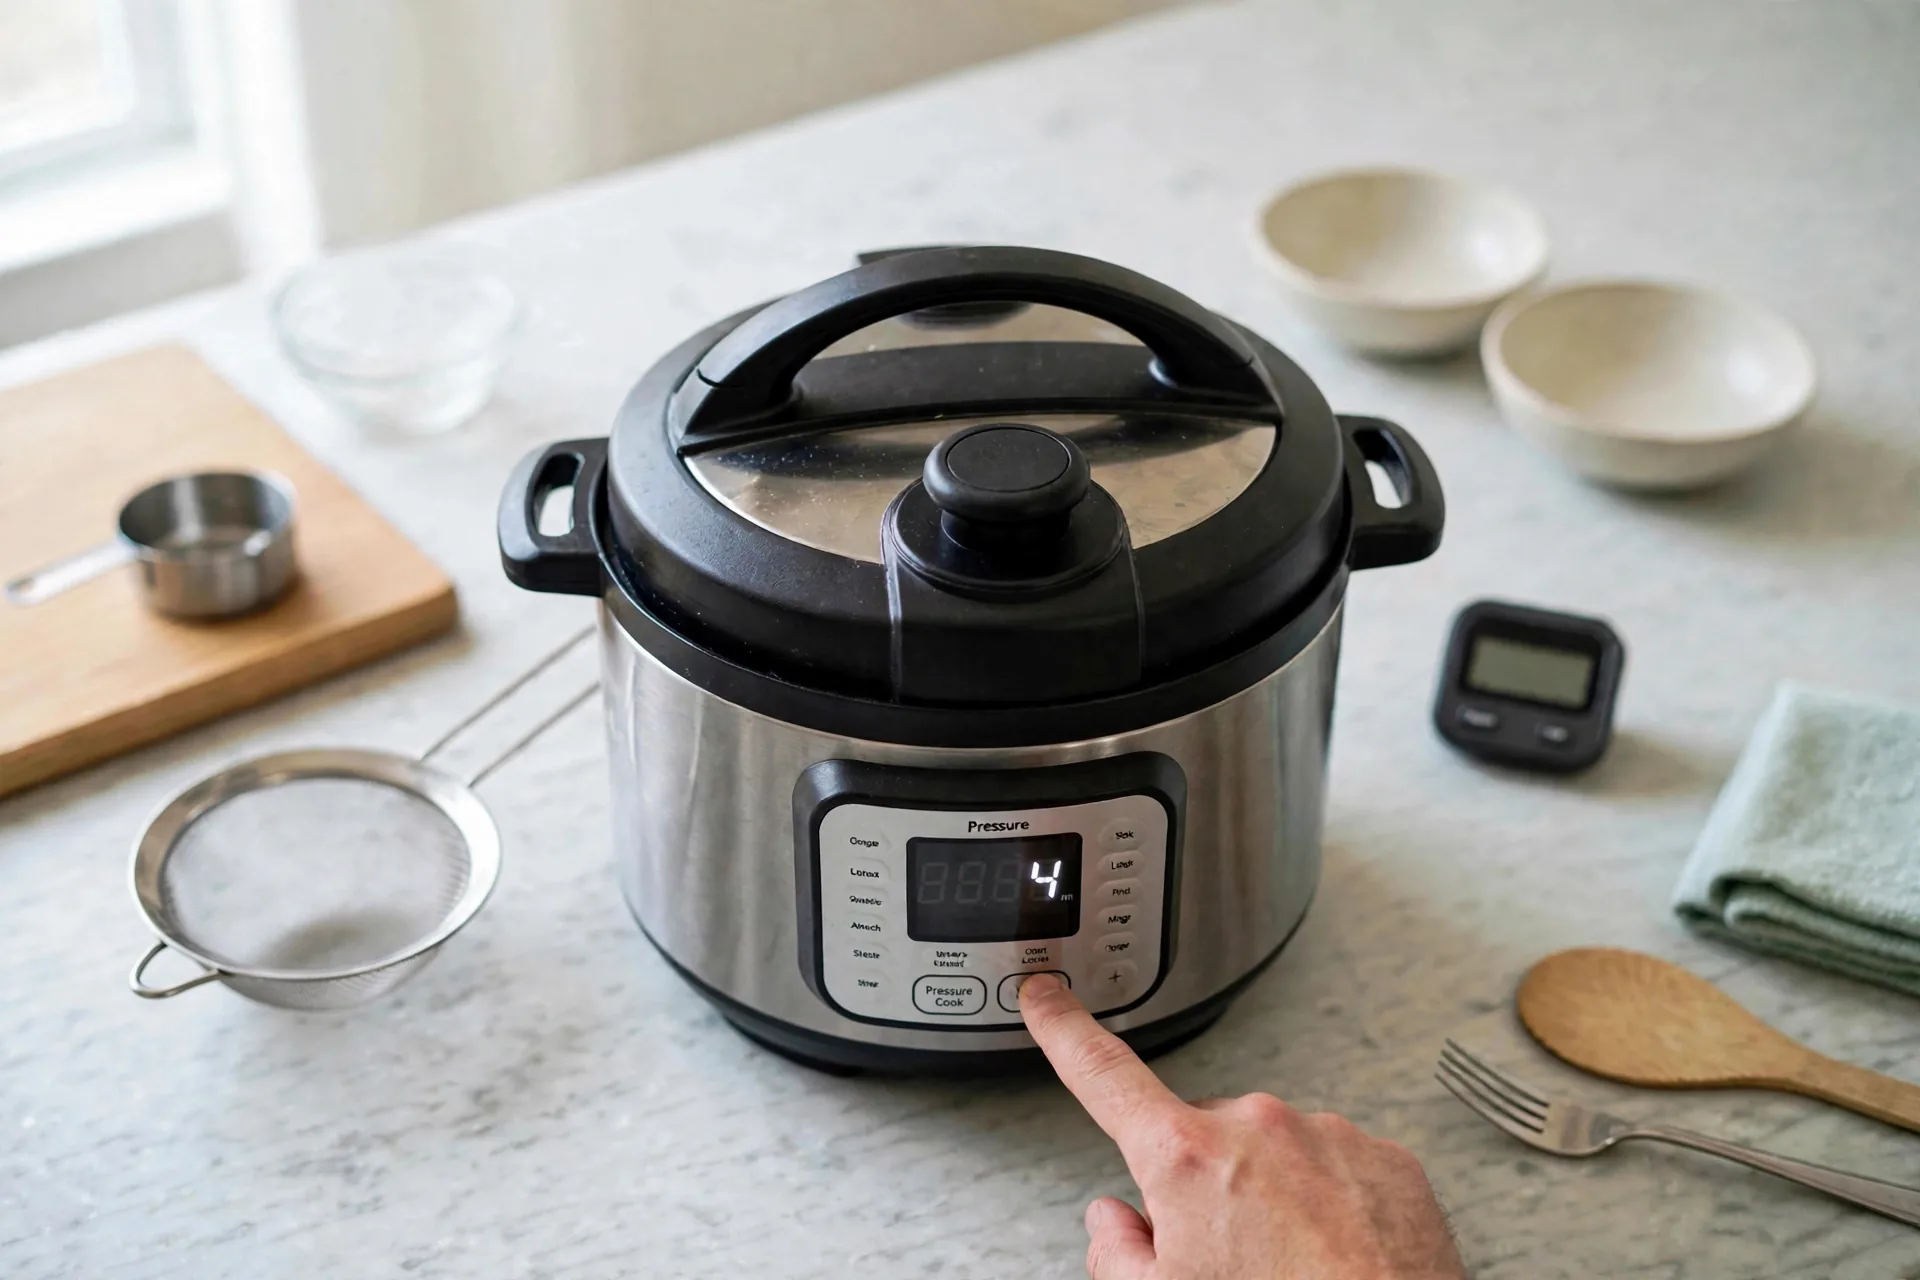
Lock the lid, turn the valve to Sealing, and set 4 minutes at High pressure. Check the display reads 4. The pot builds pressure for about 10 minutes first. Same as white rice, same wait, same countdown.
Rest the pot for a natural release of 10 minutes after the countdown ends. The float valve pin stays up and the display shows Keep Warm off. Do not touch the valve. Basmati dries out fast if the steam escapes early, and the long grains go stiff instead of tender.
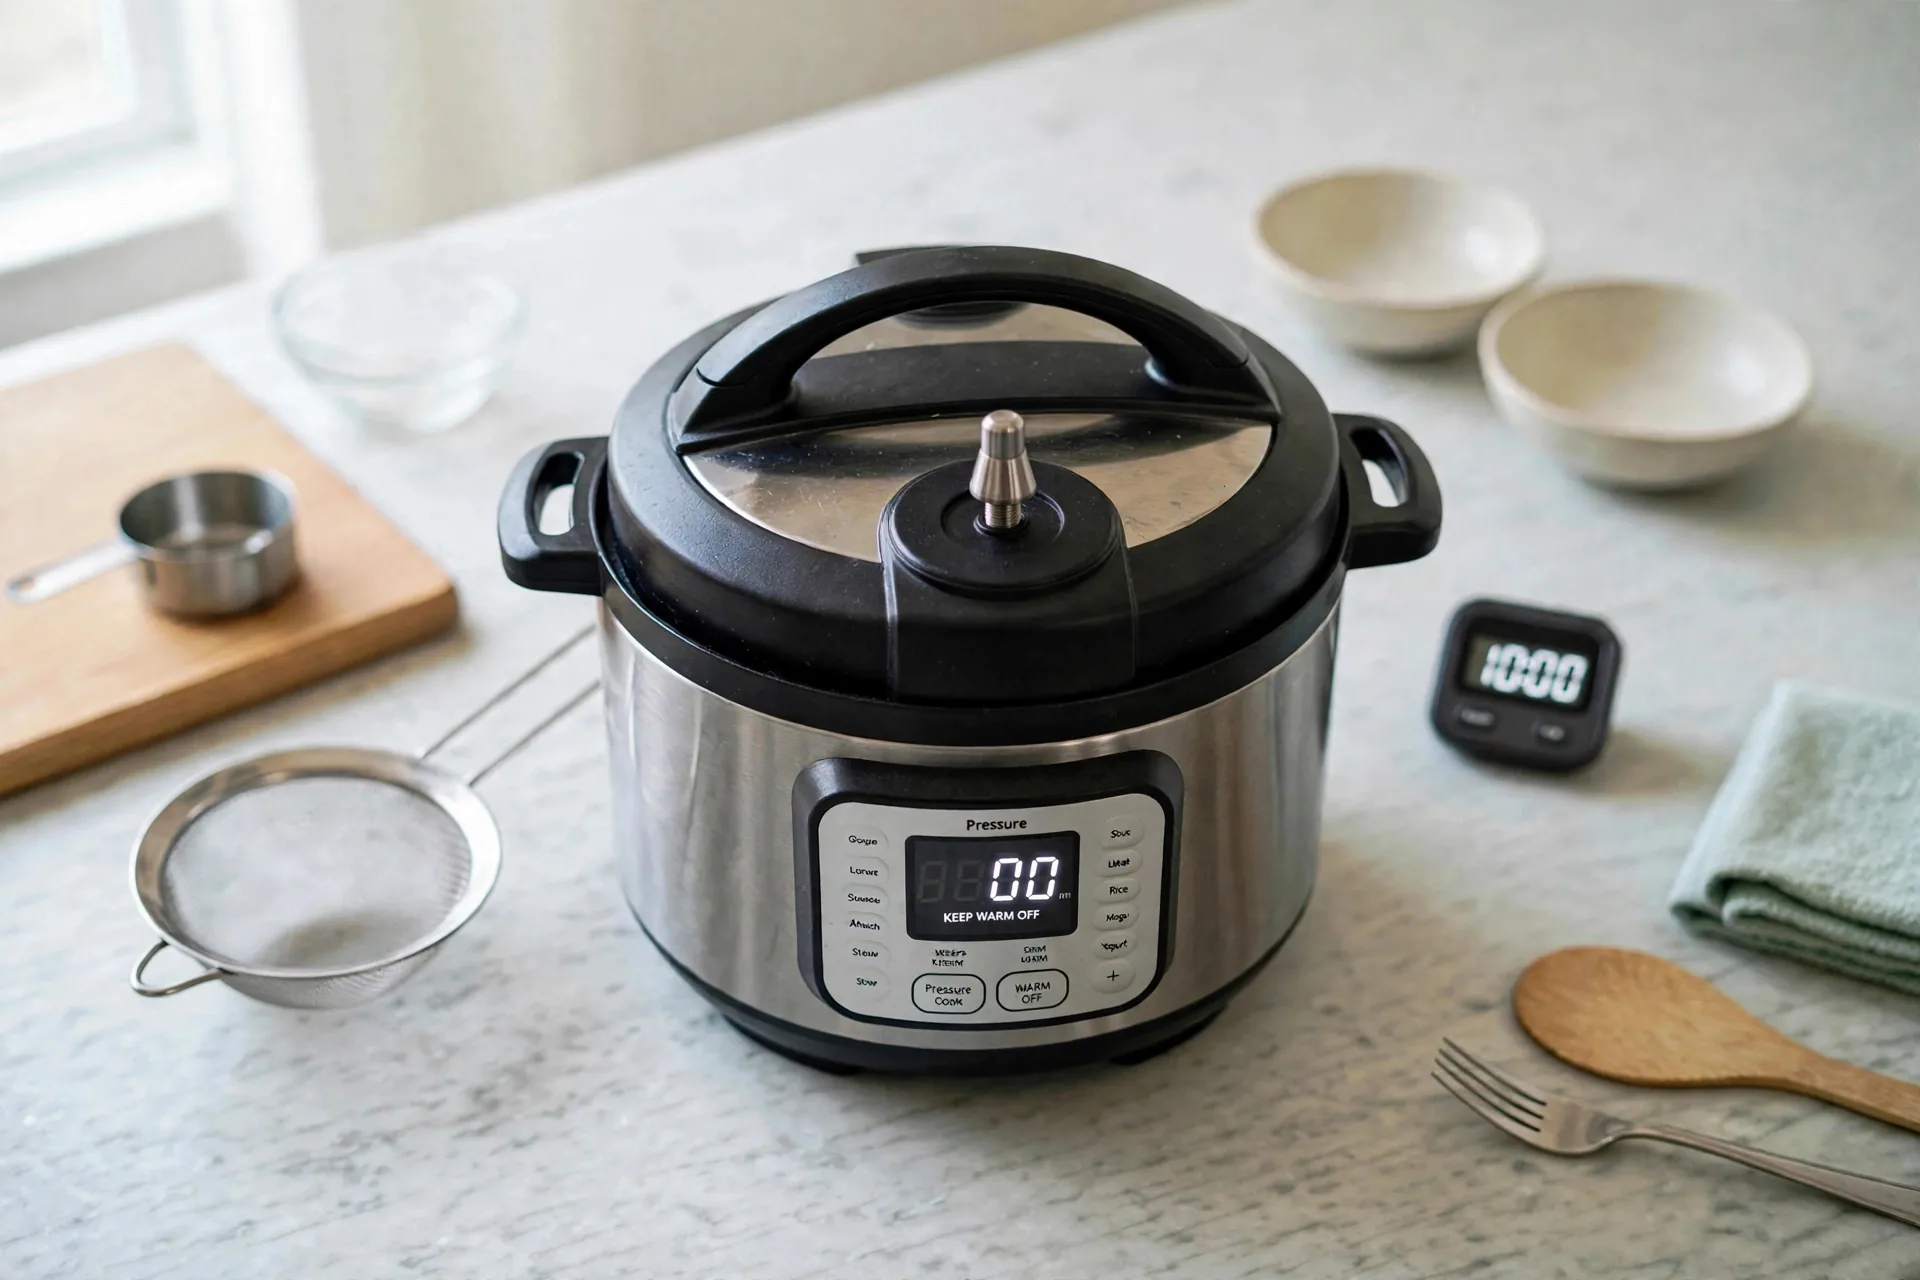
Open the lid away from your face, tilted so condensation drips back in. The surface shows long, slender, separate grains with small steam holes. If the grains look short and broken, the soak ran too long or the rice was stirred hard after draining. Next time, shorten the soak and handle the sieve gently.
Fluff with a fork, lifting from the bottom so the long grains fall apart without snapping. The texture should feel light and dry, not sticky. Steam rises as you fluff. Basmati that clumps was either under-rinsed before soaking or cooked with too much water.
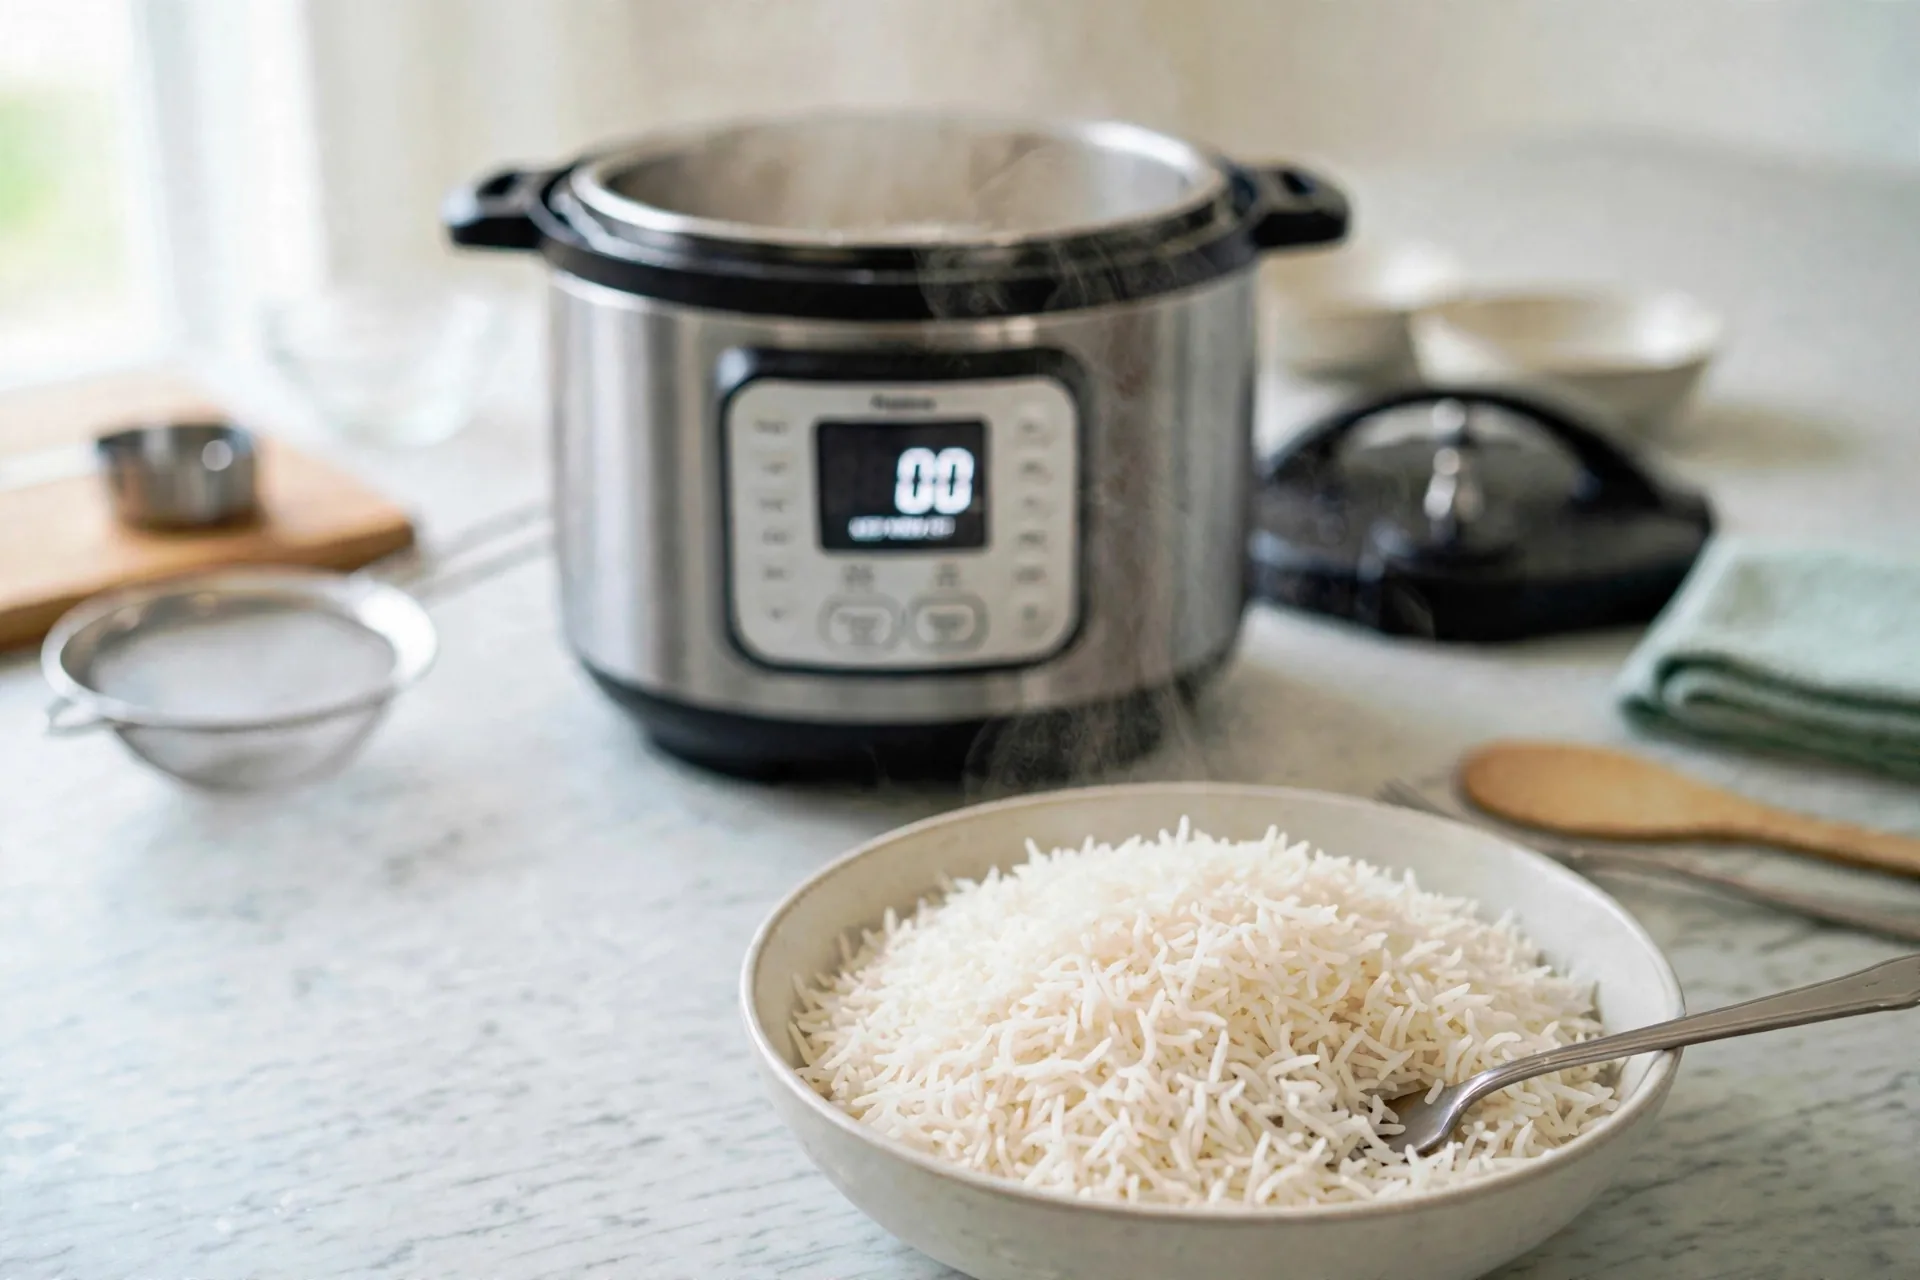
A bowl of fluffy basmati, grains long and separate, close enough to see the length. This rice suits dishes with sauce that needs a dry, separate grain underneath, and it pairs well with the Chicken Satay with Peanut Sauce on this site.
Ingredients
Equipment
Method
- Soak basmati 15–30 minutes; drain gently.
- Add rice, water, salt, oil to inner pot.
- Lock lid, valve to Sealing, High pressure 4 minutes.
- Natural release 10 minutes, then release any remaining pressure.
- Open lid away from face; fluff gently with a fork; serve.
Notes
Recipe 3: Instant Pot Jasmine Rice
Jasmine is the fragrant one, and the softest of the three white rices. Its grains are plumper than basmati and they hold a slight sheen when cooked. The rinse matters more here than anywhere else, because jasmine carries more surface starch. Rinse 3 to 4 times, until the water runs nearly clear, or the finished rice turns sticky. The display time drops to 3 minutes, the shortest in this blog.
You need, for 4 servings as a side:
- 1 cup jasmine rice
- 1 cup water
- 1/2 teaspoon salt
Rinse the jasmine rice by hand in a glass bowl under running water. The water turns cloudy fast. Pour it off and repeat. Two more bowls of previous rinse water beside the bowl show the water getting clearer with each round. Three to four rinses is the normal count. Stop when the water looks nearly clear. A sieve waits at the side for draining.
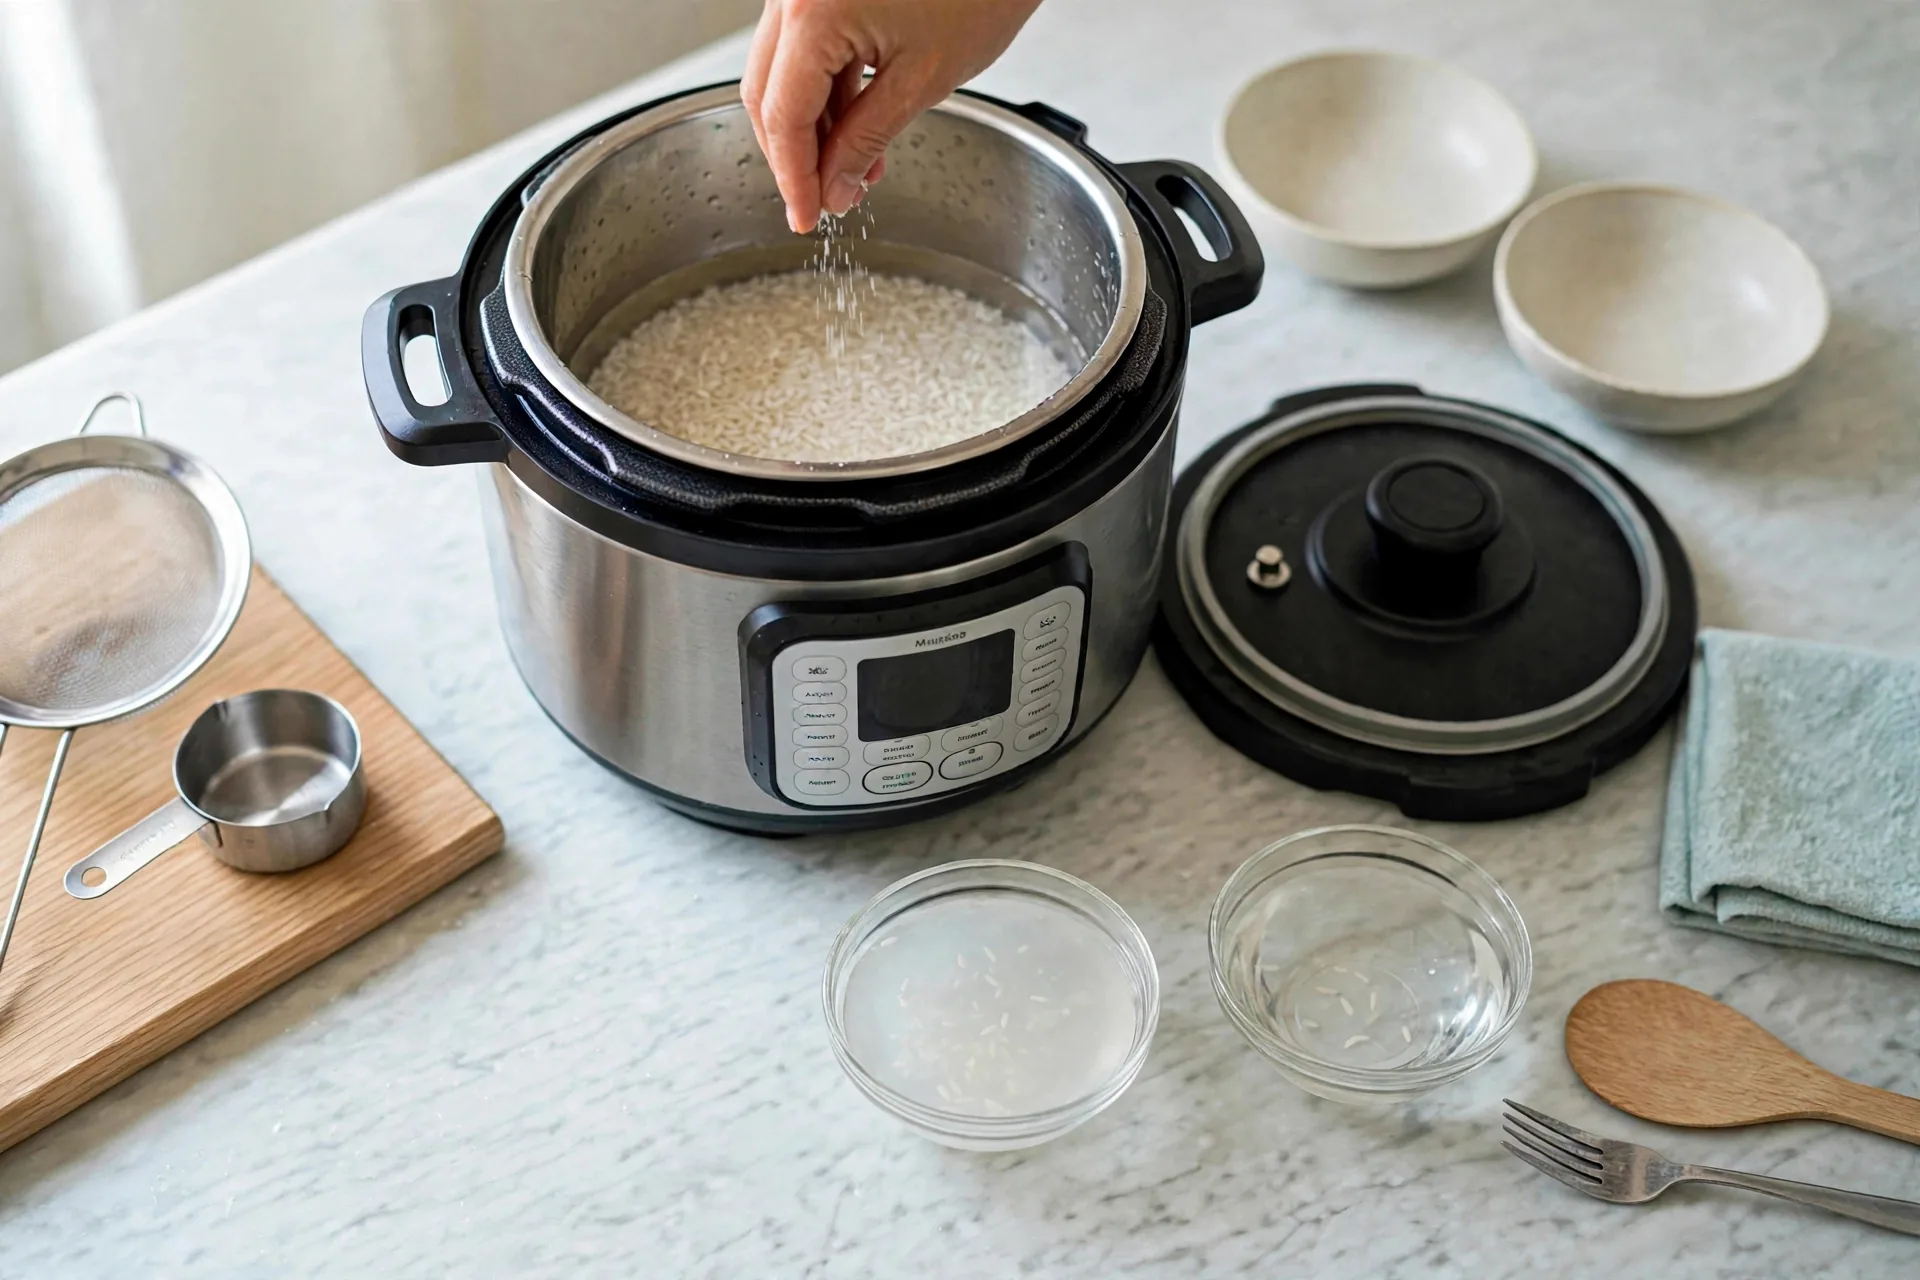
Put the rinsed jasmine in the inner pot with an equal amount of water and a pinch of salt. Plump, short-medium white grains lie under clear water. No oil in this recipe. Jasmine has enough natural sheen without it, and oil dulls the fragrance that makes jasmine worth buying.
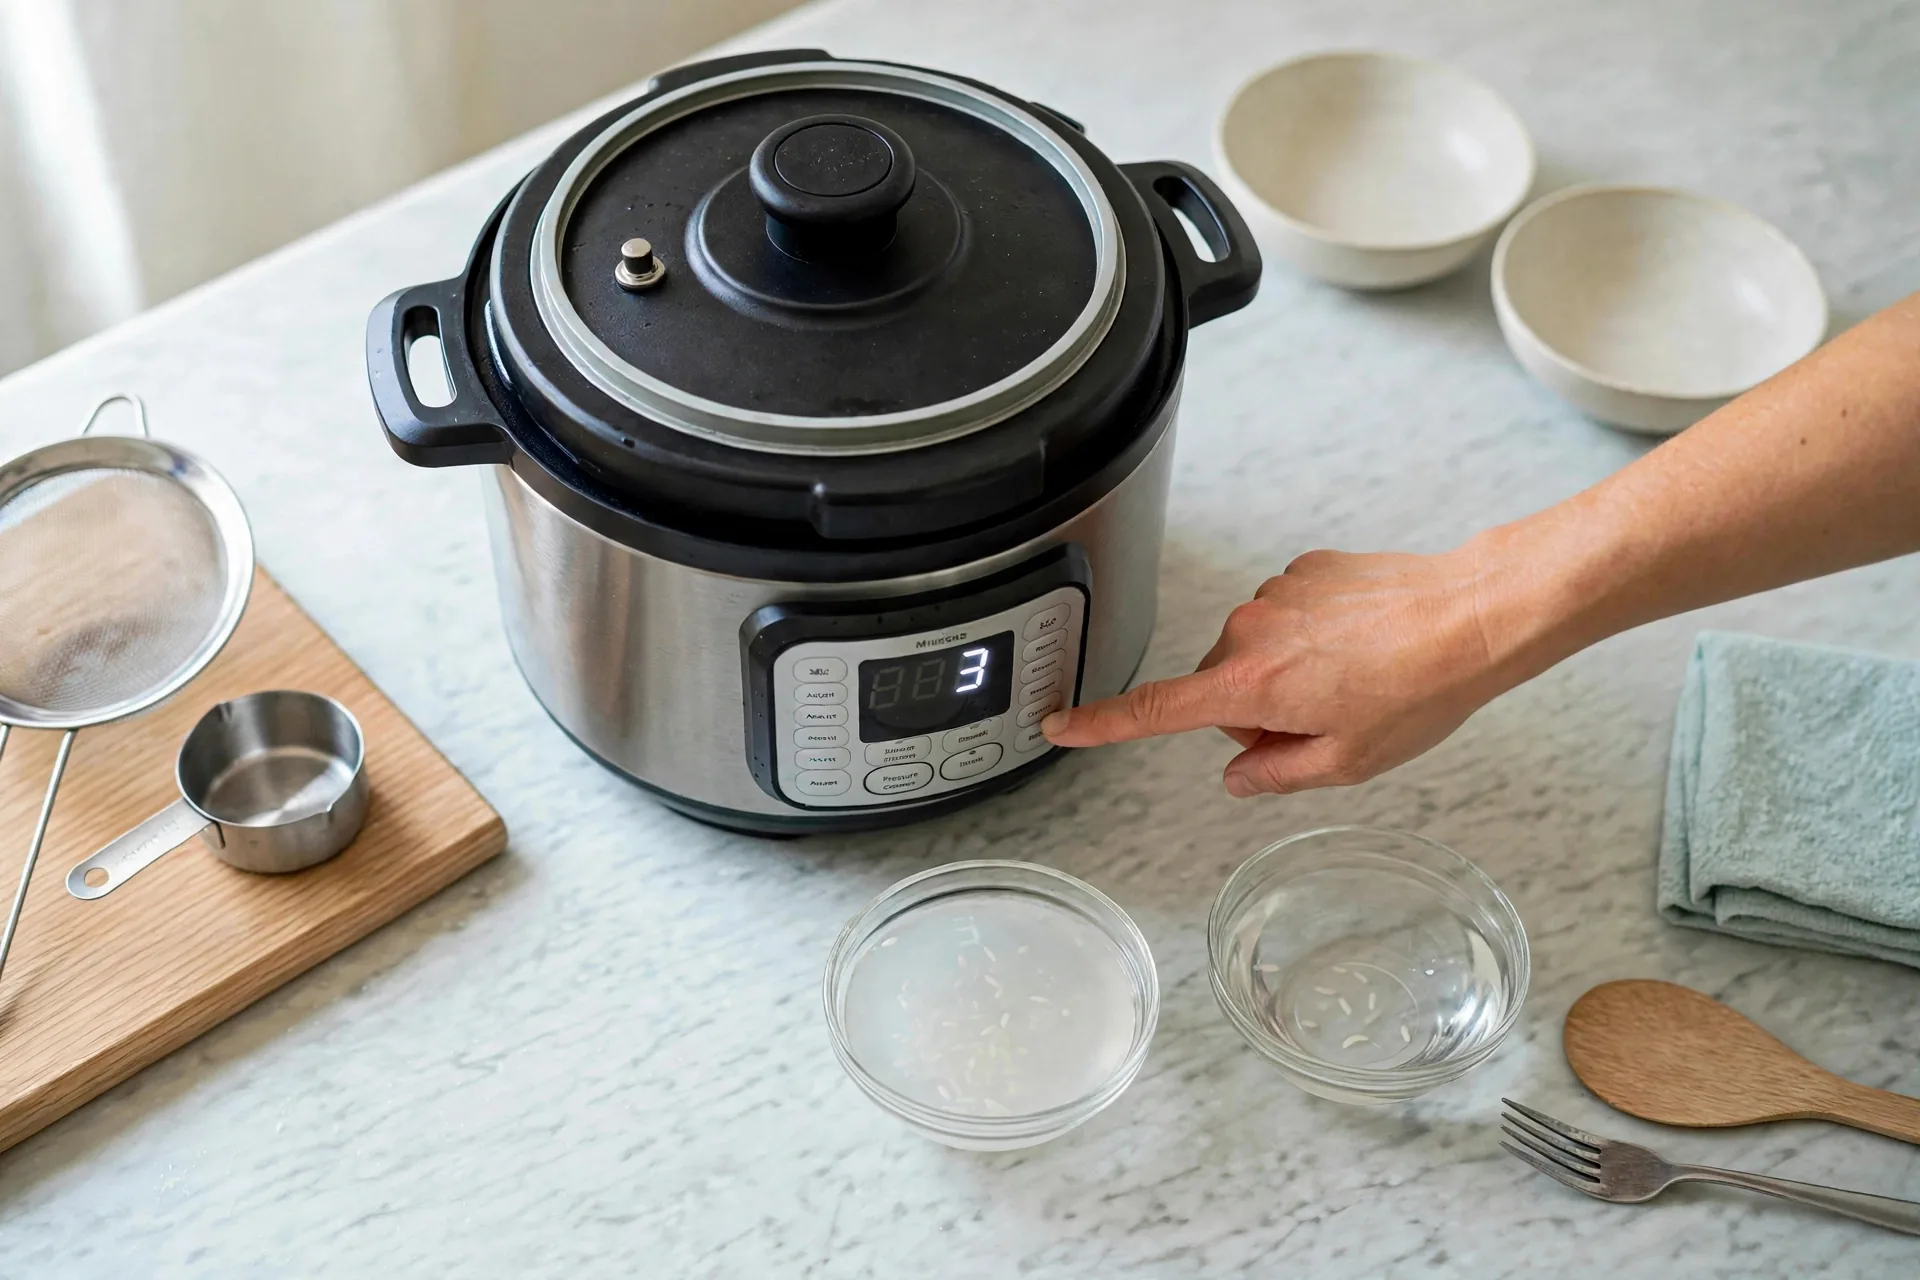
Lock the lid, turn the valve to Sealing, and set 3 minutes at High pressure. Check the display reads 3. One minute less than white and basmati is enough, because jasmine grains are softer and cook faster. An extra minute pushes them past tender into mush.
Rest the pot for a natural release of 10 minutes after cooking. The float valve pin stays up and the display shows Keep Warm off. The rest finishes the grains gently. A quick release here blows steam through soft grains and turns the top layer to paste.
Open the lid away from your face. The surface of the jasmine is soft, slightly glossy and plump, with a few steam holes. It looks wetter than white rice at this stage. That sheen is correct for jasmine. Do not judge it by white rice standards.
Fluff gently with a wooden rice paddle, folding from the edges to the center. The grains cling slightly but separate when lifted, with a soft sheen. A fork works, but the paddle’s flat edge folds without breaking the plump grains. Steam rises as you fold.
A bowl of jasmine rice with a slight sheen and plump grains, a fork lifting a bite that holds together lightly. Serve it right away. Jasmine firms up as it cools, and reheated jasmine never quite gets its soft texture back.
Ingredients
Equipment
Method
- Rinse jasmine 3–4 times until water runs nearly clear; drain.
- Add rice, water, salt to inner pot.
- Lock lid, valve to Sealing, High pressure 3 minutes.
- Natural release 10 minutes, then release any remaining pressure.
- Open lid away from face; fold gently with a rice paddle; serve right away.
Notes
Recipe 4: Instant Pot Brown Rice
Brown rice is a different grain underneath the same method. It keeps its bran layer, which is why it looks tan and why it needs more water and much more time. The bran slows water absorption, so the pot runs 22 minutes instead of 3 or 4, and the release stretches to 15 minutes. Skip the rinse: brown rice does not carry the loose surface starch that white rice does, and a quick rinse does nothing for it. A soak is optional and this recipe does not require one.
You need, for 4 servings as a side:
- 1 cup brown rice
- 1 1/4 cups water
- 1/2 teaspoon salt
Give the brown rice a quick rinse in the fine-mesh sieve under running water. The water runs mostly clear, and the grains stay tan with visible bran. This rinse is about dust, not starch. Do not soak unless you want to. Soaking softens the bran a little, but it also changes the water balance, and this recipe’s ratio already accounts for unsoaked rice.
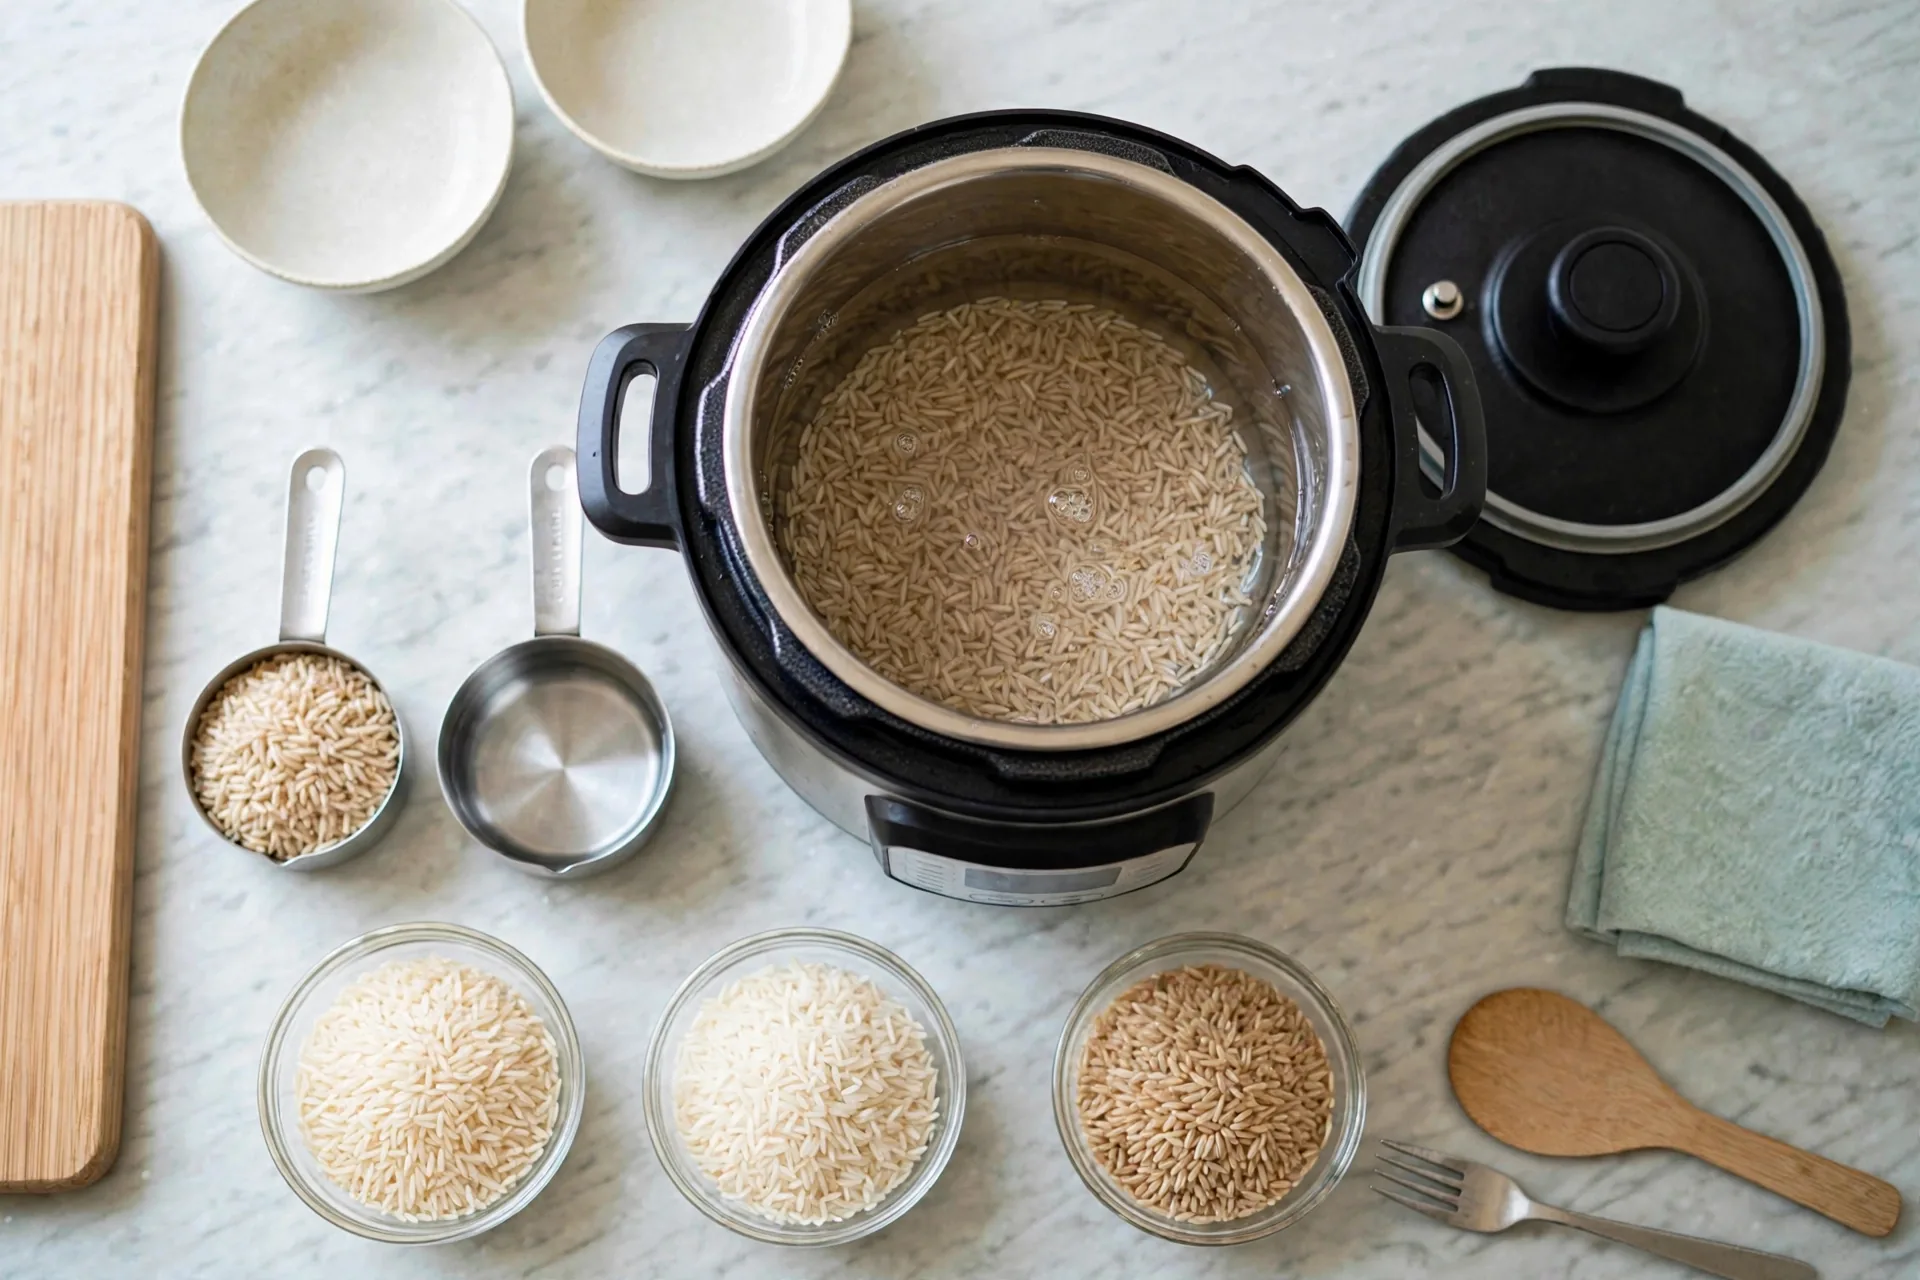
Put the rinsed brown rice in the inner pot with noticeably more water than the white rice recipes. One cup of rice gets one and a quarter cups of water. Set a measuring cup of rice next to a measuring cup of water filled a little higher and compare. That extra quarter cup is the whole difference between tender brown rice and a pot of hard grains. Tan grains lie under clear water.
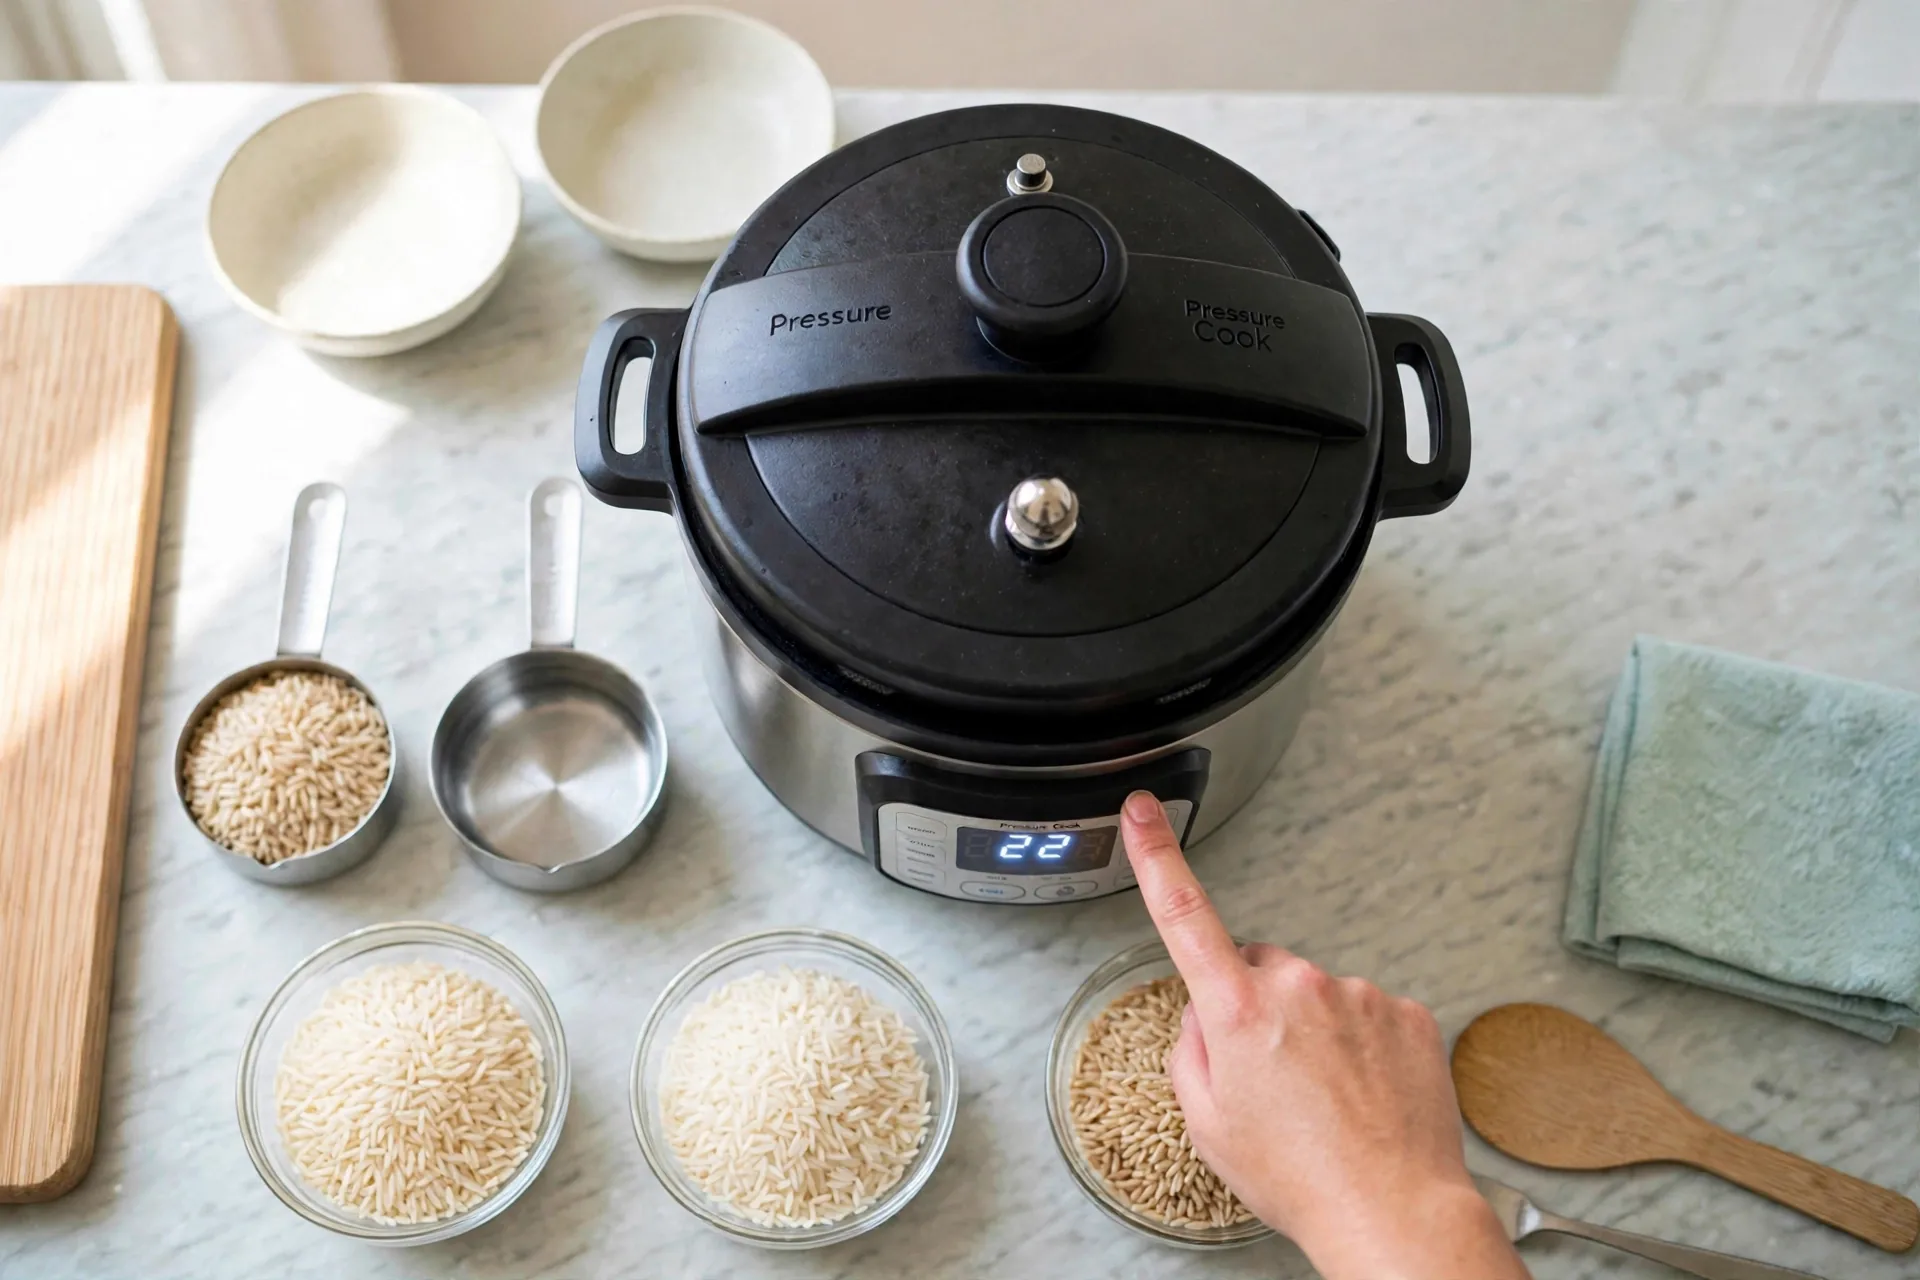
Lock the lid, turn the valve to Sealing, and set 22 minutes at High pressure. Check the display reads 22. The pot builds pressure for about 10 minutes first, same as always. The countdown is long, and that is correct. Brown rice cannot be rushed with higher heat or a shorter time.
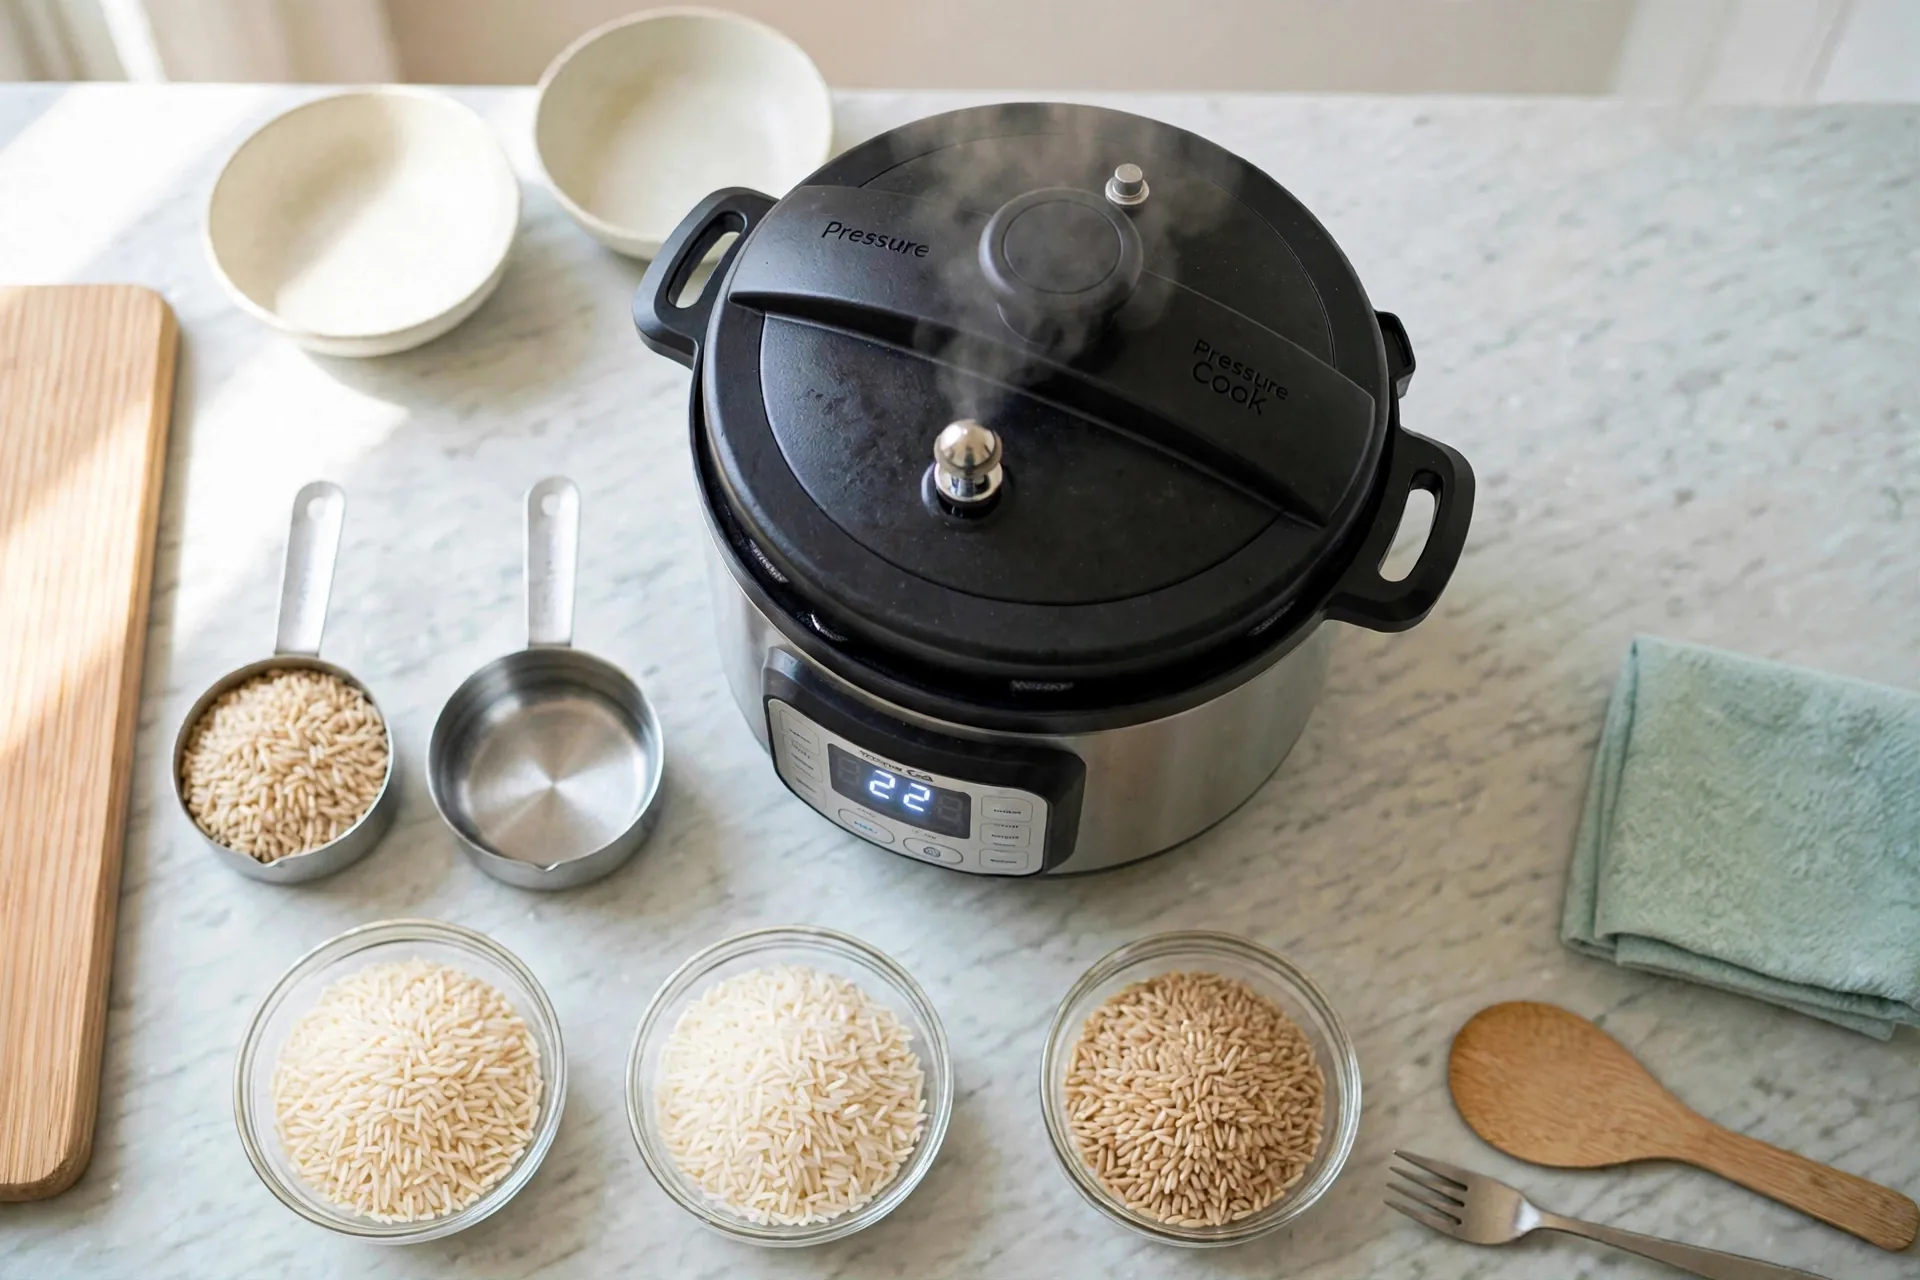
While the pot runs, the float valve pin pops up and a faint wisp of steam may show near the valve. The display counts down from 22. Nothing gets opened. Twenty-two minutes feels long after the 3-minute jasmine cook, but the bran needs that time to soften all the way through.
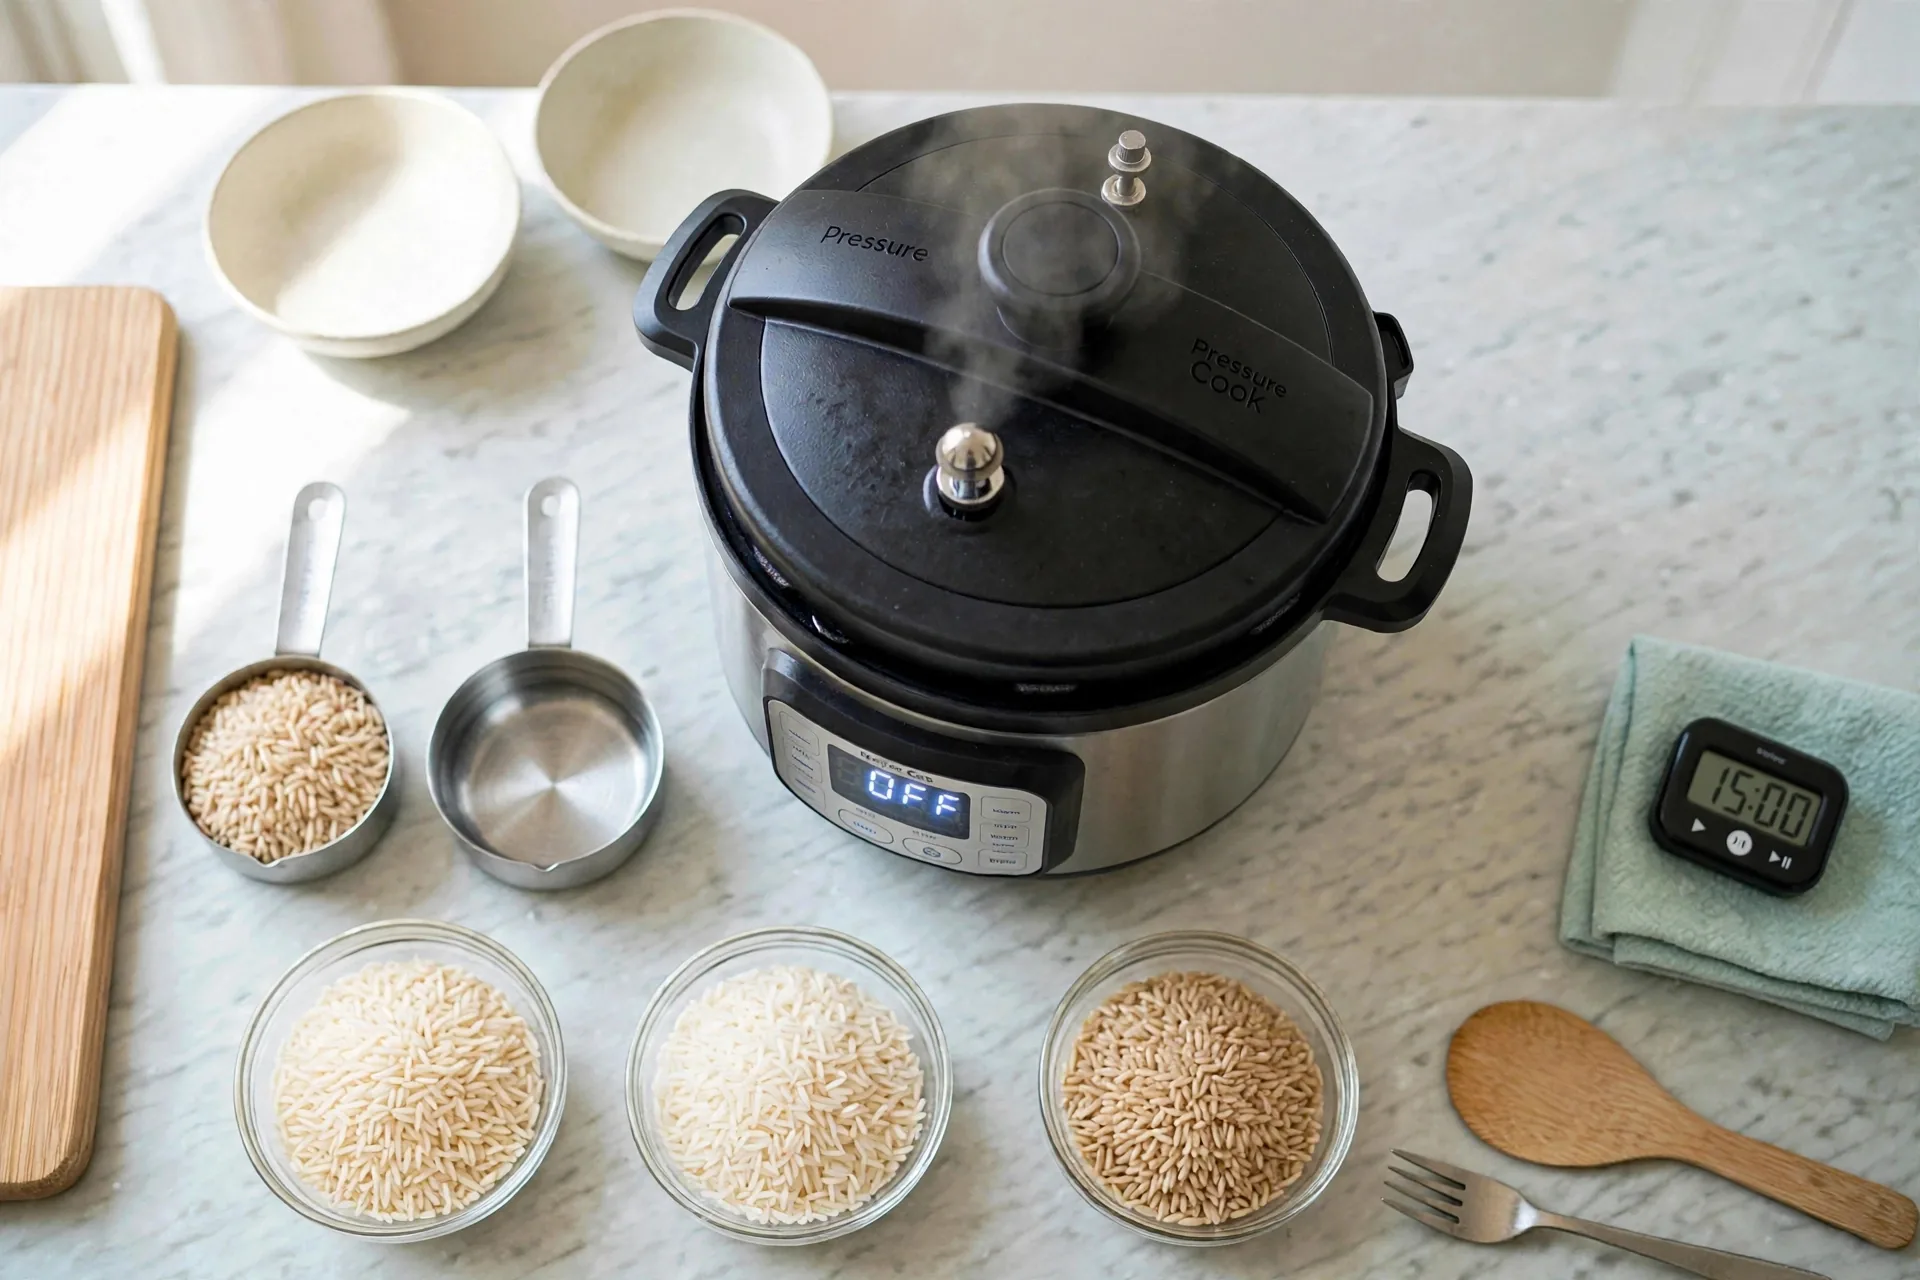
Rest the pot for a natural release of 15 minutes after cooking, longer than the white rices. The float valve pin stays up and the display shows Keep Warm off. Hands off. Brown rice finishes in this rest. Cutting it short leaves the centers chalky even when the outside looks done.
Open the lid away from your face. The surface of the brown rice is plump, tan and slightly glossy, with steam holes. Taste one grain before serving. It should feel chewy but tender all the way through, with no hard white center. A hard center means it needed the full release. Put the lid back for 5 minutes if you find one.
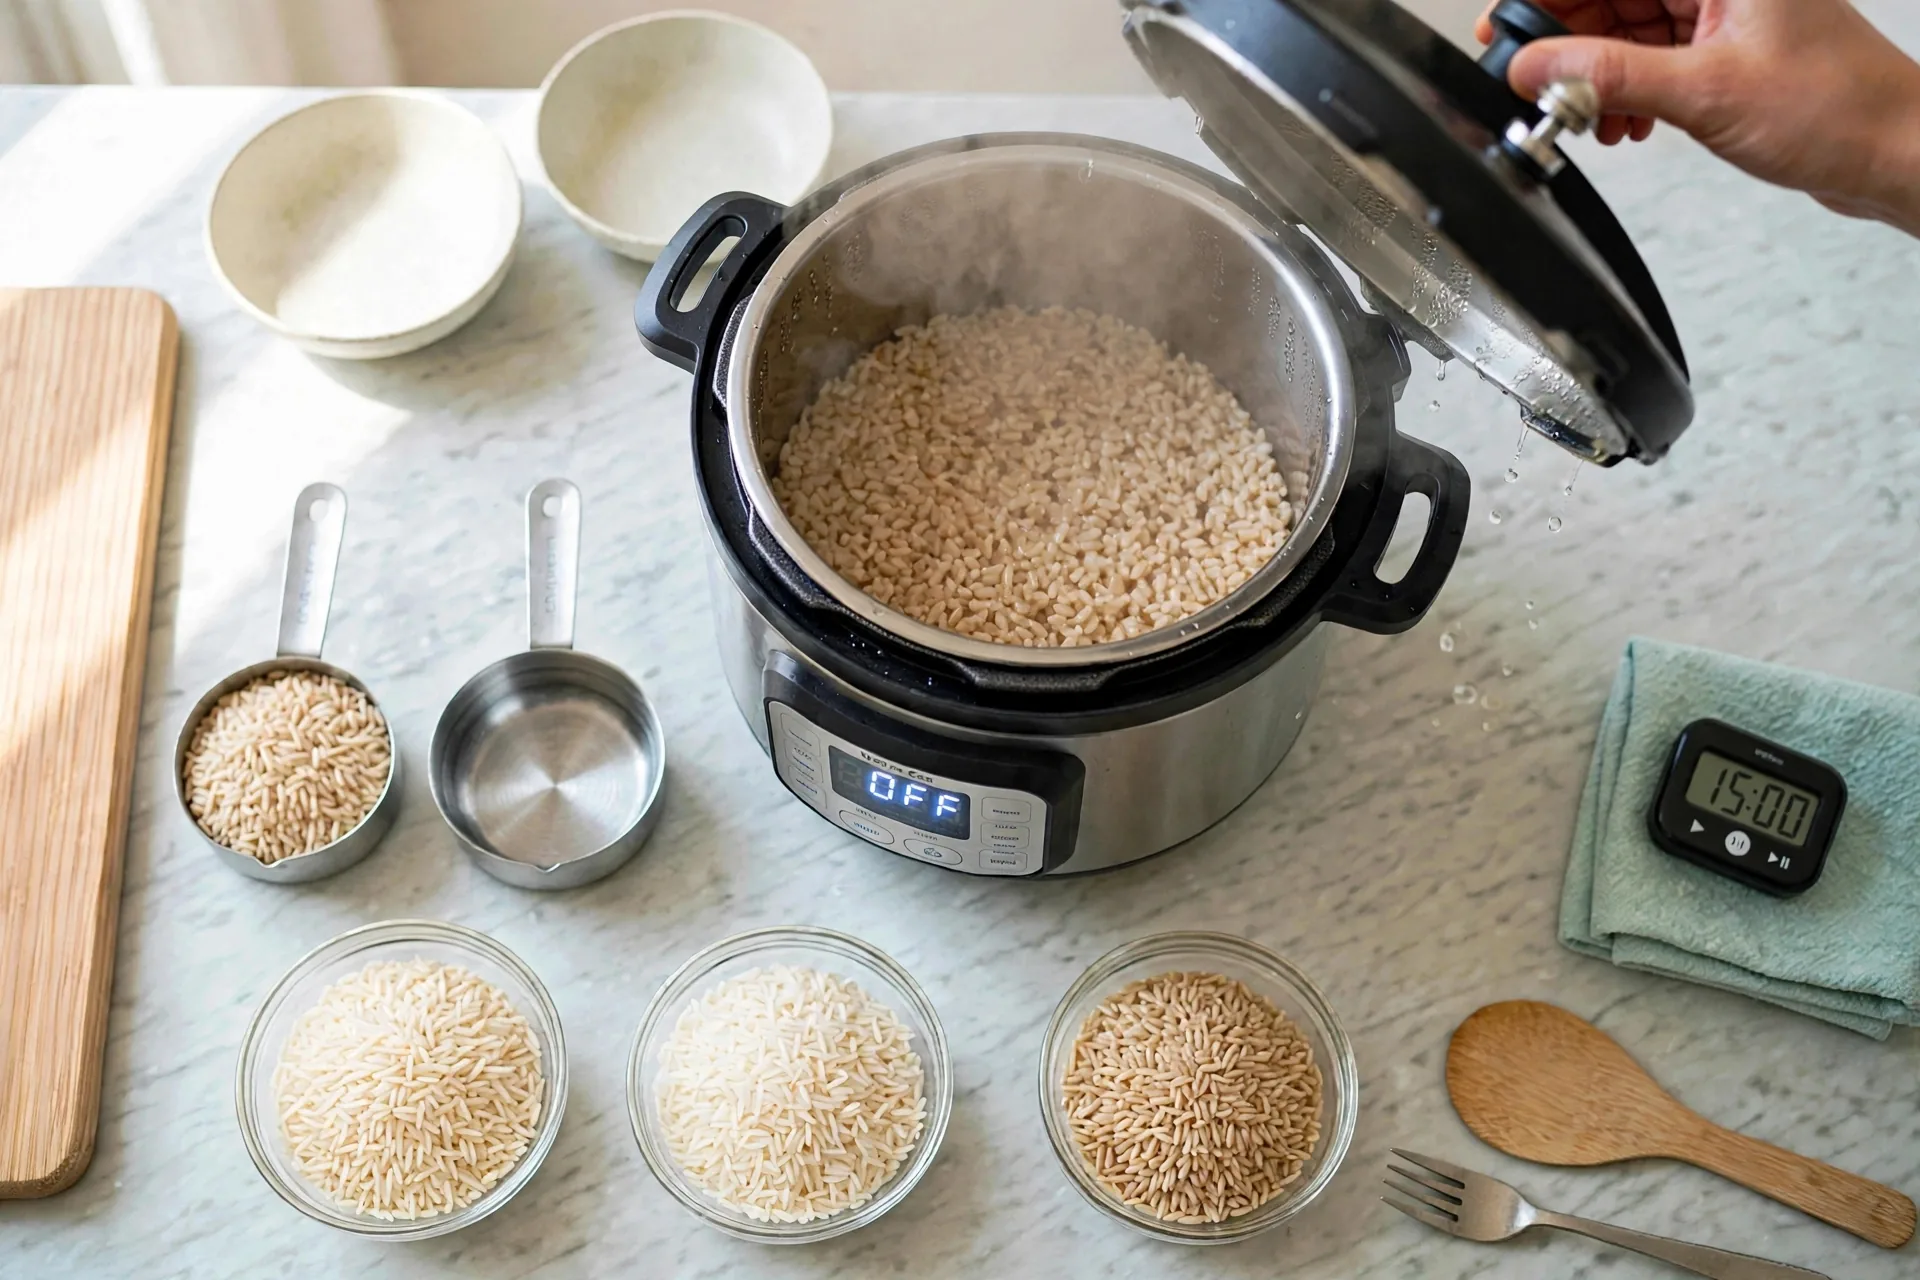
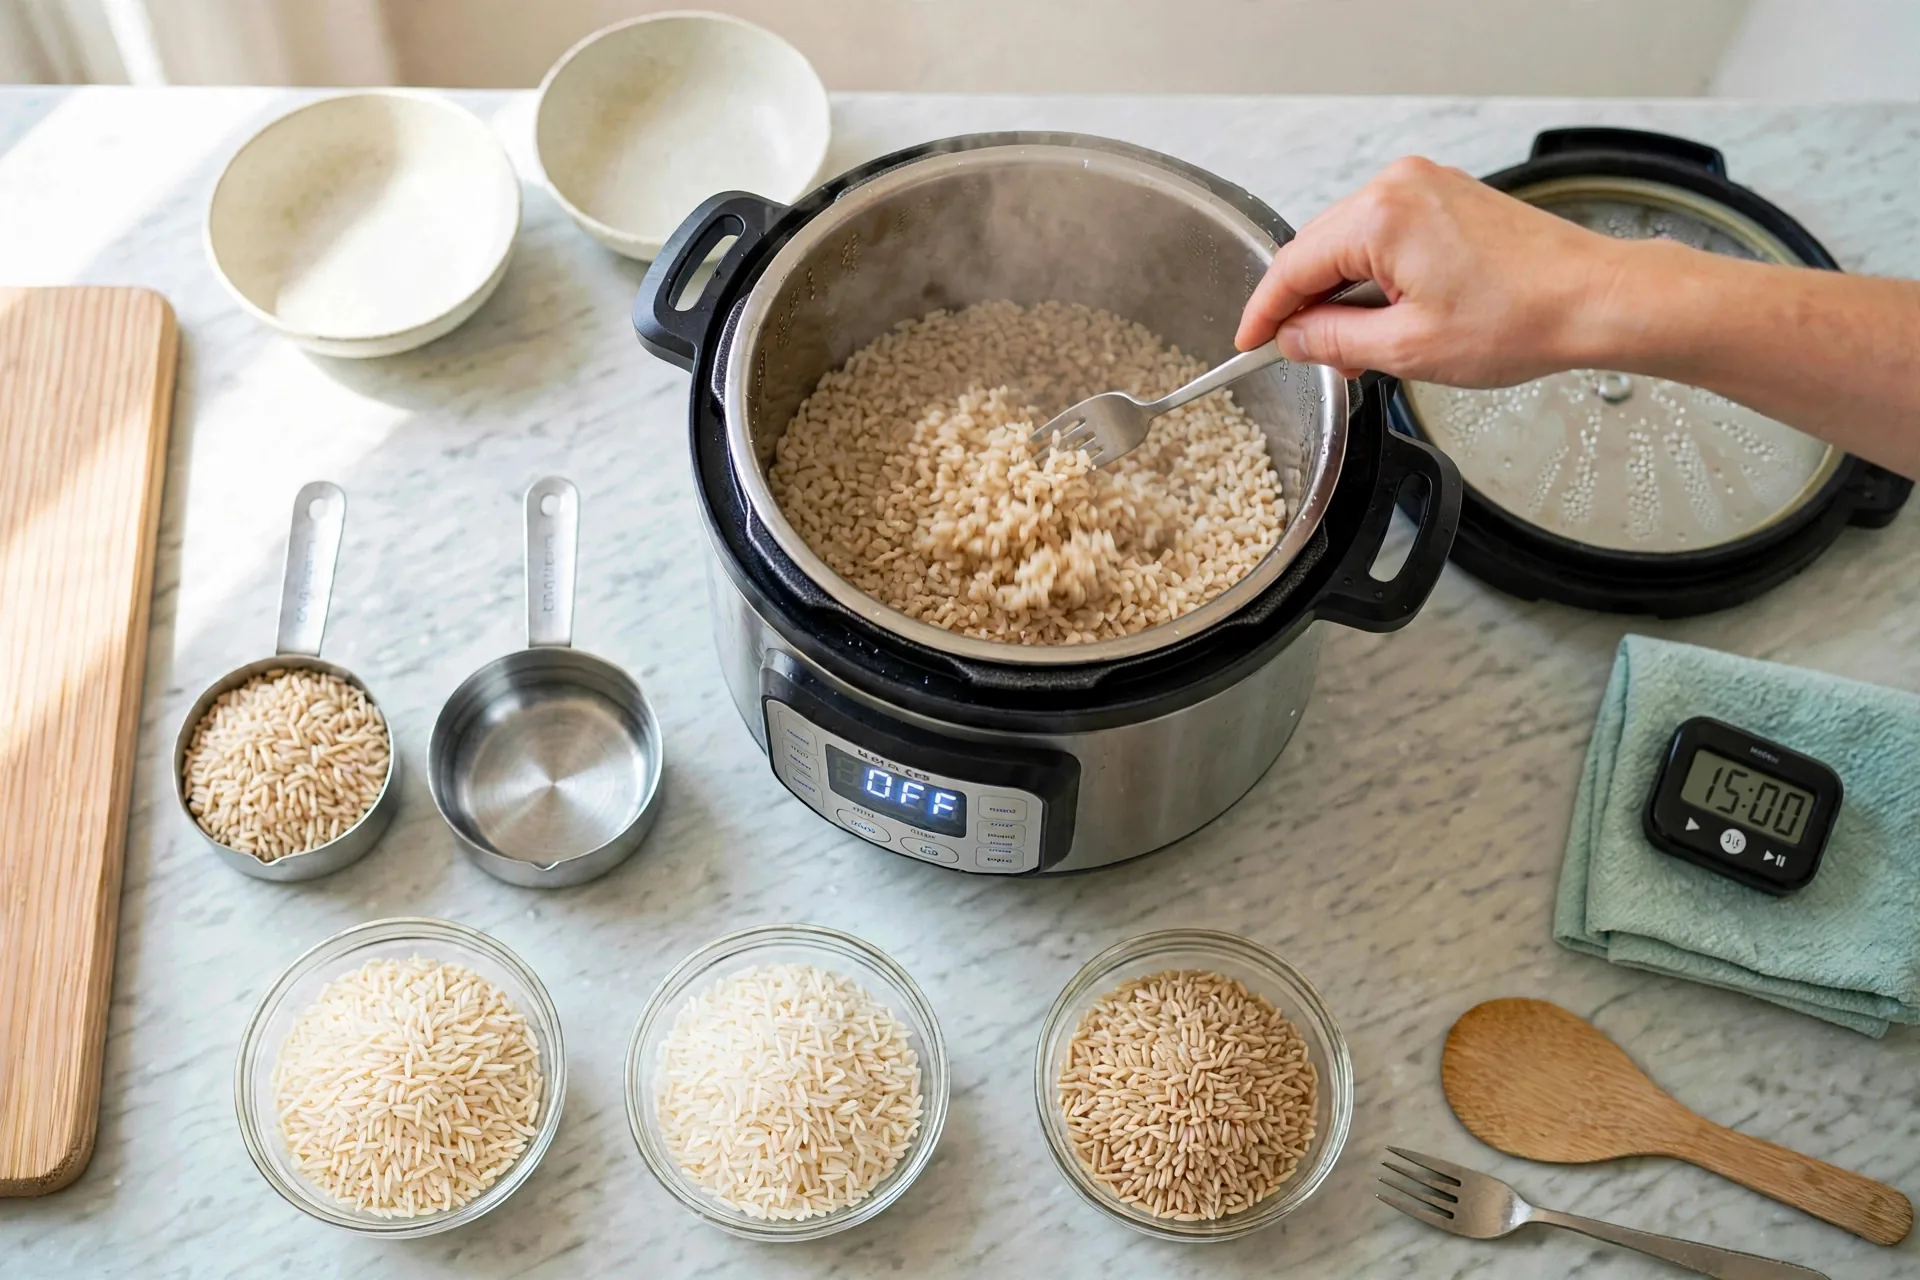
Fluff with a fork. The tan grains lift loose and separate, chewy-looking, with visible bran. Steam rises. Brown rice that clumps was cooked with too little water or opened too early. Brown rice that splits open was cooked too long.
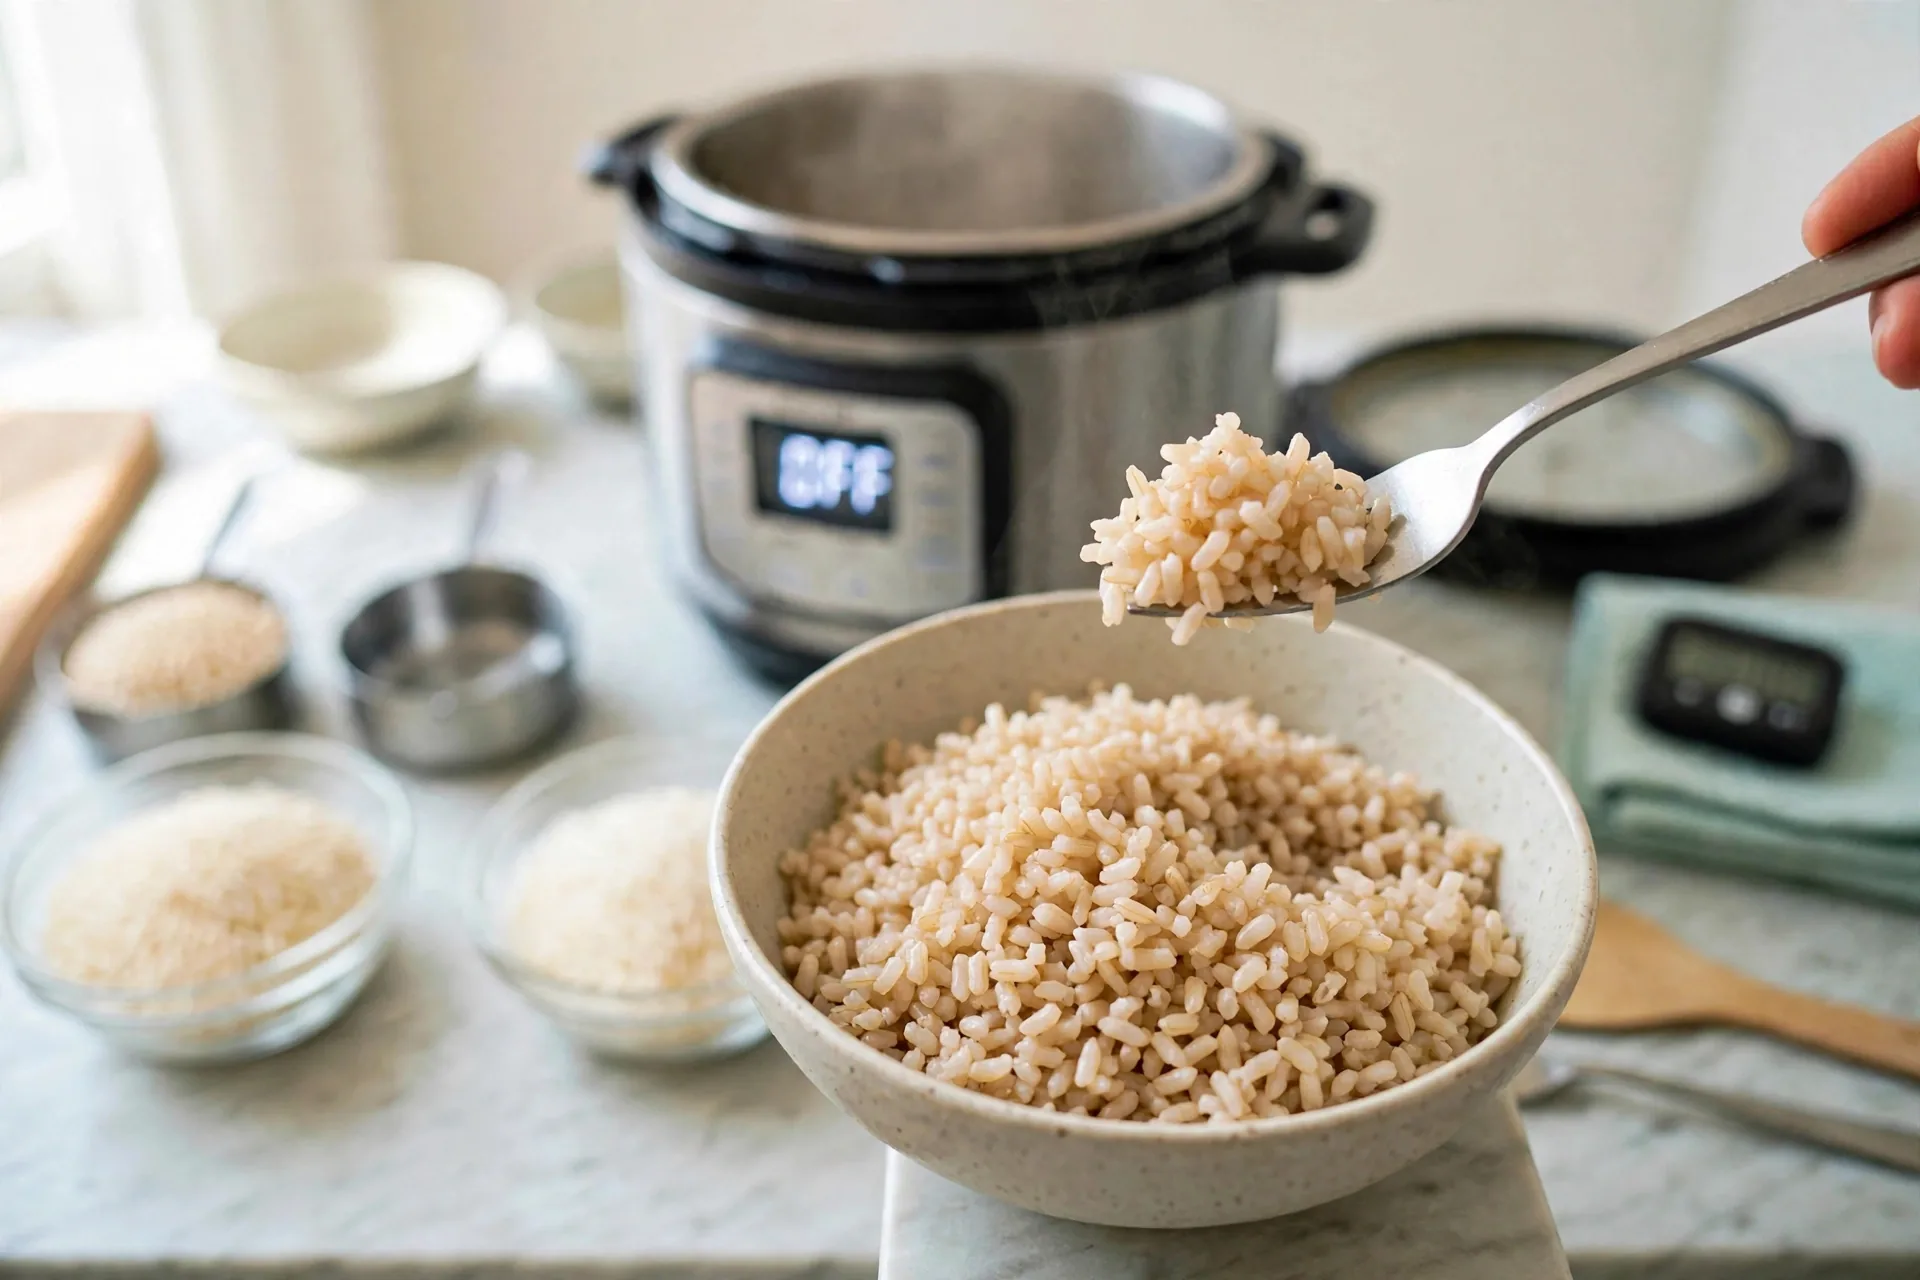
A bowl of fluffy brown rice with visible tan grains, a fork lifting a bite. Close enough to see the texture. Brown rice keeps its shape in the fridge better than white rice, which makes it the best of the four for cooking ahead.
Ingredients
Equipment
Method
- Quick-rinse brown rice; drain.
- Add rice, water, salt to inner pot.
- Lock lid, valve to Sealing, High pressure 22 minutes.
- Natural release 15 minutes, then release any remaining pressure.
- Open lid away from face; taste a grain for a hard center; fluff with a fork; serve.
Notes
All Four Together
Four small bowls side by side show what the whole blog was about. White grains separate and plain. Basmati long and slender. Jasmine plumper with a soft sheen. Brown tan with bran. Same pot, same basic method, four different results. When a recipe calls for rice and does not say which kind, this comparison is the way to choose: dry and separate, go basmati; soft and fragrant, go jasmine; plain and sturdy, go white; nutty and chewy, go brown.
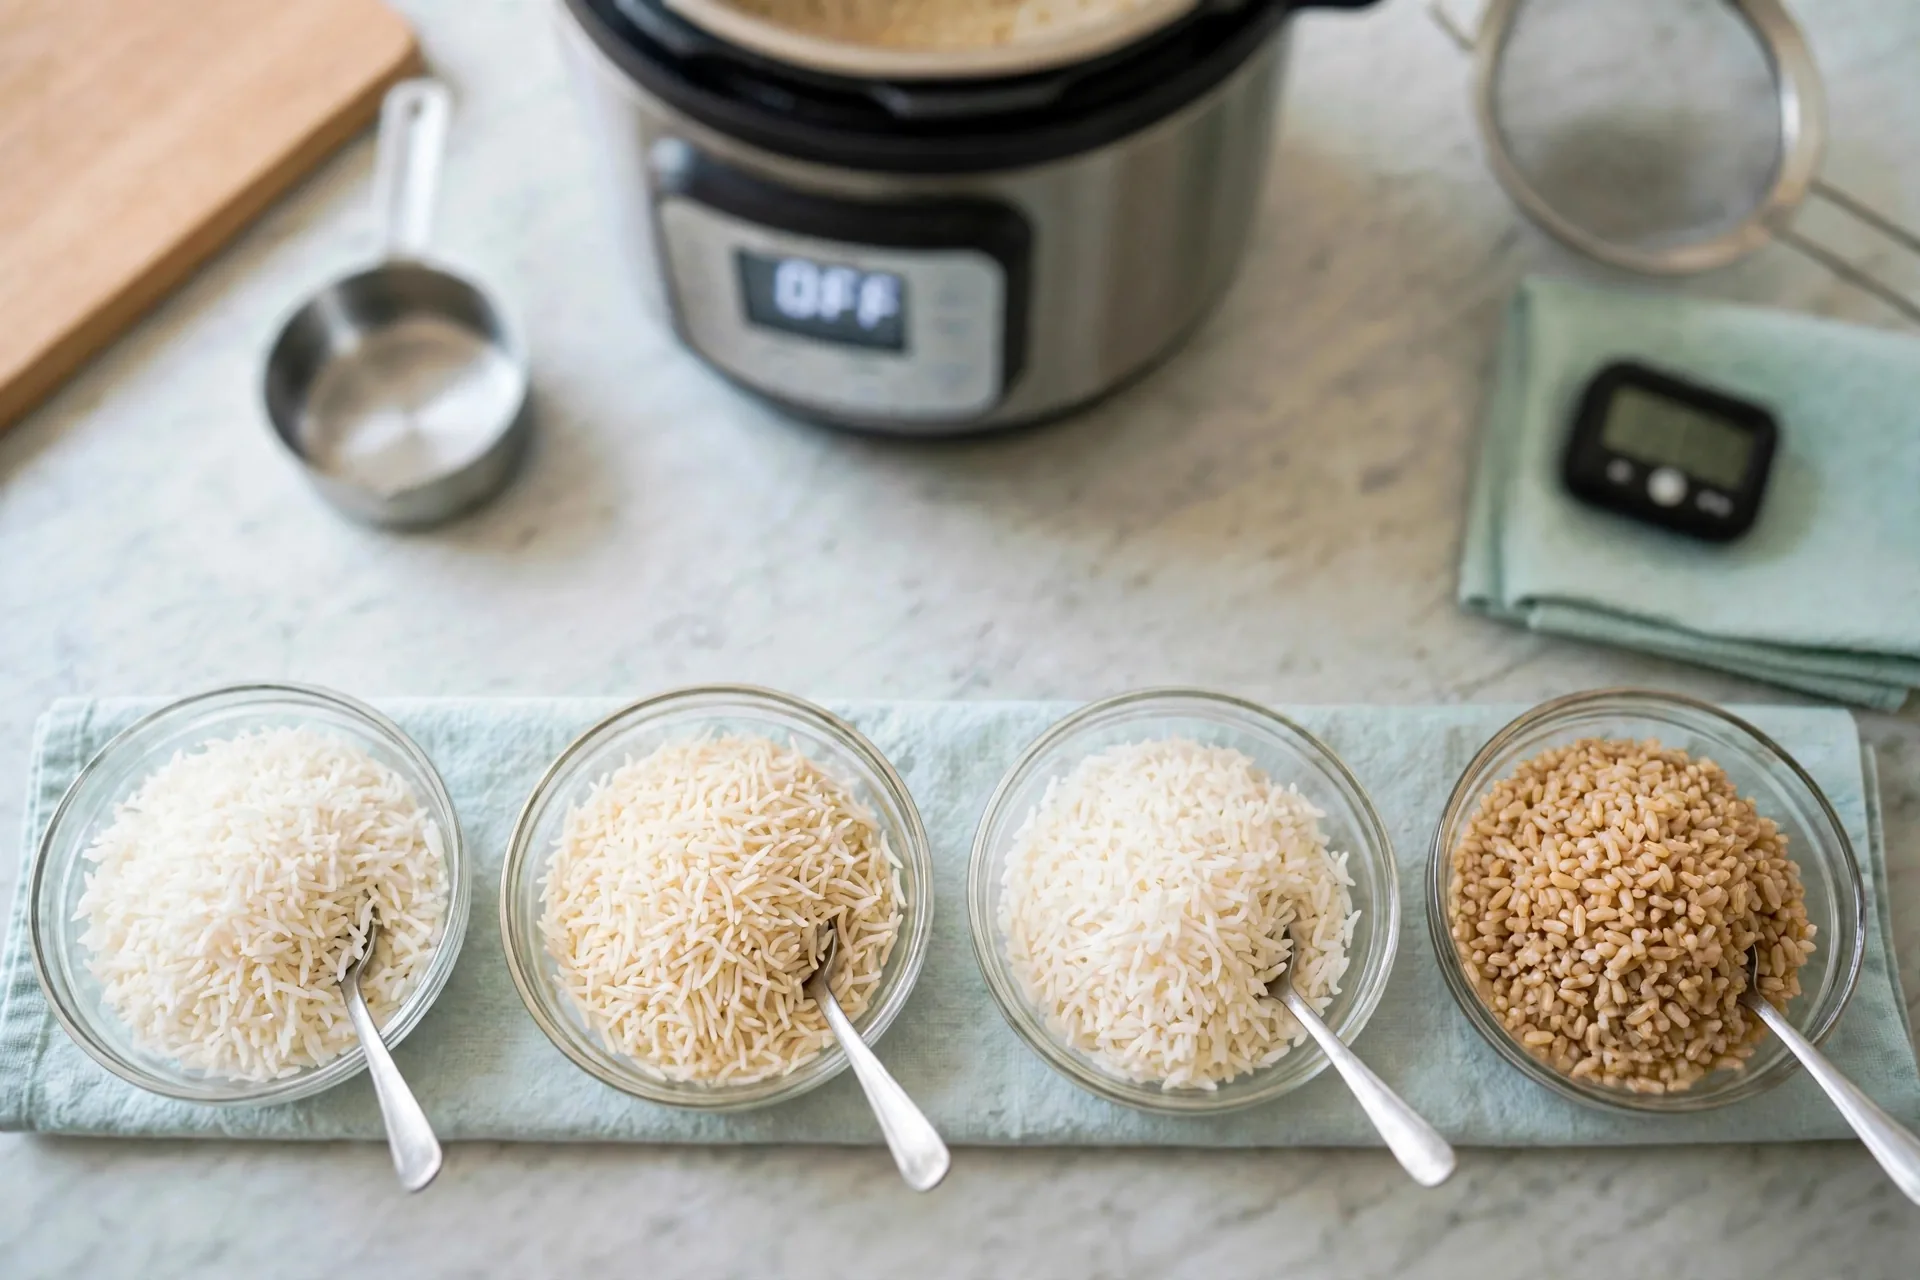
The four finished bowls in a row with the open pot, the wooden rice paddle, a fork and the measuring cup around them. Cook once, eat for days: cooled rice keeps 4 to 5 days in the fridge in a sealed container, and it reheats best with a sprinkle of water and a lid on, so the steam softens it again instead of drying it out.
Tips That Save the Batch
Rinse until the water tells you to stop. Clear rinse water is the only reliable sign. Counting rinses is a guess. Two rinses may be enough for one bag and five may be needed for another, depending on how much surface starch the mill left on.
Never quick-release rice. Turning the valve right after the countdown sprays starchy steam and drops the temperature fast. The top layer stops cooking while the bottom keeps going. The 10-minute rest for white rices and 15 for brown are part of the cooking time, not optional waiting.
Salt the water, not the finished rice. Salt added at the start seasons every grain evenly. Salt sprinkled on top sits on the surface and the bottom stays bland.
Do not lift the lid to check. Every peek dumps the steam the rice still needs. Trust the pin. The pin drops when the pressure is gone, and that is the only check you need.
Storing cooked rice safely. Cool it within an hour, pack it in shallow sealed containers, and refrigerate. Eat within 4 to 5 days. For longer storage, freeze it in flat portions for up to 3 months and reheat straight from frozen with a splash of water.
Facts
- Rinsing removes loose surface starch from milled white rice, which is why rinsed rice cooks up separate and unrinsed rice clumps.
- Brown rice keeps its bran layer, so it absorbs water slower and needs both more water and more time than milled white rice.
- An Instant Pot loses almost no water as steam during cooking, so the water ratio for pressure cooking runs lower than stovetop ratios.
- Natural release lets the temperature fall slowly, which finishes the grains gently instead of shocking them with a sudden pressure drop.
- Cooked rice cools into a firm texture as its starch sets, which is why rice firms up in the fridge and softens again when reheated with a little water and a lid.
Frequently Asked Questions
Why does my Instant Pot rice come out mushy?
Too much water, too little rinsing, or a lid opened too early. Check the ratio first: 1:1 for white rices, 1:1.25 for brown. Then rinse until the water runs nearly clear. Then let the full natural release finish before opening.
Can I cook more than 1 cup at a time?
Yes. Keep the ratio the same and keep the minutes the same. Two cups of rice get two cups of water and the same display time. The pot takes longer to build pressure with a bigger batch, but the countdown stays as written.
Do I need to soak basmati?
A short soak of 15 to 30 minutes keeps the long grains from snapping. It is worth doing for basmati and not needed for the other rices in this blog. Do not soak basmati for hours. Over-soaked grains break when you handle them.
Why is brown rice so much slower?
The bran layer slows water absorption. The grain needs 22 minutes under pressure plus a 15-minute release to soften all the way through. No shortcut fixes a hard center except more time.
Can I use the Keep Warm setting instead of timing the release?
The release timer is what matters, not the Keep Warm light. Time 10 minutes for white rices and 15 for brown from the end of the countdown, then check the float pin. If the pin is down, the pressure is gone and the lid is safe to open.
Is the pot display supposed to show the countdown right away?
No. The pot takes about 10 minutes to build pressure first. The display shows heating during that wait and the countdown starts only after pressure is reached. Do not add minutes to cover the build time.
One Method, Four Rices
One pot, one method, four different bowls. Rinse the white rices, measure with the same cup, seal the valve, let the pressure fall on its own, and fluff with a fork. Change only the water, the minutes, and the rest time for each rice. Once white rice works, basmati is a soak away, jasmine is a minute less, and brown is a longer wait. That is the whole system, and it repeats every time you cook rice.